Getting started with Compose
Compose is a specification for defining and running multi-container Docker applications. With Compose, you use a YAML file to configure your application’s services, networks, and volumes. This allows you to capture in a single file the entire configuration necessary to run a set of interconnected containers as an application. For example, if you have an application that requires a web server, a database, and a caching service, you can define these components and their relationships in your Compose file.
To use the Compose YAML, you can leverage a specification implementation, such as podman compose and docker compose.
This tutorial covers the following end-to-end tasks required to use a multi-container Compose application within Podman Desktop:
- Download and run the example application using
podman compose up. - View the guestbook web application.
- View and modify the database to check the guestbook web application is synchronized and running correctly.
- Scale database replicas.
Before you begin
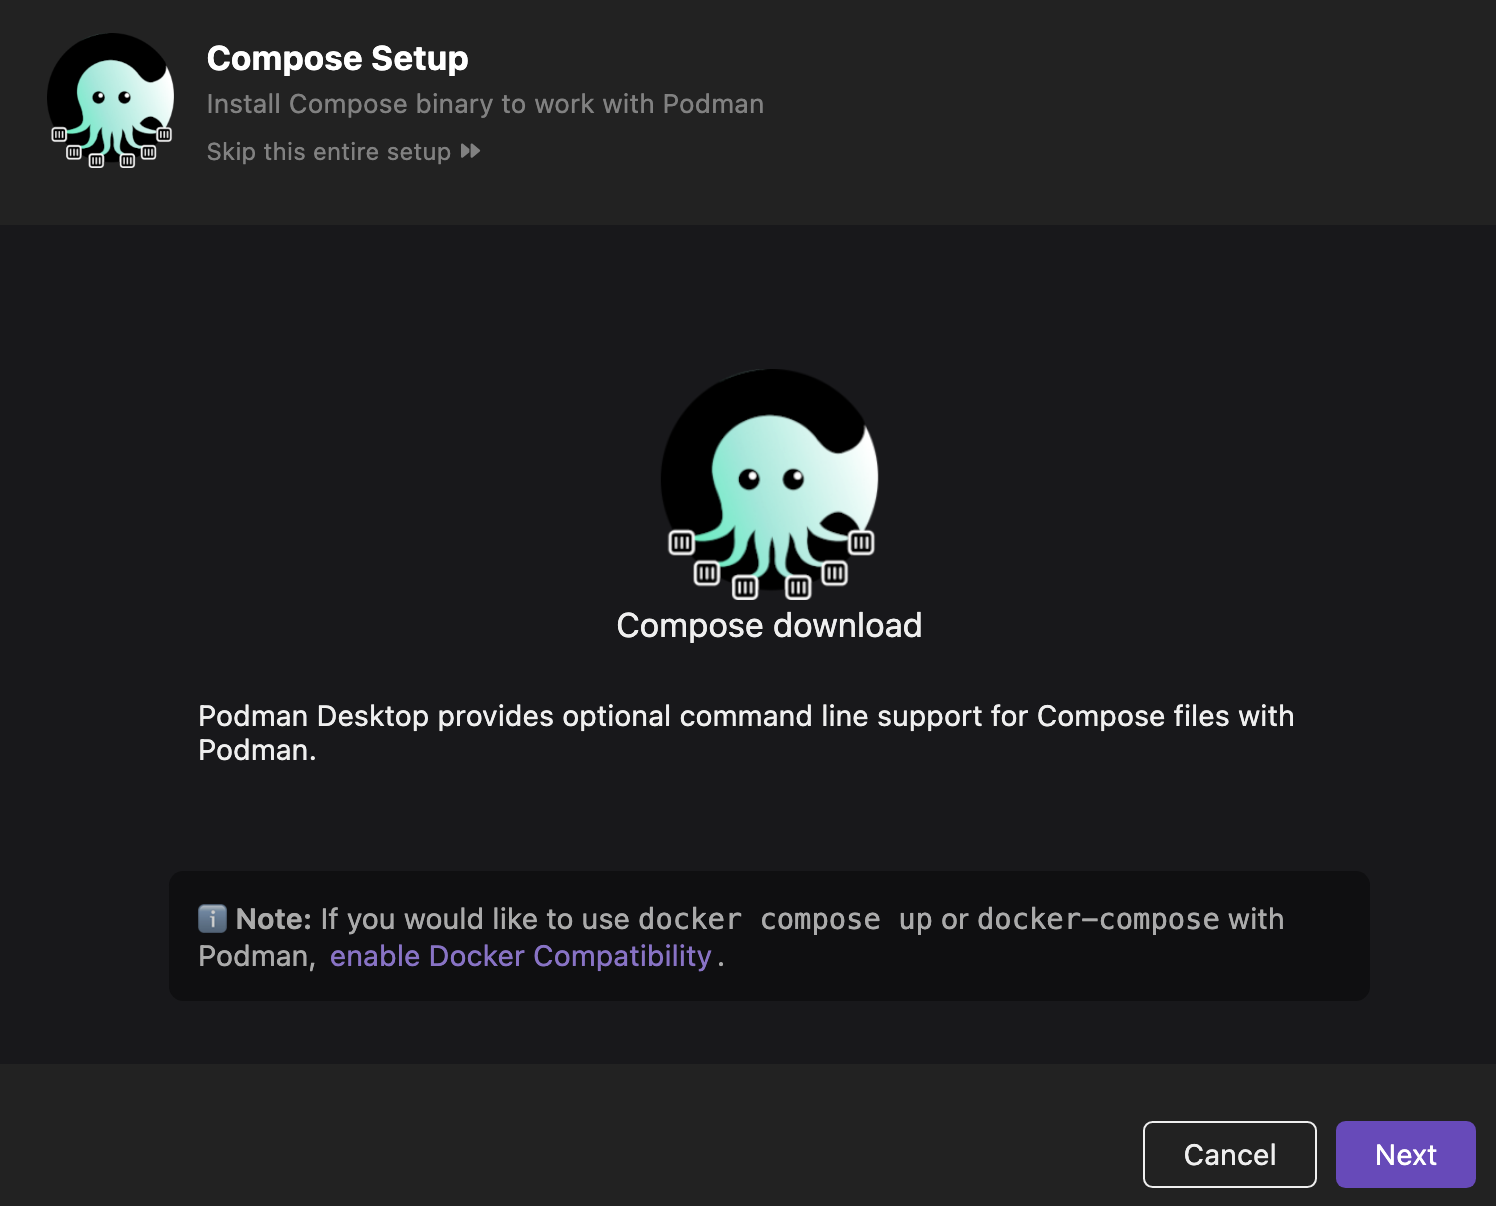
If you do not have Compose installed, you can follow the complete onboarding process to install it system wide:
-
Install the Compose extension from the catalog. For more details, see Installing a Podman Desktop extension.
-
Set up Compose and complete the onboarding process to configure it system-wide.
-
Check that you are able to run
podman compose:podman composeRun compose workloads via an external provider such as docker-compose or podman-composeDescription:This command is a thin wrapper around an external compose provider such as docker-compose or podman-compose. This means that podman compose is executing another tool that implements the compose functionality but sets up the environment in a way to let the compose provider communicate transparently with the local Podman socket. The specified options as well the command and argument are passed directly to the compose provider....
If Compose is already installed, you have the option to upgrade or downgrade its version by navigating to the Settings > CLI Tools page.
Download and run the example application
Our example application is located at github.com/redhat-developer/podman-desktop-demo.
-
Run
git cloneto build the Go binary web application:git clone https://github.com/redhat-developer/podman-desktop-democd podman-desktop-demo/guestbook-compose -
Run
podman compose up -dto start the application:podman compose up -d>>>> Executing external compose provider "/usr/local/bin/docker-compose". Please refer to the documentation for details. <<<<[+] Running 3/3✔ Container redis-replica Started 0.0s✔ Container web Started 0.0s✔ Container redis-leader Started 0.0s
Viewing the guestbook application
Within Podman Desktop, you can now see that all three containers are up and operational.
-
Click the "Open Browser" button to view the web application:

-
Within the Guestbook web application, you can:
-
"Sign" the guestbook, which will write to the Redis leader and synchronize to the replicas.
-
"Read" from the guestbook, which will read from the pool of Redis replicas. This allows for readability even if the Redis leader is unavailable.
-
/env: View the container's environment variables. -
/info: View information about the Redis cluster.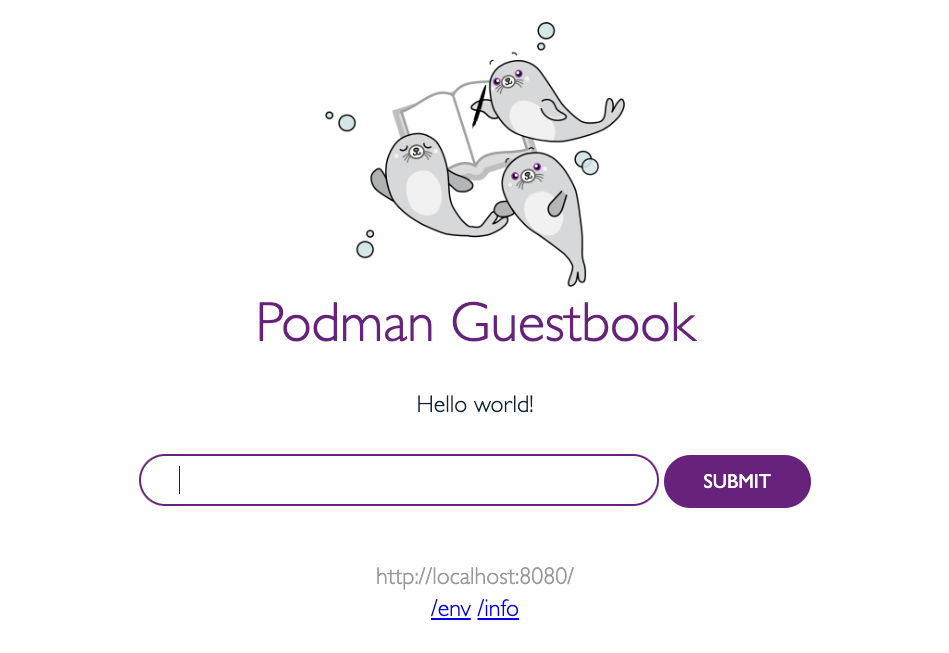
-
Viewing and modifying the database
Using Podman Desktop, you can also access the container's terminal directly from the GUI and modify the database.
-
Click Open Terminal to access the
redis-leaderterminal: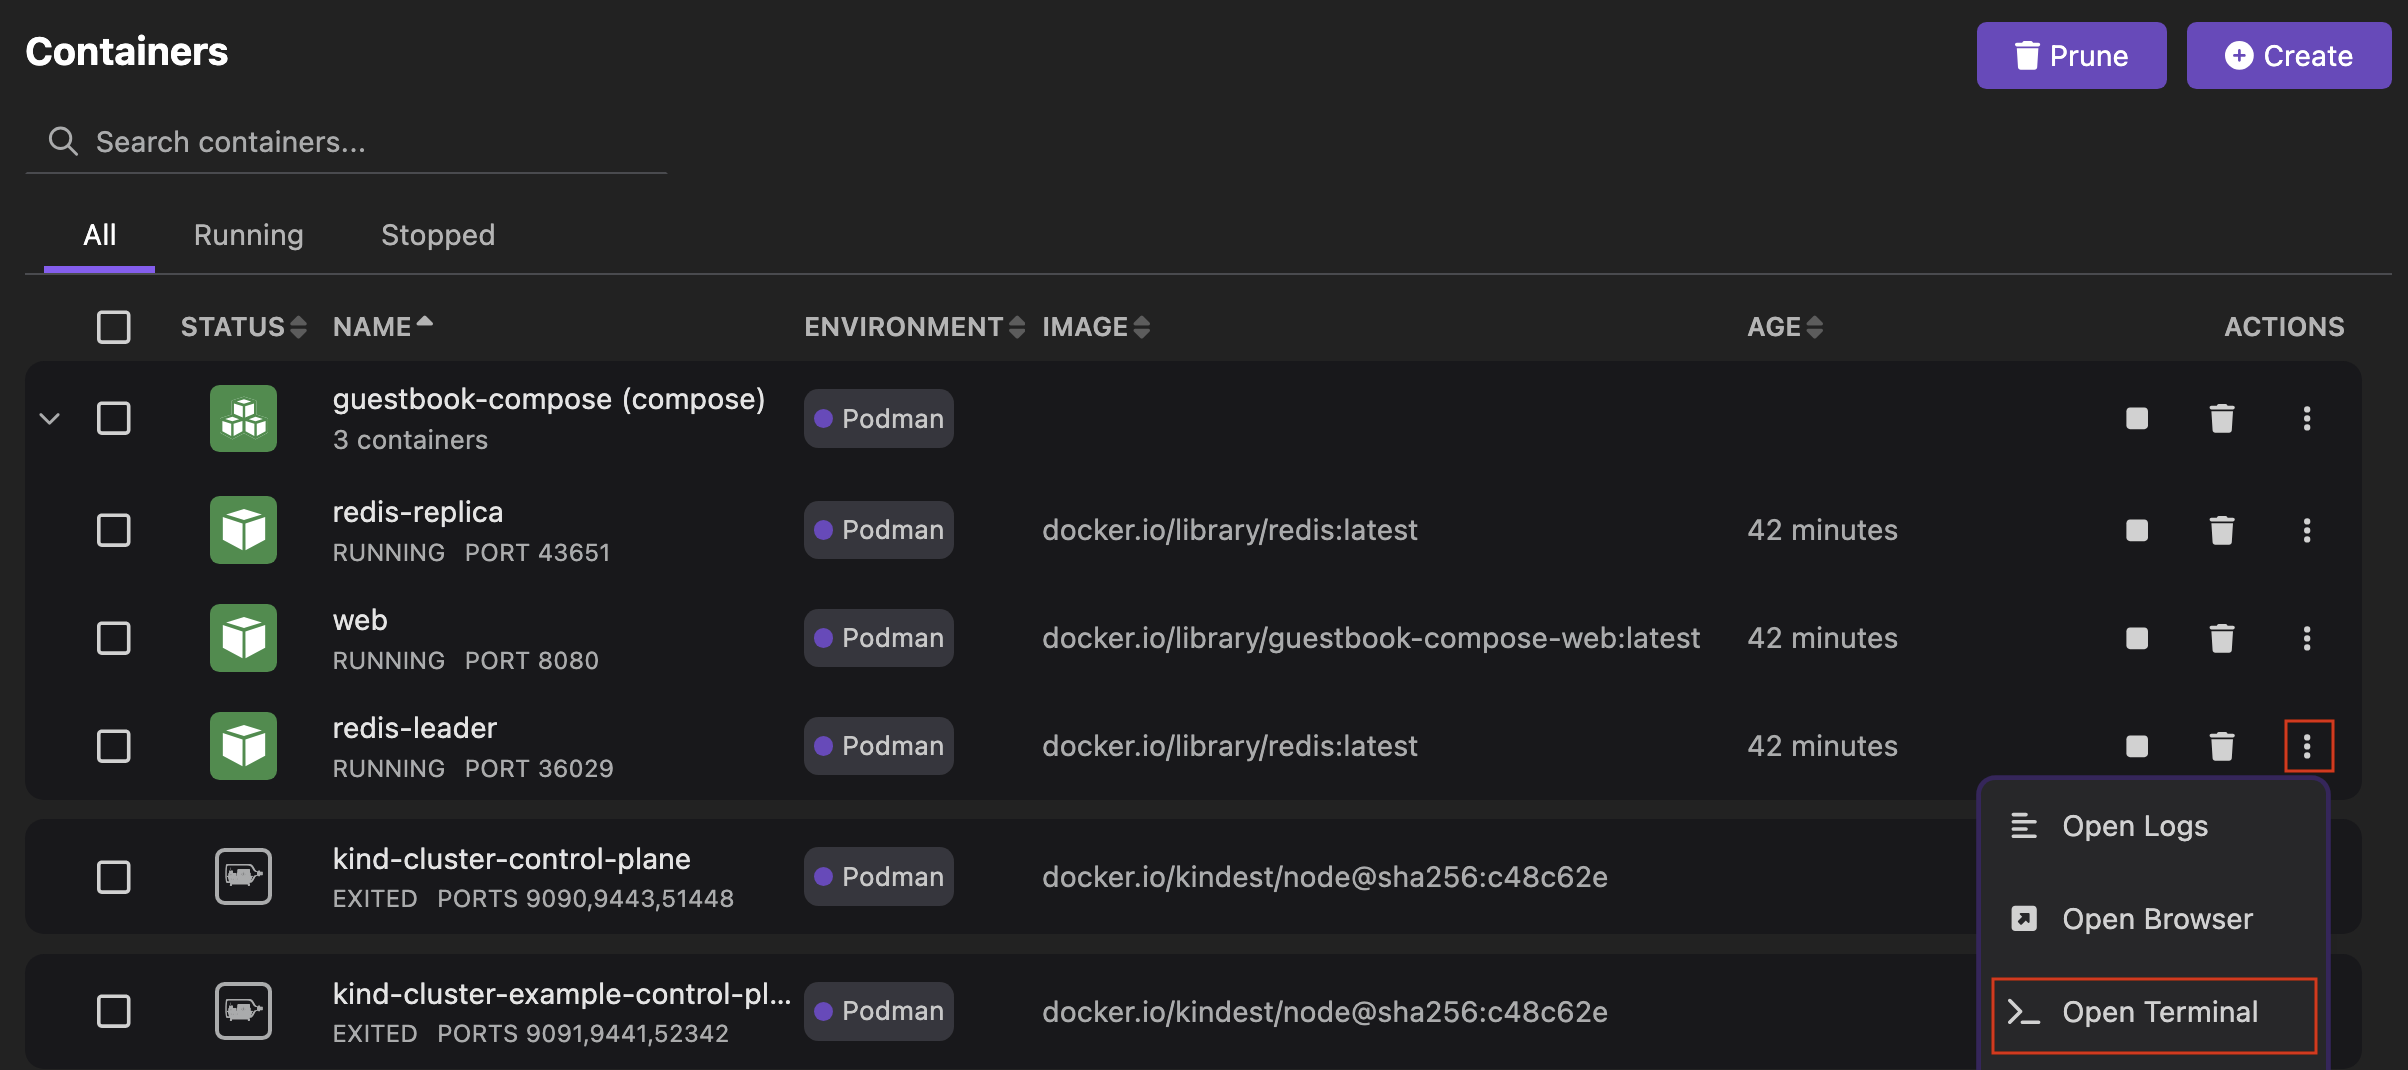
-
Modify the database as if you are doing database administration:
-
Run
redis-cliwithin the container to access the Redis database. -
Type
LPUSH guestbook "Hello World!"and you will see your web application update in real-time. -
Type
DEL guestbookand you will see that your database drops theguestbookkey and clears the database.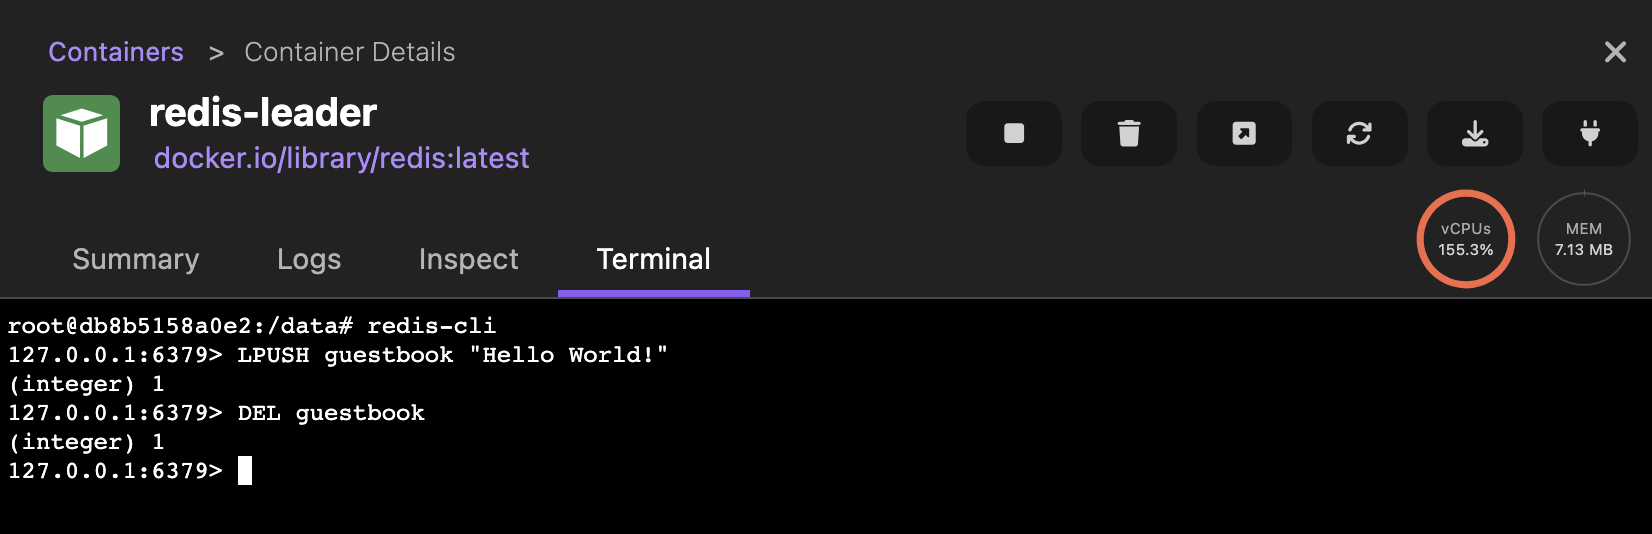
Changes will reflect in real-time on the guestbook.
-
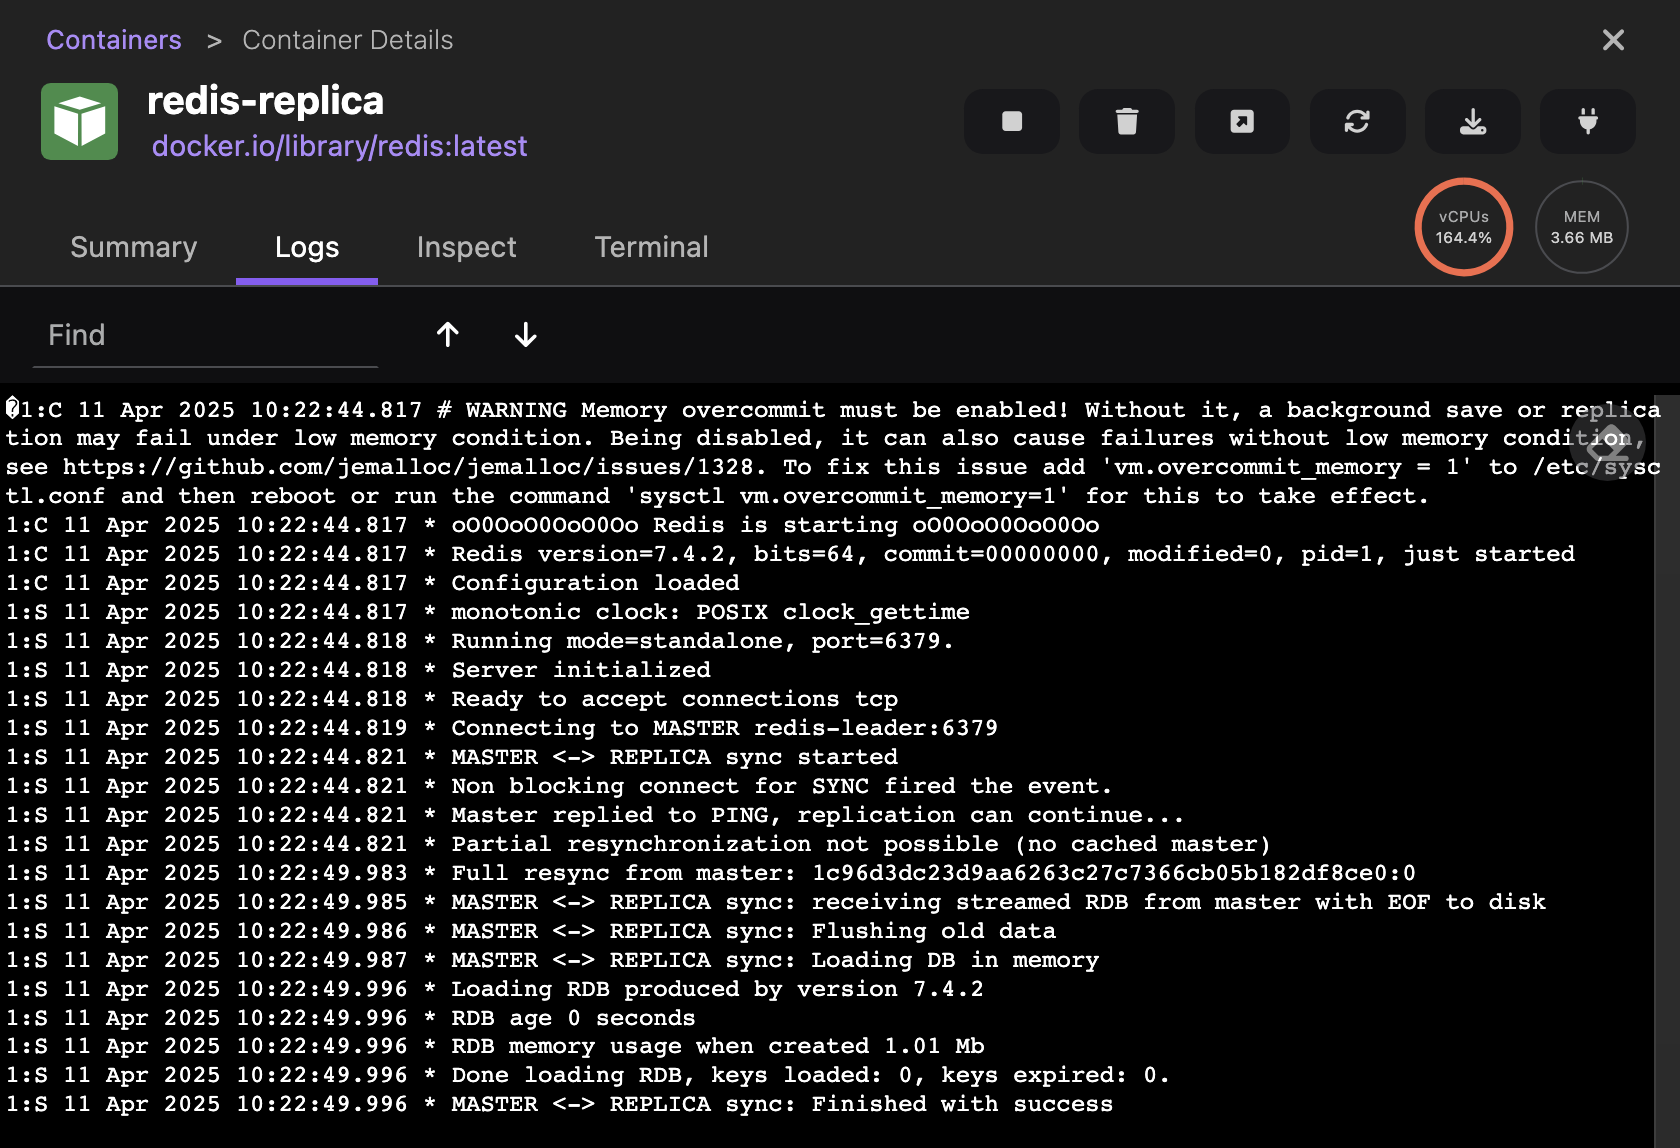
You can further modify the database and see the changes propagate to the Redis replicas. For example, view the logs of the redis-replica, and you will notice that there are periodic database synchronizations as well as reads to the database:
How does it work?
A quick overview of how the architecture works in this multi-container scenario:
- Within the Guestbook application, it looks for a database with the names
redis-leaderandredis-replicaon port6379. - Because it is a Compose application, the containers are connected on the same network. This means that a neighboring container can be network-accessible simply by its container name.
There is a set of environment variables that the web application can modify in the Compose application:
REDIS_LEADER: The default isredis-leader.REDIS_REPLICAS: The default isredis-replica. It can be comma-separated, such asredis-replica-1,redis-replica-2.REDIS_PORT: The default is6379.SERVER_PORT: The default is8080.
Scaling more replicas
Want to scale more replicas? This can be achieved by adding an environment variable to your compose.yaml and duplicating your redis-replica entry.
-
Modify your
compose.yamlas follows:services:redis-leader:container_name: redis-leaderimage: redis:latestports:- '6379'redis-replica:container_name: redis-replicaimage: redis:latestports:- '6379'command: redis-server --replicaof redis-leader 6379redis-replica-2:container_name: redis-replica-2image: redis:latestports:- '6379'command: redis-server --replicaof redis-leader 6379web:container_name: webbuild: ./webports:- '8080:8080' -
Run
podman compose up -dagain to ensure the new container has been added and the new environment variable has propagated:podman compose up -d>>>> Executing external compose provider "/usr/local/bin/docker-compose". Please refer to the documentation for details. <<<<[+] Running 4/4✔ Container redis-replica-2 Started 0.0s✔ Container redis-leader Running 0.0s✔ Container web Started 0.0s✔ Container redis-replica Running 0.0s