Running a pod using a container or docker file
This tutorial covers the following end-to-end tasks required to run a pod from a container or docker file:
- Building an image
- Creating a container
- Creating and running a pod
When creating a container, you can set the following configurations:
-
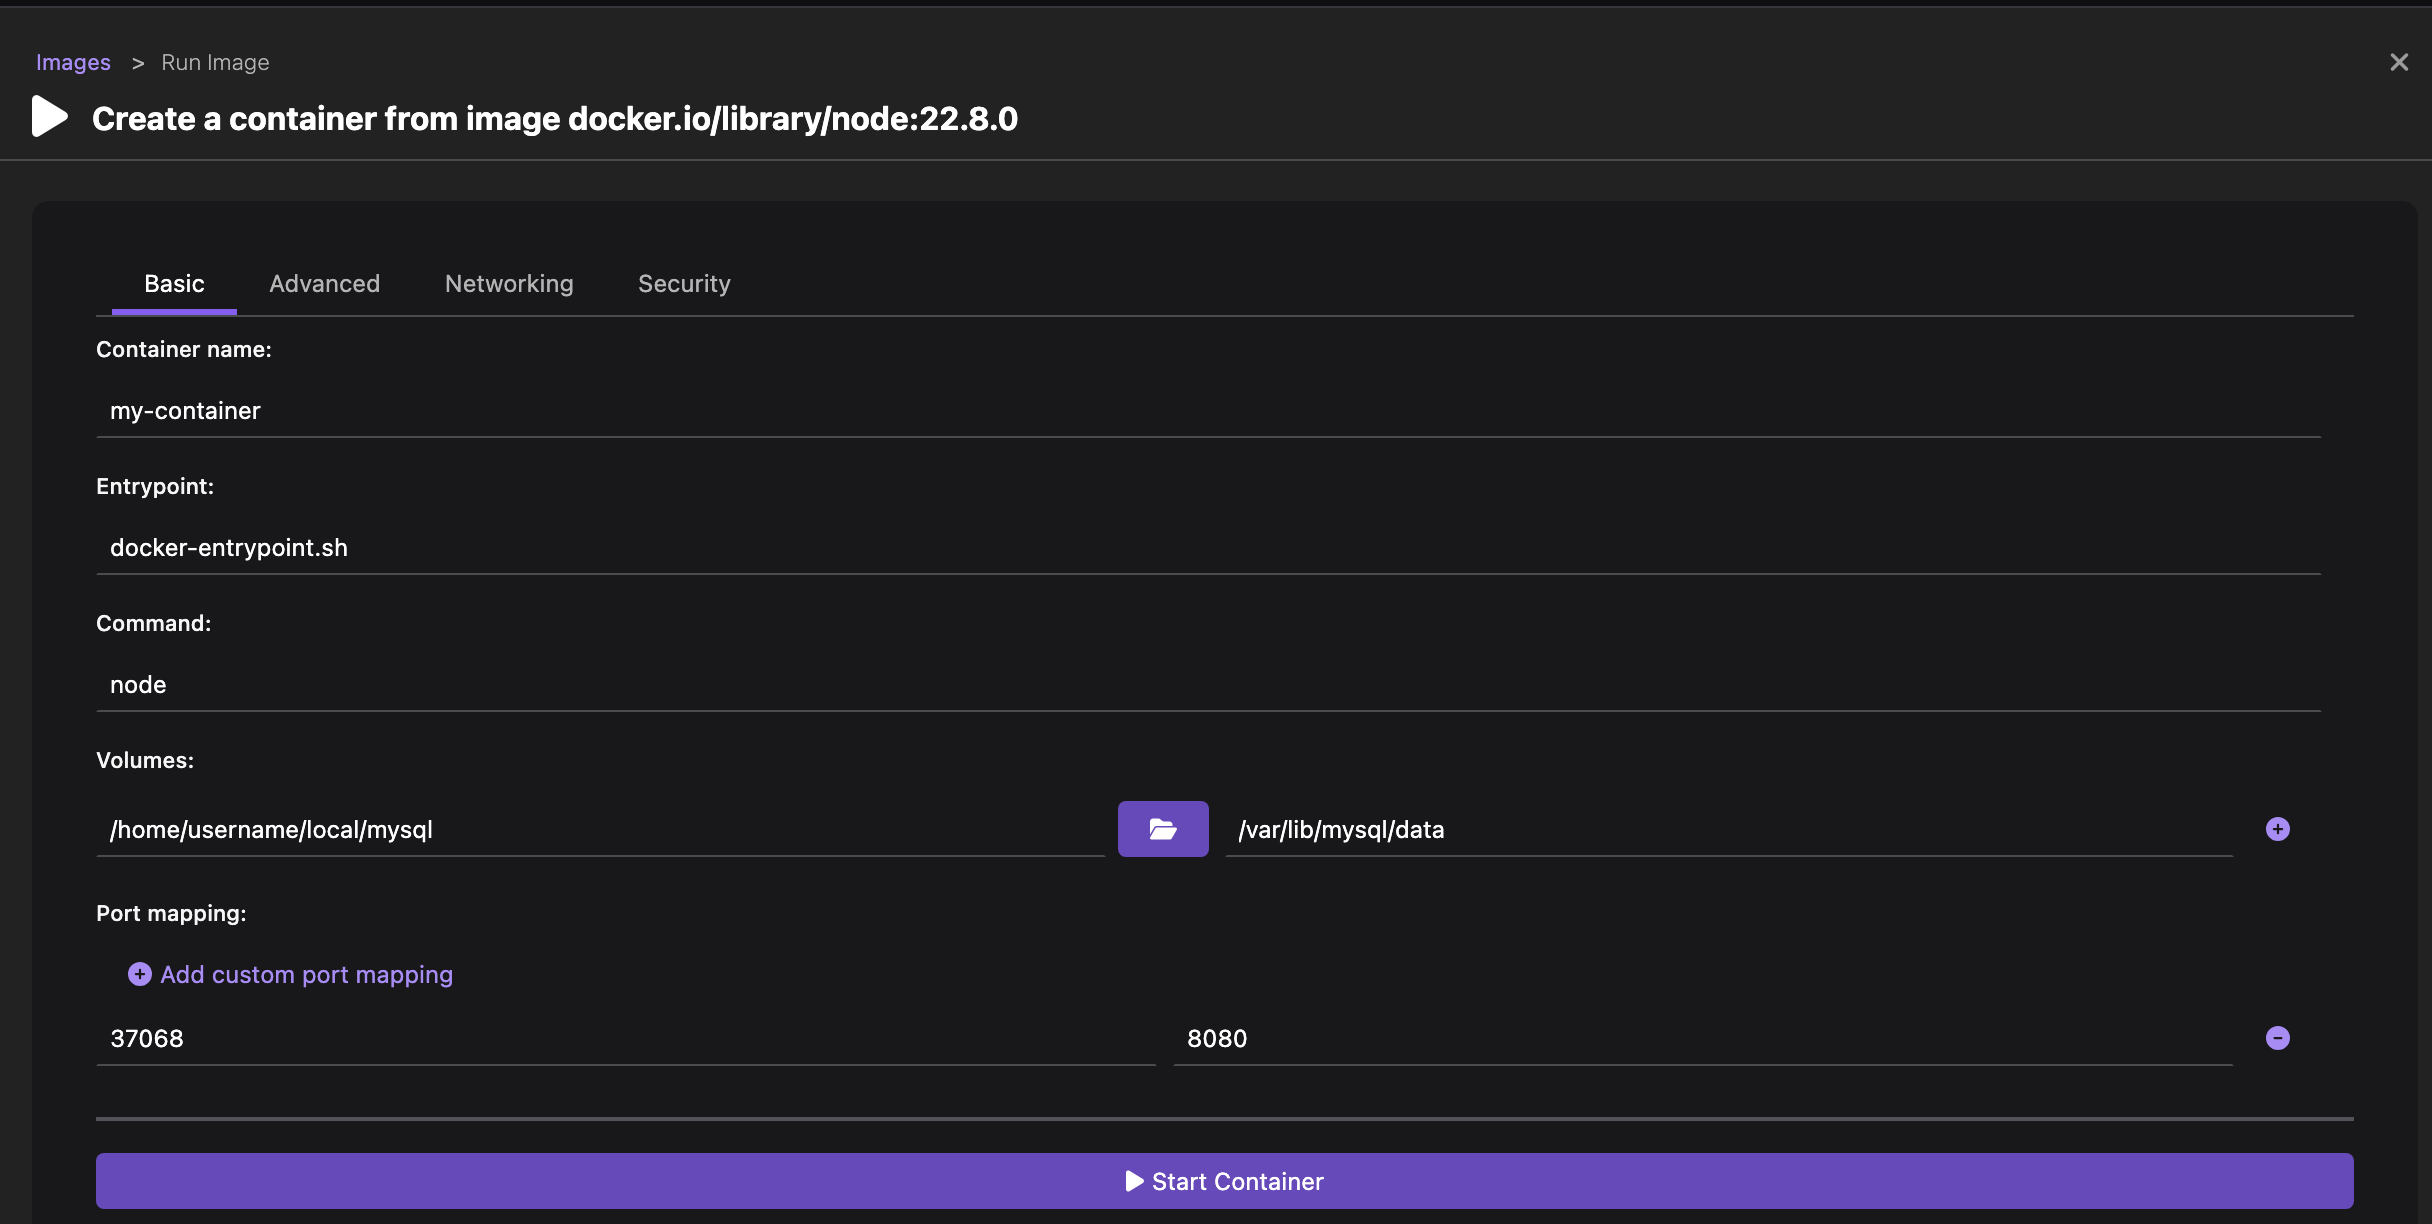
With Basic configuration, you have the option to:
-
Define volumes to configure a persistent storage location. For this, you must set up a host directory and then mount this directory to a container. You can keep your application data intact in your host directory even after your container is stopped or failed.
-
Define port mapping to create an externally accessible container. For this, you must map a host port with the container port. After this mapping, any requests to port on the host are forwarded to port in the container.
-
Select a file containing environment variables for your container. This file contains data in the
key=valueformat.
-
-
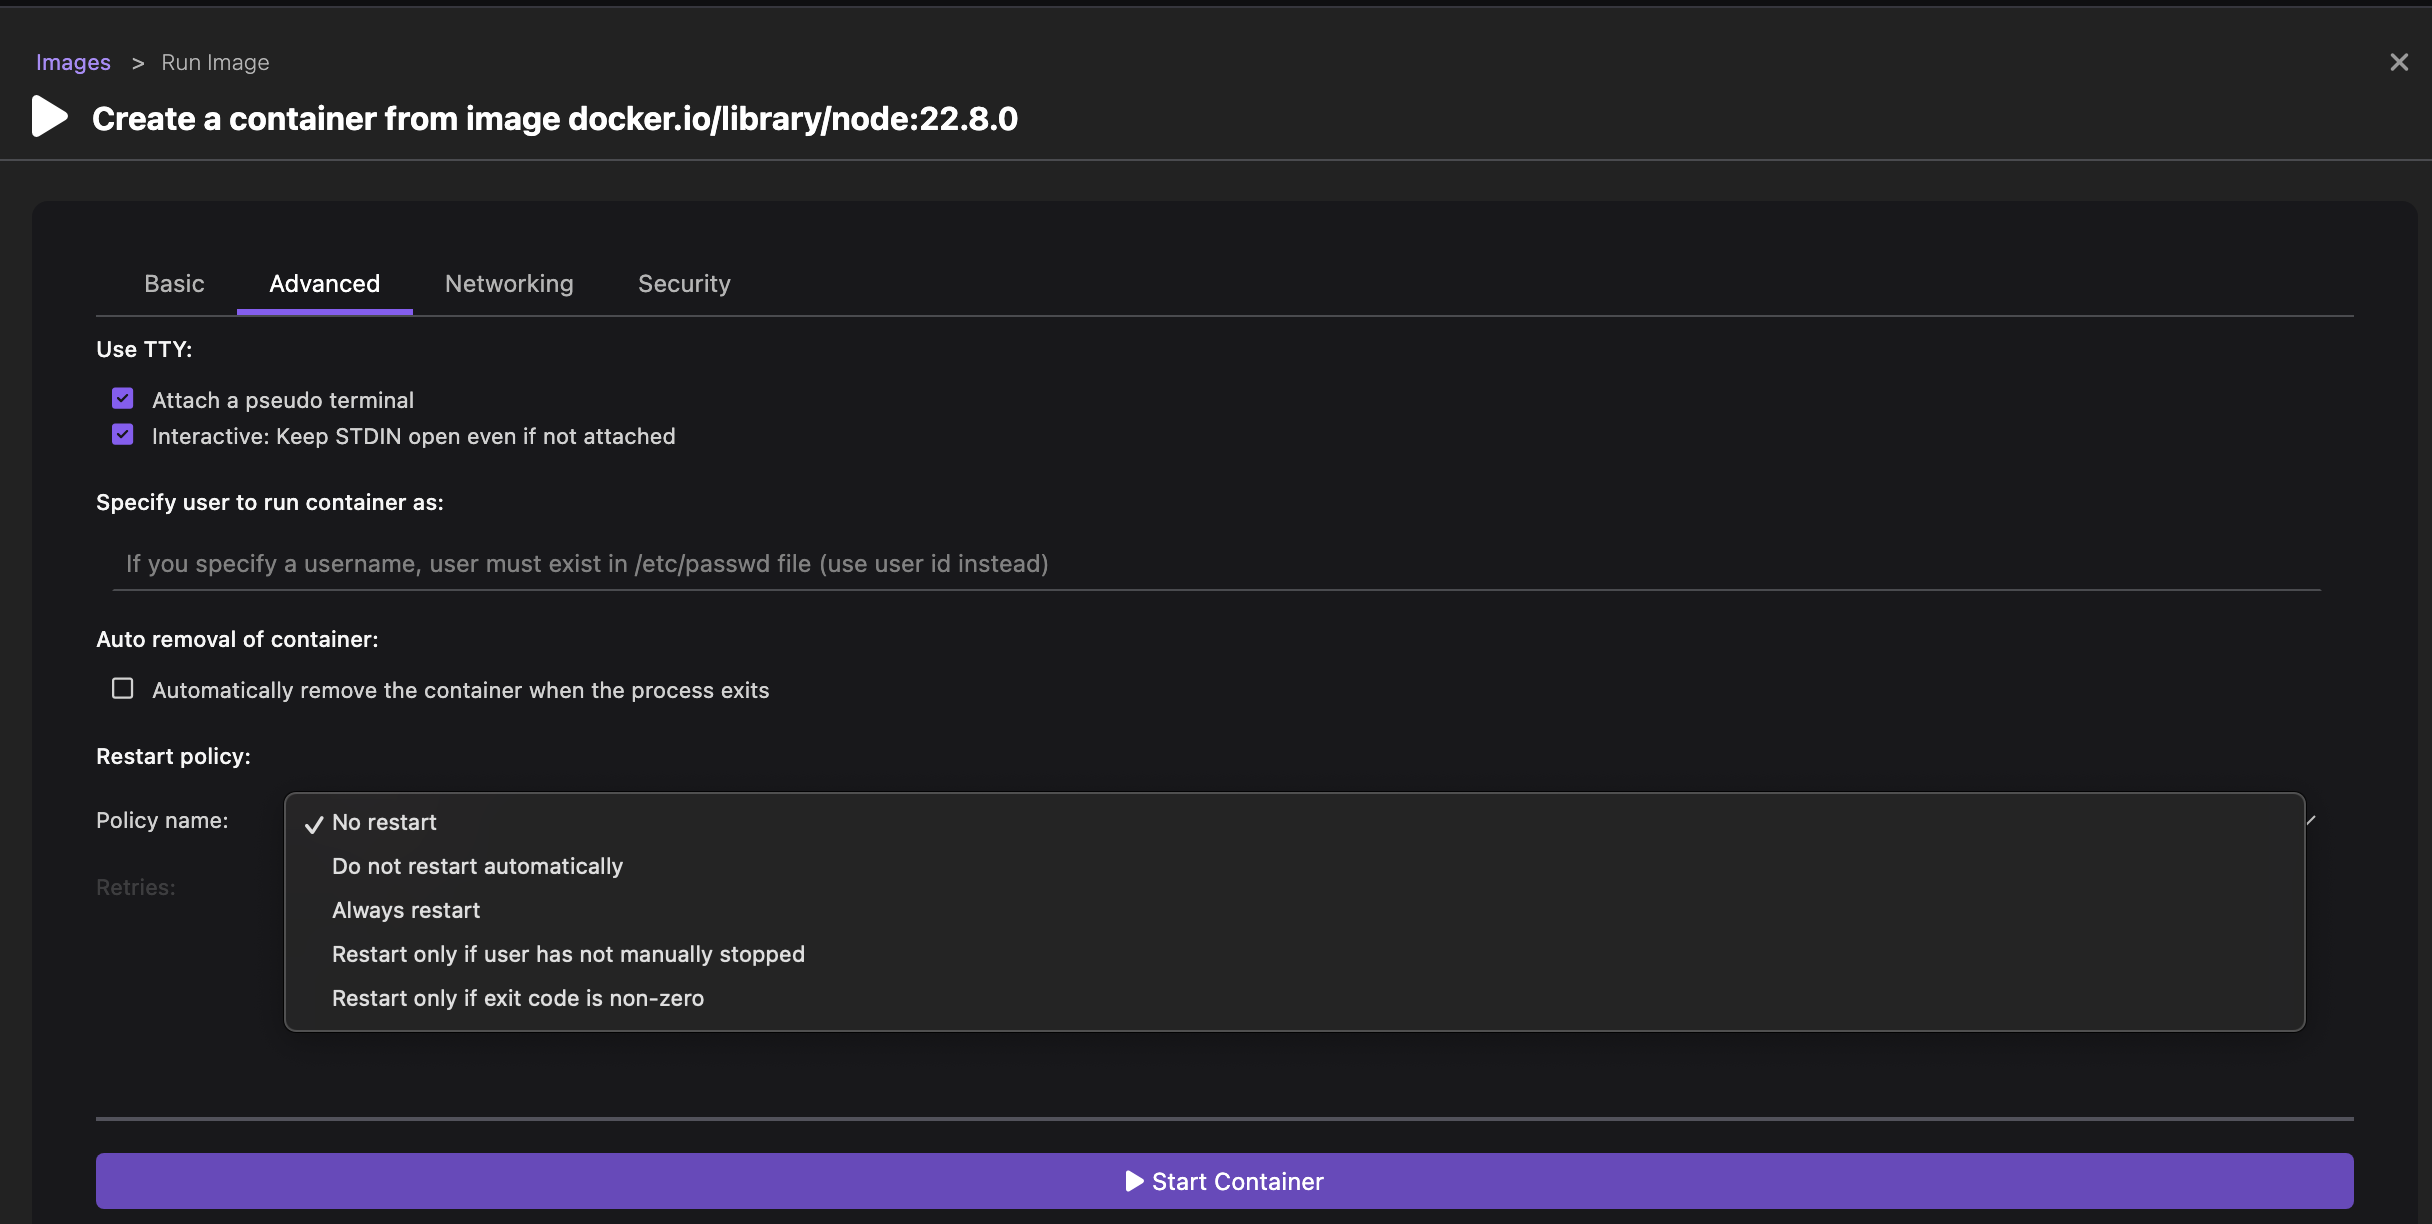
With Advanced configuration, you have the option of:
- Automatic removal of container
- Specifying ID of the user who can run a container
- Selecting a restart policy that defines whether a container should restart on exit
-
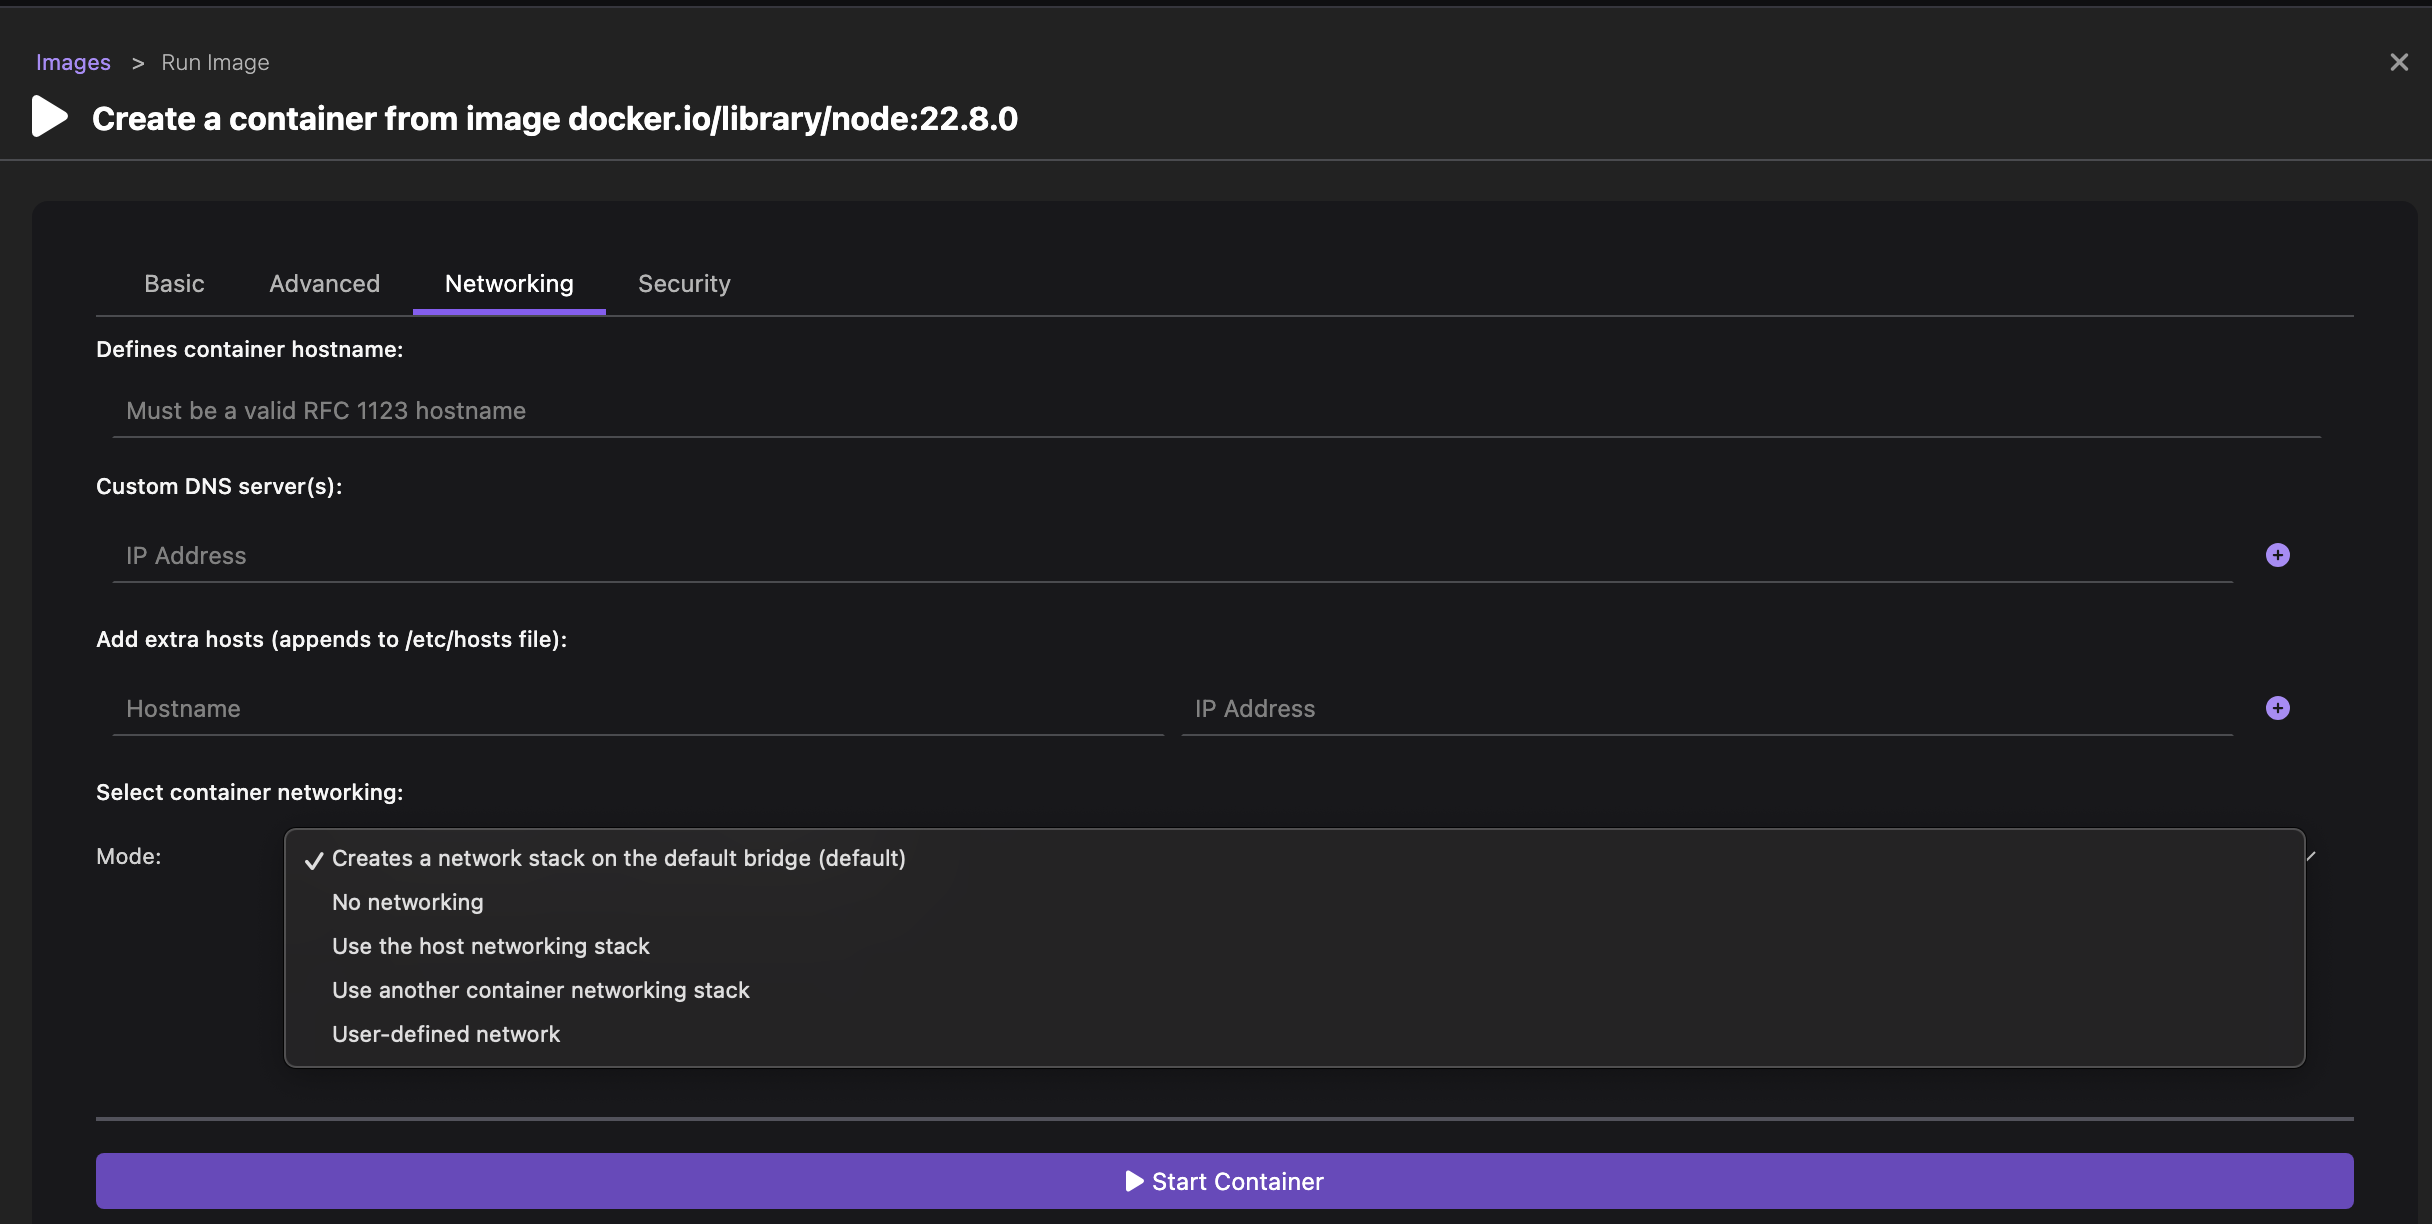
With Networking configuration, you have the option of defining:
- A container host name
- A custom DNS server
- Additional hosts
- The networking mode for a container
-
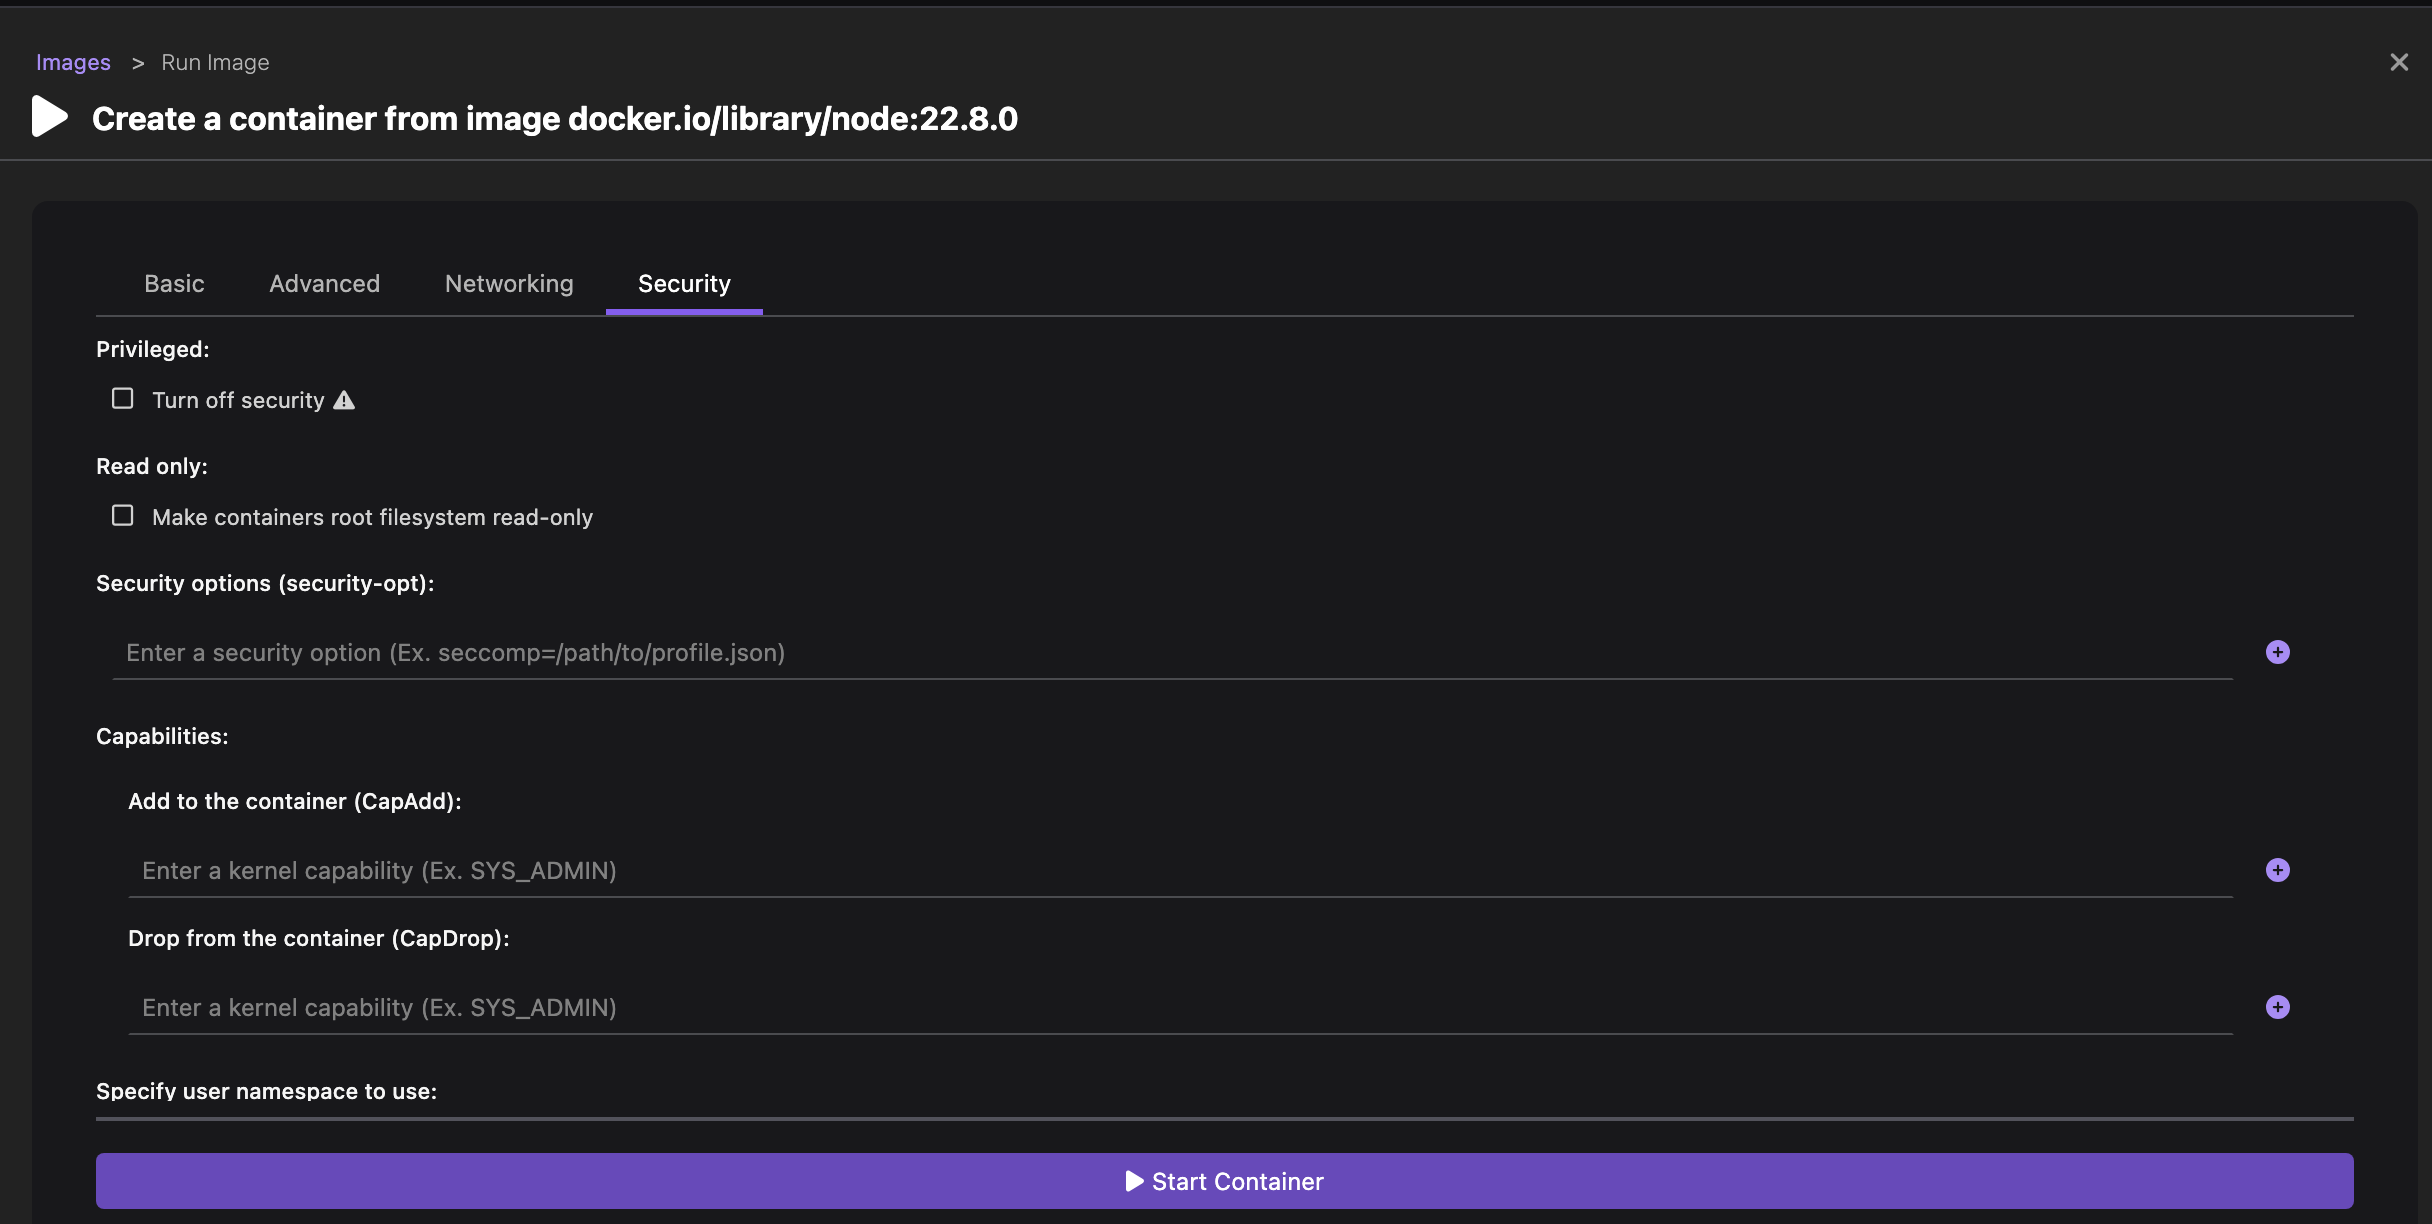
With Security configuration, you have the option to:
- Secure you container resources
- Make container root filesystem read-only
- Add or drop security capabilities
- Specify a namespace to restrict the usage of containers to a group of users with defined privileges and ownership
Before you begin
Make sure you have:
- Installed Podman Desktop.
- A running Podman machine.
- A developer role.
- Created a docker file using the following code, if you do not have one on your machine:
# syntax=docker/dockerfile:1
ARG NODE_VERSION
ARG ALPINE_VERSION
FROM node:${NODE_VERSION}-alpine${ALPINE_VERSION} AS base
WORKDIR /src
FROM base AS build
COPY package*.json ./
RUN npm ci
RUN npm run build
FROM base AS production
COPY package*.json ./
RUN npm ci --omit=dev && npm cache clean --force
COPY /src/dist/ .
CMD ["node", "app.js"]
Building an image
-
Click Containers in the left navigation pane.
-
Click Create.
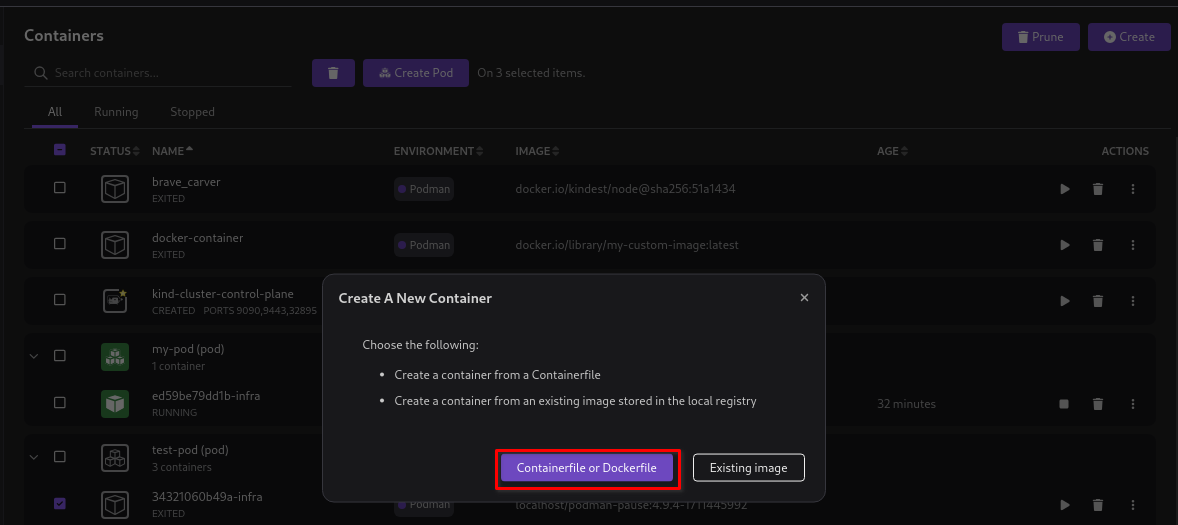
-
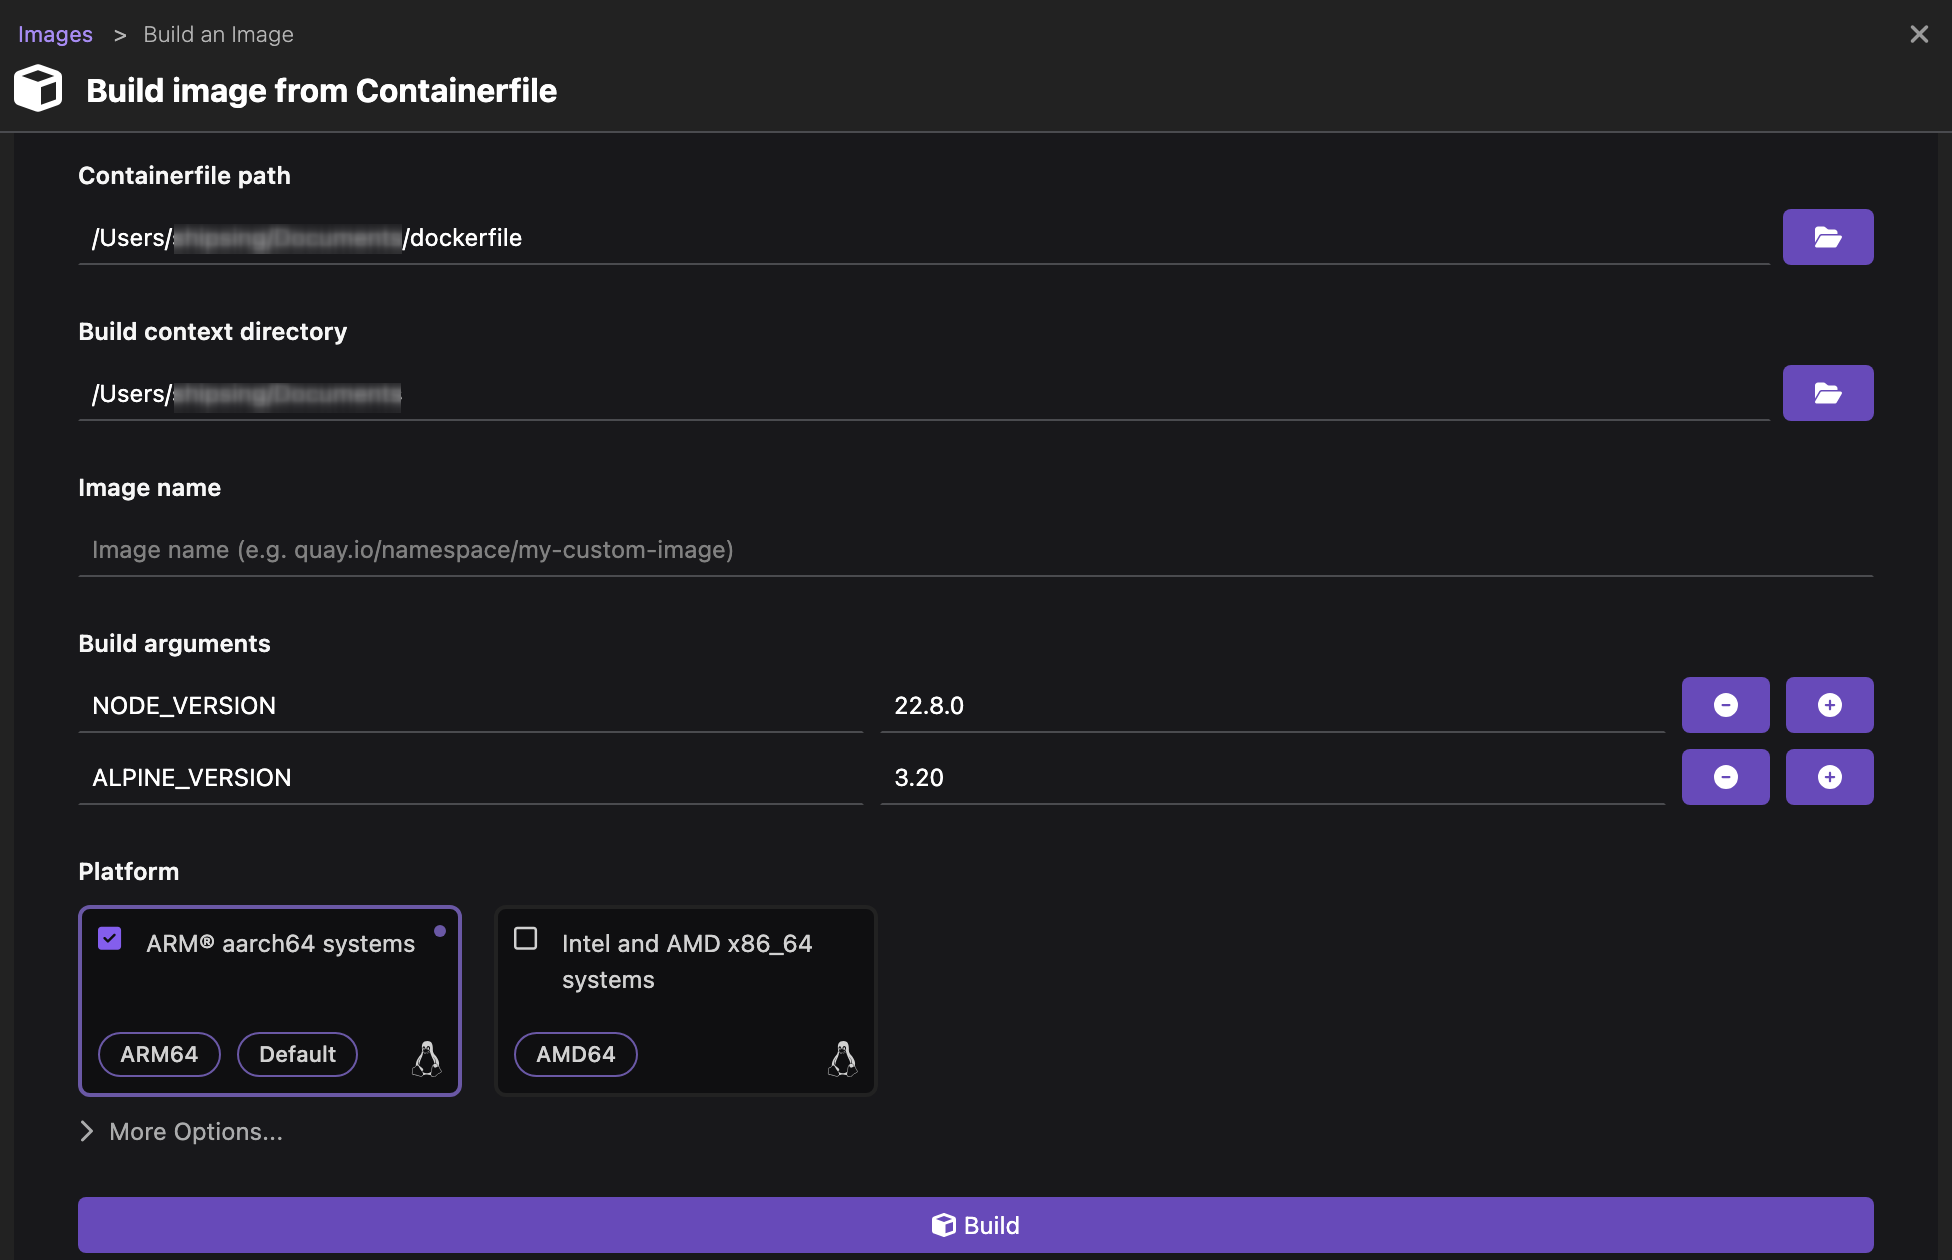
On the Build image from Containerfile page, provide the following details:
- Containerfile path: Select the path where the container or docker file is placed.
- Build context directory: The field automatically picks up the context directory based on the file path.
- Image name: Enter the image name, if required.
- Build arguments: Pass the required arguments to build the image. This example uses arguments, such as
NODE_VERSIONandALPINE_VERSION - Platform: Change the platform on which you want to build the image. The default platform is Intel and AMD x86_64 systems.
-
Click Build. The image starts to build.
-
Click Done once the image is built successfully.
-
View the newly created image on the Images page.
Creating a container
-
Click Images in the left navigation pane.
-
Click the Run Image icon corresponding to the image you want to run. The Create a container from image page opens.

-
Optional: Configure the basic details of the container:
-
Optional: Select the Advanced tab to configure advanced details of the container:
-
Optional: Select the Networking tab to configure the networking details of the container:
-
Optional: Select the Security tab to configure the security details of the container:
-
Click Start Container.
-
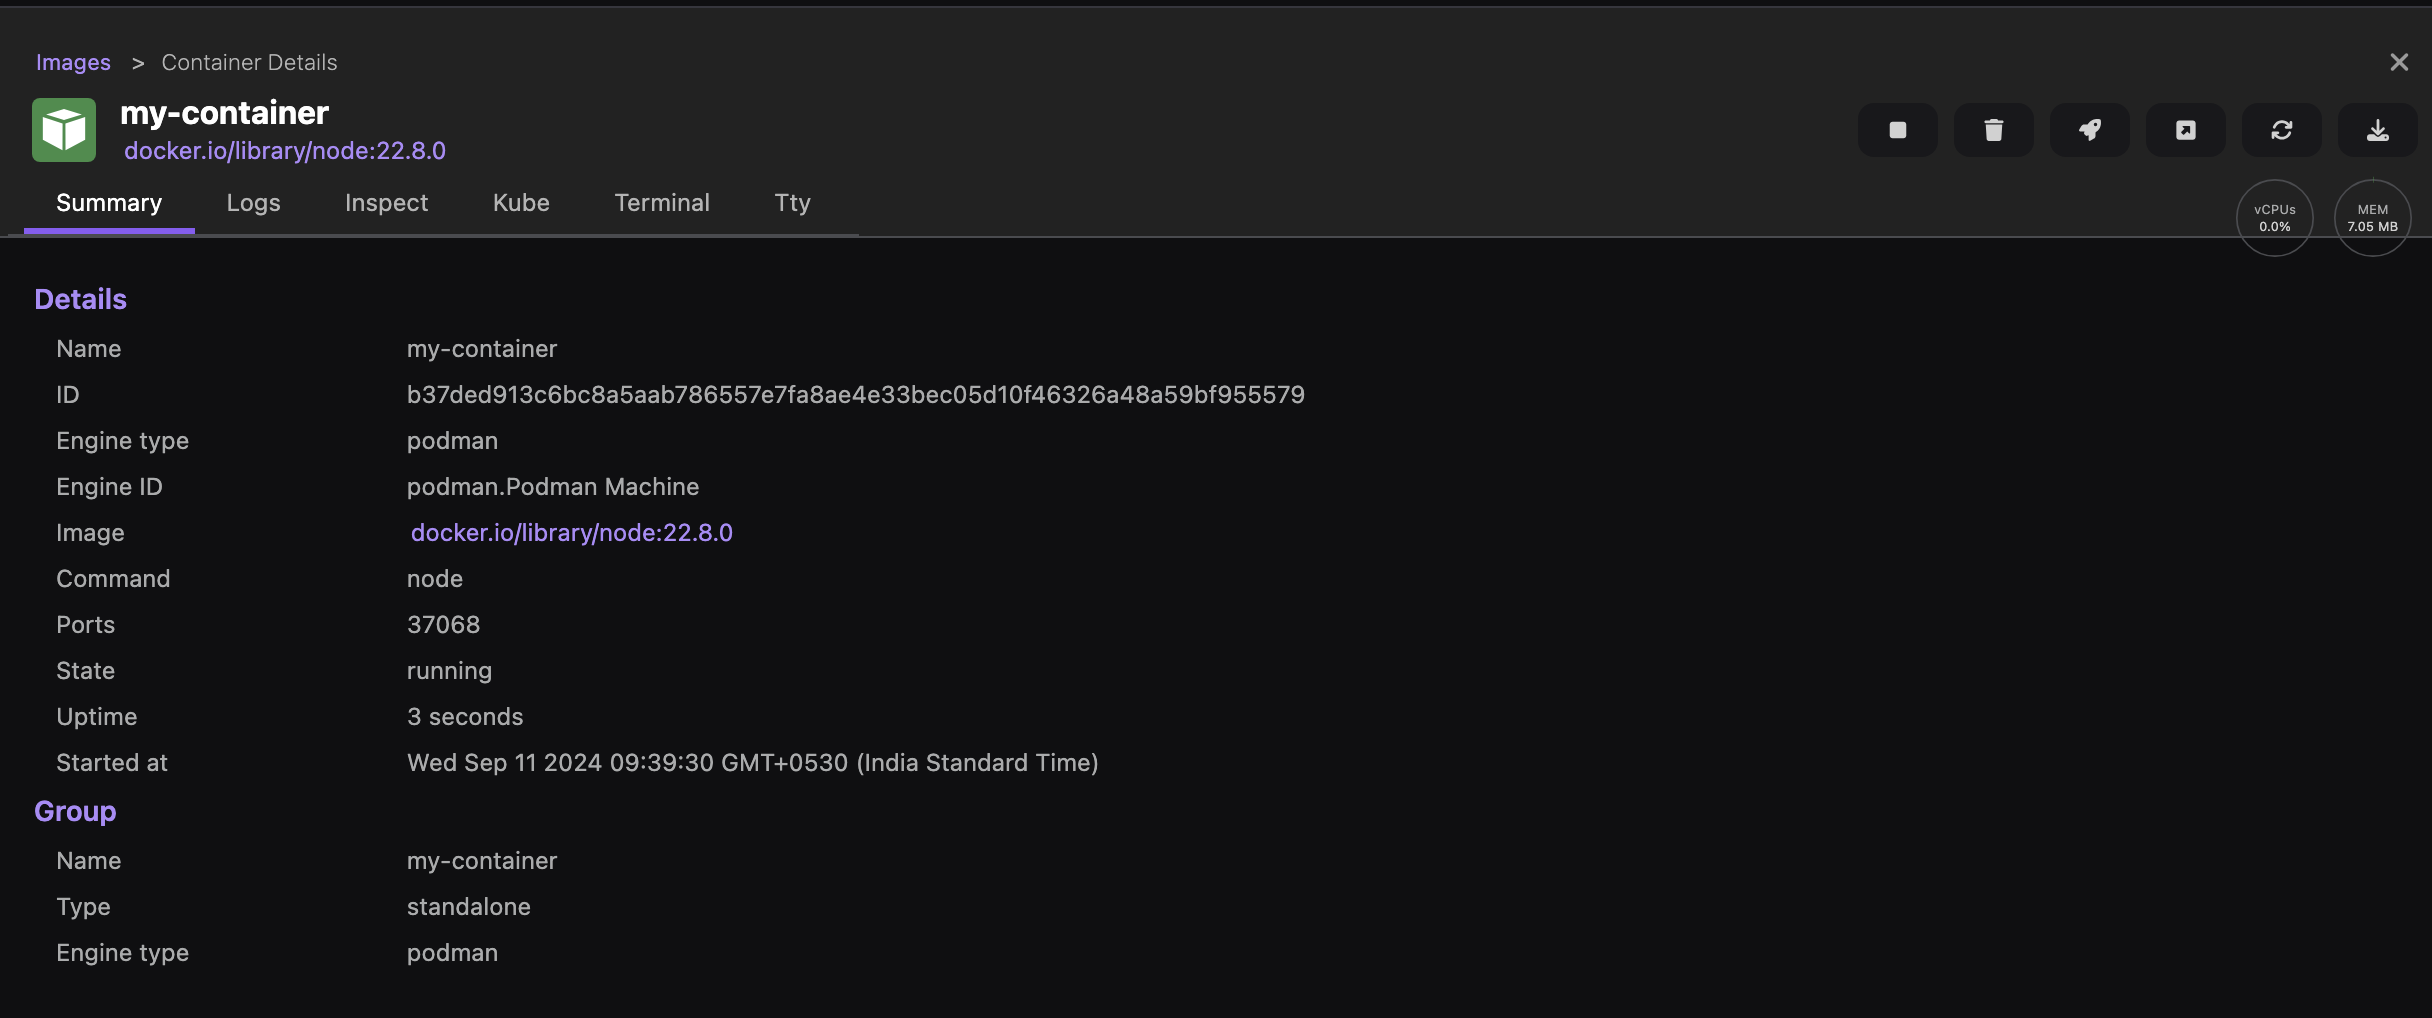
Check the Container Details page for information, such as summary, logs, YAML code, and to access the terminal.
-
Click the close icon on the right hand side of the page.
-
View the newly created container on the Containers page.
Creating and running a pod
-
Go to Containers from the left navigation pane.
-
Select the containers from the container list.

-
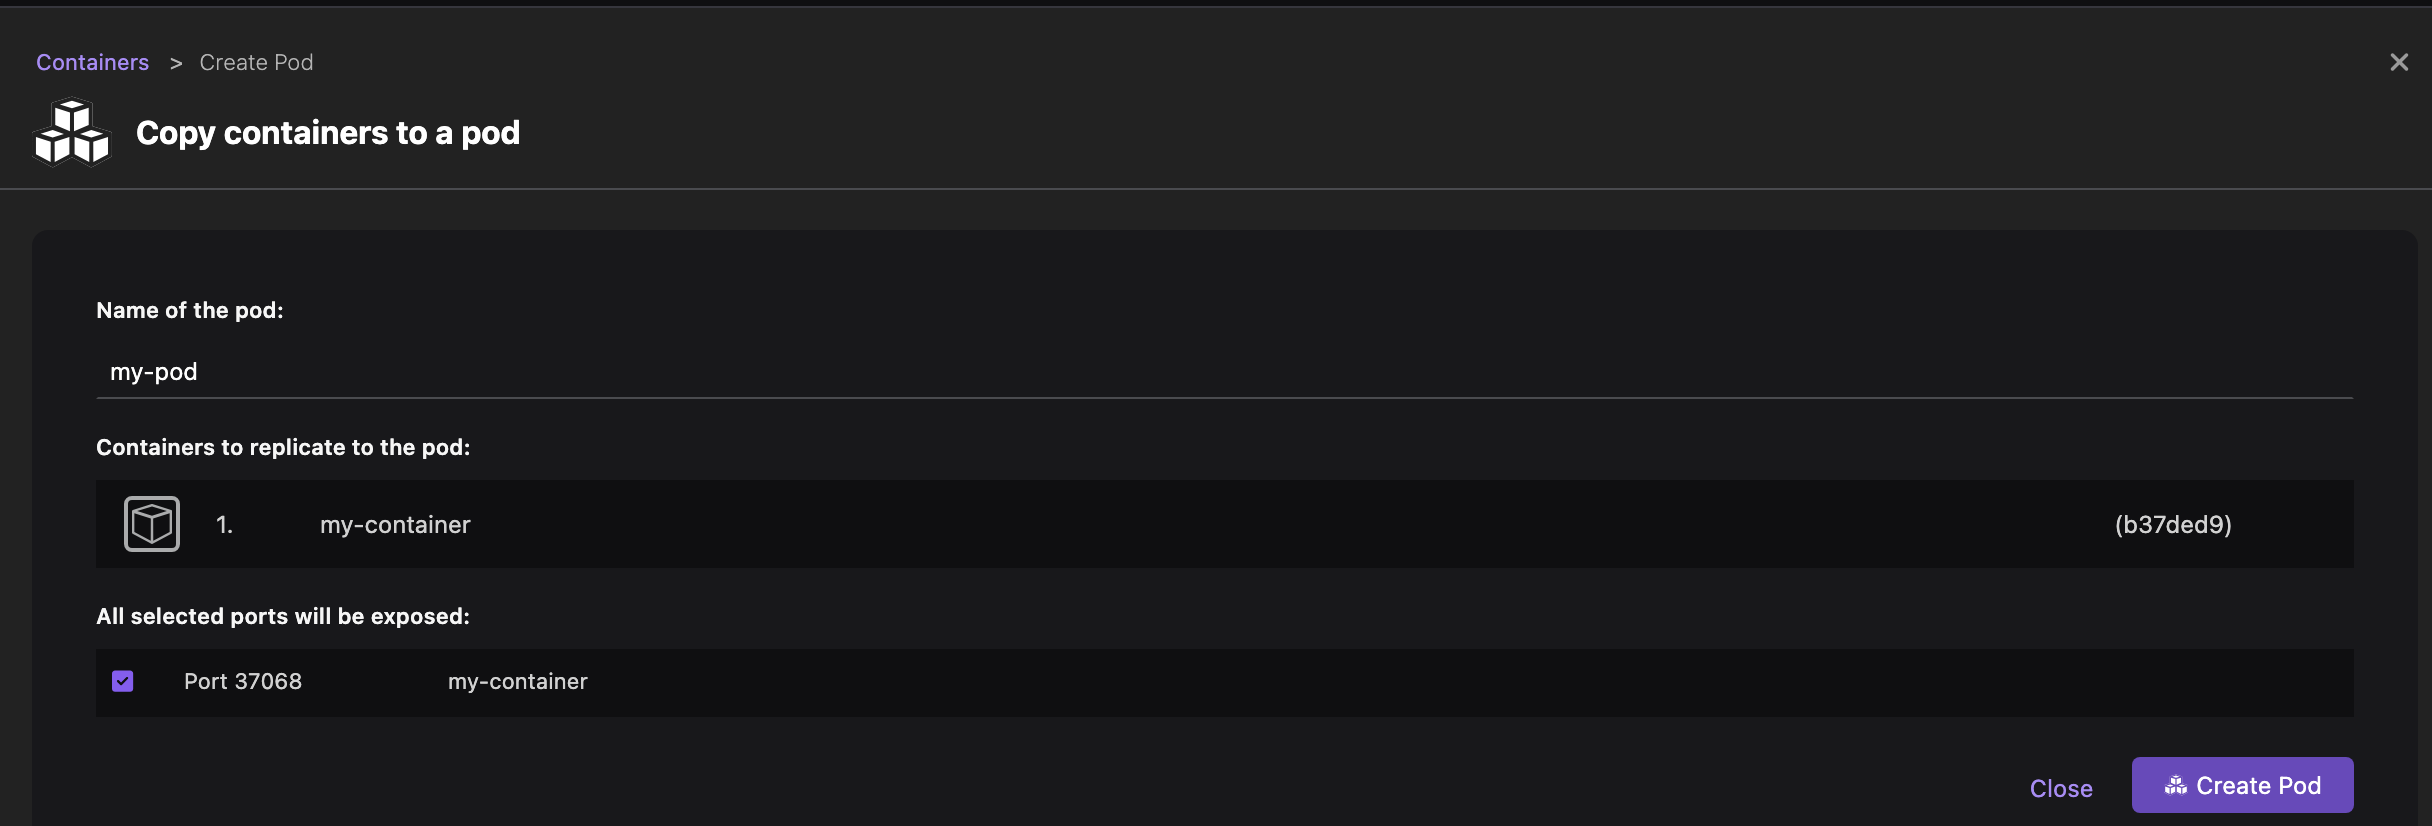
Click Create Pod. The Copy containers to a pod page opens.
-
Change the name of the pod if required and click Create Pod.
-
View the newly created pod on the Pods page.
-
Click the Start Pod icon corresponding to the pod you created.
-
Check that the pod is running on the same page.
