Running a Kubernetes cluster
This tutorial covers the following end-to-end tasks required to run a Kubernetes cluster with the help of an extension:
- Installing the extension
- Installing CLI on your local machine
- Applicable on Windows: Configure Podman on WSL
- Creating and running a Kubernetes cluster
You can use extensions, such as Kind and Minikube to start a local Kubernetes development cluster. When you have a running Kubernetes cluster, you can easily develop and test Kubernetes applications before deploying them to production. This tutorial focuses on creating a Kubernetes cluster using the Minikube extension.
Before you begin
Make sure you have:
- Installed Podman Desktop.
- A running Podman machine.
- A developer role.
Installing the extension
-
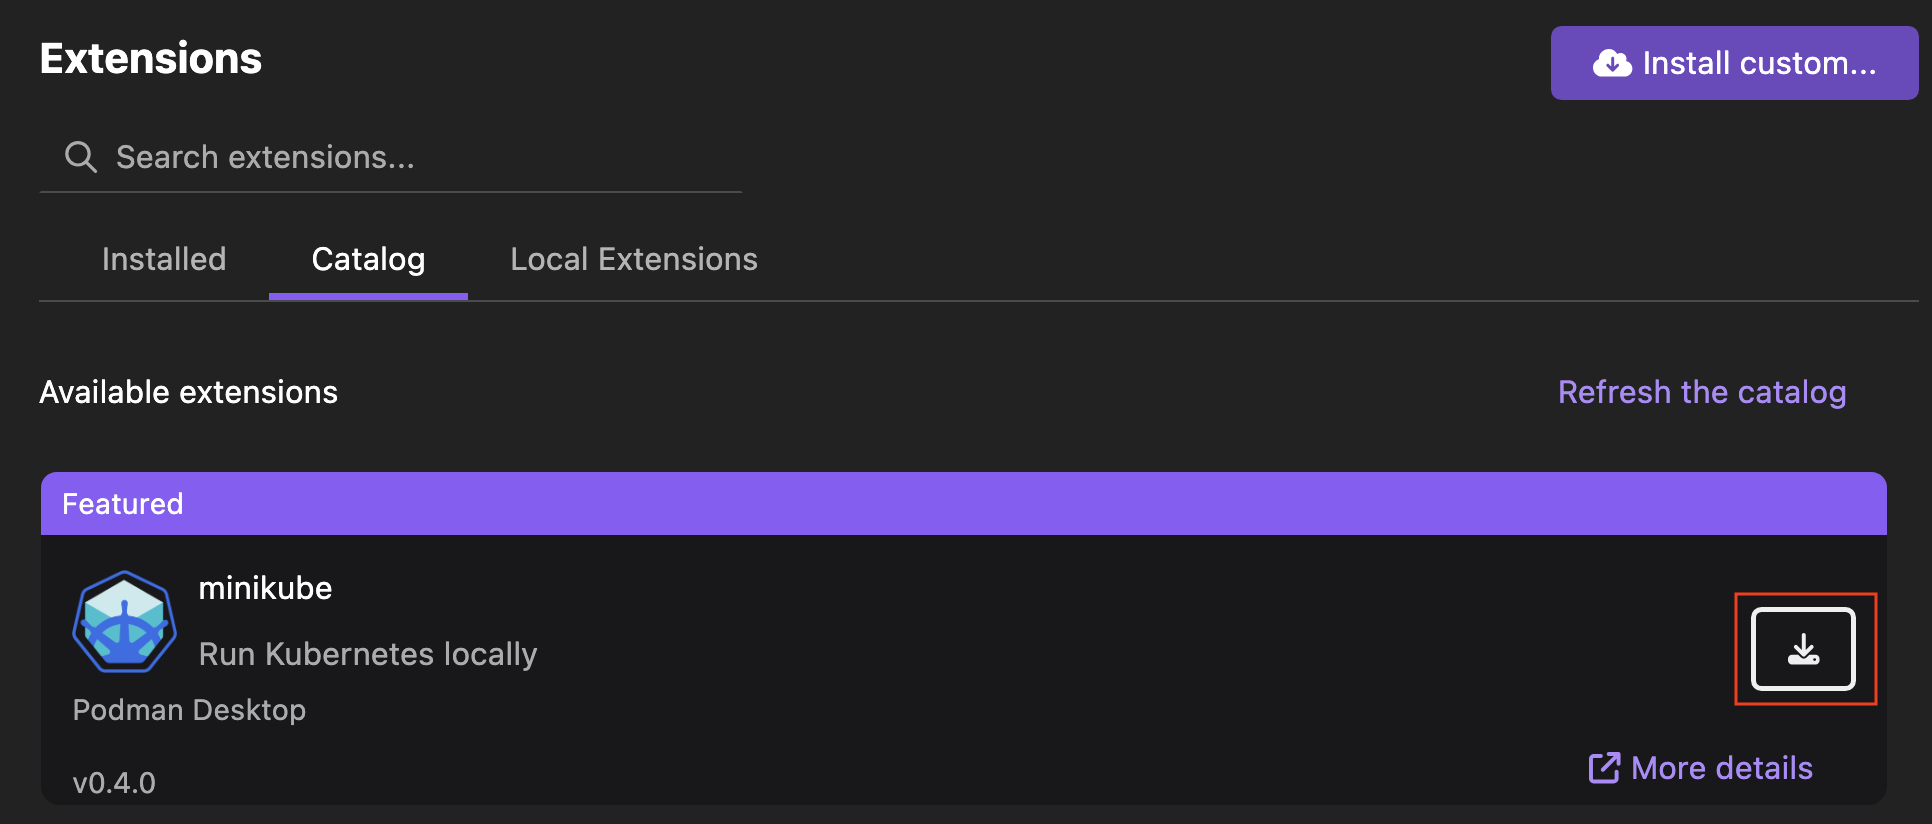
Go to Extensions > Catalog.
-
Find the Minikube extension using the search box.
-
Click the Install icon.
-
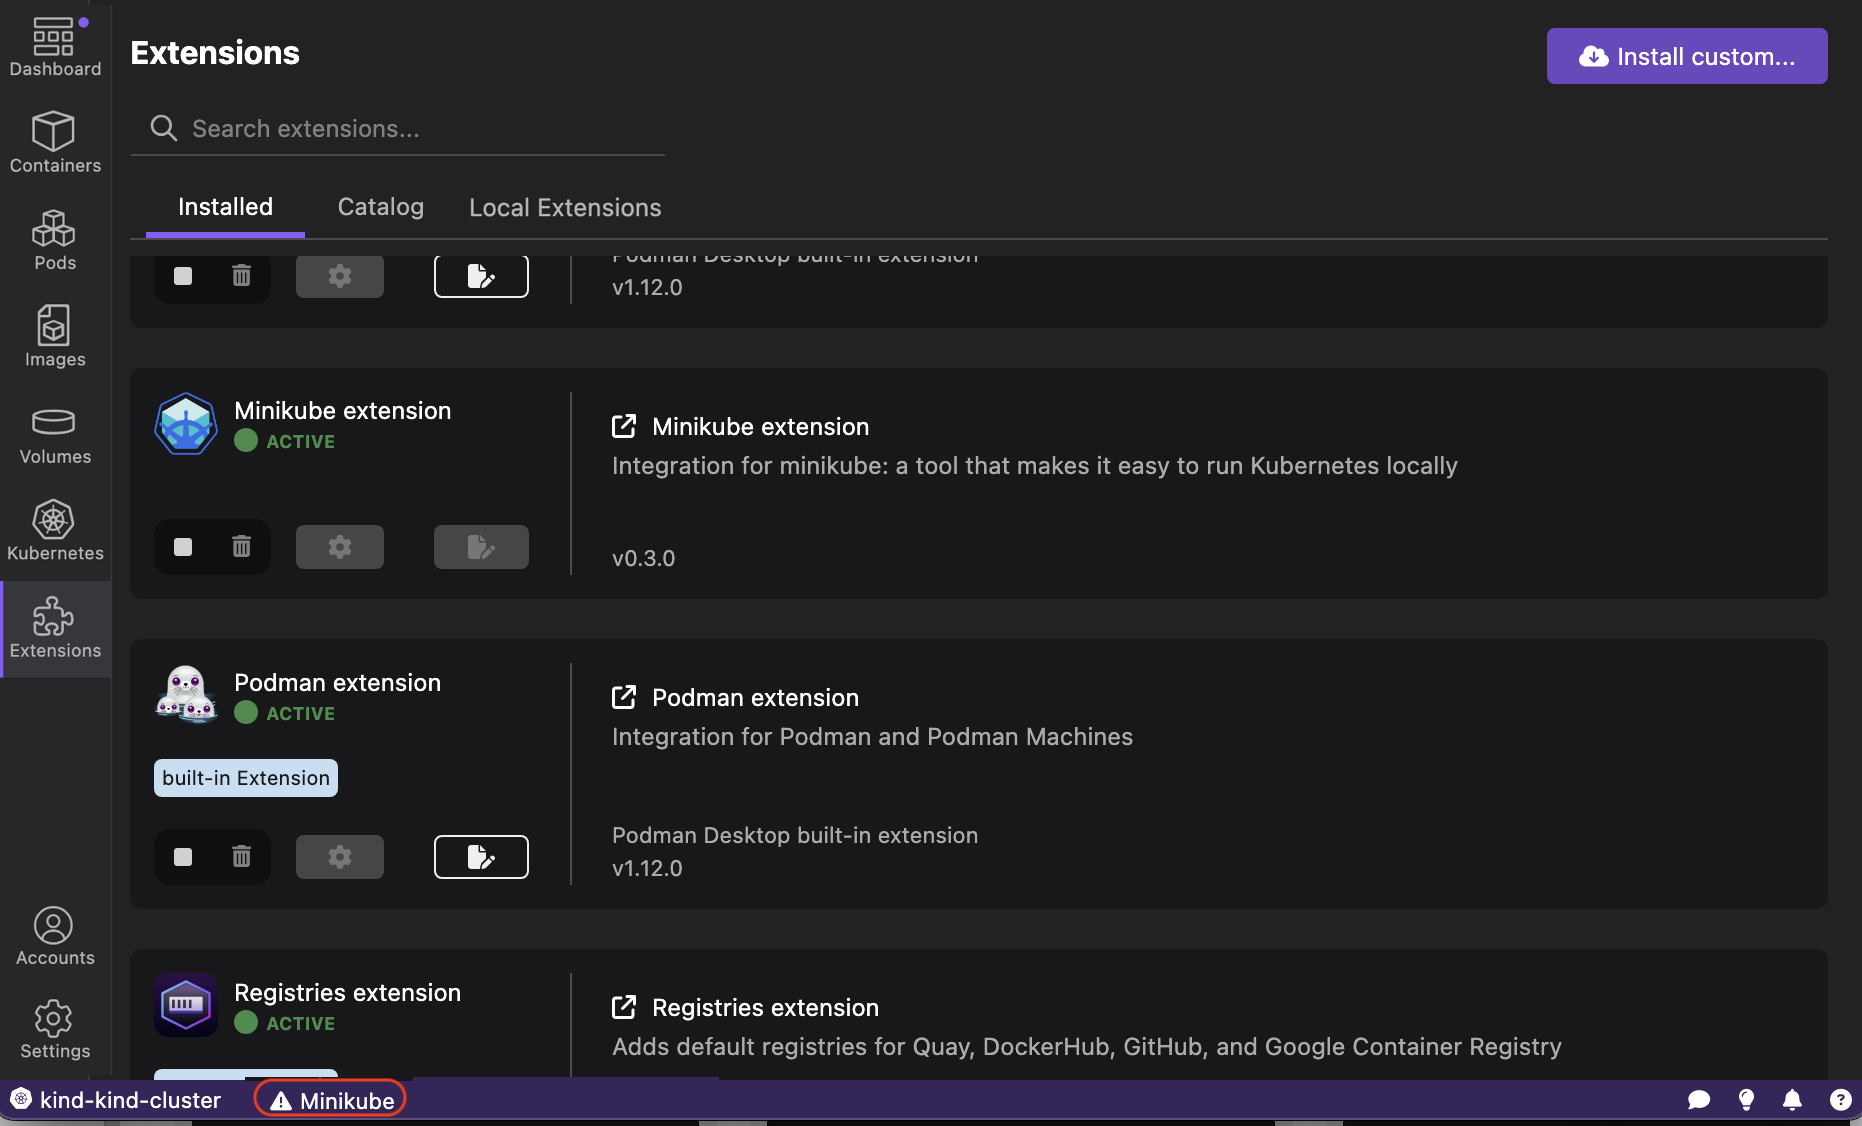
Select the Installed tab to check the Minikube extension is active.

Installing CLI on your local machine
-
Click the Minikube not found on your system icon in the status bar.
-
Click Yes to download the Minikube binary.
-
Click Yes to install the binary system-wide for accessibility on the command line.
-
Enter your system password, if prompted. A notification of successful operation opens.

-
Click OK.
-
Check the Minikube not found on your system icon disappears from the status bar.
Applicable on Windows: Configure Podman on WSL
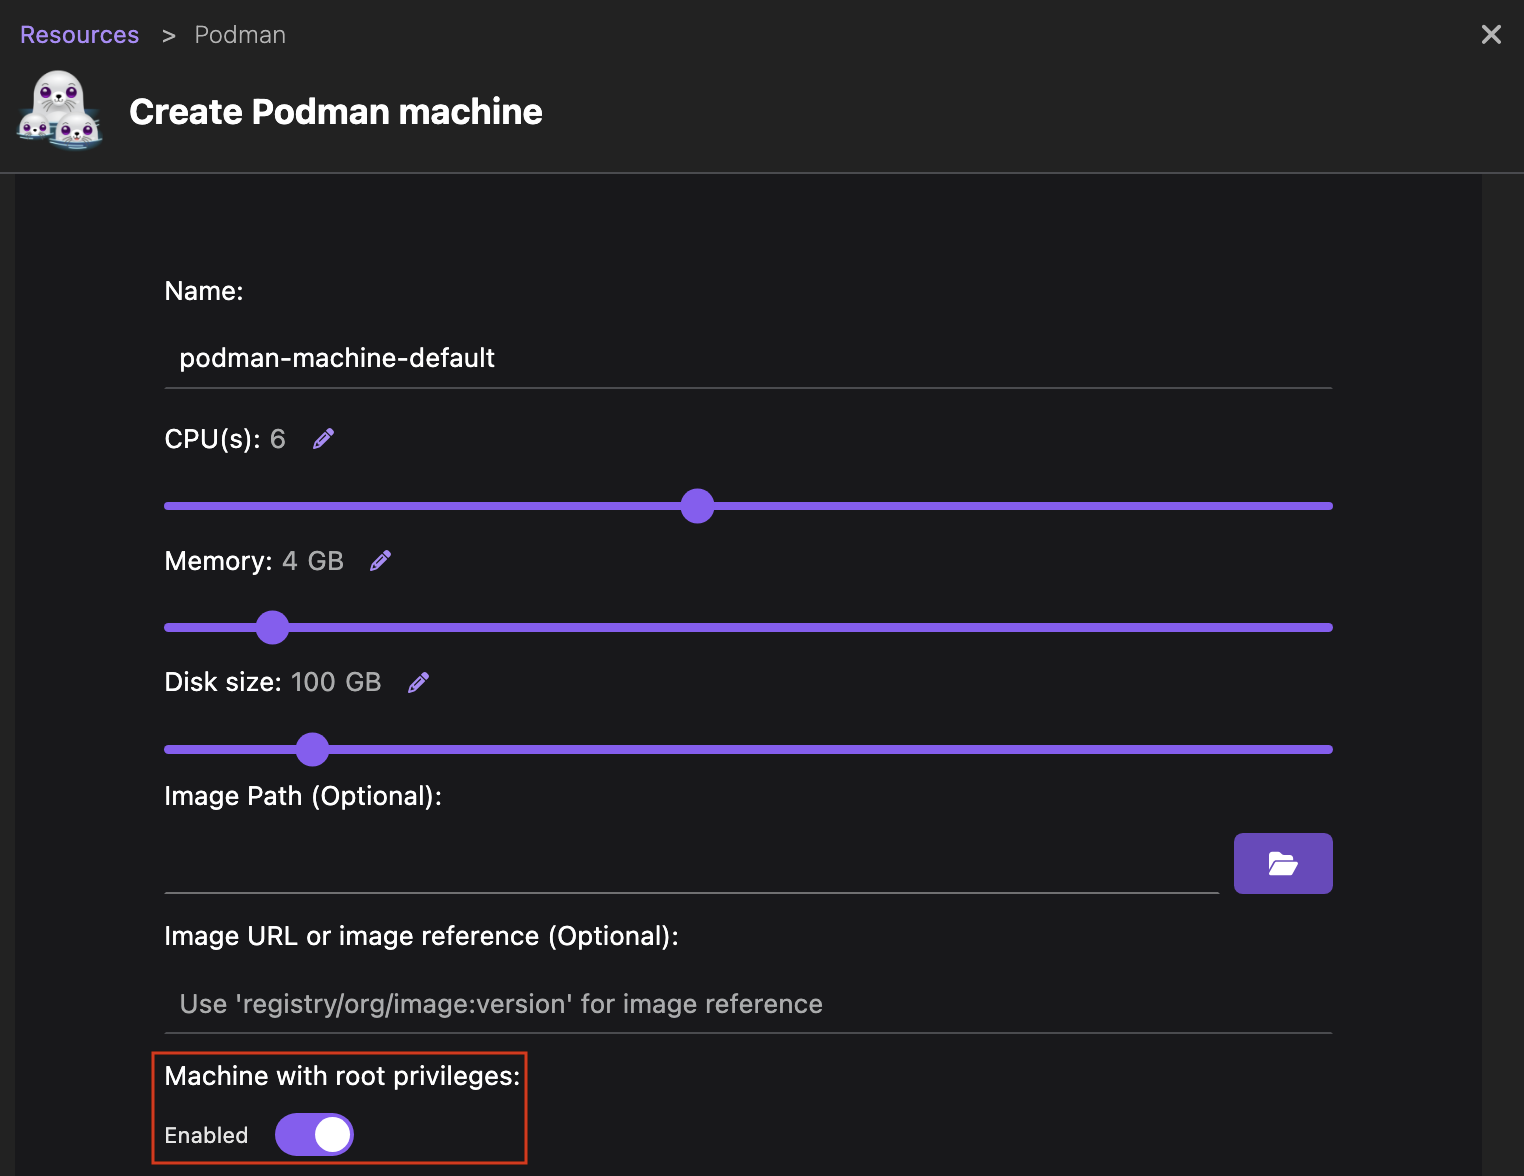
To use the Minikube tool on Windows, you must have a Podman machine running in rootful mode.
-
By default, the Podman Desktop Settings enable you to create a Podman machine that runs in rootful mode.
Creating and running a Kubernetes cluster
-
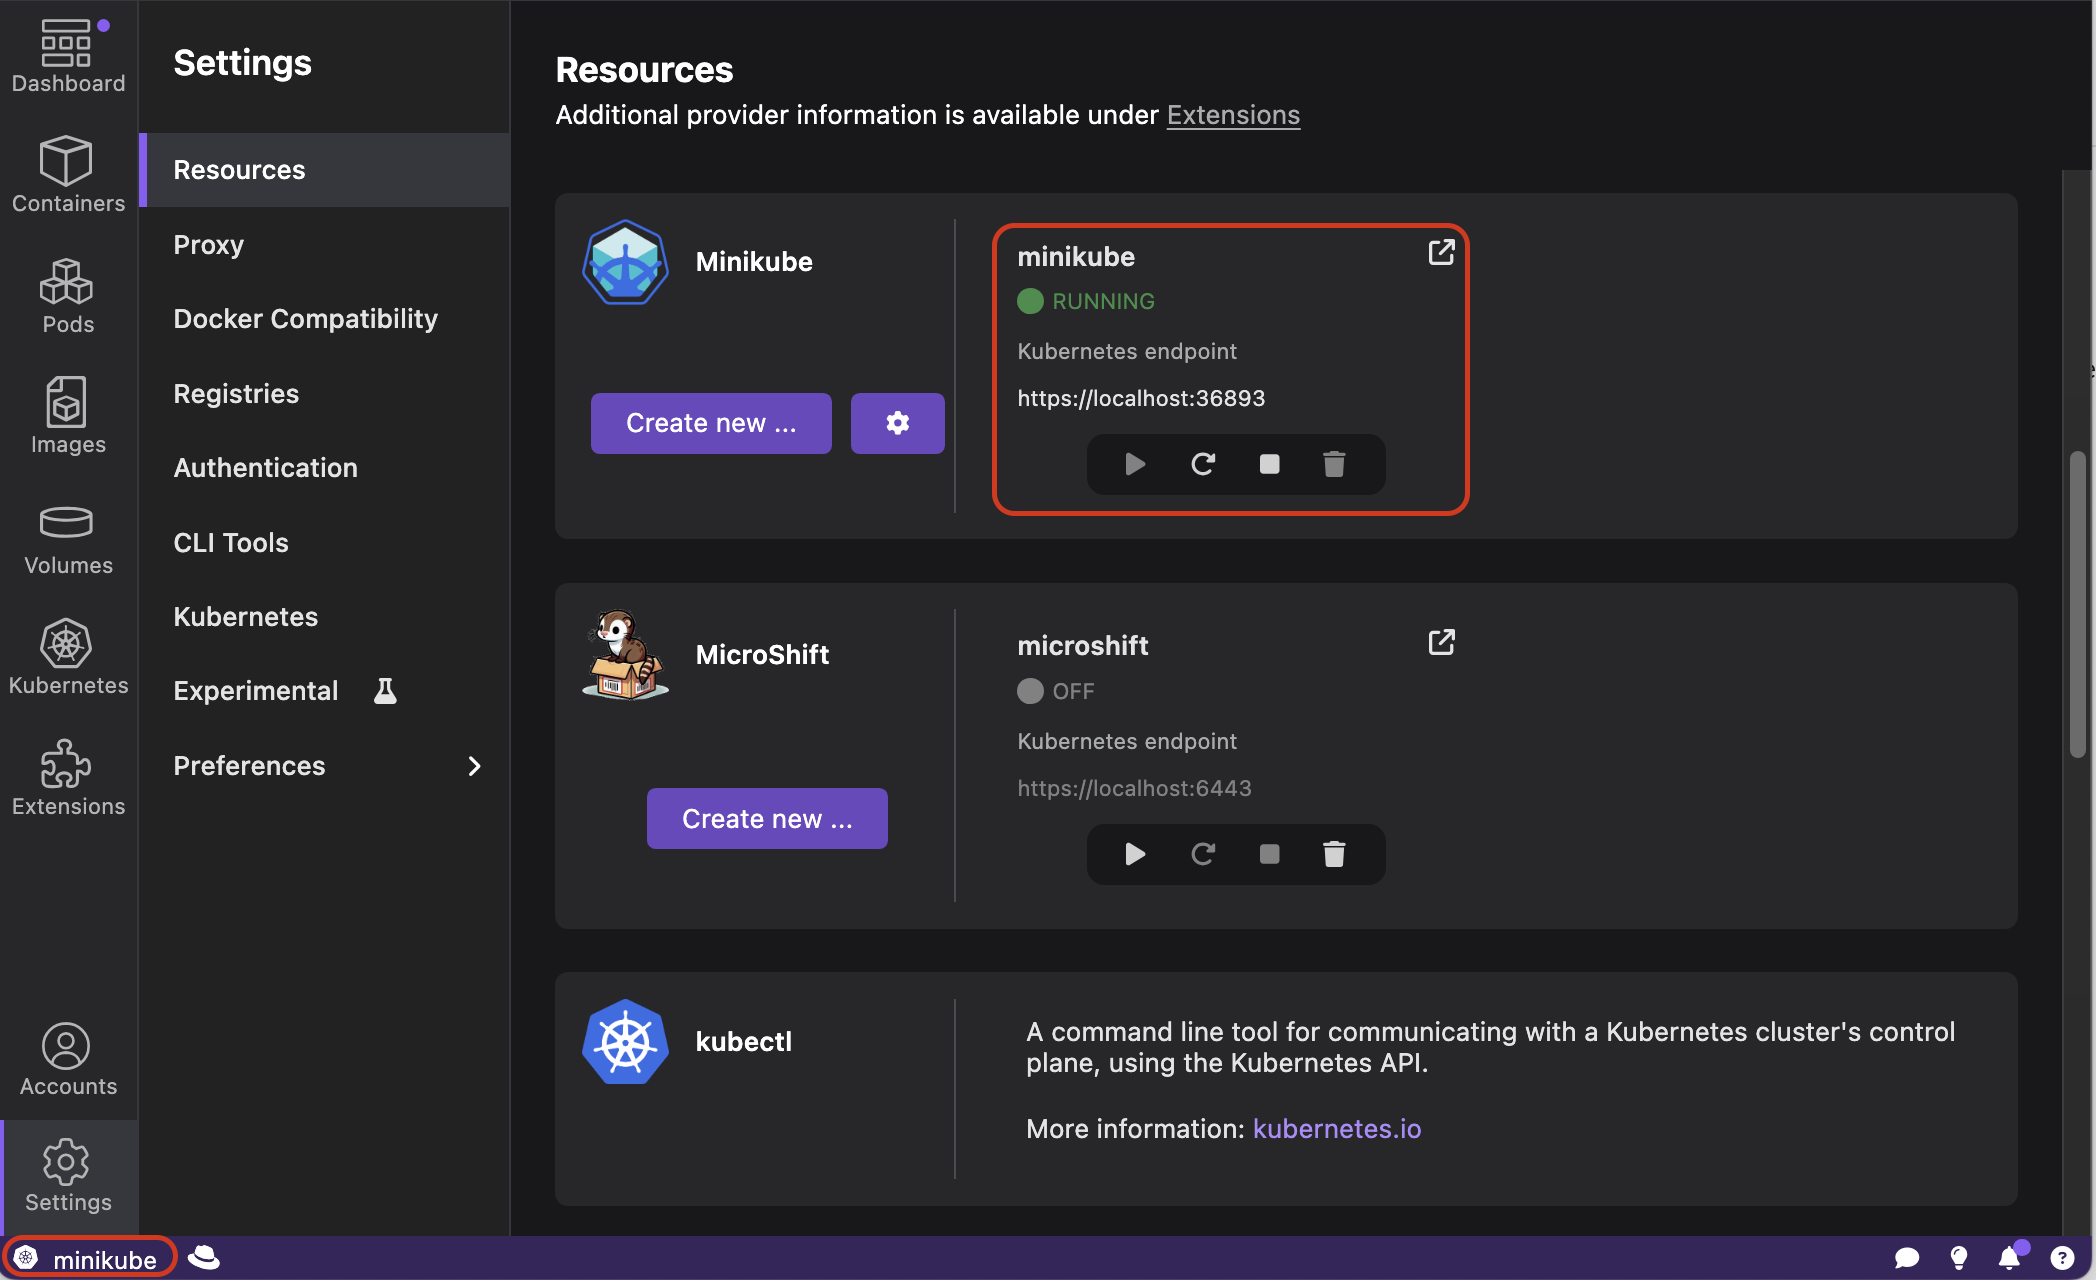
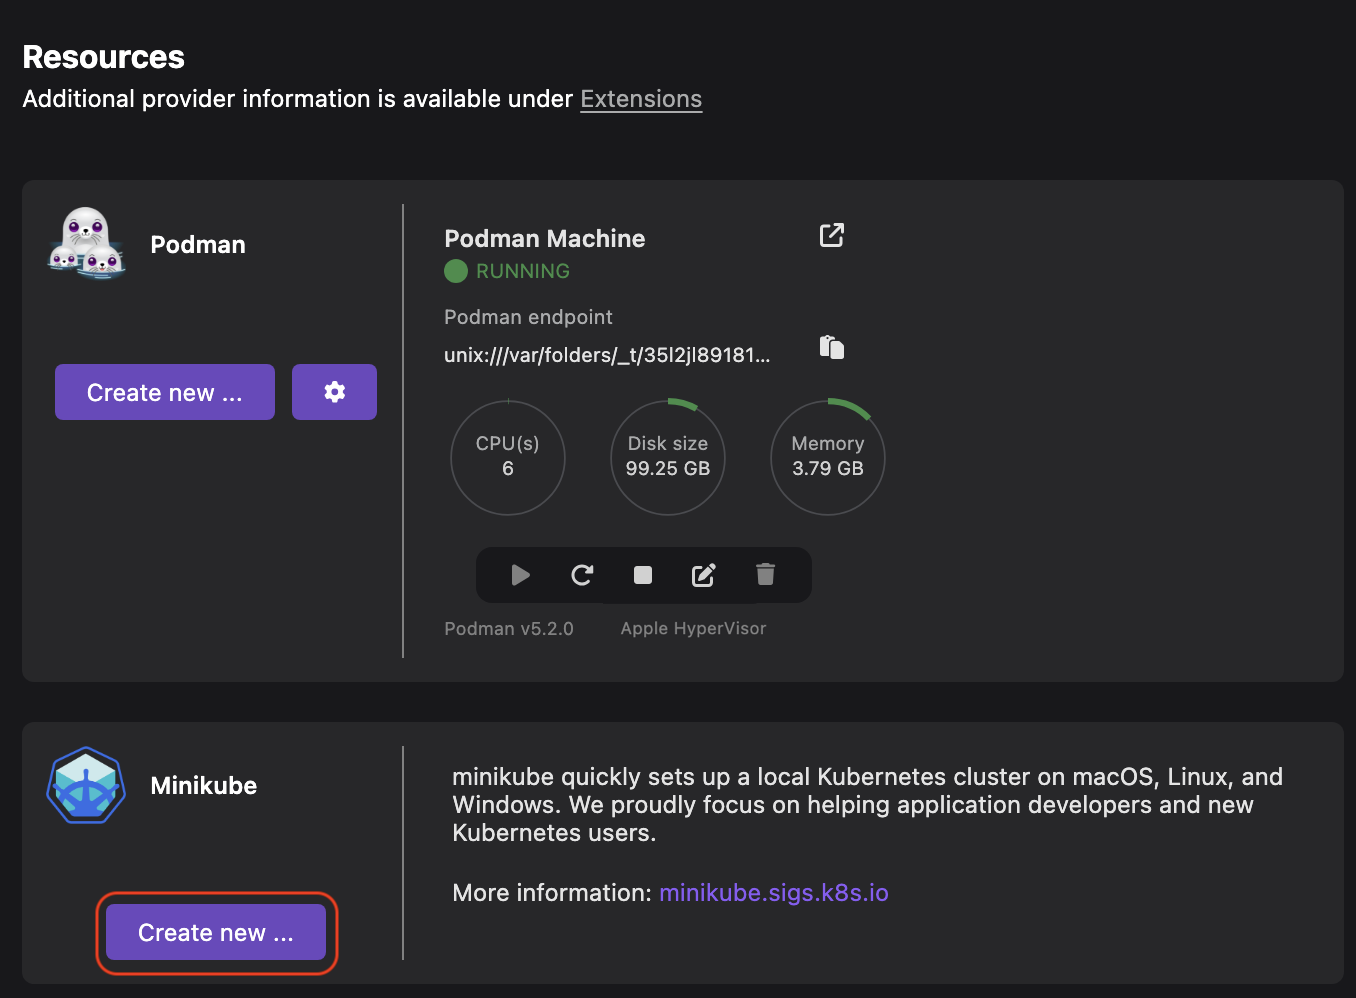
Go to Settings > Resources.
-
In the Minikube tile, click Create new.
-
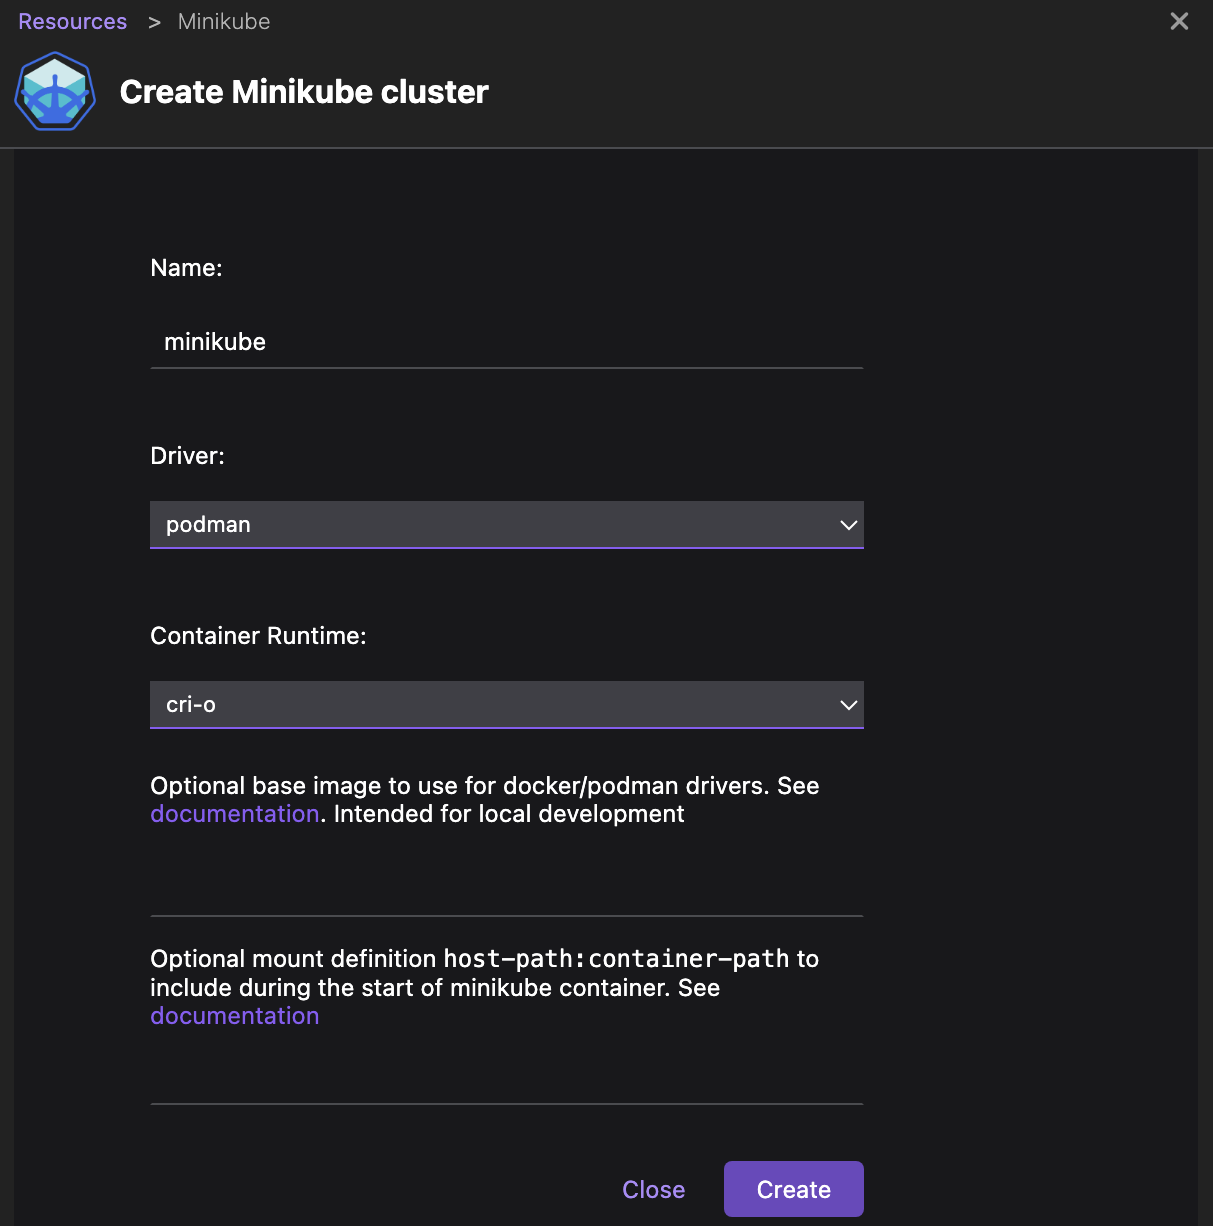
Optional: Edit the cluster configuration, if required.
-
Click Create. A notification of successful operation opens.
-
Click Go back to resources.
-
View that your Minikube cluster is running and a new minikube context is added in the status bar.
