Using RHEL as a WSL podman machine
Red Hat provides a tool called Image Builder that allows developers to build their own custom image of RHEL in a variety of formats. Recently, Image Builder added WSL as a target, enabling you to run RHEL on Windows as a WSL distribution.
This article details the steps and actions required to build and run your RHEL WSL image.
The purpose of this article is to describe the options needed for the RHEL WSL distribution so that it can be used as a Podman machine.
To use the RHEL WSL image as a Podman machine, ensure that the following packages are installed:
- podman
- podman-docker
- procps-ng
- openssh-server
- net-tools
- iproute
- dhcp-client
- sudo
- systemd-networkd
Luckily, all but the last package are available from the pre-configured RHEL 9 repositories. The last package (systemd-networkd) is available from the EPEL 9 repository and will need to be configured when building the image.
Build the image
Navigate to image builder
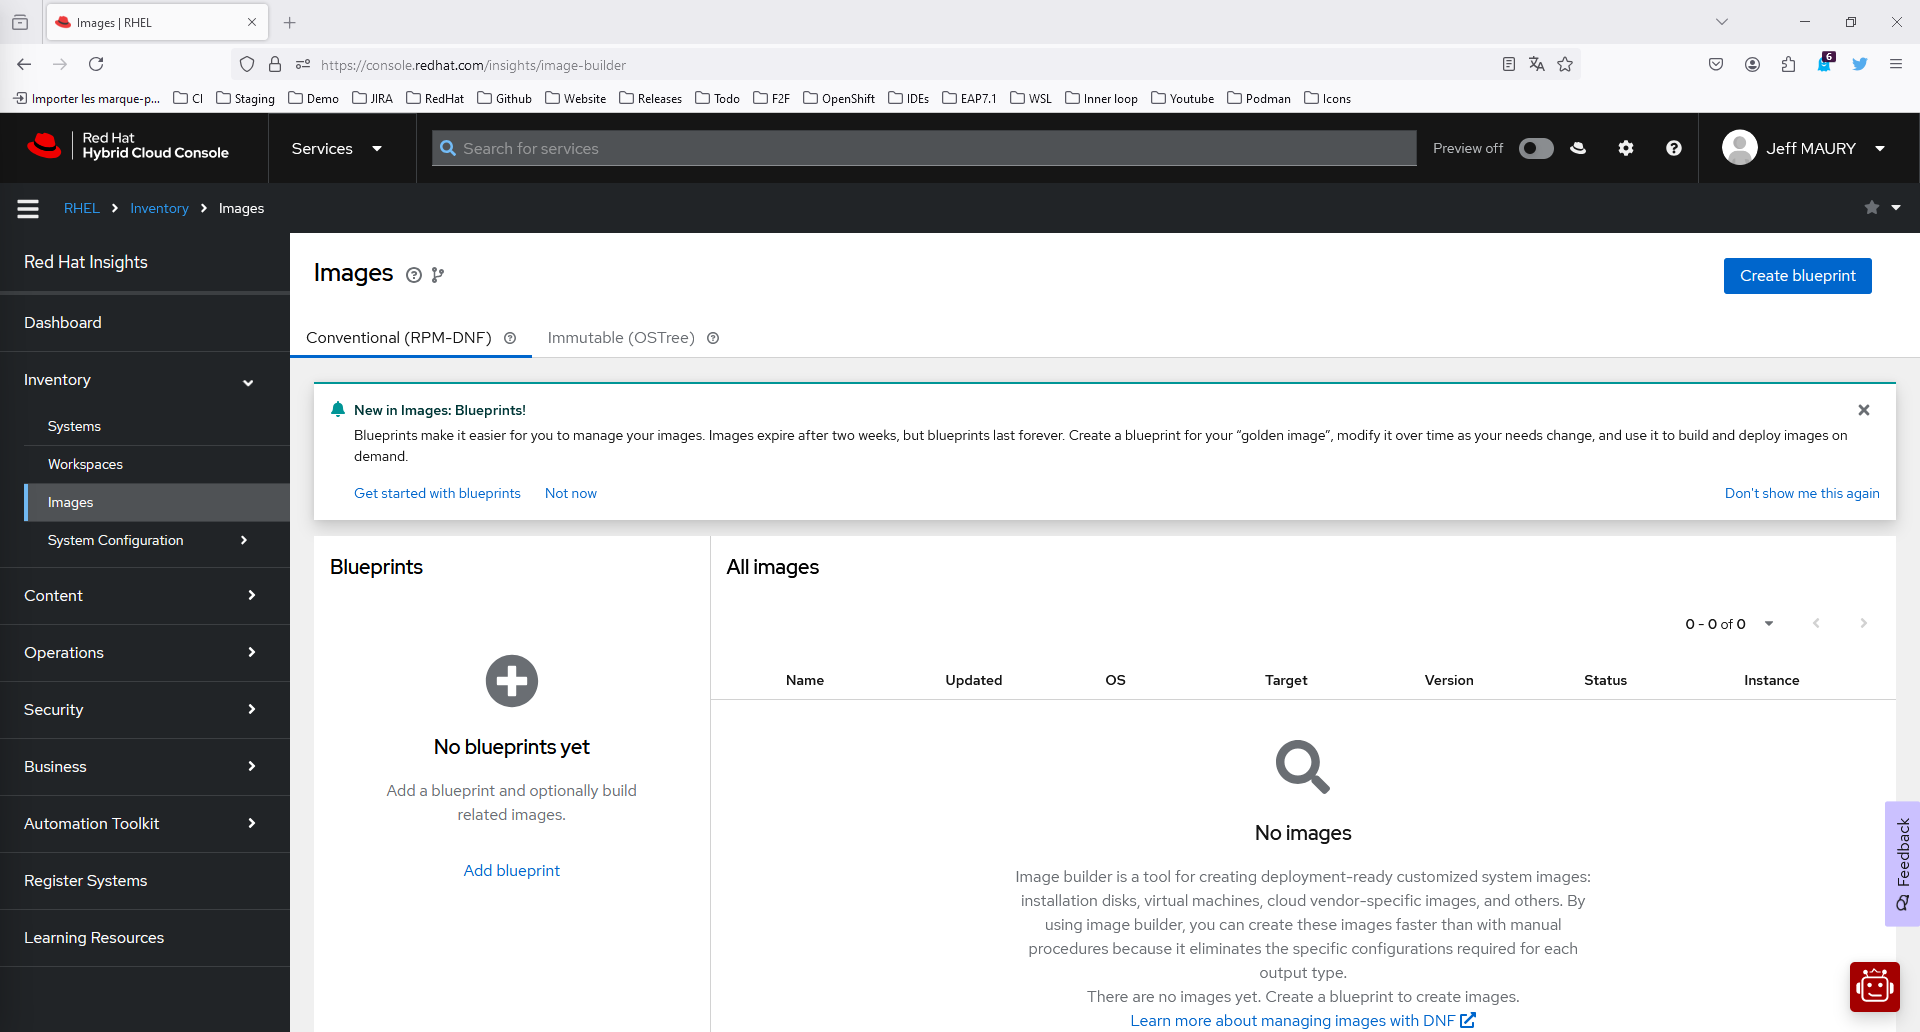
On the upper right menu, enable the Preview mode.
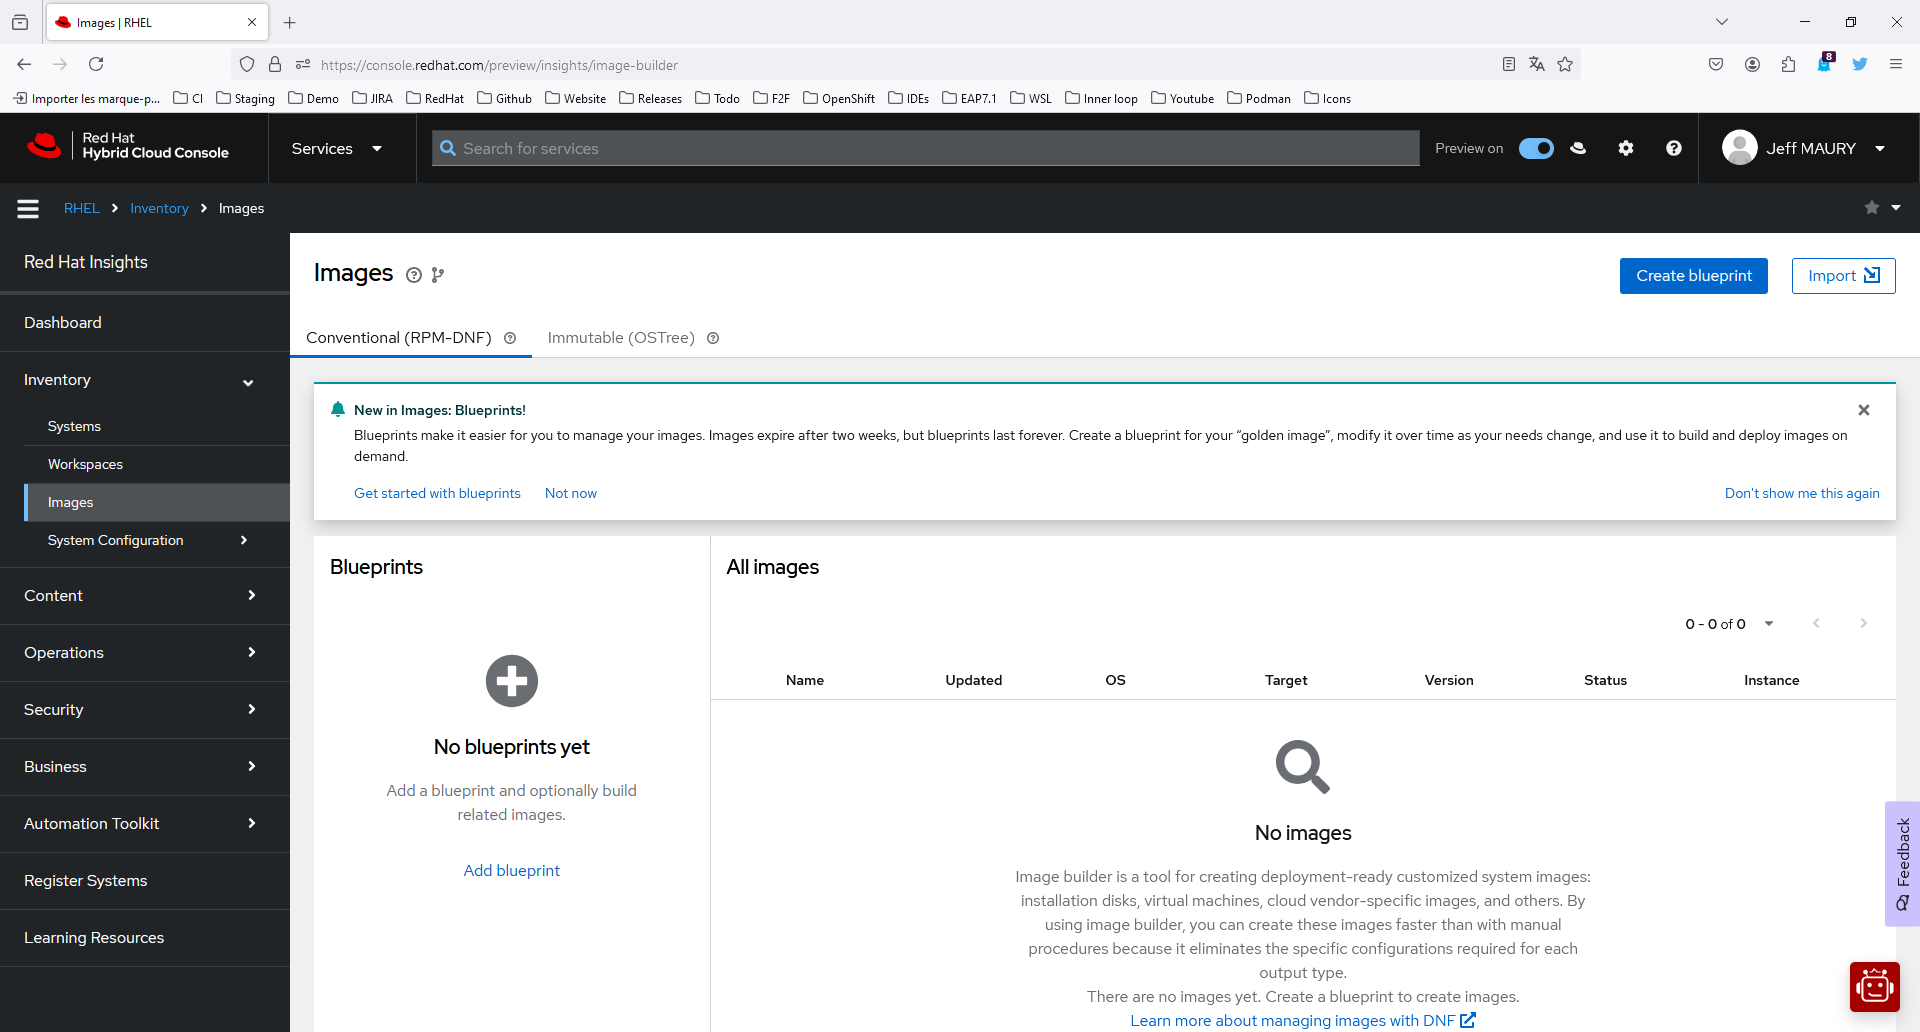
Click Add blueprint to open the Create image dialog wizard.
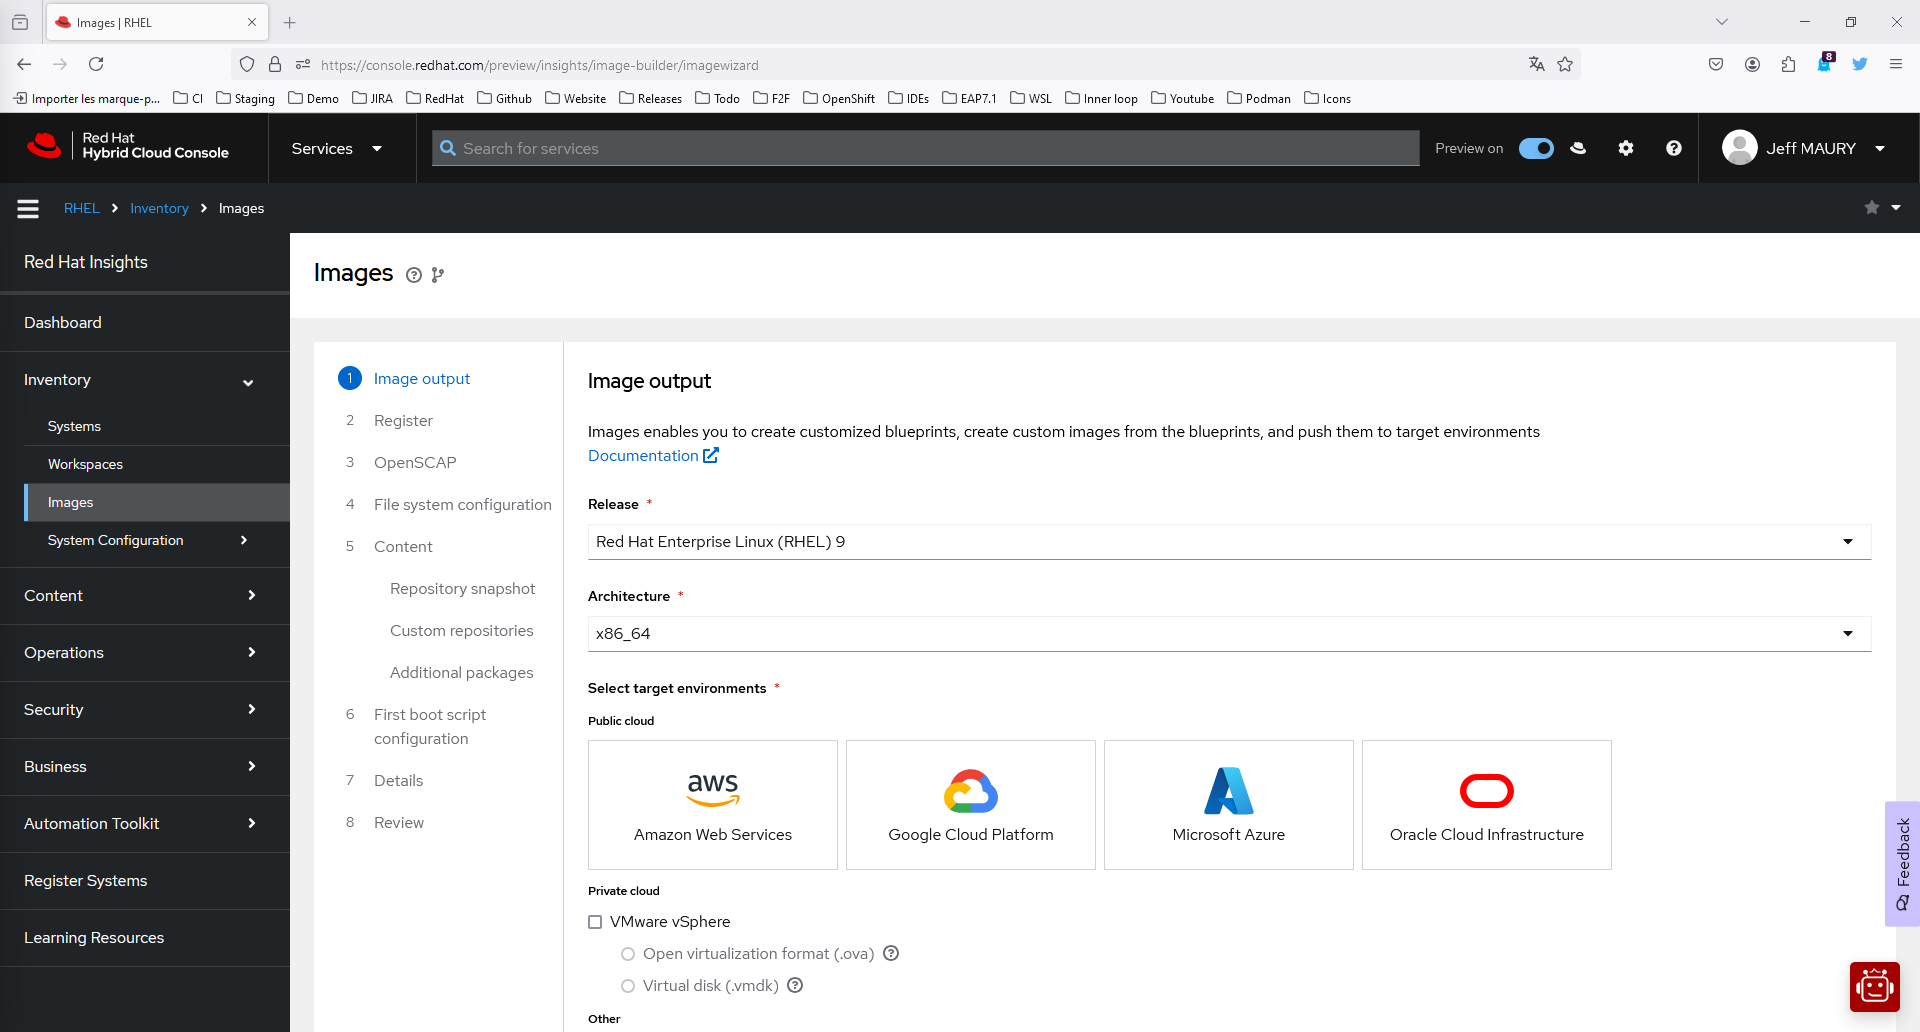
On the Image output page, select the following:
- From the Release list, select Red Hat Enterprise Linux (RHEL) 9.
- From the Select target environments option, select WSL - Windows Subsystem for Linux (
.tar.gz). - Click Next.
Although the RHEL 10 (Beta) option is available in the Release, please note that it is incompatible with At the time of writing, the WSL kernel does not support nftables.
On the Register page, select Automatically register and enable advanced capabilities.
- From the dropdown menu, choose an activation key to use for the image. See Creating an activation key.
- Click Next.
On the OpenSCAP page, as it is not supported for WSL images, click Next.
On the File system configuration page, select Recommended: Use automatic partitioning.
- Click Next.
On the Content page, complete the following steps to add additional packages to your image:
-
On the Repository snapshot step:
- Select Use latest content.
- Click Next.
-
On the Custom repositories step:
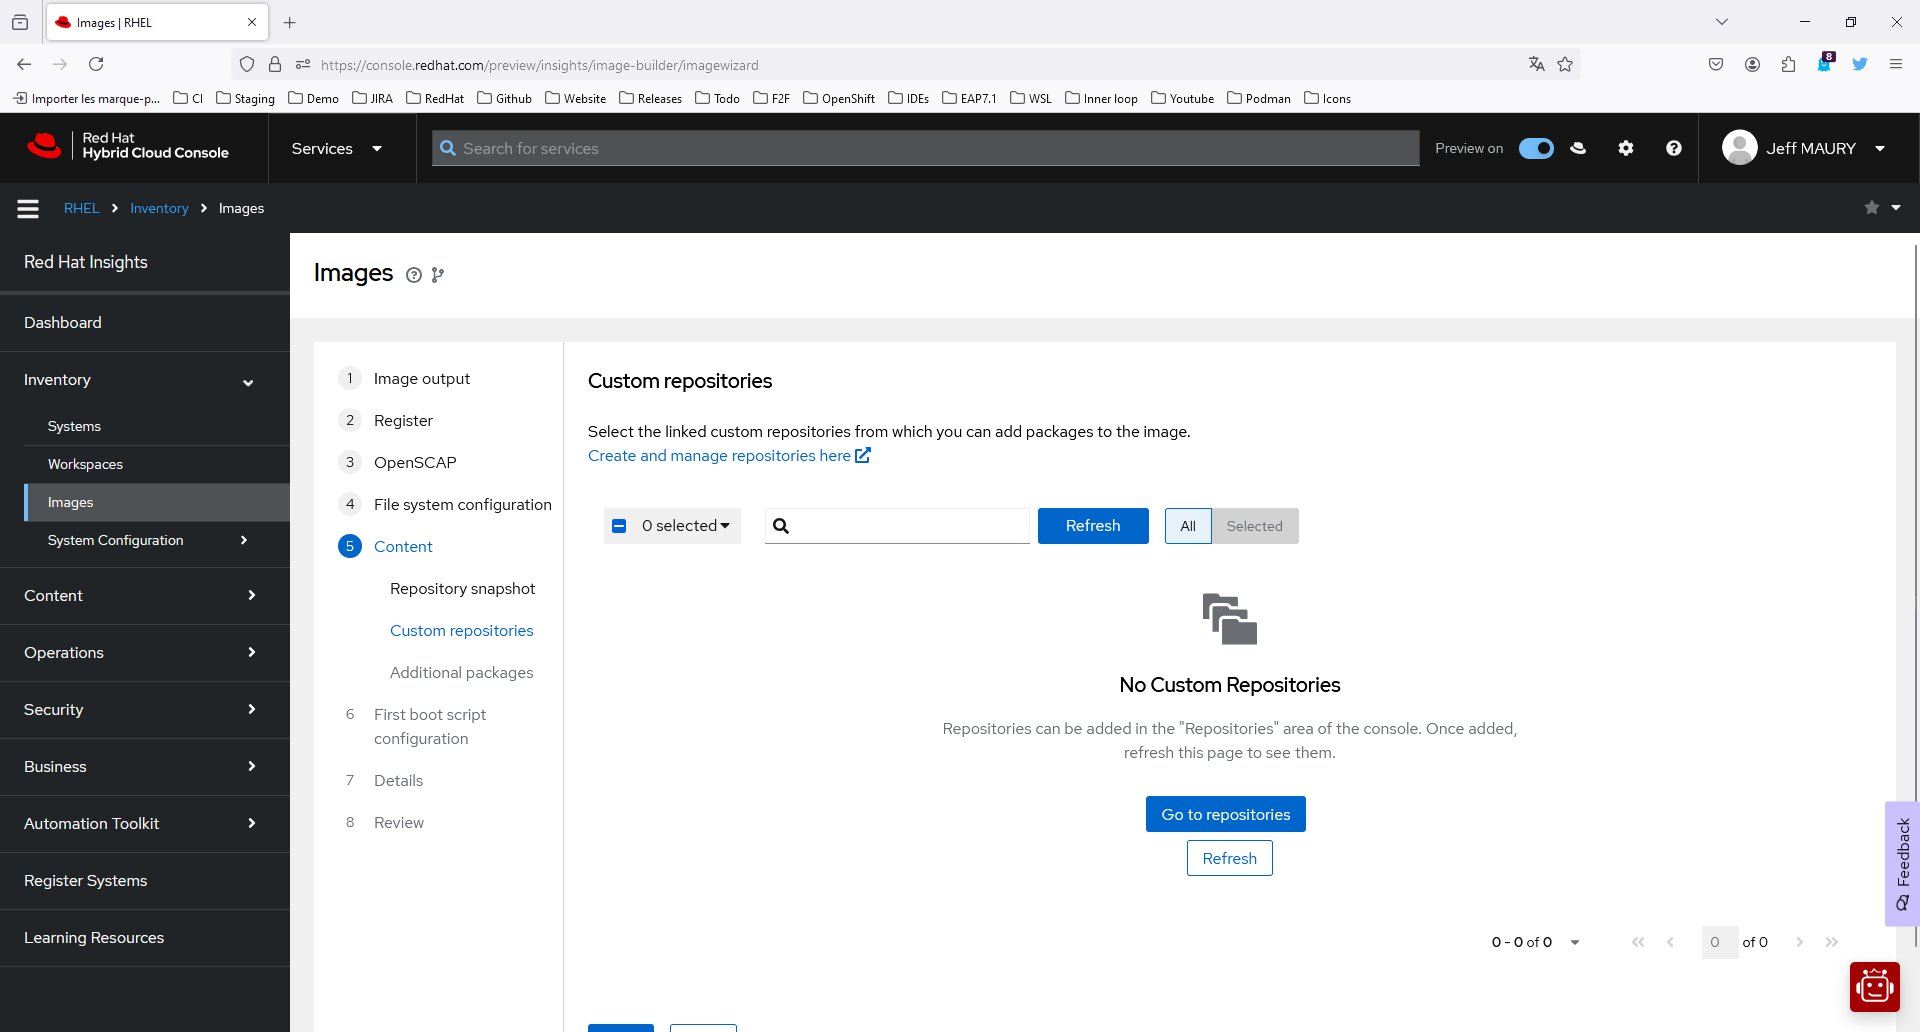
Click on the Create and manage repositories here link. This will open a new tab
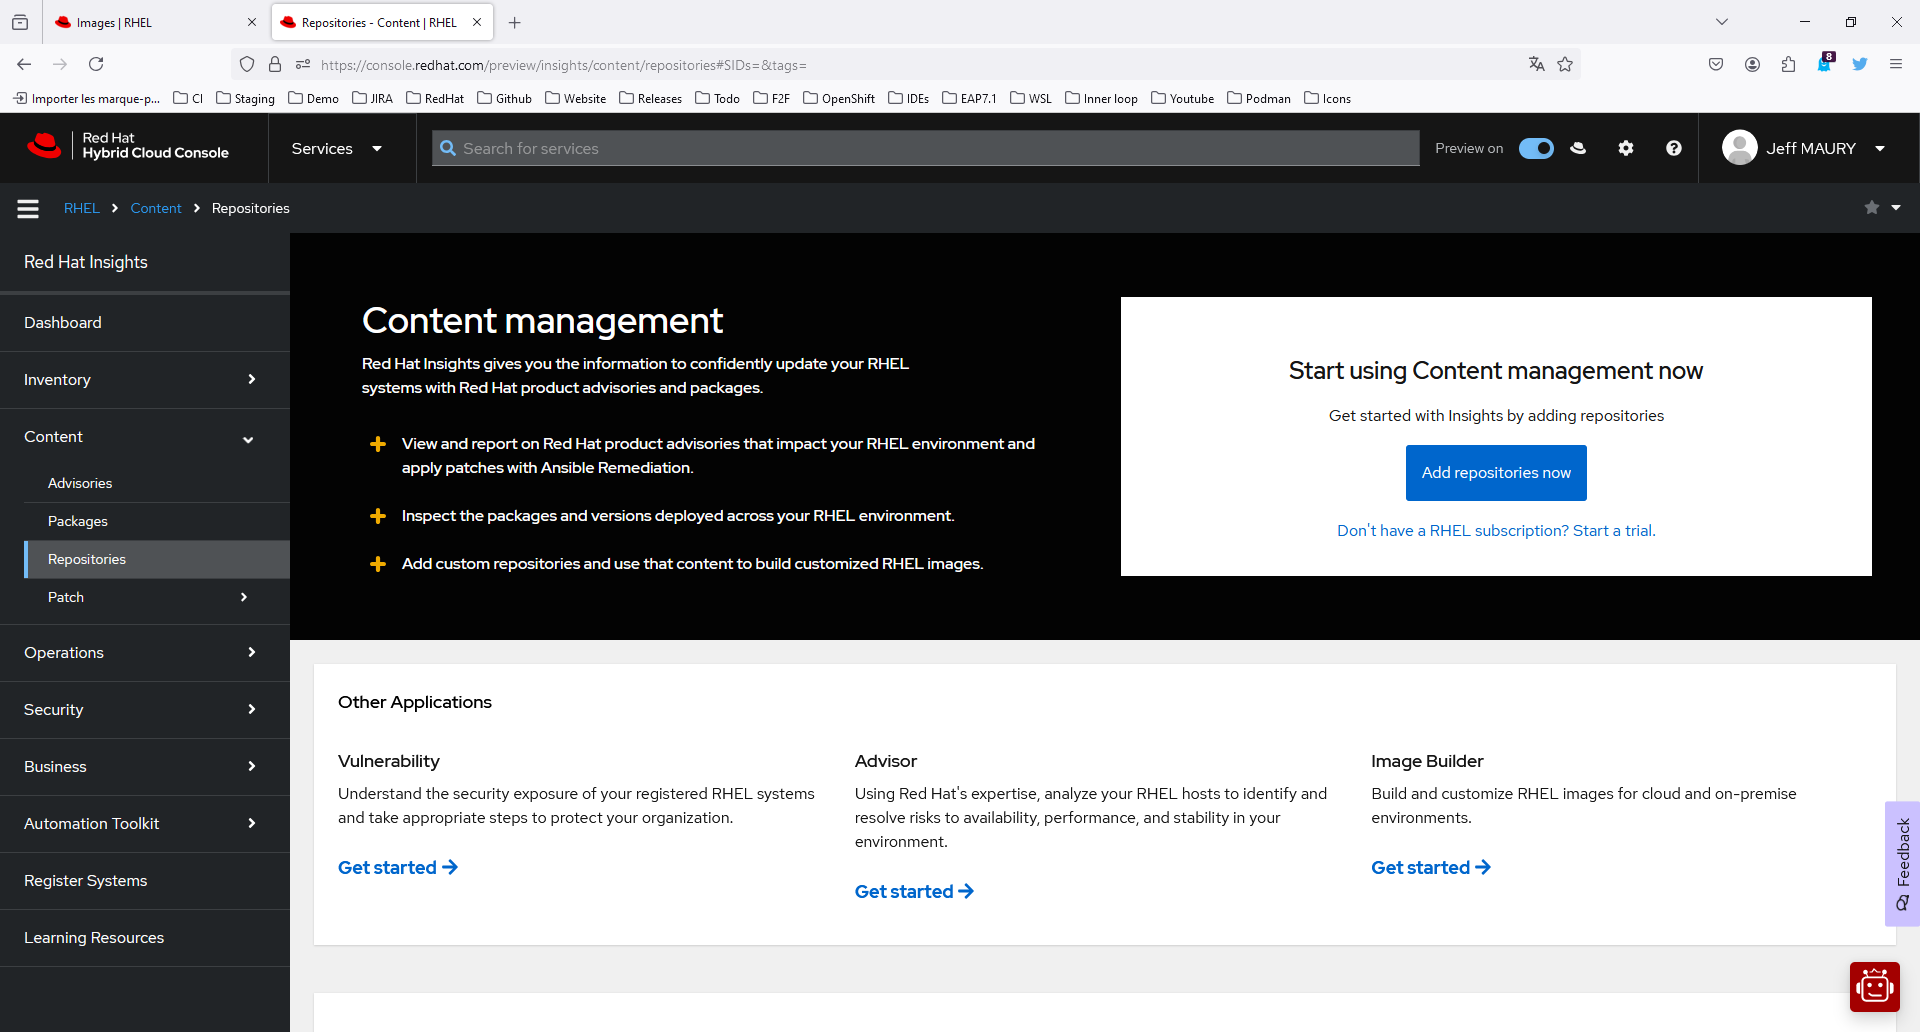
Click Add repositories now
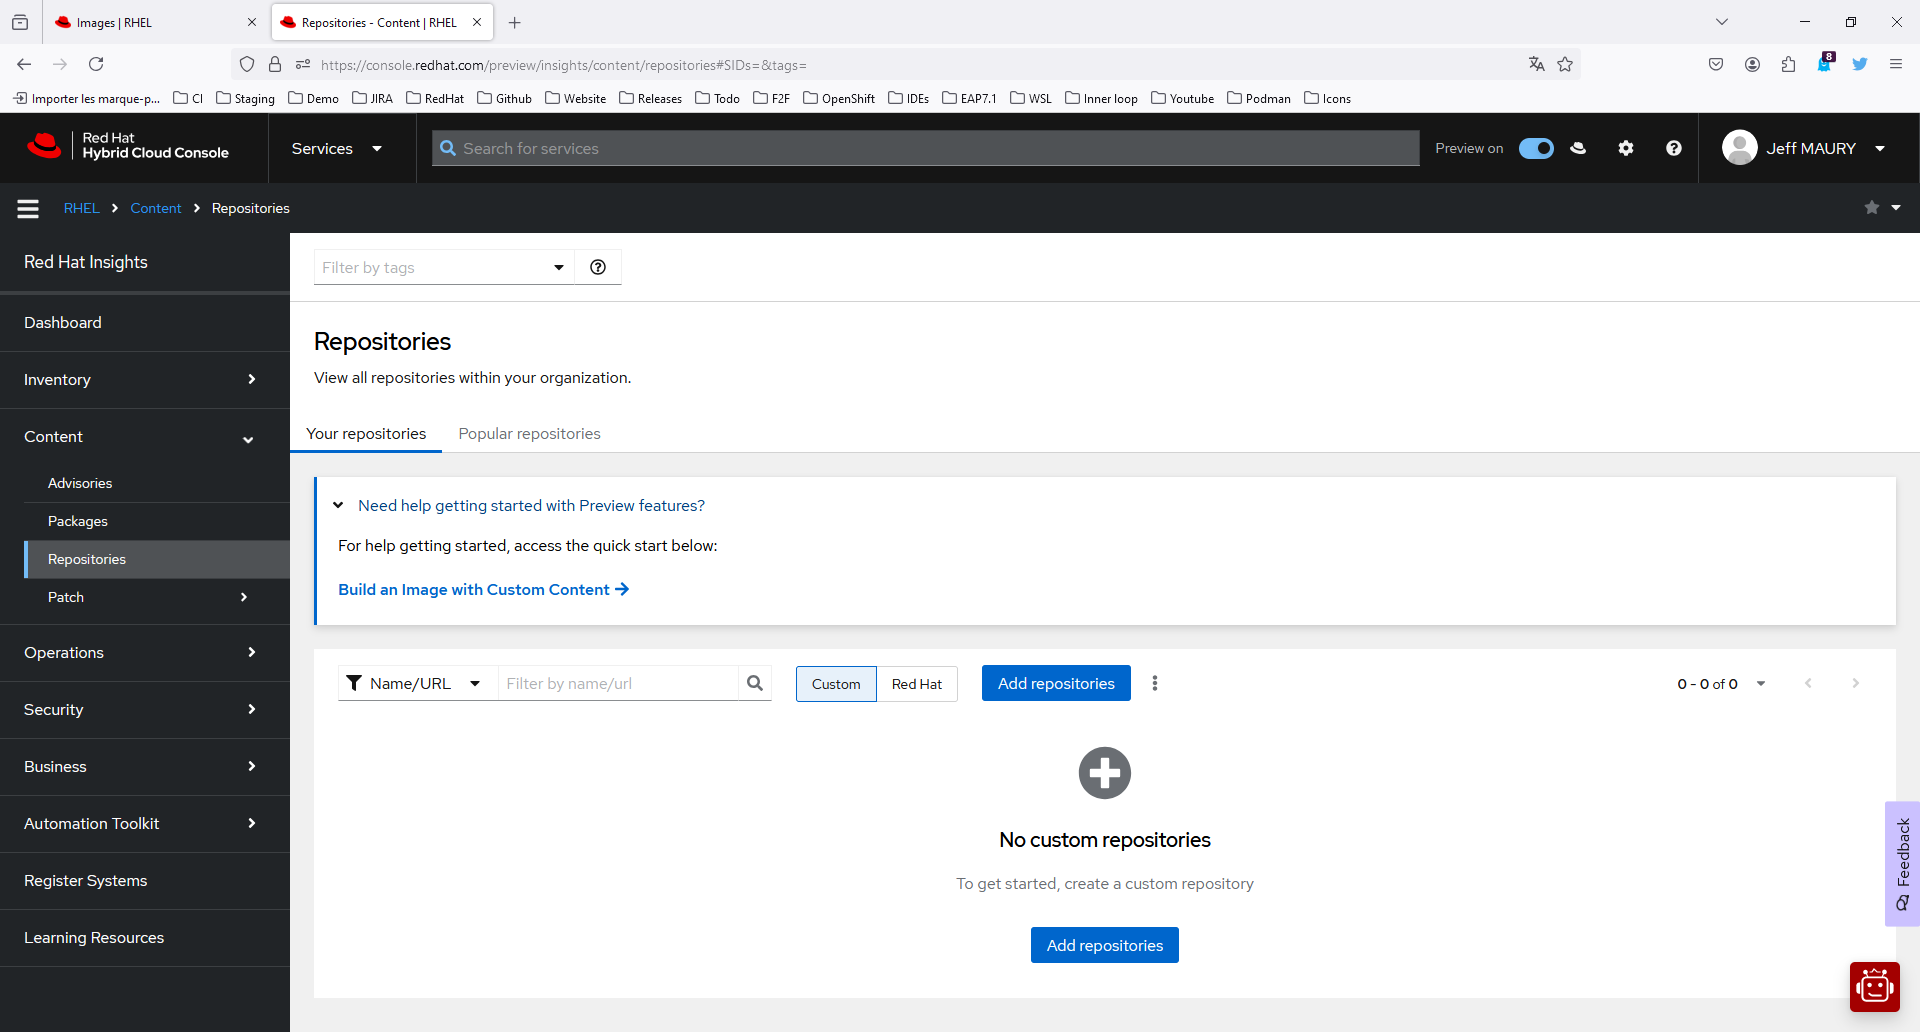
Click Add repositories
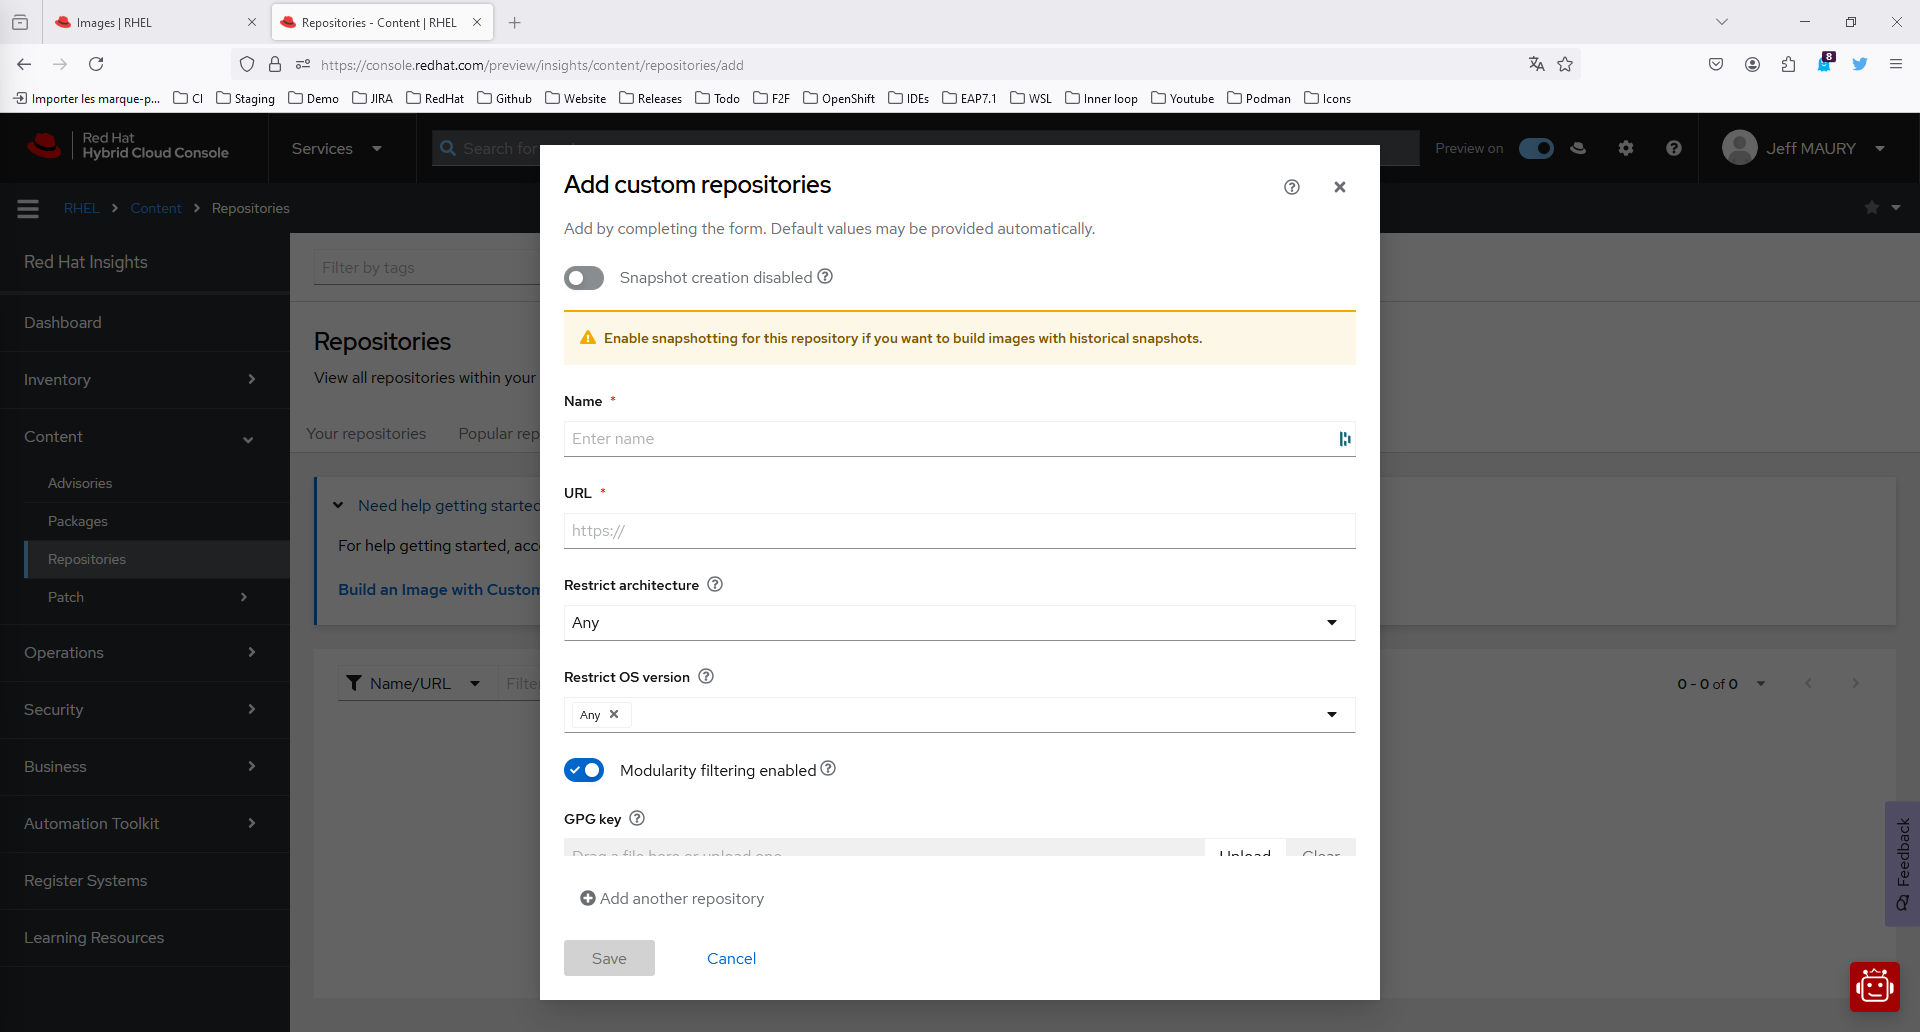
On the Add custom repositories page, select the following:
- In the Name list, enter EPEL 9.
- In the URL field, enter
https://dl.fedoraproject.org/pub/epel/9/Everything/x86_64/ - In the GPG key field, enter
https://dl.fedoraproject.org/pub/epel/RPM-GPG-KEY-EPEL-9 - Click Save.
Close the tab and switch back to the previous one
- In the filter input field, type EPEL
- Select the EPEL 9 repository
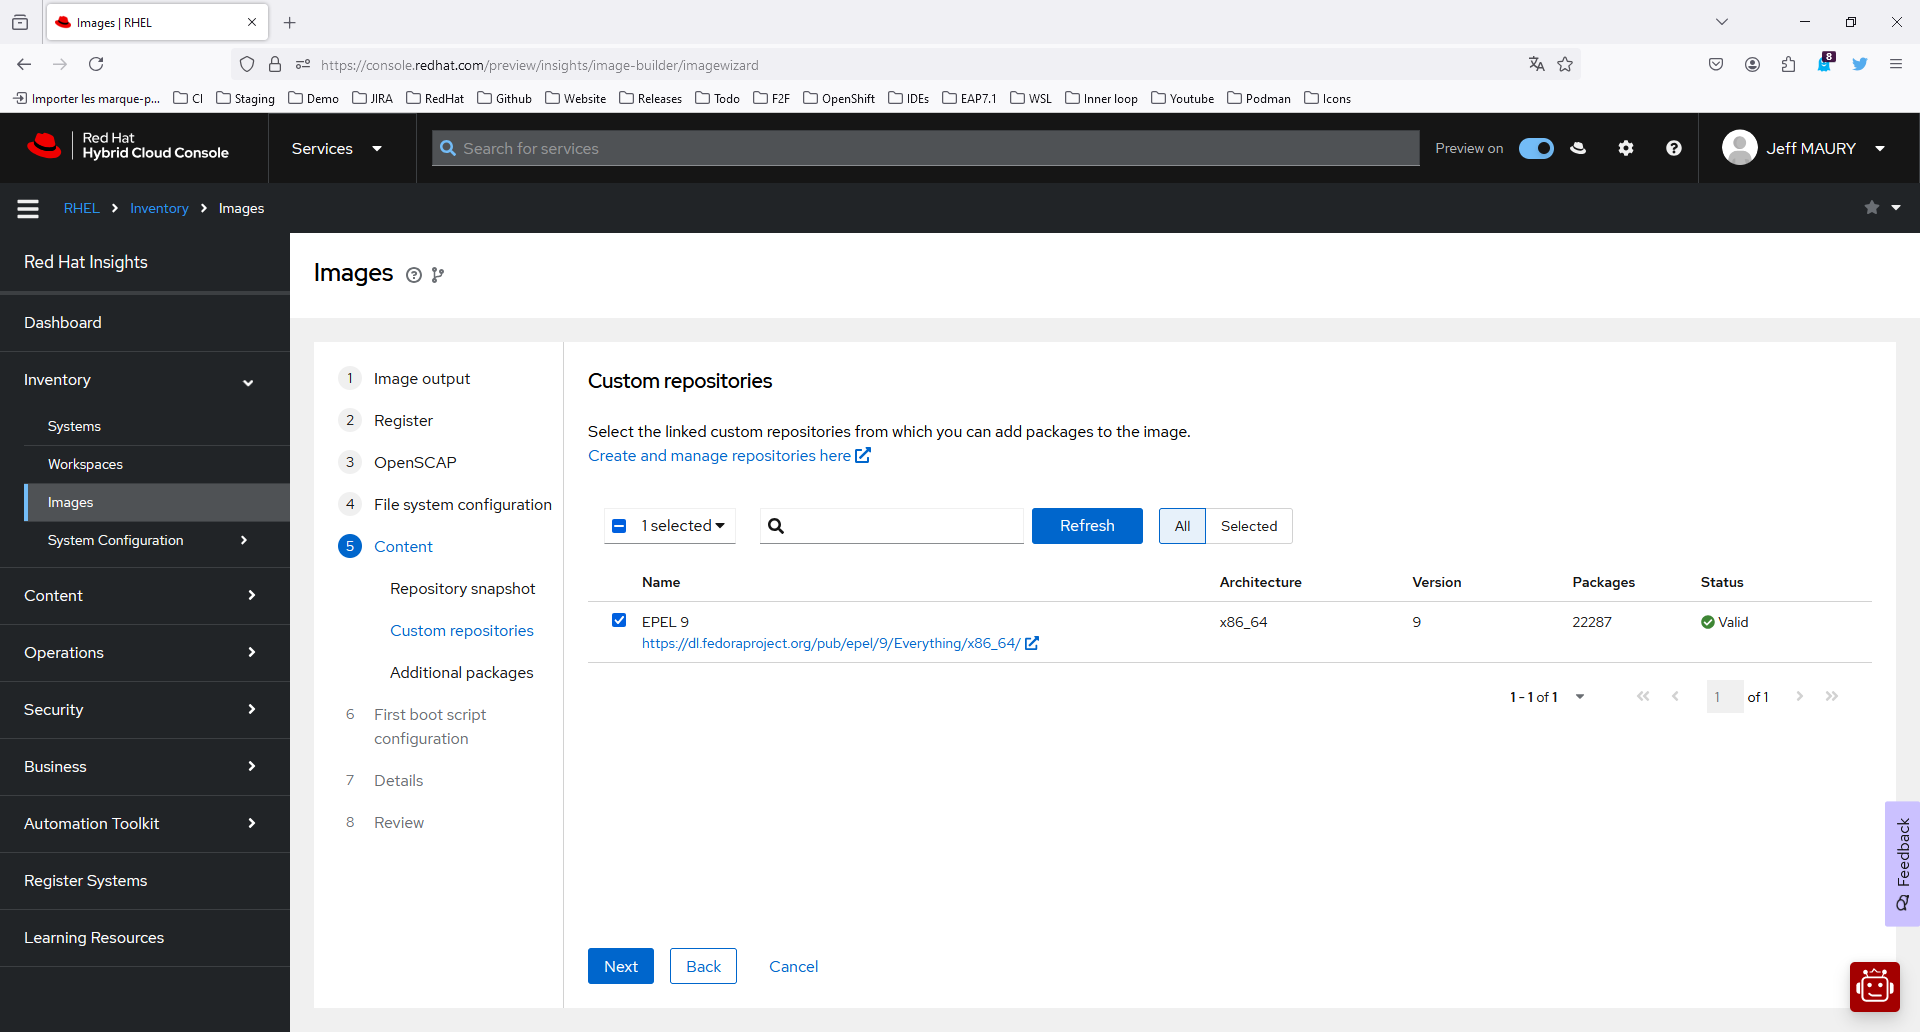
Click Next
- On the Additional packages step:
- On the Available packages search field, enter podman and click the → button.
- Select the podman and podman-docker packages.
- On the Available packages search field, enter procps-ng and click the → button.
- Select the procps-ng package.
- On the Available packages search field, enter openssh-server and click the → button.
- Select the openssh-server package.
- On the Available packages search field, enter net-tools and click the → button.
- Select the net-tools package.
- On the Available packages search field, enter iproute and click the → button.
- Select the iproute package.
- On the Available packages search field, enter dhcp-client and click the → button.
- Select the dhcp-client package.
- On the Available packages search field, enter sudo and click the → button.
- Select the sudo package and click the > button to add the selected package shown in the package search results to the Chosen packages dual list box.
- On the Available packages search field, enter systemd and click the → button.
- Select the systemd-networkd package.
- Click Next
On the First boot script configuration page:
- Click Next.
On the Details page:
- In the Blueprint name, enter rhel-wsl.
- Click Next.
On the Review page:
- Click Create blueprint and build image.
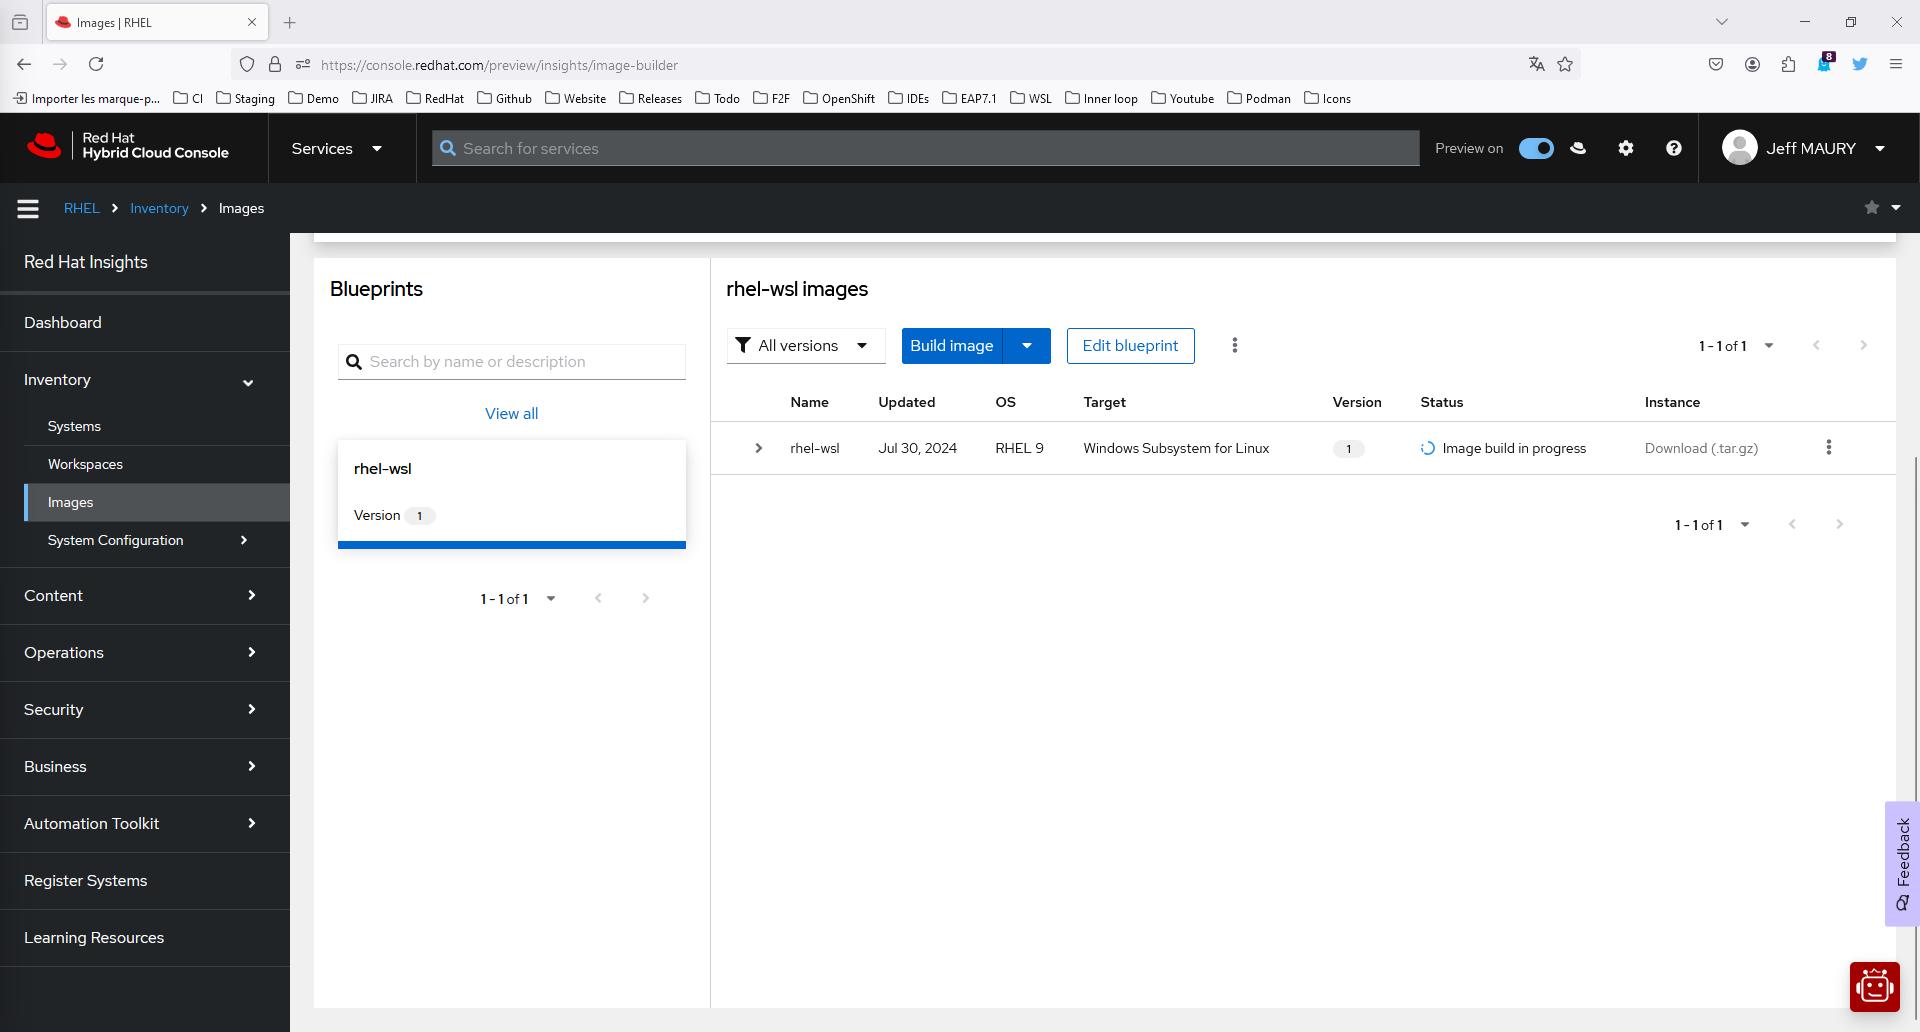
The image is being built. Once the build is finished, the download link will be available. Click on the Download (.tar.gz) link and save the downloaded file to one of your local folders.
Create the RHEL WSL podman machine
Launch Podman Desktop and go to the Settings -> Resources page:
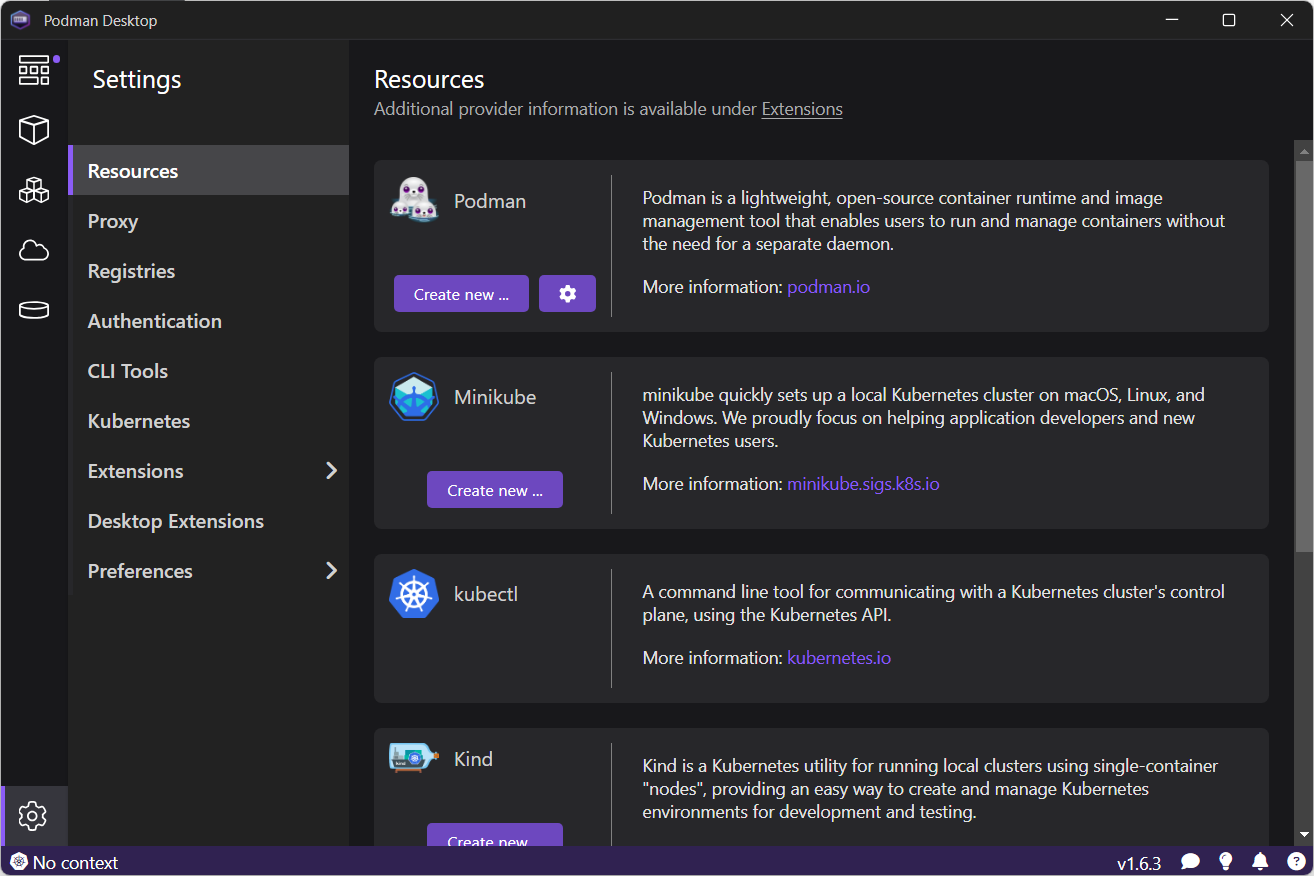
On the Podman provider, click on Create new ...
On the Create Podman machine page, click the Browse button for the Image Path field and select the file downloaded from Image Builder.
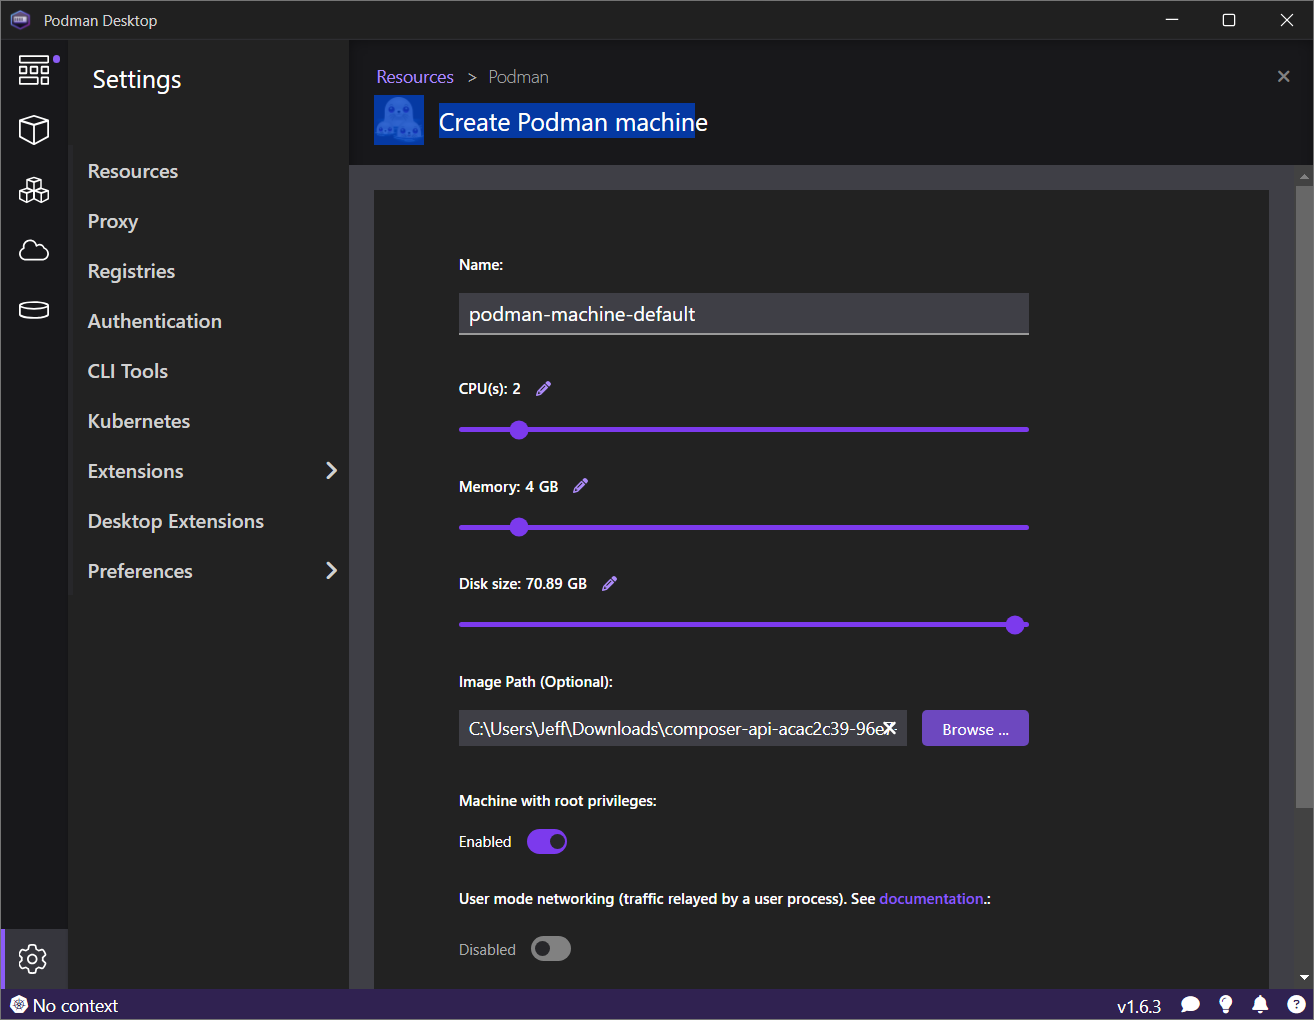
Click on the Create button: the machine will be created and started. After a short time, the operation status should be reported.
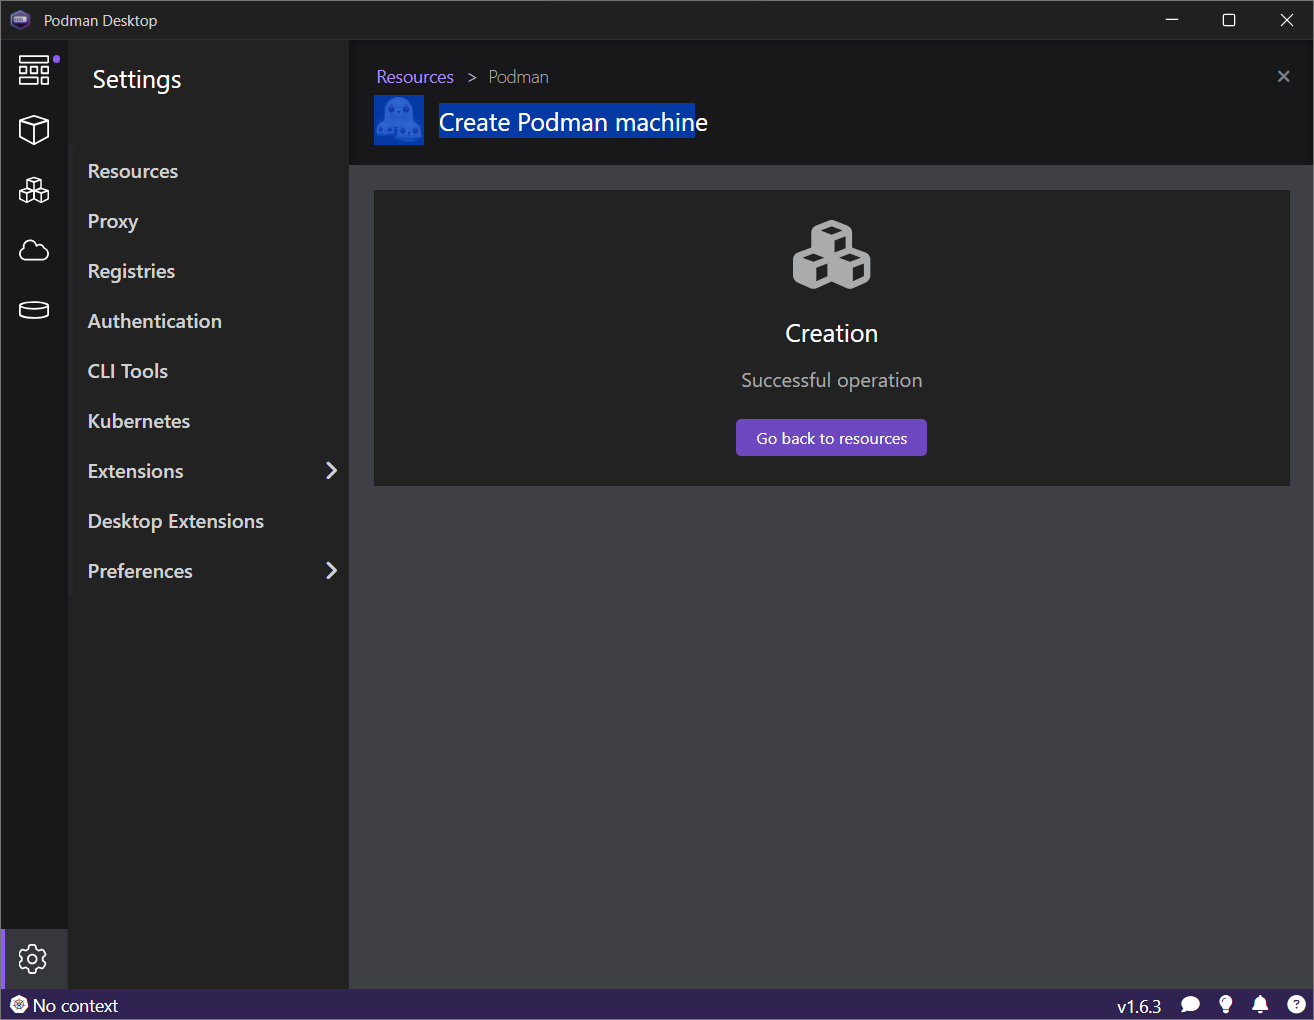
Let's play with the RHEL WSL podman machine
Go to the Images page and pull the httpd image
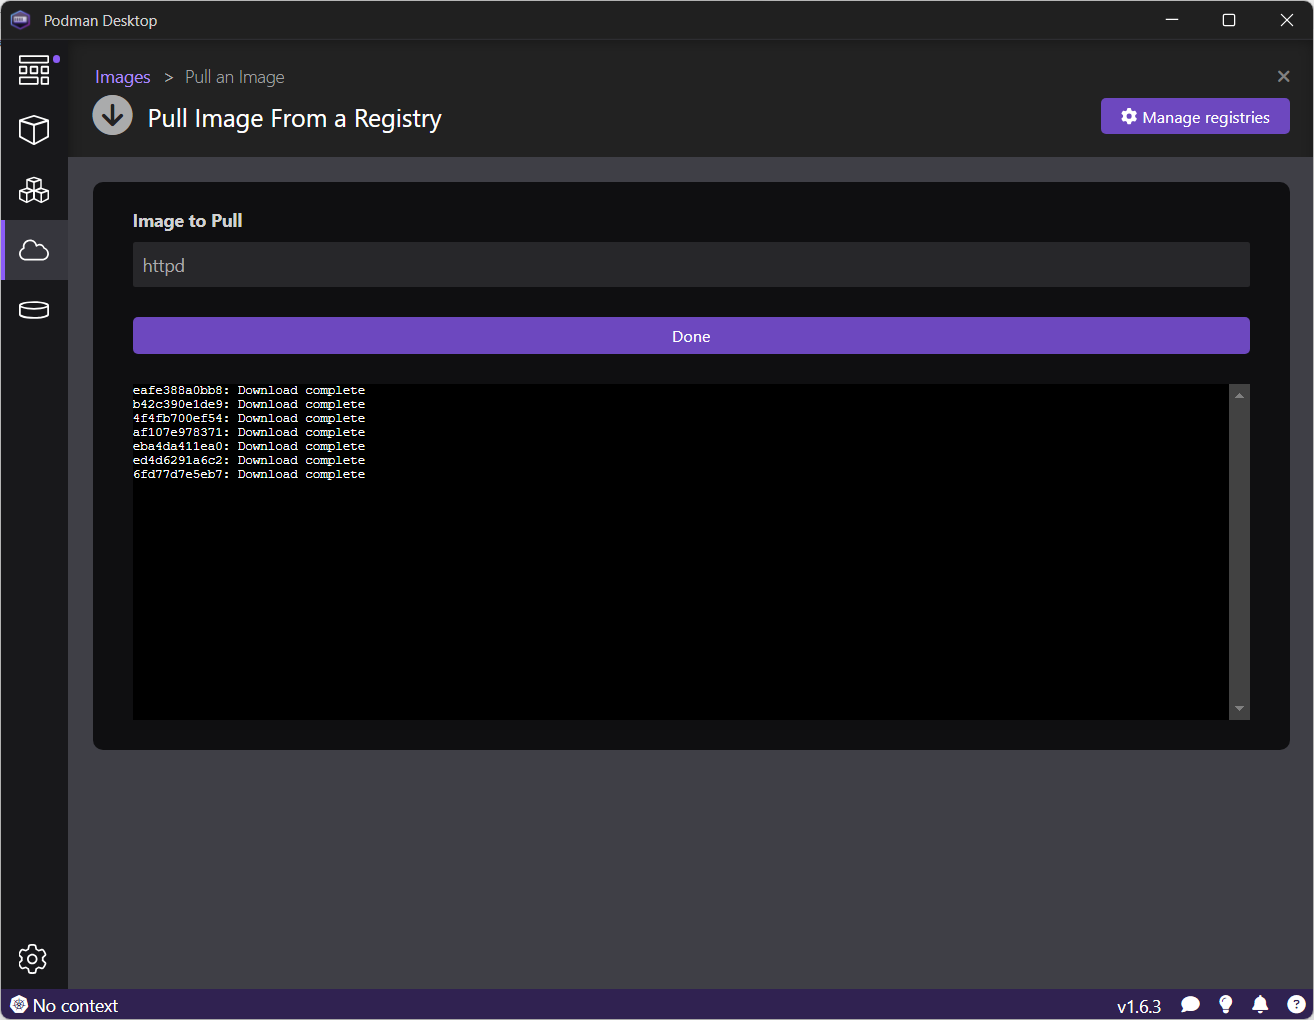
Click on Done
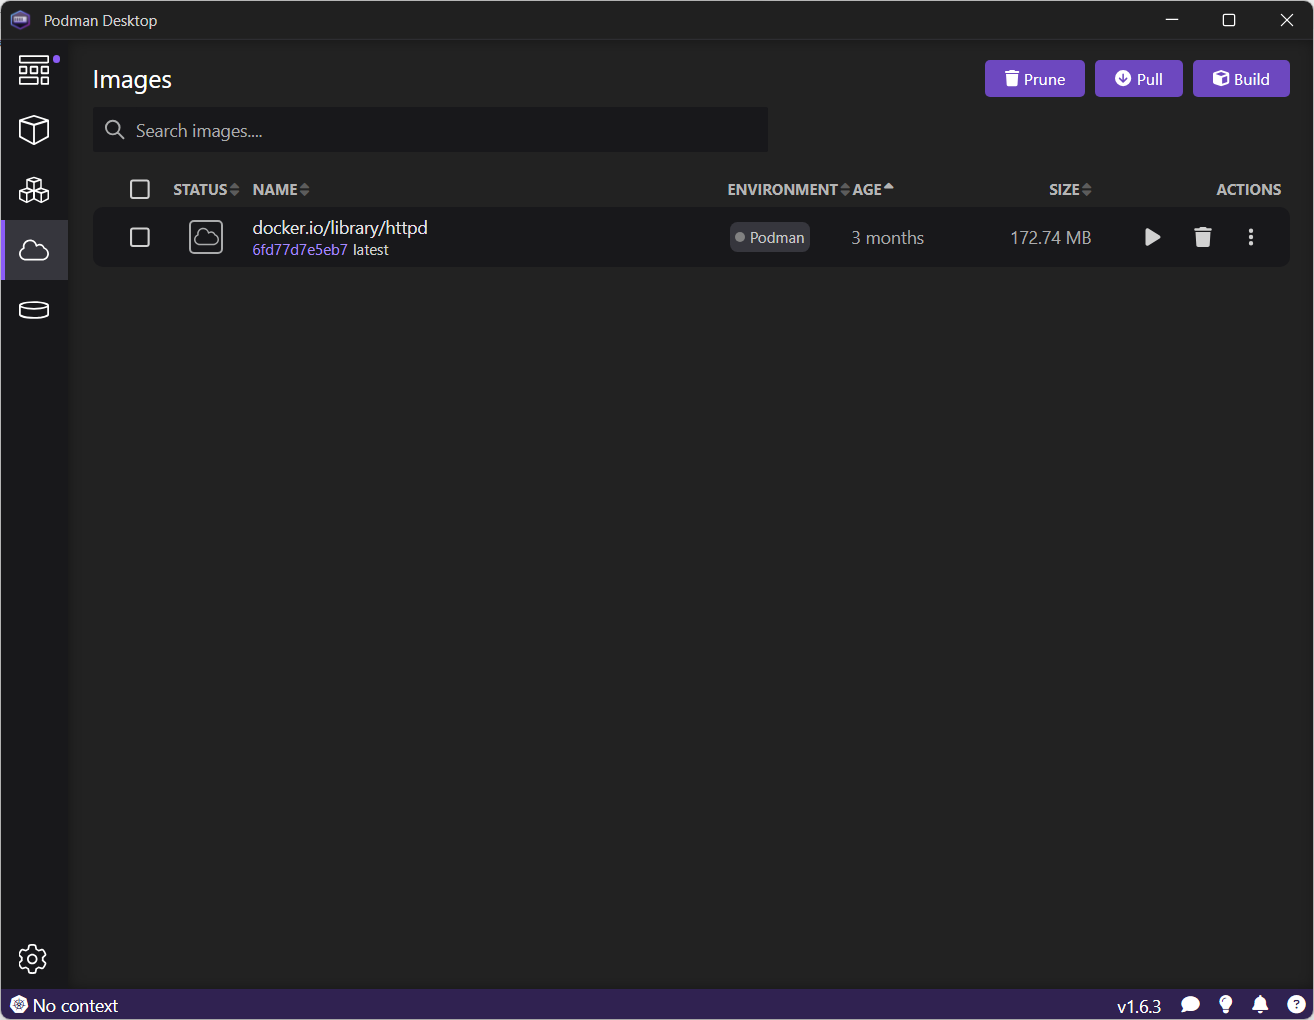
Start the image by clicking on the Run image icon
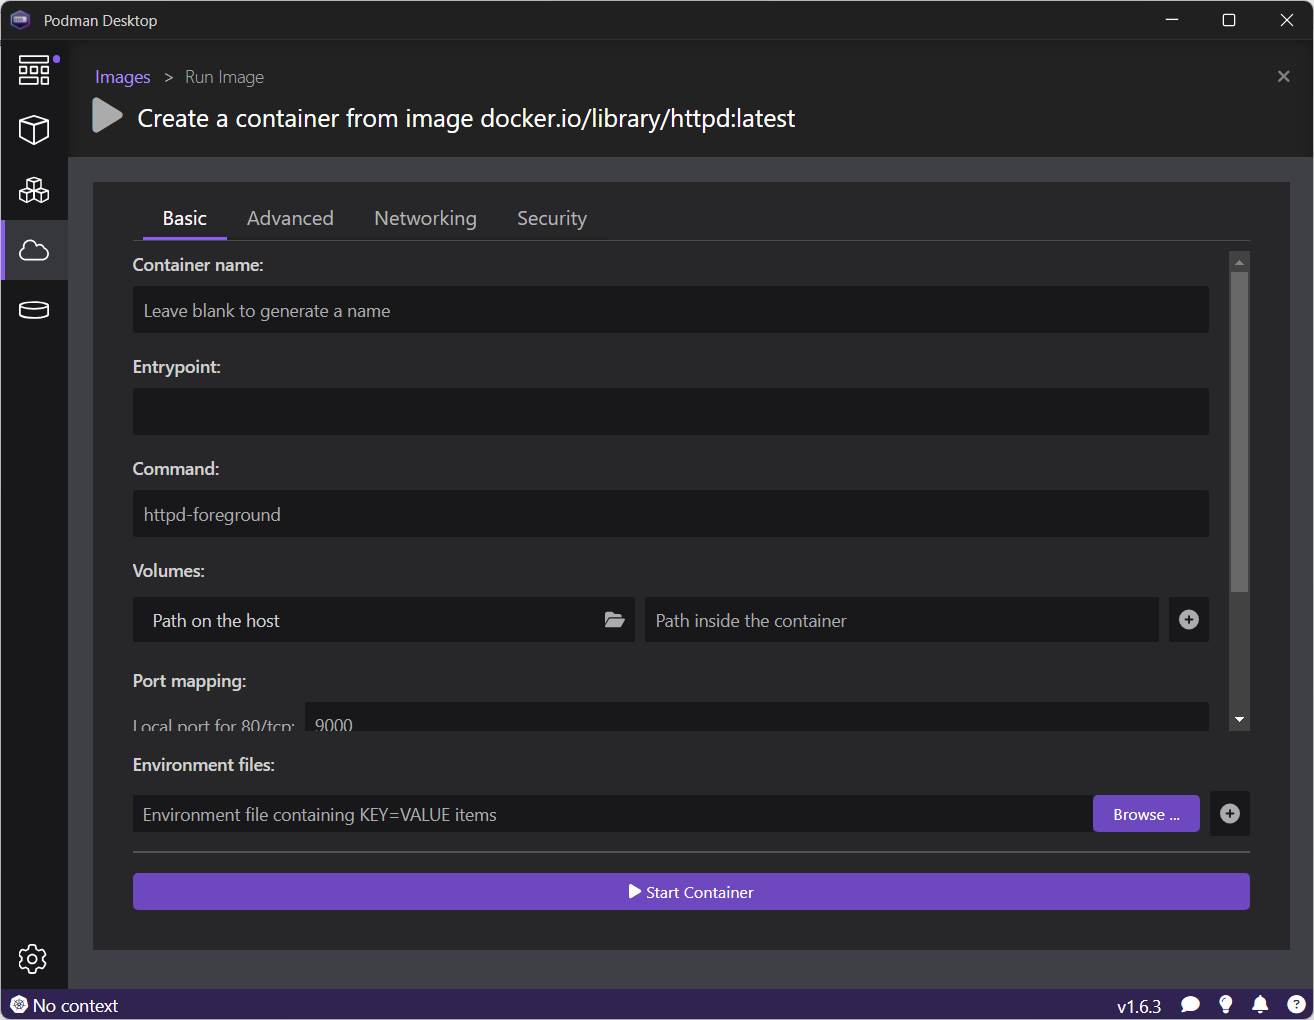
Once the container is started, the Apache server can be accessed on localhost:9000
