Build your Kubernetes application with Podman Desktop

The integration of Podman Desktop with Kubernetes helps you to run your application on a Kubernetes cluster, such as Kind or Minikube.
This blog covers the following aspects:
- Build a containerized application from registry images
- Create a pod
- Set up a local Kubernetes cluster
- Deploy the application to Kubernetes
- Verify the running service
Building a containerized application
With this blog, you will build a containerized application that uses:
- a back-end Redis server container
- a front-end Python application container
To do so, you can pull the relevant images from the quay.io registry.
-
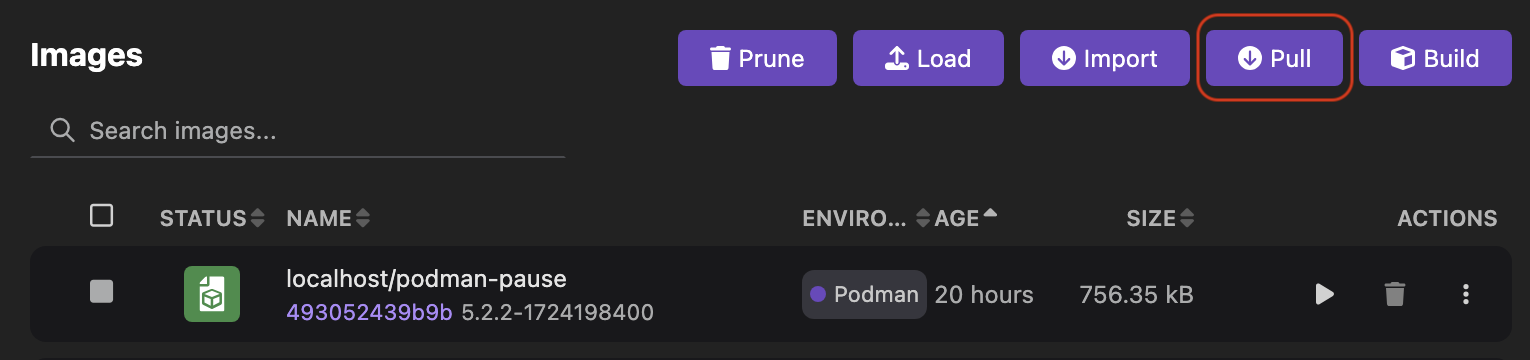
Go to the Images component page.
-
Click Pull.
-
Start the first container:
- Enter the image name to pull from a registry. For example,
quay.io/podman-desktop-demo/podify-demo-backend.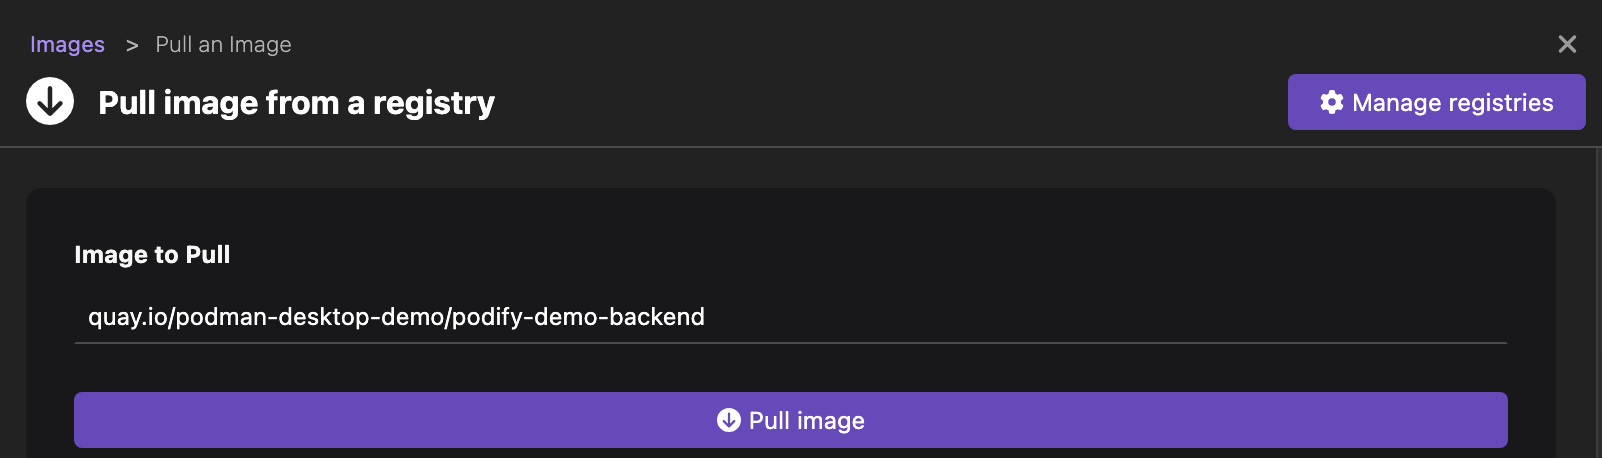
- Click Pull image. A download complete notification opens.
- Click Done.
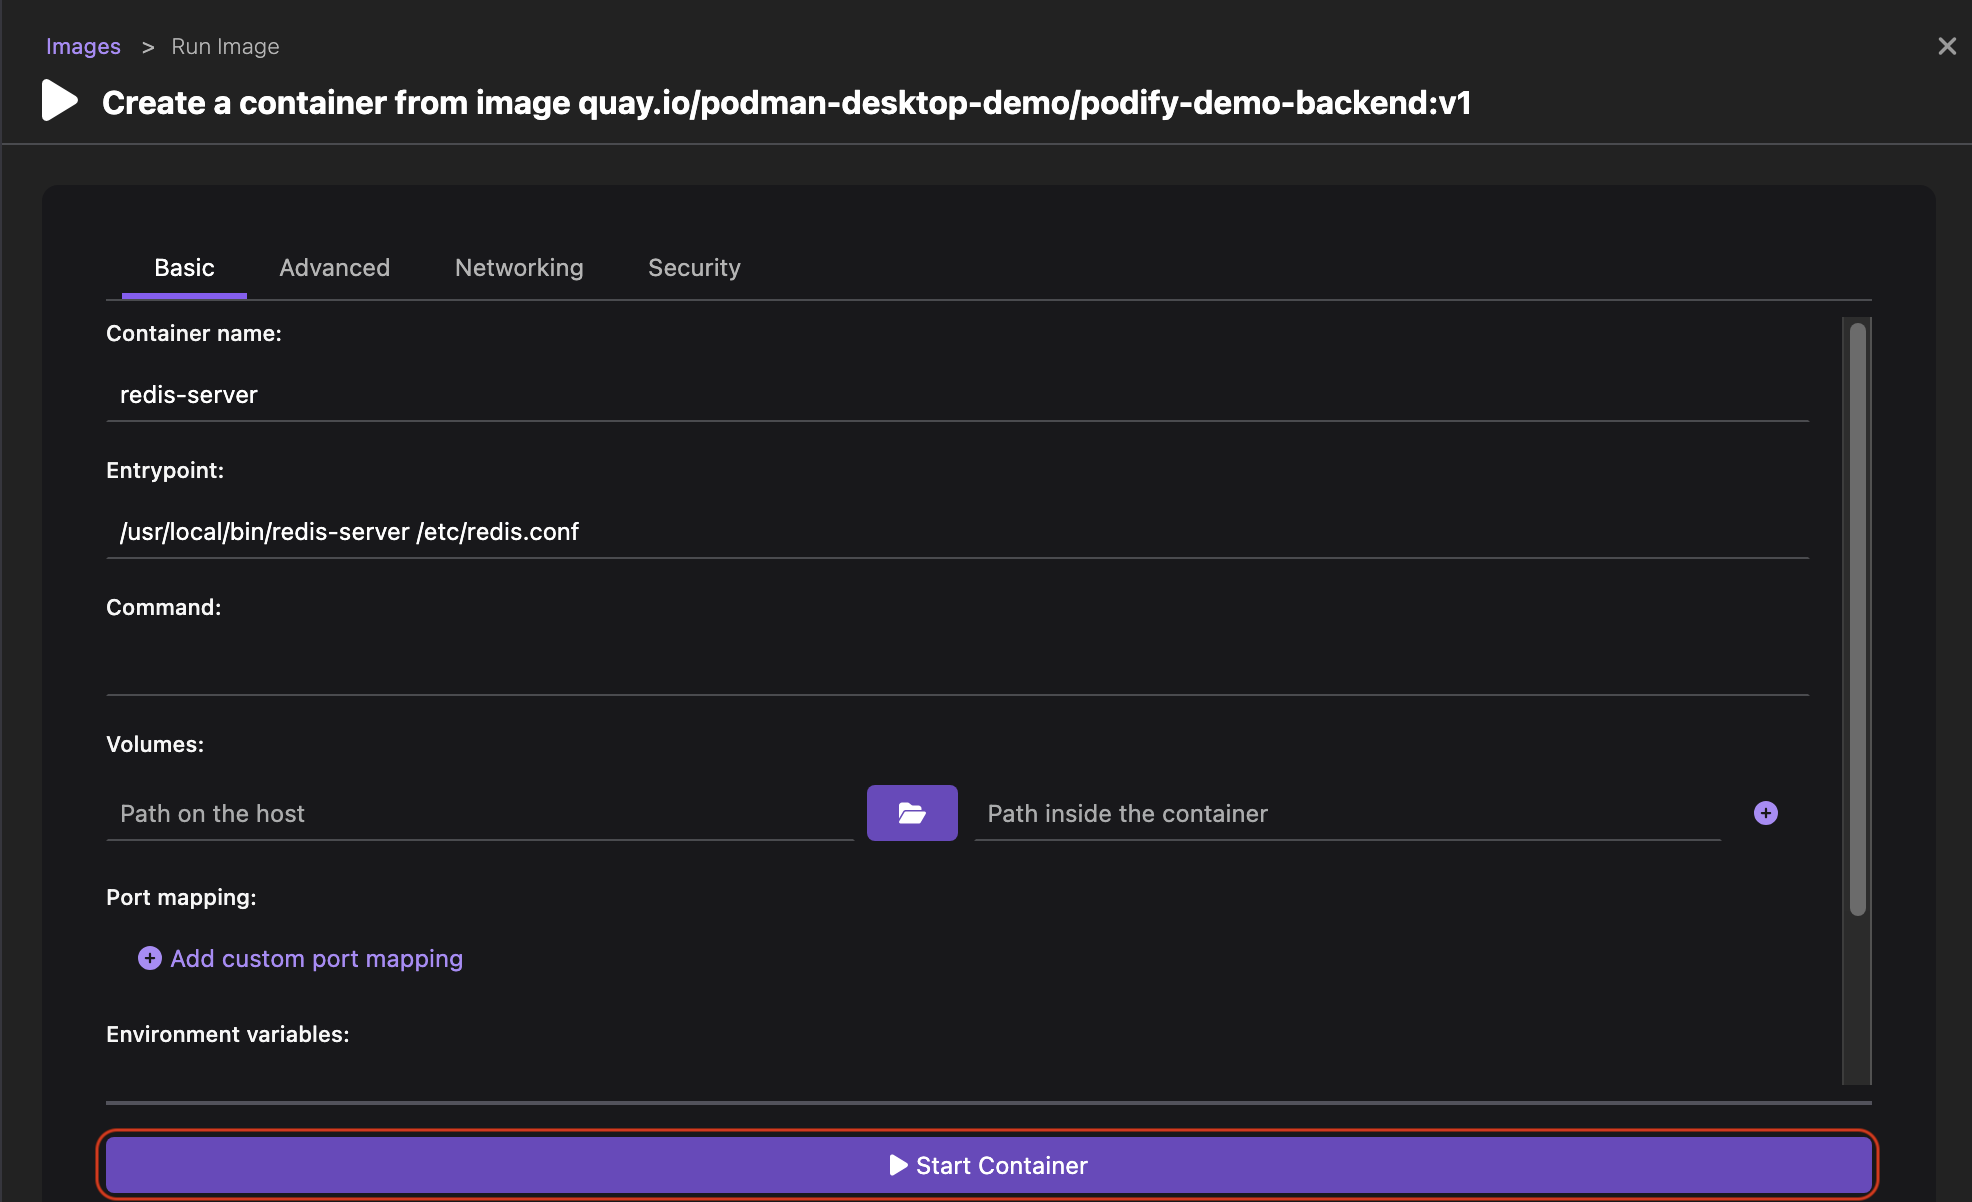
- Click the Run Image icon corresponding to the new image added.

- Enter the container name
redis-server. - Click Start Container.
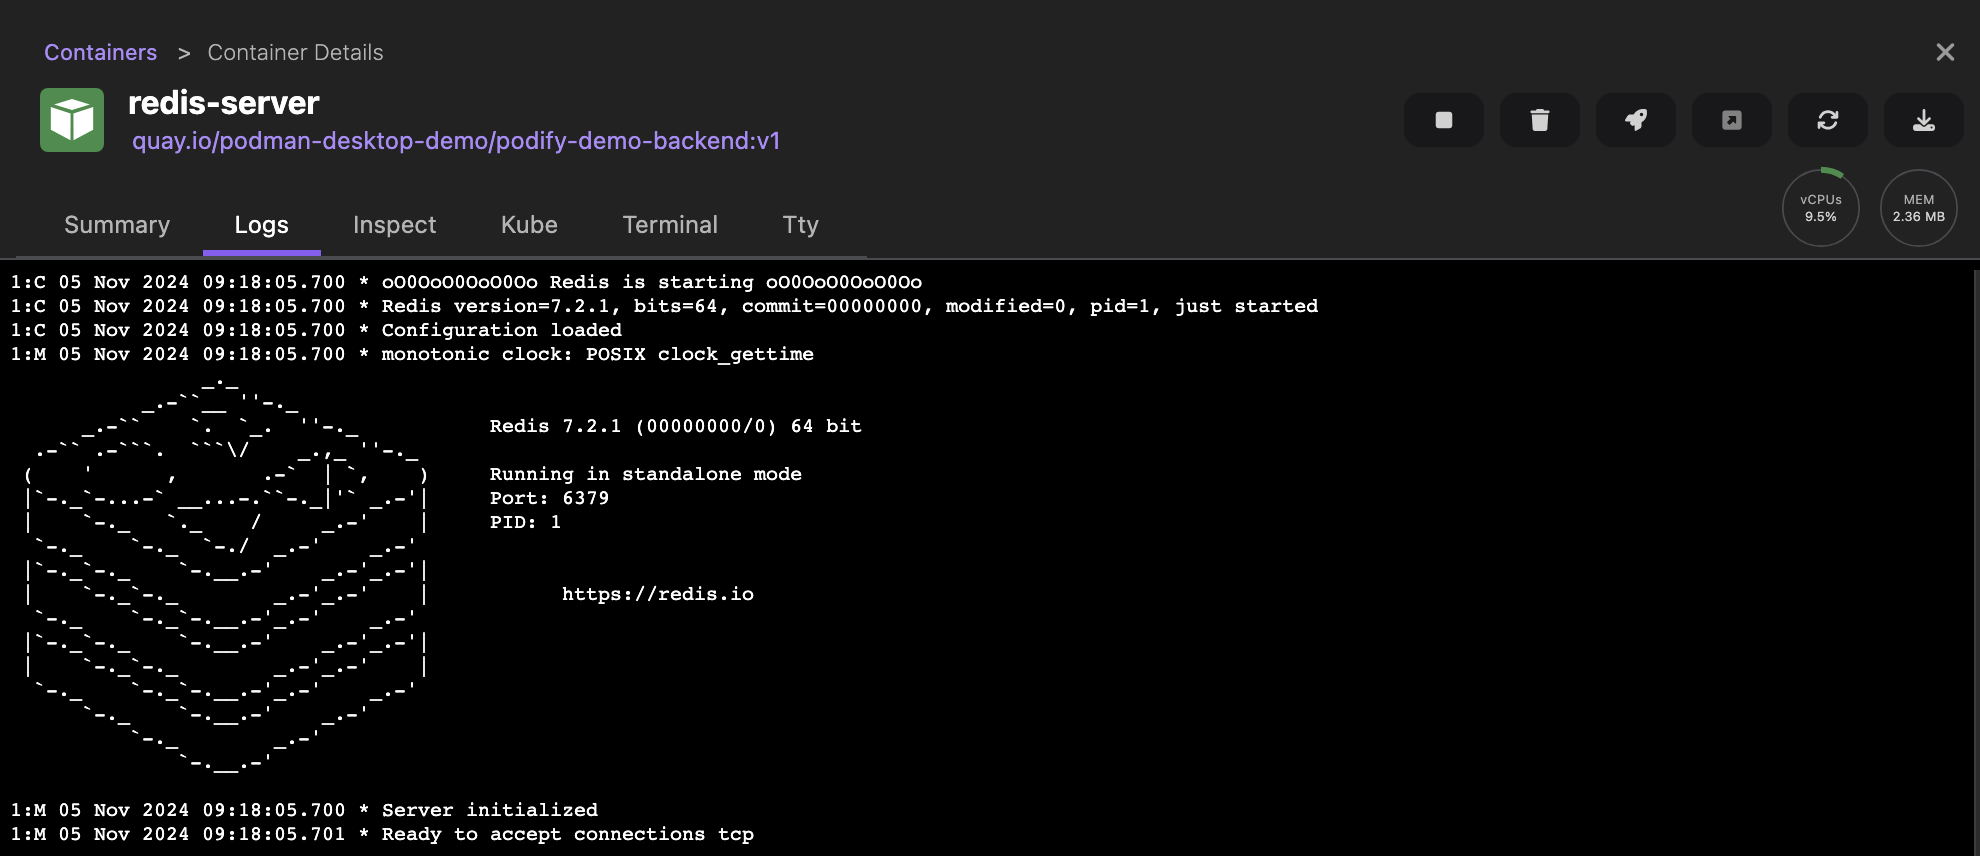
- Click the Logs tab to view that the Redis server is running in standalone mode.
- Enter the image name to pull from a registry. For example,
-
Start the second container:
-
Enter the image name to pull from a registry. For example,
quay.io/podman-desktop-demo/podify-demo-frontend. -
Click Pull image and then Done.
-
Click the
Run Imageicon corresponding to the new image added. -
Enter the container name
python-app.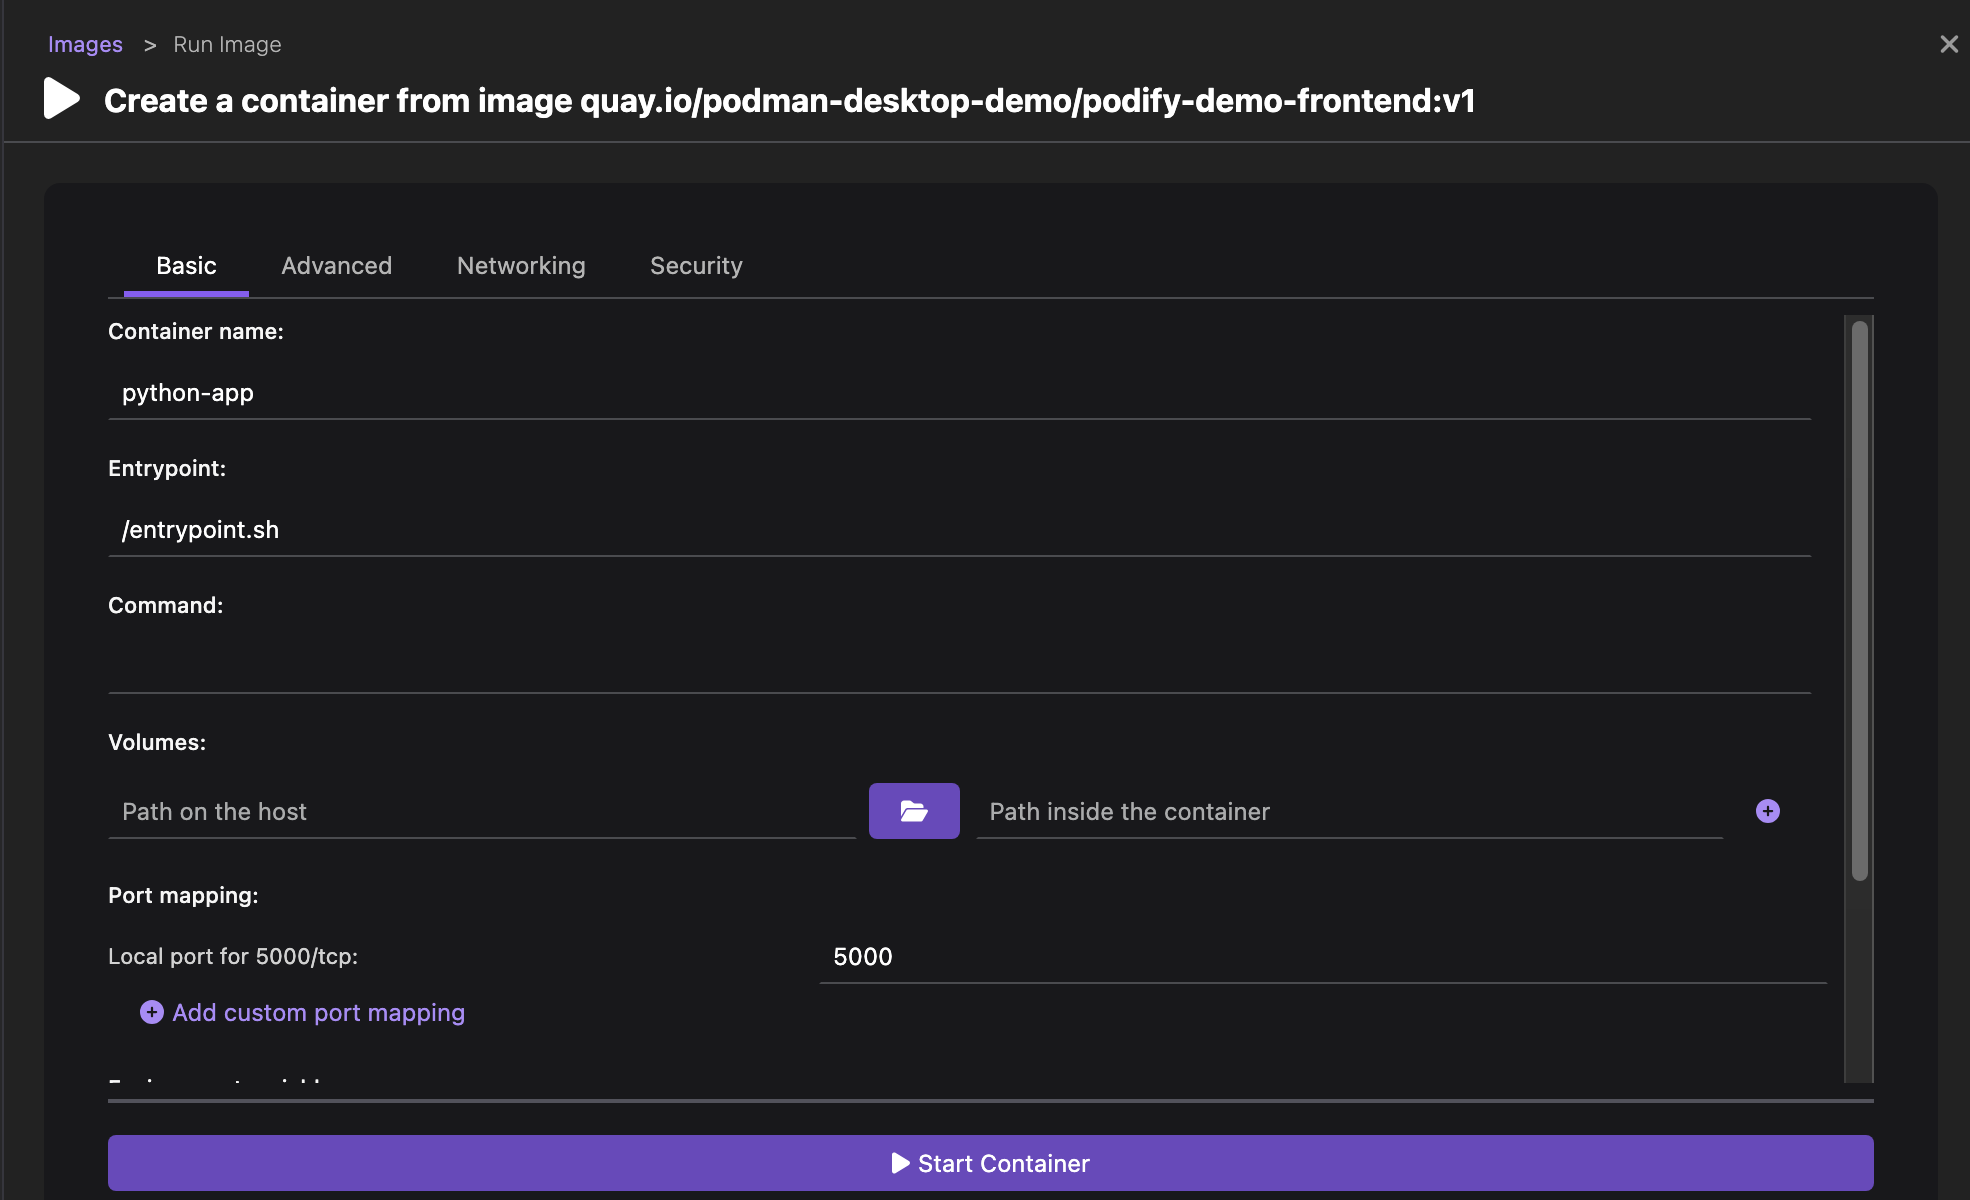 note
noteIf the default port is already in use, you can specify a different port in the
Port mappingfield. -
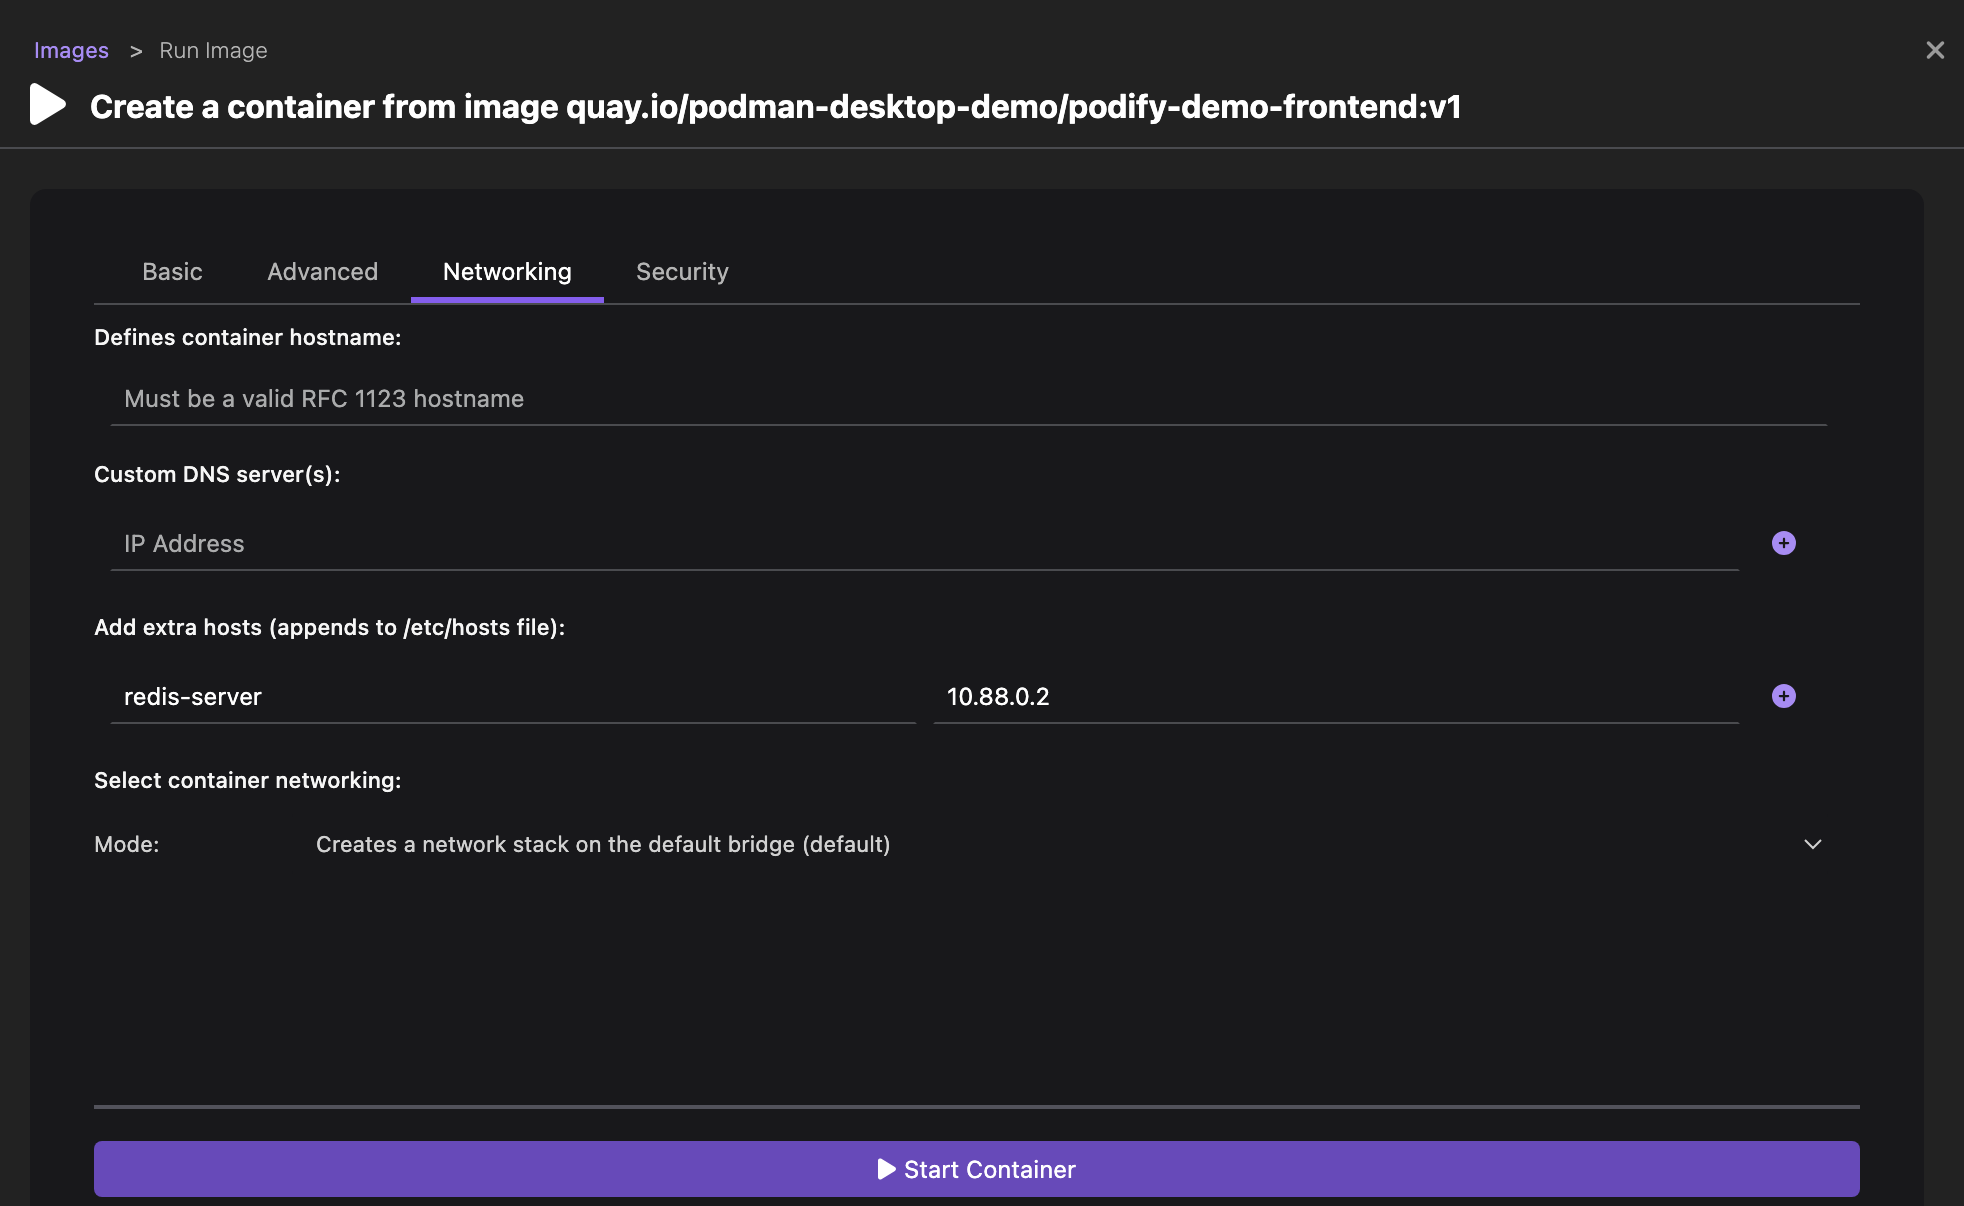
Select the Networking tab and enter hostname as
redis-serverand IP address as10.88.0.2to enable communication with the Redis server.noteYou can find the IP address in the Inspect tab of the
redis-serverContainer Details page. -
Click Start Container.
-
Click the Logs tab to view that the application is running on port
5000.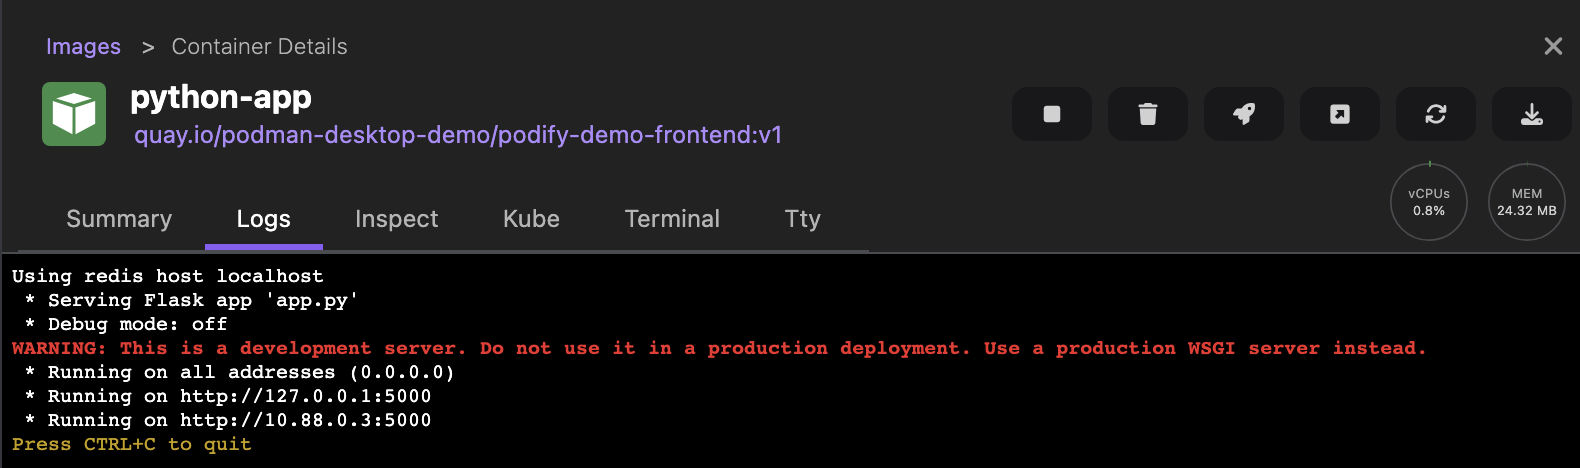
-
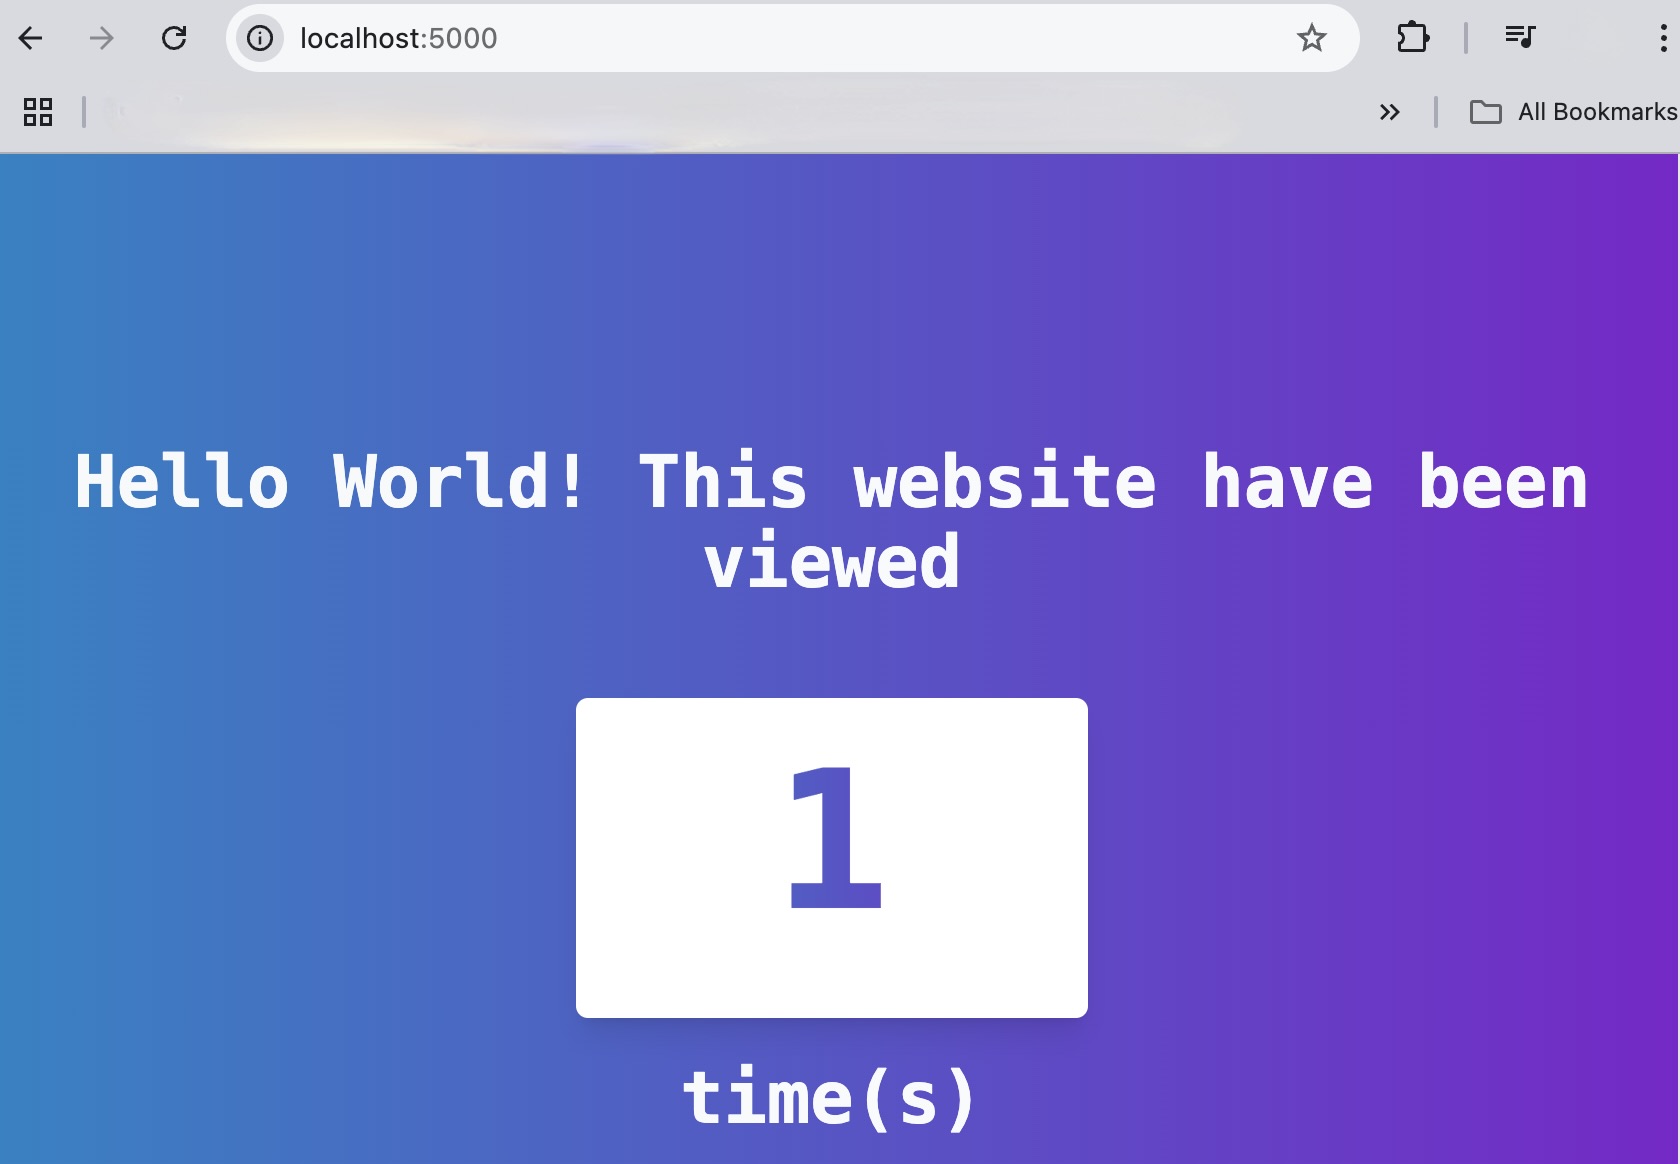
Click the Open browser icon on the right side of the page.
-
View the running front-end application.
-
Creating a pod
You can use both the containers to create a pod. This way both the front-end and back end container applications can share resources, such as storage and network.
Pod creation with existing containers
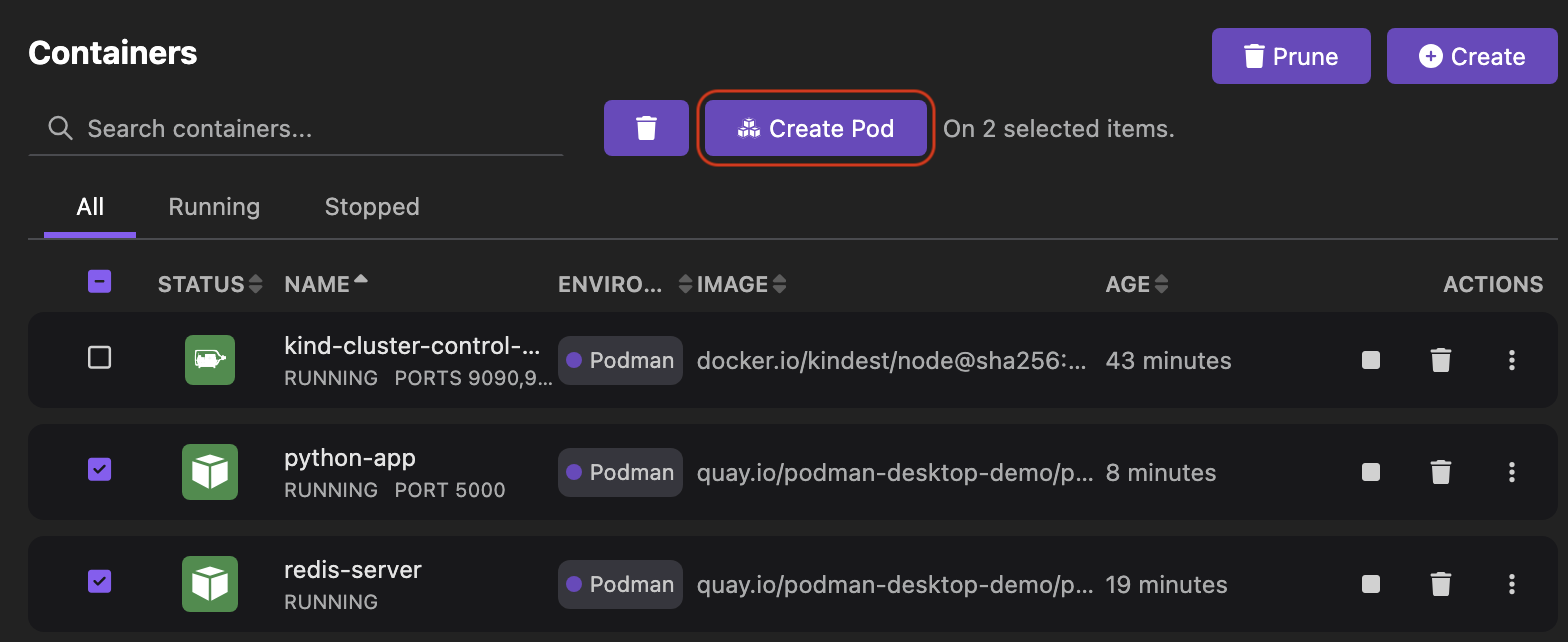
- Go to the Containers page.
- Select both the front-end and back-end containers.
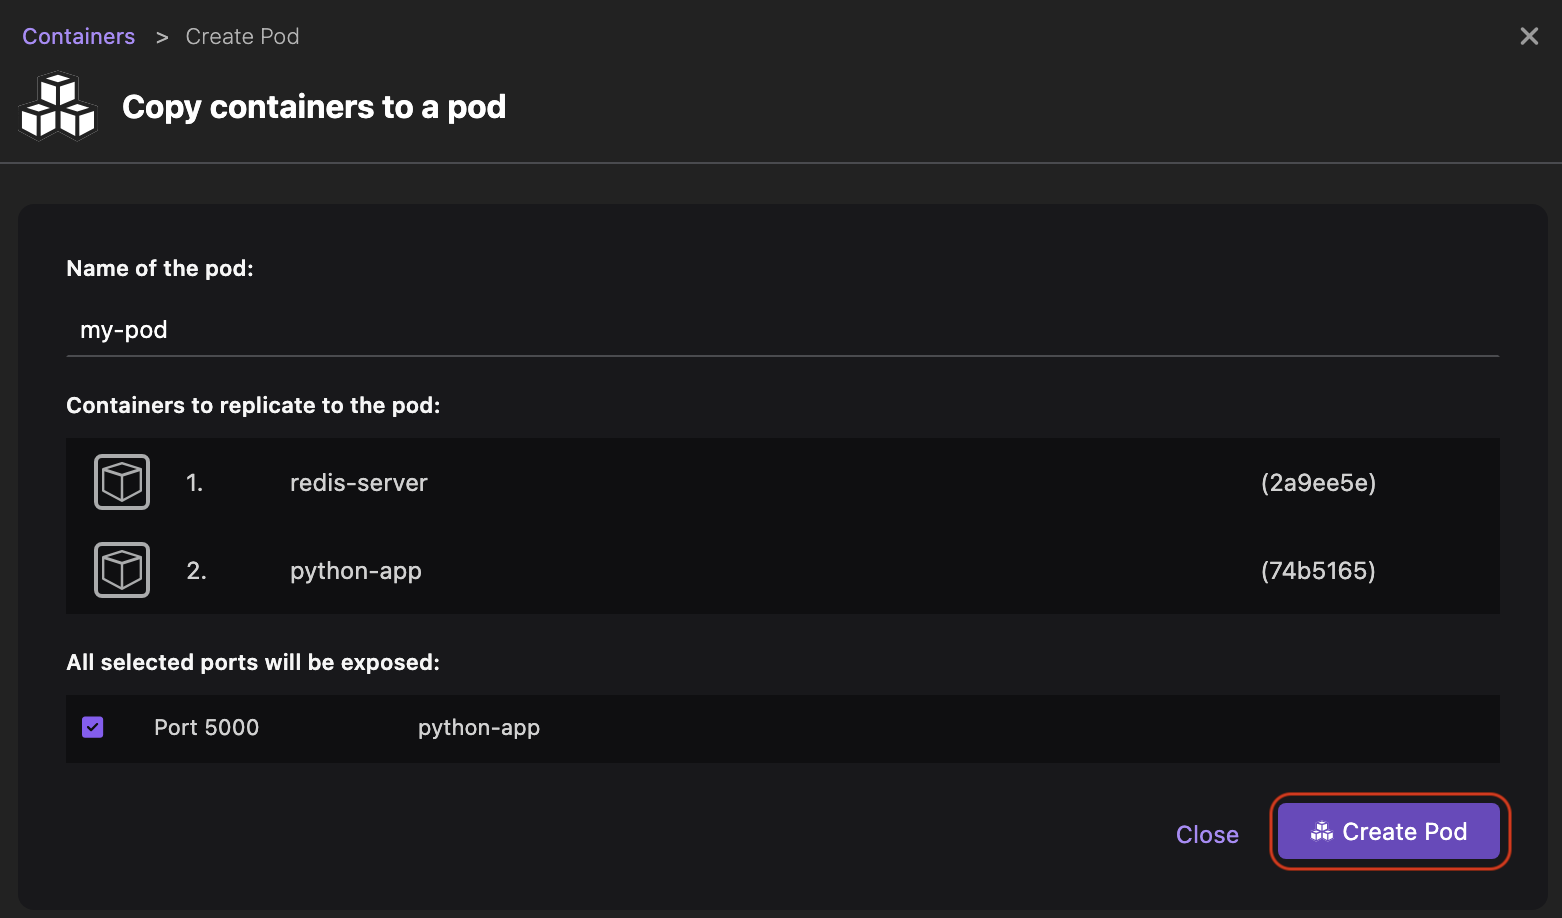
- Click the Create Pod button.
- Click Create Pod.
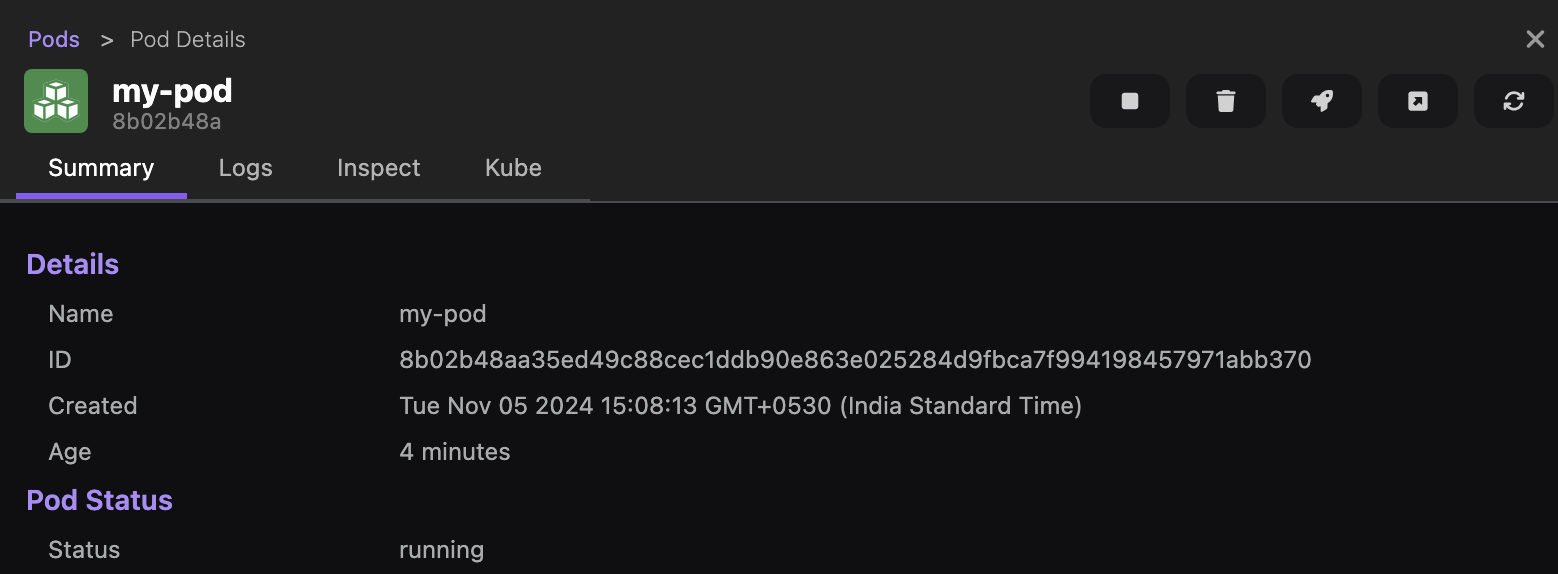
- View the newly created pod on the Pods page.
- Click the name of the pod and then click the Summary tab to view its summary.
Alternative: Pod creation with Kubernetes YAML
You can generate a Kubernetes manifest for any existing pod or container and use it to create a local Kubernetes YAML file. Then, you can customize that file and create a pod from it.
At the time of pod creation, you can select a runtime to indicate whether you want to run the pod on a Podman engine or a Kubernetes cluster. Based on the selection, you get to see the newly created pod running in that environment on the Pods component page.
The following procedure creates a pod that runs on a Podman engine.
- Go to the Pods page.
- Click the overflow menu icon corresponding to the pod.
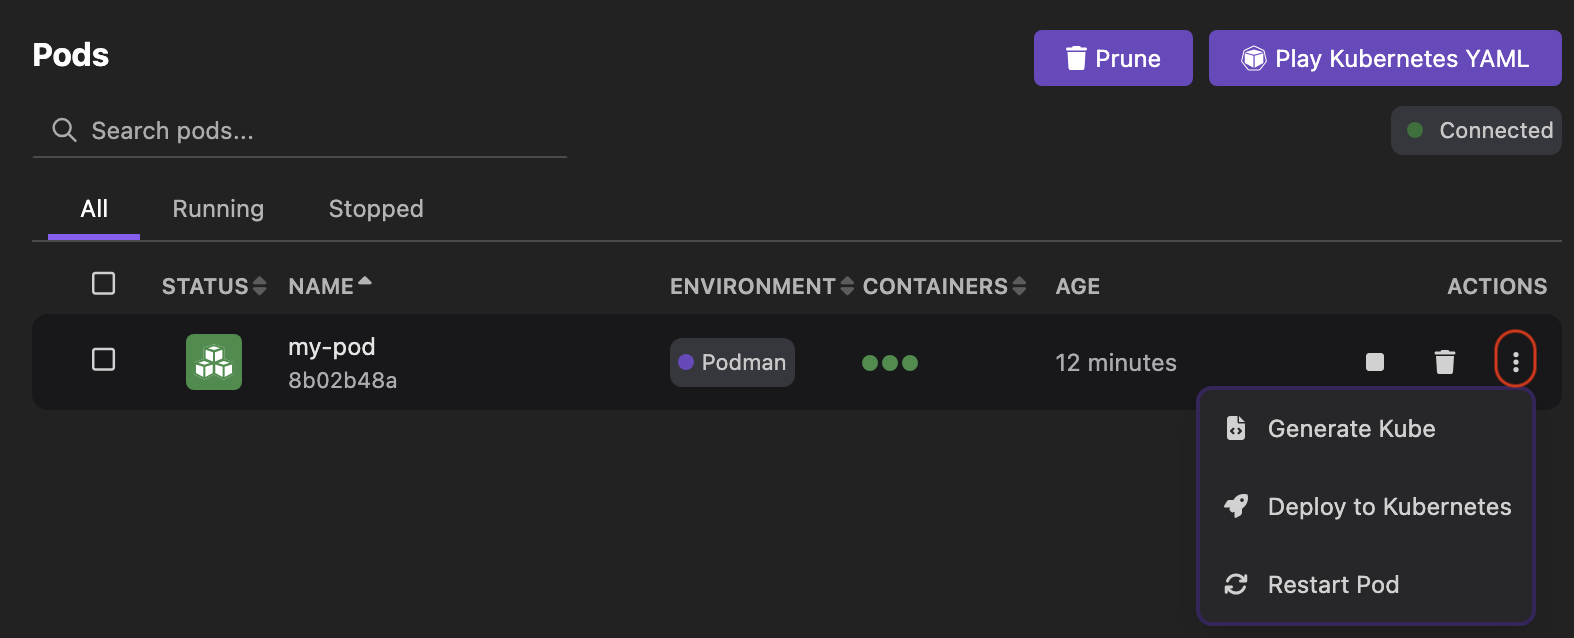
- Select the Generate Kube option from the dropdown list.
- View the Kubernetes YAML configuration in the Kube tab.
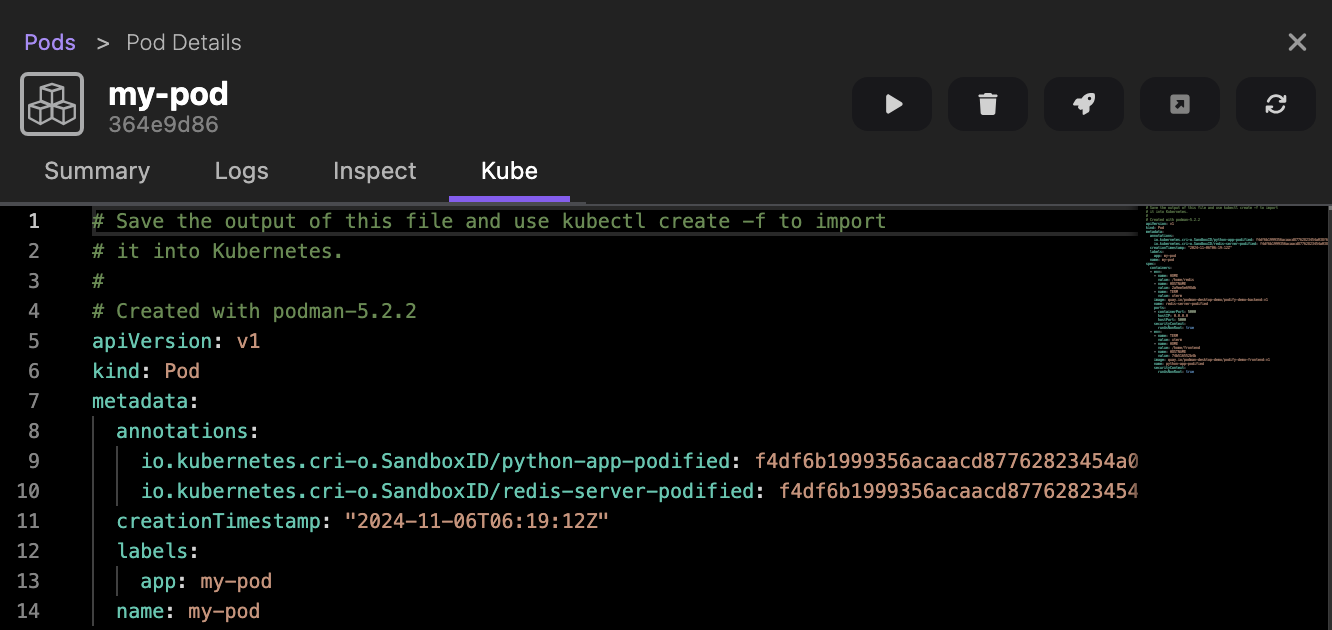
- Copy the configuration and paste it into a YAML file on your machine.
- Edit the YAML configuration and save it.
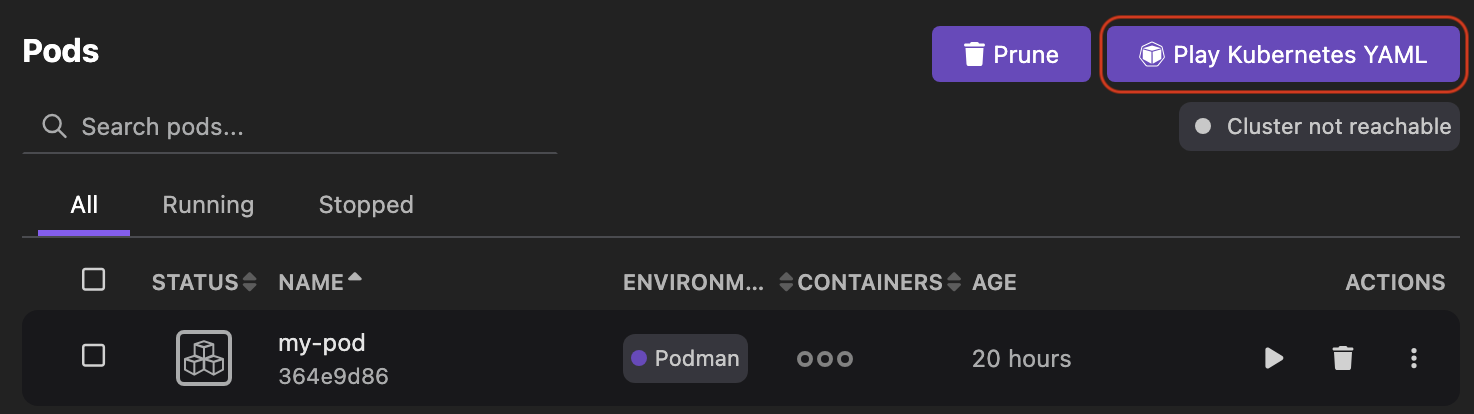
- Go to the Pods component page.
- Click Play Kubernetes YAML.
- Select the YAML file from your machine.
- Check that the Runtime field is set to
Podman container engine. - Click Play and then Done.
- View the newly created pod on the same page.
After creating the pod, set up a local Kubernetes cluster to deploy the pod.
Setting up a local Kubernetes cluster
You can set up a local Kubernetes cluster. Once the cluster is connected and running, you can deploy your application on it.
Based on your preference, use the Kind or Minikube extension:
- Install the extension from the Extensions catalog.
- Create a Kubernetes cluster. See Kind cluster creation or Minikube cluster creation.
Once a kubernetes cluster is created, you can view a running control plane node and a running Kubernetes service on the Kubernetes component page. The page also shows that the cluster is connected.
Deploying the application to Kubernetes
You can deploy the application pod to a Kubernetes cluster that has an active connection and access it through a service. Also, any container that is part of a pod is deployable to a Kubernetes cluster.
-
Select your Kubernetes context.
-
Go to the Pods component page.
-
Click the overflow menu icon corresponding to the pod.
-
Select the Deploy to Kubernetes option from the dropdown list.
-
Select the checkbox to expose the service locally using the ingress controller.
 note
noteWhen you configure custom port mapping while running an image, you get the option to select an Ingress host port from the dropdown list.
 Otherwise, you do not see the option.
 -
Click Deploy and then Done.
Verifying the running service
-
Go the Kubernetes component page.
-
Perform the following steps:
- Click the Services option to view the newly created service,
my-pod-5000.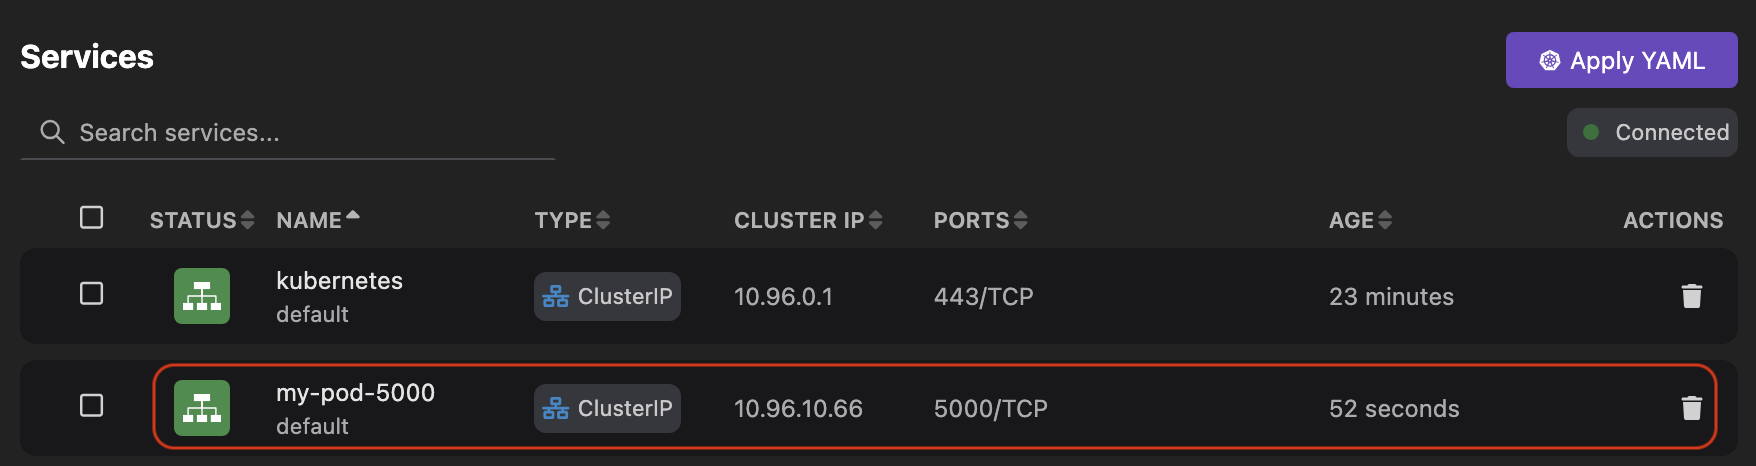
- Click the Ingresses and Routes option to view the newly created ingress,
my-pod.
noteUse the Apply YAML button to directly apply a Kubernetes YAML file to create a resource.
- Click the Services option to view the newly created service,