Setting up and running a Kubernetes cluster locally with Podman Desktop

In this blog post you will learn to use Podman Desktop to run the Kubernetes documentation example: Deploying PHP Guestbook application with Redis.
On the agenda:
- Installing Podman Desktop.
- Installing and initializing your container engine: Podman.
- Installing and starting your local Kubernetes provider: Kind.
- Starting the Redis leader.
- Starting and scaling the Redis followers.
- Starting and exposing the Guestbook frontend.
Installing Podman Desktop
You need Podman Desktop.
- Go to Podman Desktop installation documentation.
- Click on your platform name: Windows, macOS, or Linux.
- Follow the instructions. Stick to the default installation method.
- Start Podman Desktop.
At this point, you have a graphical user interface to:
- Install Podman and Kind.
- Control and work with your container engines and Kubernetes clusters.
- Run your application on your container engine and migrate it to Kubernetes.
Installing and initializing your container engine: Podman
Podman Desktop can control various container engines, such as:
- Docker
- Lima
- Podman
Consider installing the Podman container engine for:
- Added security
- No daemon
- Open source
Containers are a Linux technology.
- On Linux, you can install Podman natively. See: Installing Podman on Linux.
- On macOS and Windows, Podman requires to run in a Linux virtual machine: the Podman machine. Use Podman Desktop to install Podman and initialize your Podman machine:
Procedure
- Open Podman Desktop Dashboard
- The Dashboard displays Podman Desktop was not able to find an installation of Podman.
- Click on Install.
- Podman Desktop checks the prerequisites to install Podman Engine. When necessary, follow the instructions to install prerequisites.
- Podman displays the dialog: Podman is not installed on this system, would you like to install Podman?. Click on Yes to install Podman.
- Click on Initialize and start.
Verification
-
The Dashboard displays Podman is running.
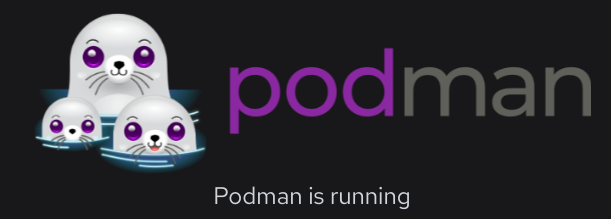
At this point, you can start working with containers.
Installing and starting your local Kubernetes provider: Kind
You want to deploy your application to a local Kubernetes cluster.
Podman Desktop can help you run Kind-powered local Kubernetes clusters on a container engine, such as Podman.
Podman Desktop helps you installing the kind CLI:
-
In the status bar, click on Kind, and follow the prompts.
-
When the
kindCLI is available, the status bar does not display Kind. -
On Windows, configure Podman in rootful mode
$ podman system connection default podman-machine-default-root -
Go to Settings > Resources
-
In the
 Podman tile, click on the icon to restart the Podman container engine.
 -
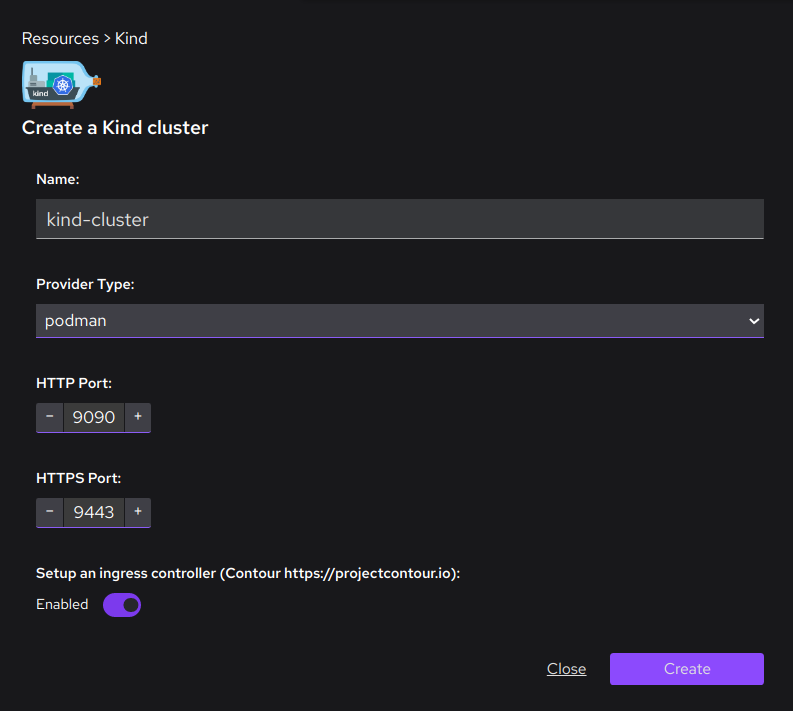
In the
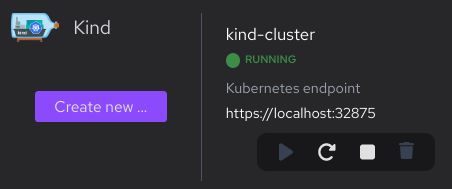
 Kind tile, click on the Create new button.
- Name: enter
kind-cluster. - Provider Type: select
podman. - HTTP Port: select
9090. - HTTPS Port: select
9443. - Setup an ingress controller:
Enabled - Click the Create button.
- Name: enter
-
After successful creation, click on the Go back to resources button
Verification
-
In Settings > Resources your Kind cluster is running/
-
In the Podman Desktop tray, open the Kubernetes menu: you can set the context to your Kind cluster:
kind-kind-cluster.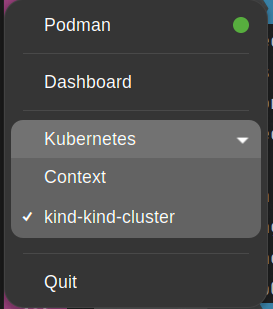
At this point, you can start working with containers, and your local Kubernetes cluster.
Additional resources
Starting the Redis leader
The Guestbook application uses Redis to store its data.
With Podman Desktop, you can prepare the Redis leader image and container on your local container engine, and deploy the results to a Kubernetes pod and service.
This is functionally equal to the redis-leader deployment that the Kubernetes example propose.
Procedure
-
Open Images > Pull an image.
- Image to Pull: enter
docker.io/redis:6.0.5 - Click Pull image to pull the image to your container engine local image registry.
- Click Done to get back to the images list.
- Image to Pull: enter
-
Search images: enter
redis:6.0.5to find the image. -
Click to open the Create a container from image dialog.
- Container name: enter
leader, - Local port for
6379/tcp:6379. - Click Start Container to start the container in your container engine.
- Container name: enter
-
Search containers: enter
leaderto find the running container. -
Click to stop the container, and leave the
6379port available for the Redis follower container. -
Click > Deploy to Kubernetes to open the Deploy generated pod to Kubernetes screen.
- Pod Name: enter
redis-leader. - Use Kubernetes Services: select Replace
hostPortexposure on containers by Services. It is the recommended way to expose ports, as a cluster policy might prevent to usehostPort. - Expose service locally using Kubernetes Ingress: deselect Create a Kubernetes ingress to get access to the ports that this pod exposes, at the default ingress controller location. Example: on a default Kind cluster created with Podman Desktop:
http://localhost:9090. Requirements: your cluster has an ingress controller`. - Kubernetes namespaces: select
default. - Click Deploy.

- Wait for the pod to reach the state: Phase: Running.
- Click Done.
- Pod Name: enter
Verification
-
The Pods screen lists the running
redis-leaderpod.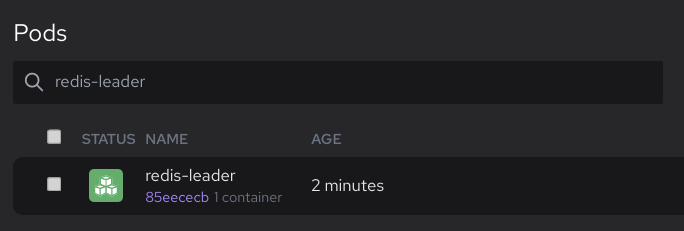
Starting the Redis followers
Although the Redis leader is a single Pod, you can make it highly available and meet traffic demands by adding a few Redis followers, or replicas.
With Podman Desktop, you can prepare the Redis follower image and container on your local container engine, and deploy the results to Kubernetes pods and services.
This is functionally equal to the redis-follower deployment that the Kubernetes example propose.
Procedure
- Open Images > Pull an image.
- Image to Pull: enter
gcr.io/google_samples/gb-redis-follower:v2 - Click Pull image to pull the image to your container engine local image registry.
- Click Done to get back to the images list.
- Image to Pull: enter
- Search images: enter
gb-redis-follower:v2to find the image. - Click to open the Create a container from image dialog.
- Container name: enter
follower, - Local port for
6379/tcp:6379. - Click Start Container to start the container in your container engine.
- Container name: enter
- Search containers: enter
followerto find the running container. - Click to stop the container: you do not need it to run in the container engine.
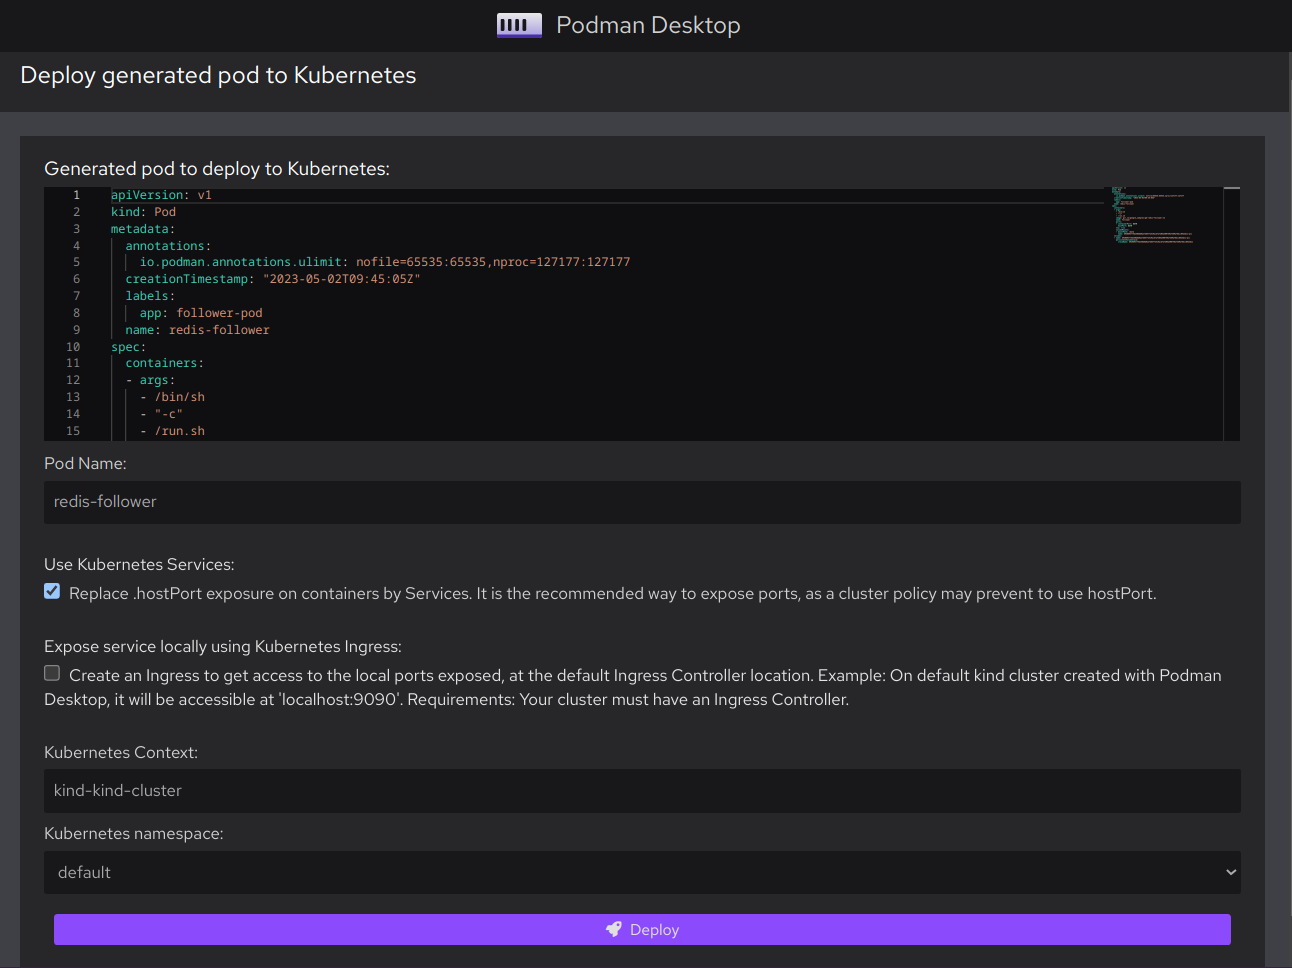
- Click > Deploy to Kubernetes to open the Deploy generated pod to Kubernetes screen.
- Pod Name: enter
redis-follower. - Use Kubernetes Services: select Replace
hostPortexposure on containers by Services. It is the recommended way to expose ports, as a cluster policy might prevent to usehostPort. - Expose service locally using Kubernetes Ingress: deselect Create a Kubernetes ingress to get access to the ports that this pod exposes, at the default ingress controller location. Example: on a default Kind cluster created with Podman Desktop:
http://localhost:9090. Requirements: your cluster has an ingress controller`. - Kubernetes namespaces: select
default. - Click Deploy.
- Wait for the pod to reach the state: Phase: Running.
- Click Done.
- Pod Name: enter
- To add replicas, repeat the last step with another Pod Name value.
Verification
-
The Pods screen lists the running
redis-followerpods.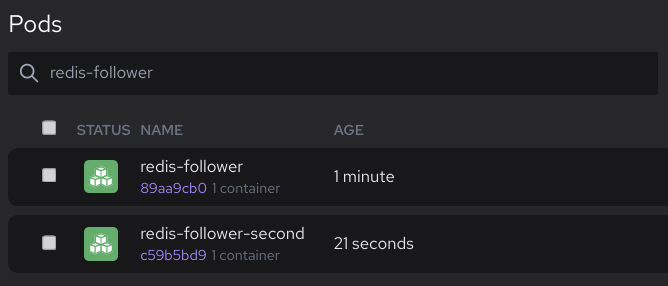
Starting the default frontend
Now that you have the Redis storage of your Guestbook up and running, start the Guestbook web servers. Like the Redis followers, deploy the frontend using Kubernetes pods and services.
The Guestbook app uses a PHP frontend. It is configured to communicate with either the Redis follower or leader Services, depending on whether the request is a read or a write. The frontend exposes a JSON interface, and serves a jQuery-Ajax-based UX.
With Podman Desktop, you can prepare the Guestbook frontend image and container on your local container engine, and deploy the results to Kubernetes pods and services.
This is functionally equal to the frontend deployment that the Kubernetes example propose.
Procedure
- Open Images > Pull an image.
- Image to Pull: enter
gcr.io/google_samples/gb-frontend:v5 - Click Pull image to pull the image to your container engine local image registry.
- Wait for the pull to complete.
- Click Done to get back to the images list.
- Image to Pull: enter
- Search images: enter
gb-frontend:v5to find the image. - Click to open the Create a container from image dialog.
- Container name: enter
frontend, - Local port for
80/tcp:9000. - Click Start Container to start the container in your container engine.
- Container name: enter
- Search containers: enter
frontendto find the running container. - Click to stop the container: you do not need it to run in the container engine.
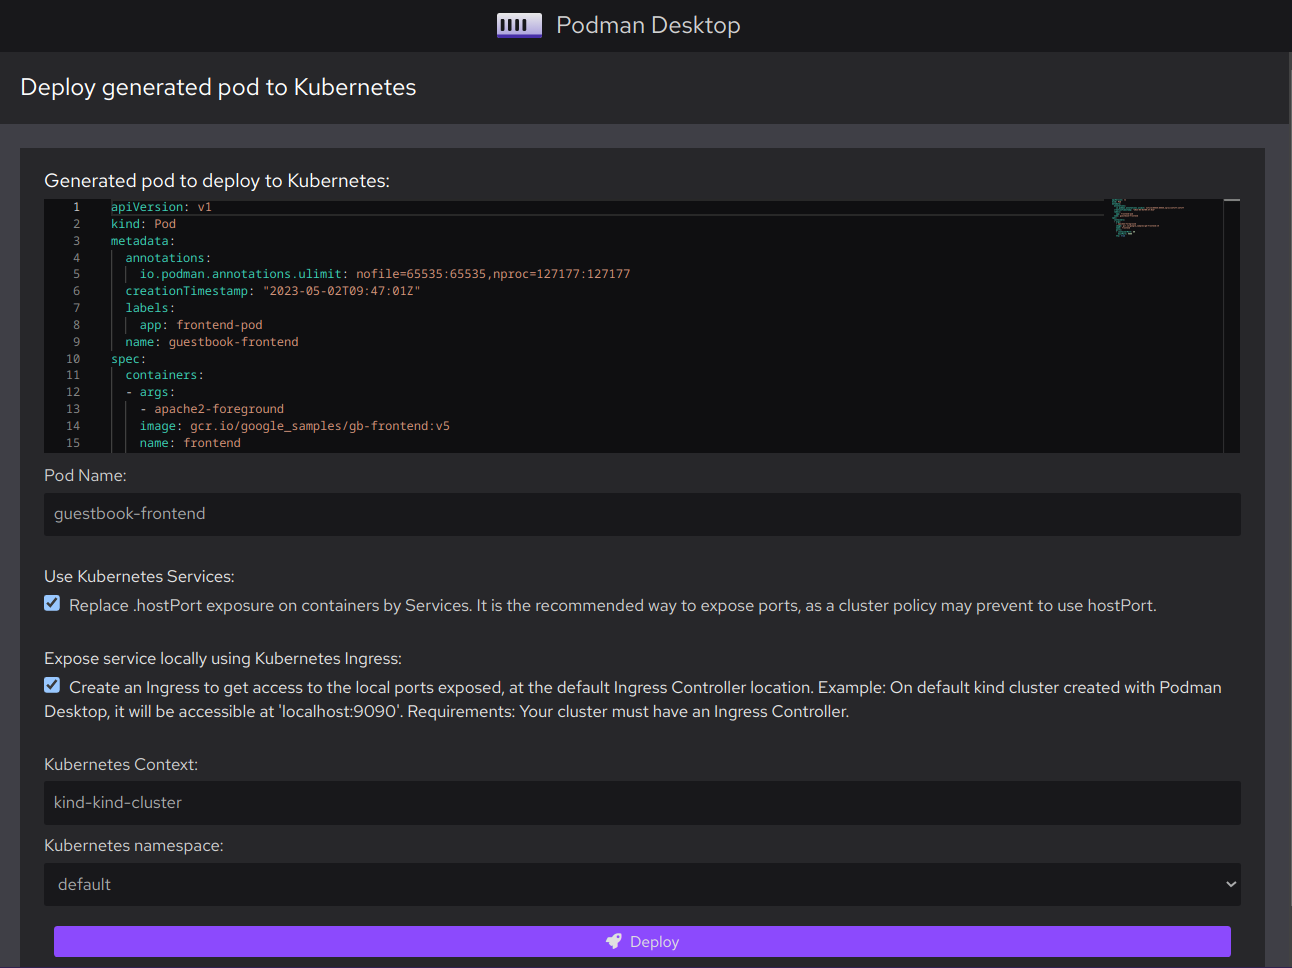
- Click > Deploy to Kubernetes to open the Deploy generated pod to Kubernetes screen.
- Pod Name: enter
frontend. - Use Kubernetes Services: select Replace
hostPortexposure on containers by Services. It is the recommended way to expose ports, as a cluster policy might prevent to usehostPort. - Expose service locally using Kubernetes Ingress: select Create a Kubernetes ingress to get access to the ports that this pod exposes, at the default ingress controller location. Example: on a default Kind cluster created with Podman Desktop:
http://localhost:9090. Requirements: your cluster has an ingress controller`. - Kubernetes namespaces: select
default. - Click Deploy.
- Wait for the pod to reach the state: Phase: Running.
- Click Done.
- Pod Name: enter
Verification
-
The Pods screen lists the running
frontendpod.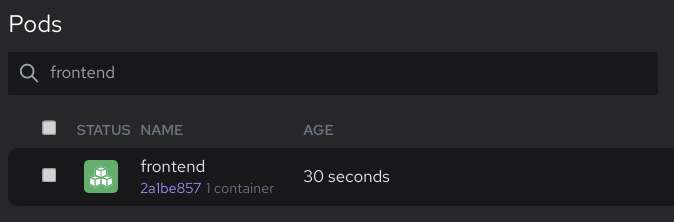
-
Go to
http://localhost:9090: the Guestbook application is running.