See your Docker containers inside Podman Desktop

Thinking about switching from Docker Desktop to Podman Desktop? You don't have to commit to anything yet. Podman Desktop ships with a built-in Docker extension that automatically detects your running Docker engine and displays all your Docker containers, images, and volumes right inside the Podman Desktop UI.
No configuration. No migration. Just install and open.
How it works
Podman Desktop is a multi-engine container management tool. Unlike Docker Desktop, which only manages Docker, Podman Desktop can connect to multiple container engines at the same time: Podman, Docker, and even Apple Container.
The built-in Docker extension monitors the standard Docker socket (/var/run/docker.sock on macOS/Linux, named pipe on Windows). When it detects a running Docker daemon, it automatically registers it as a provider. From that point on, every Docker container, image, and volume appears in Podman Desktop alongside any Podman resources you might have.
There is nothing to configure: if Docker Desktop is running, Podman Desktop sees it.
What you need
- Docker Desktop running with some containers or images.
- Podman Desktop: Download here for macOS, Windows, or Linux.
That's it. You don't need Podman installed. You don't need a Podman machine. You don't need to change any settings.
Step 1: Install and open Podman Desktop
Download and install Podman Desktop. Launch it.
If Podman Desktop offers to set up a Podman machine on first launch, you can skip it for now (we're only looking at Docker containers in this tutorial).
Step 2: Check that Docker is detected
Navigate to Settings > Resources. You should see a Docker provider listed with a "running" status.
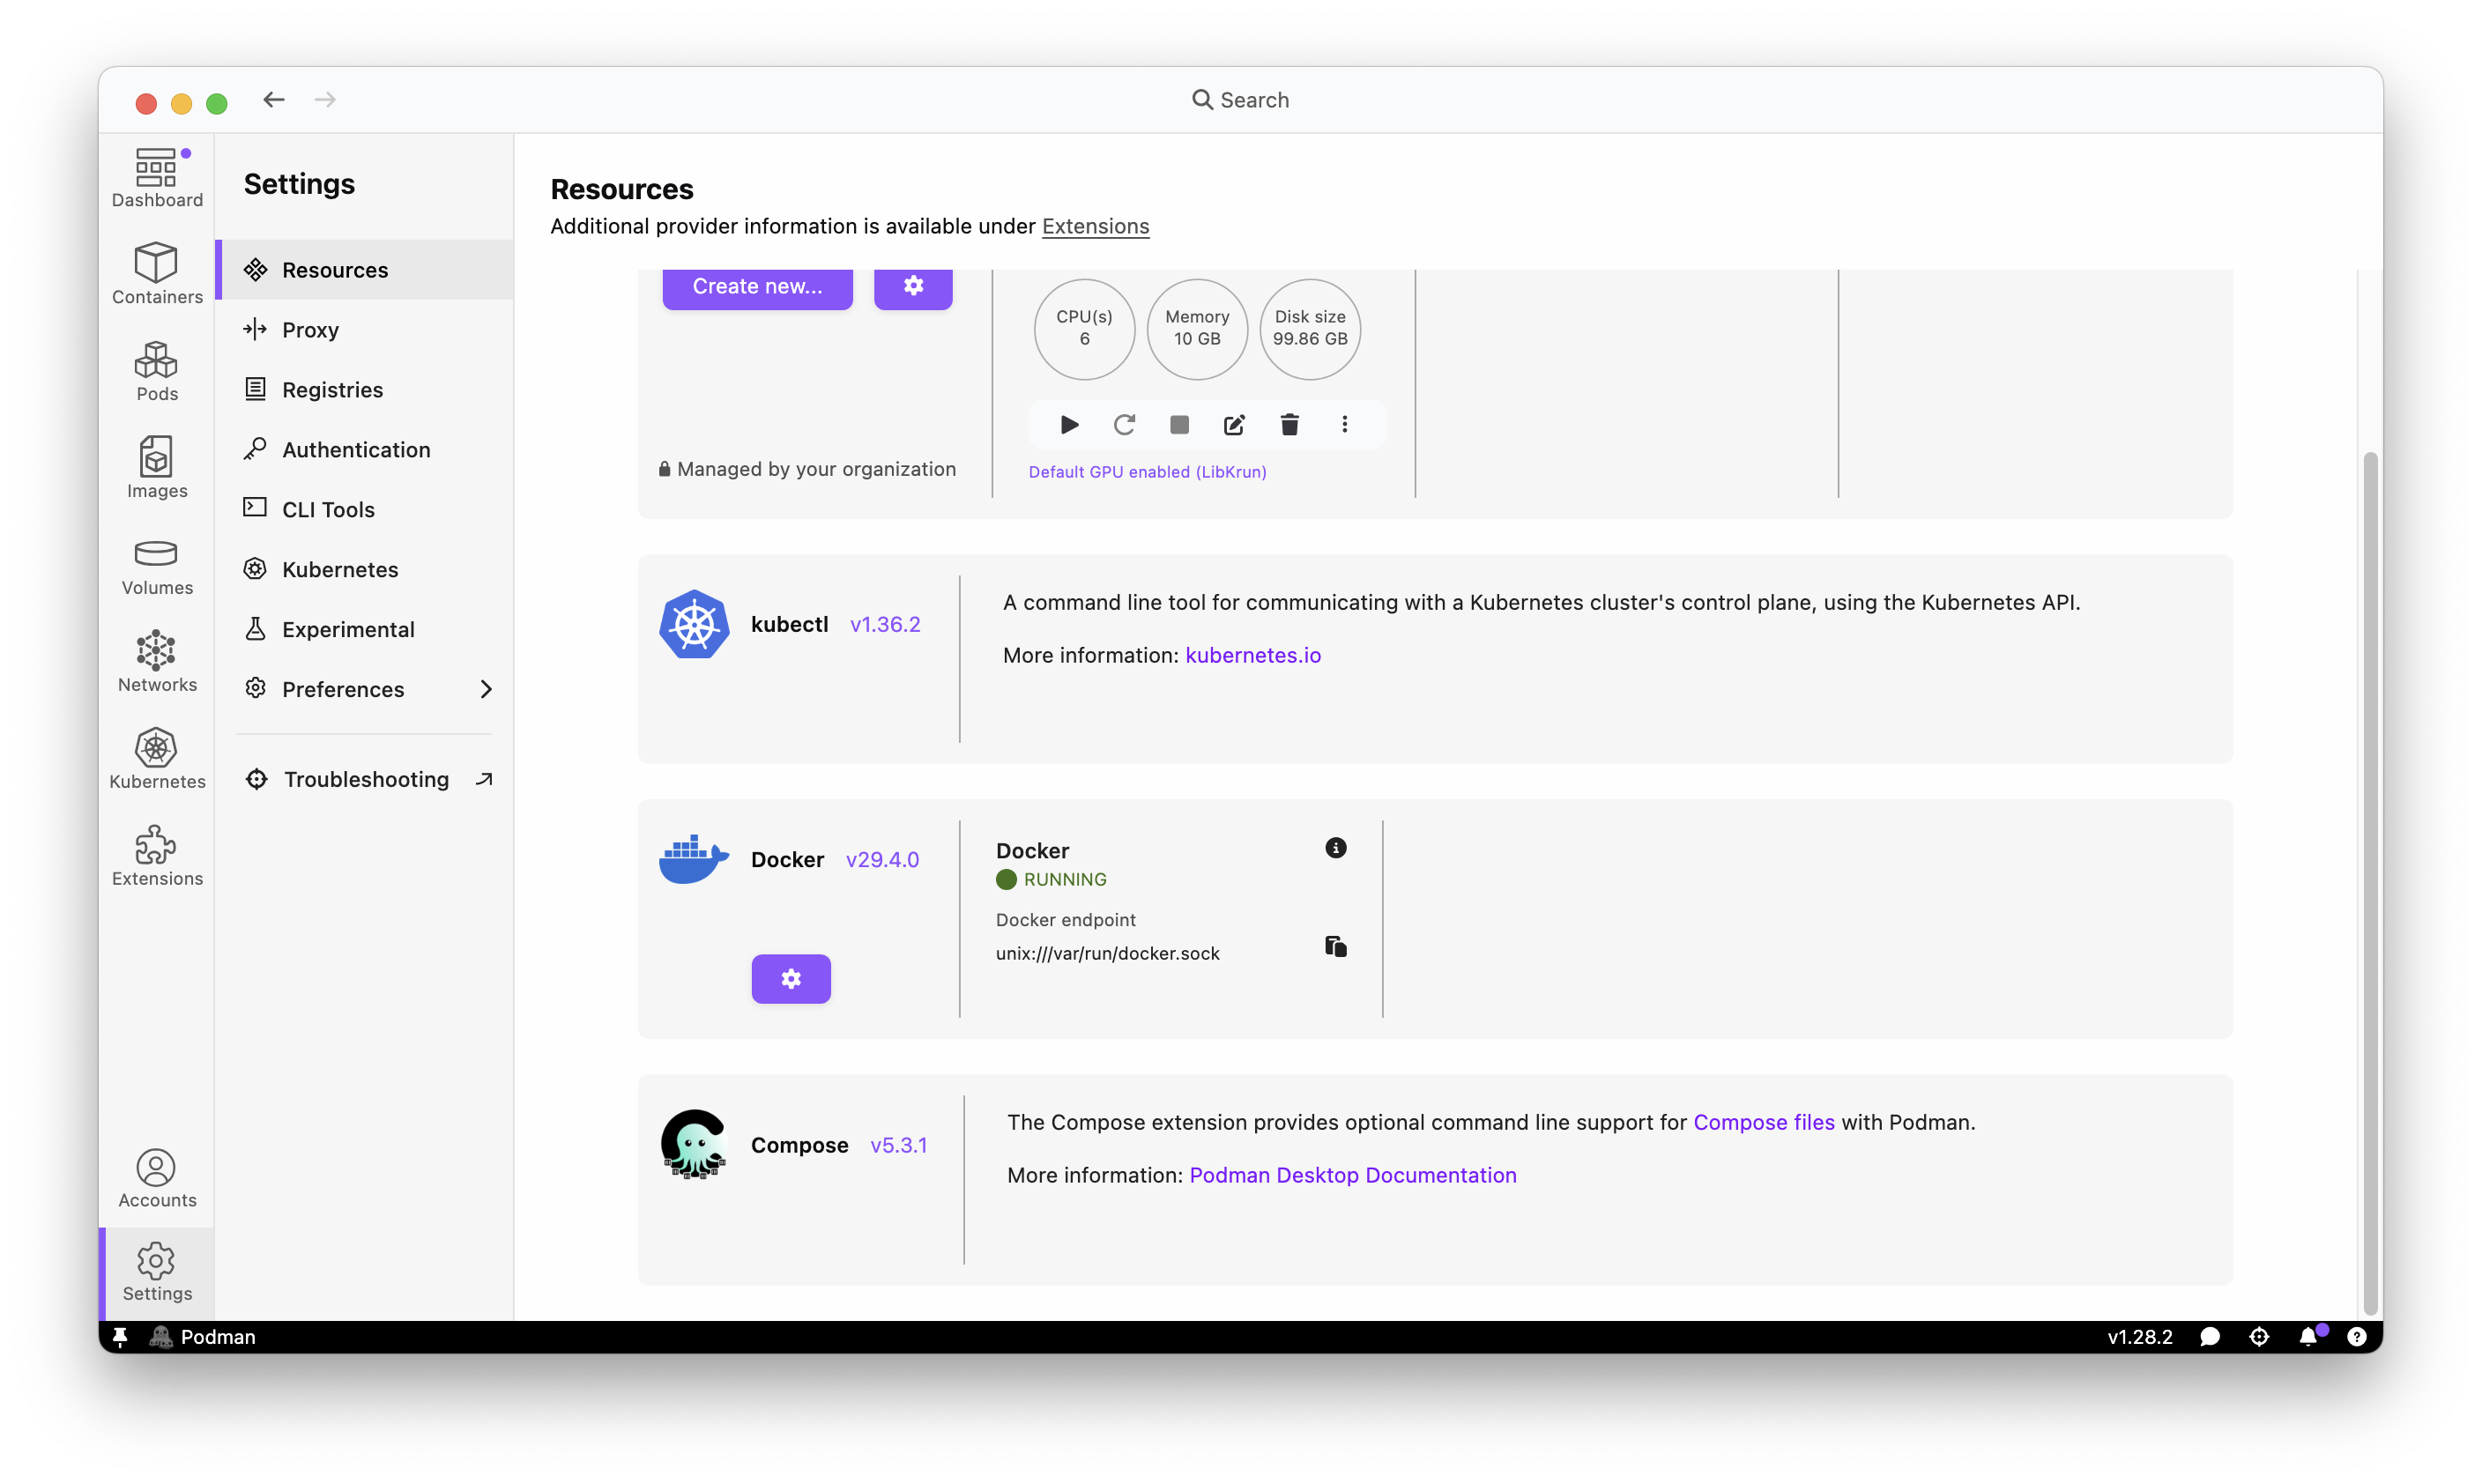
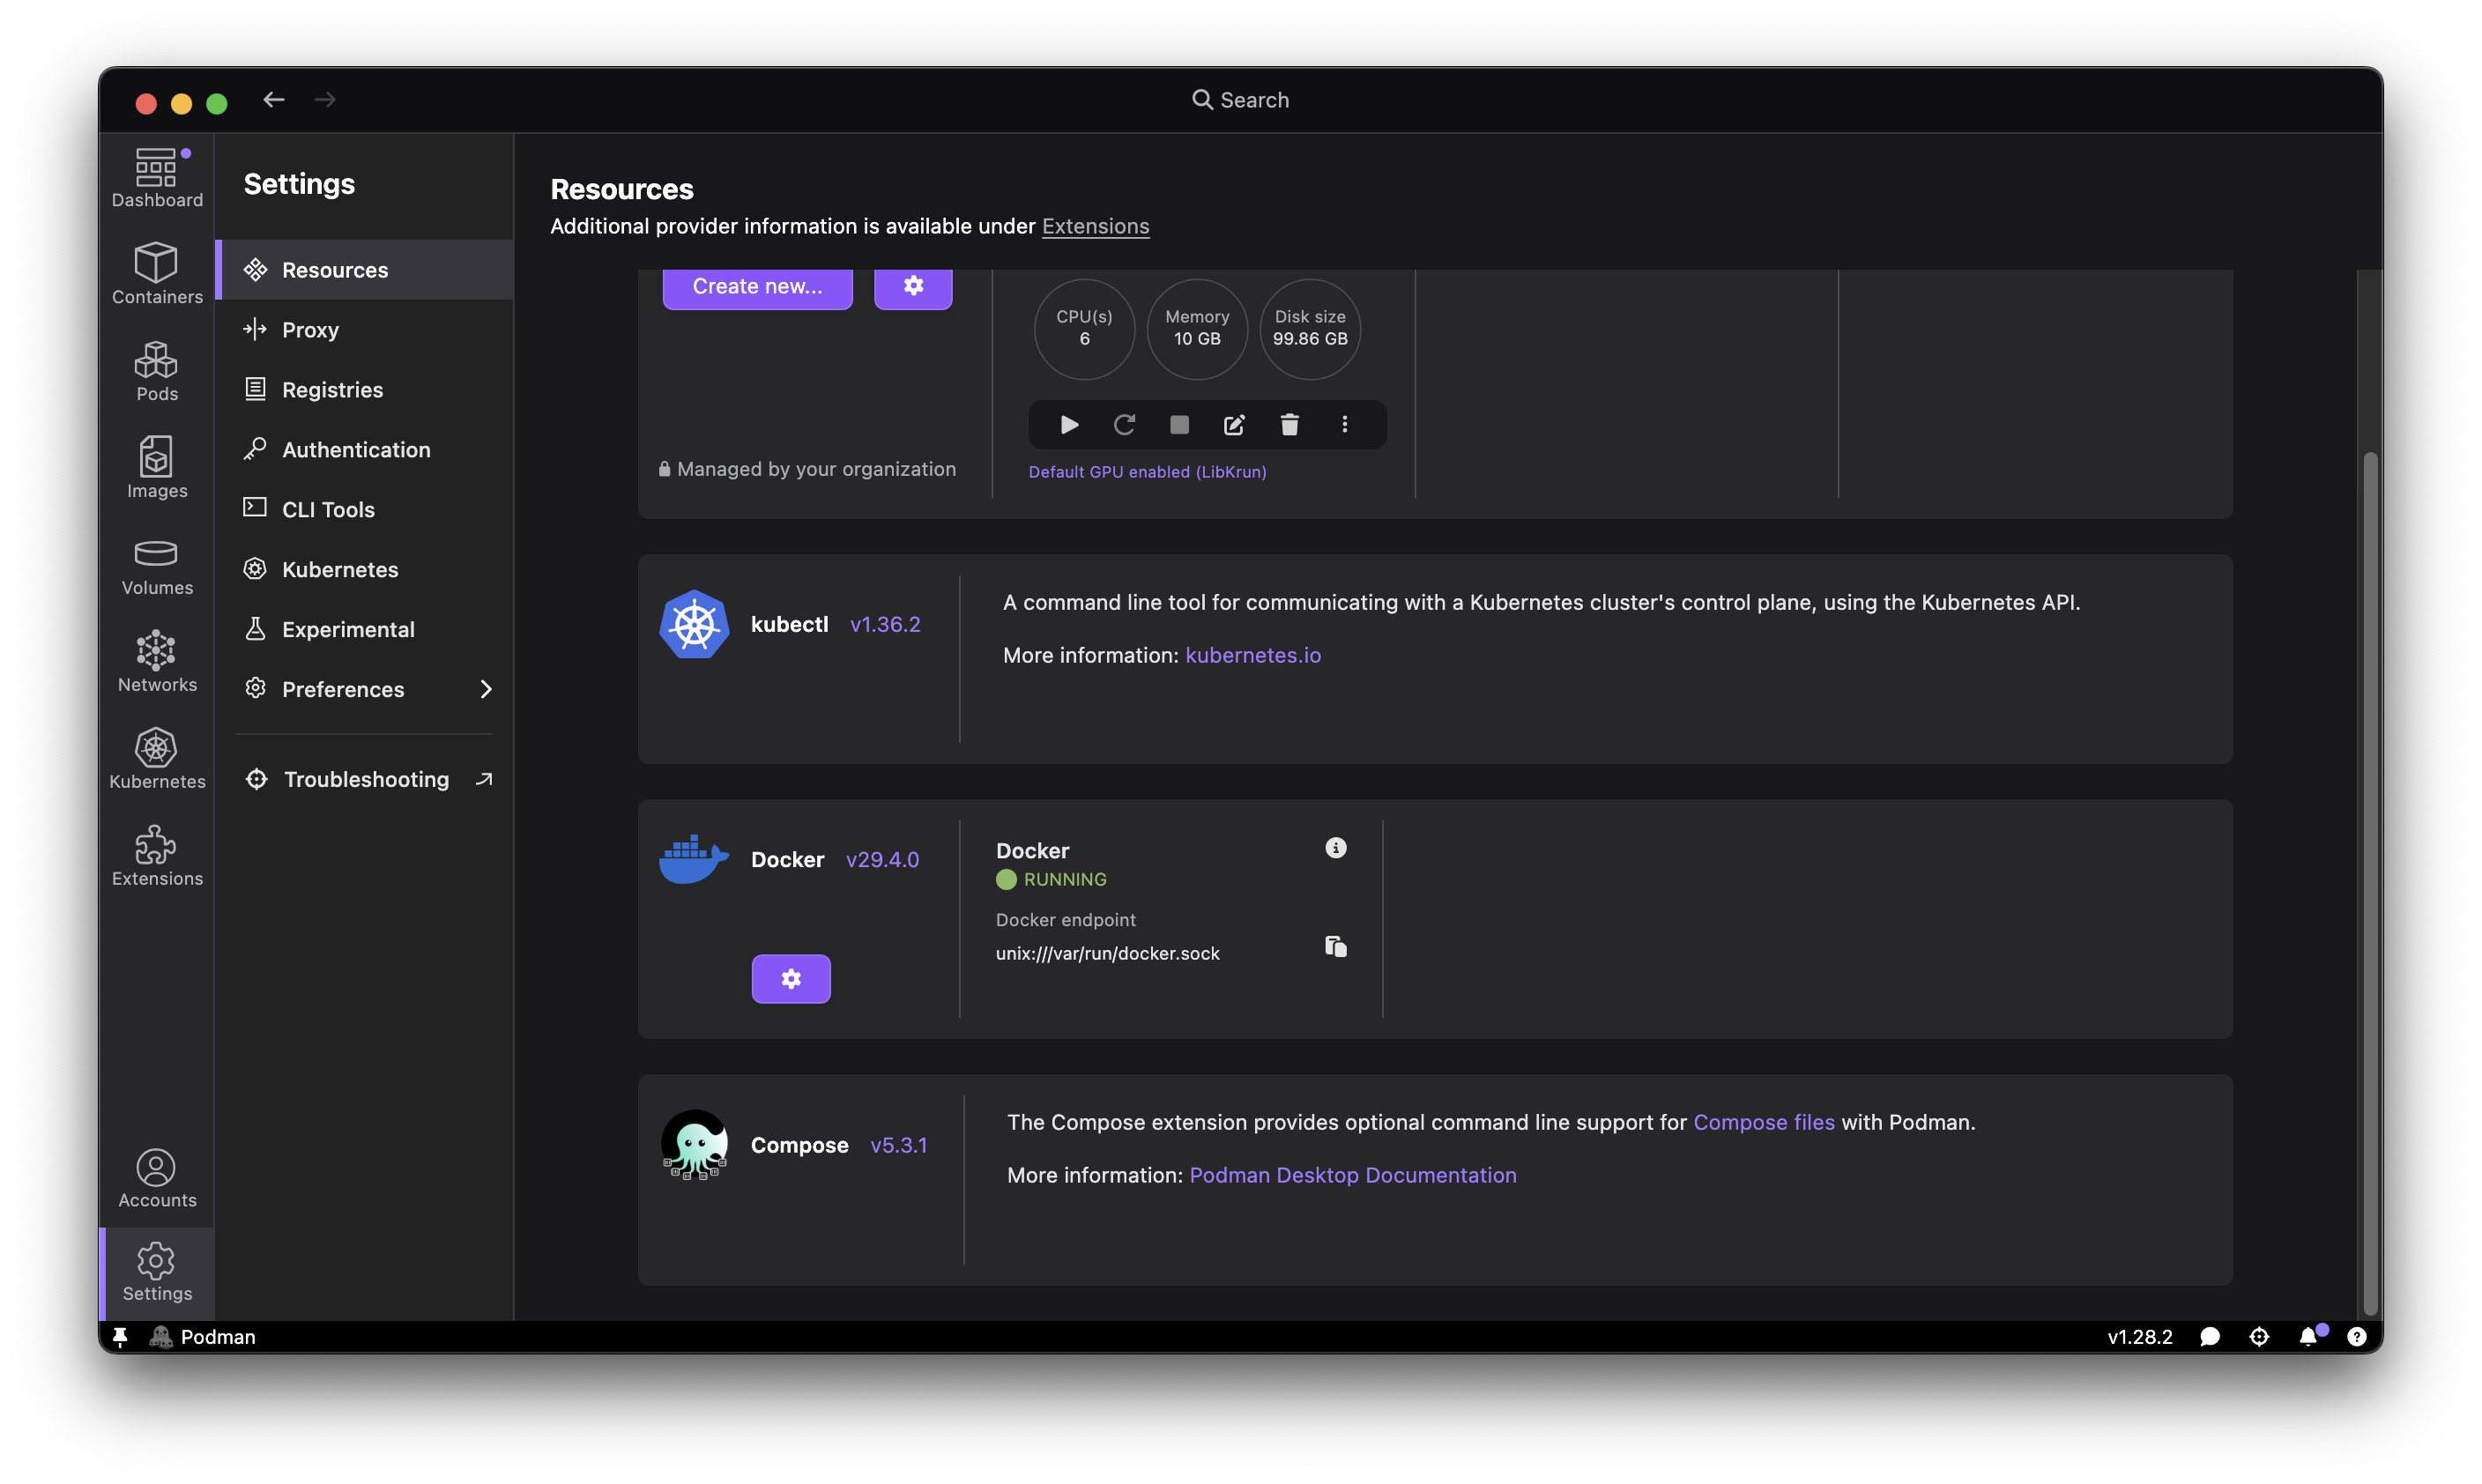
If Docker doesn't appear, make sure Docker Desktop is running and that the Docker socket is accessible.
Step 3: Browse your Docker containers
Go to the Containers tab. You will see all containers running in Docker, the same ones you see in Docker Desktop or with docker ps. You can:
- View container details, environment variables, and ports.
- Read container logs in real time.
- Open a terminal session inside a running container.
- Stop, restart, or delete containers.
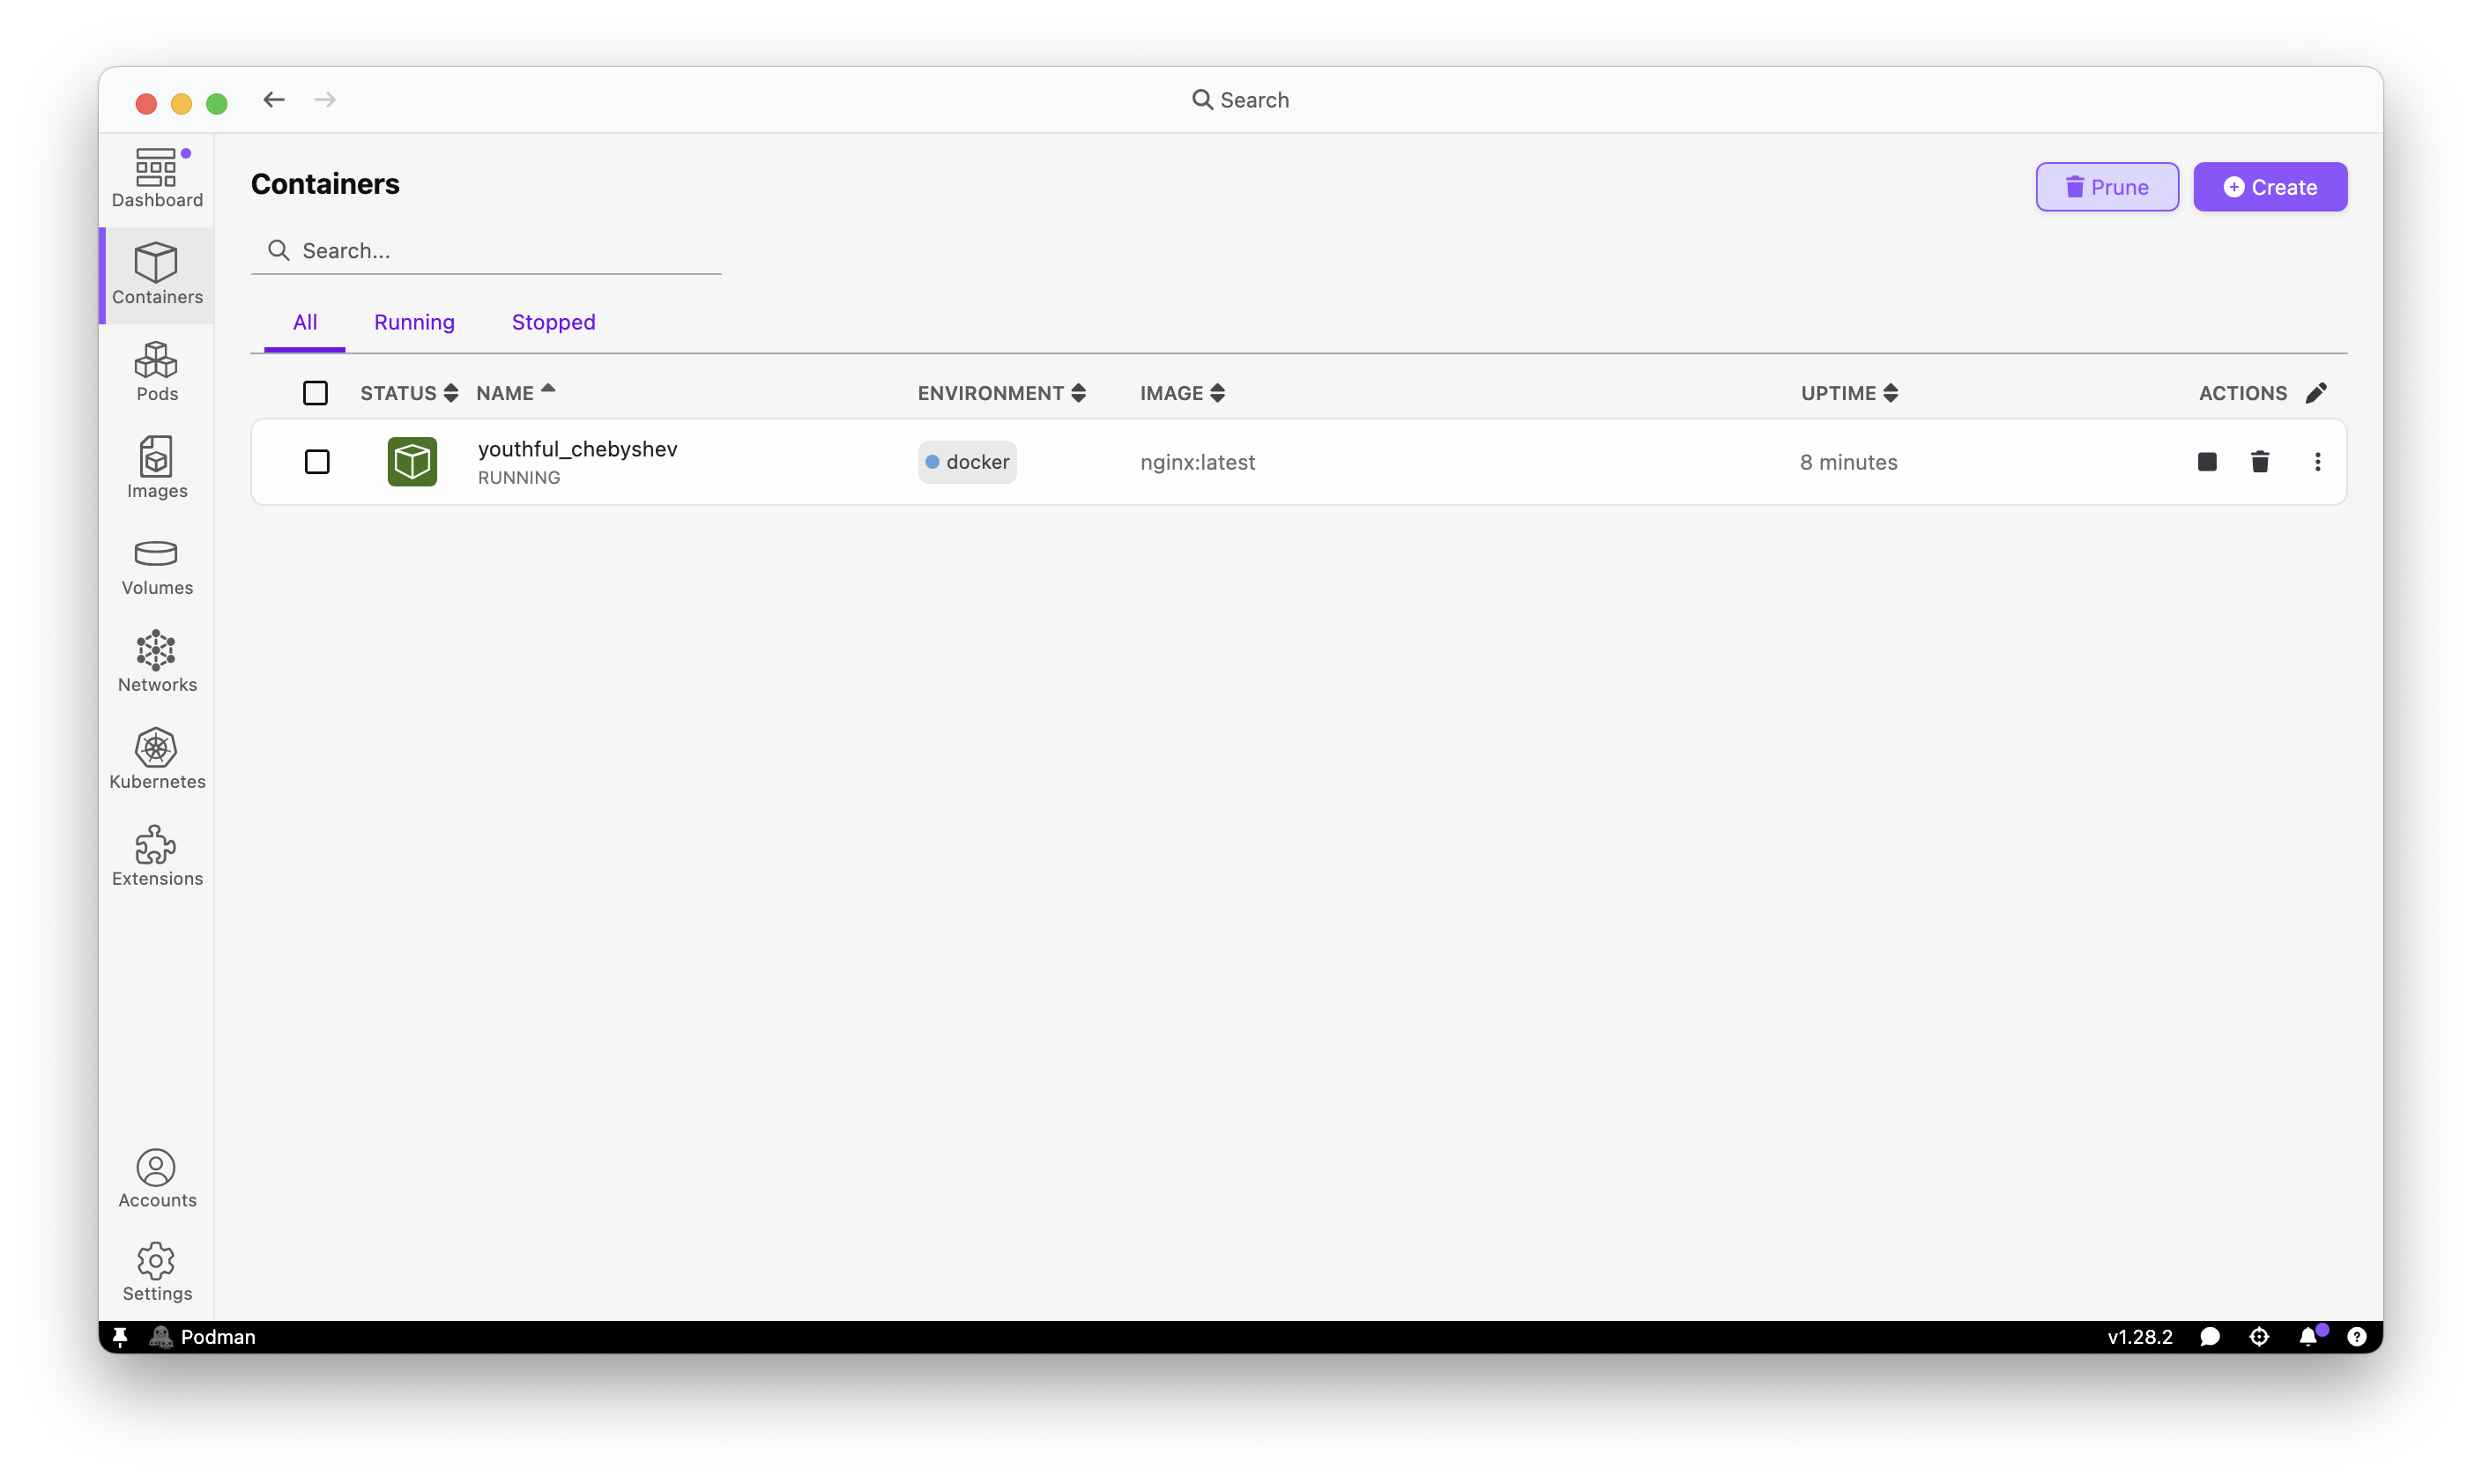
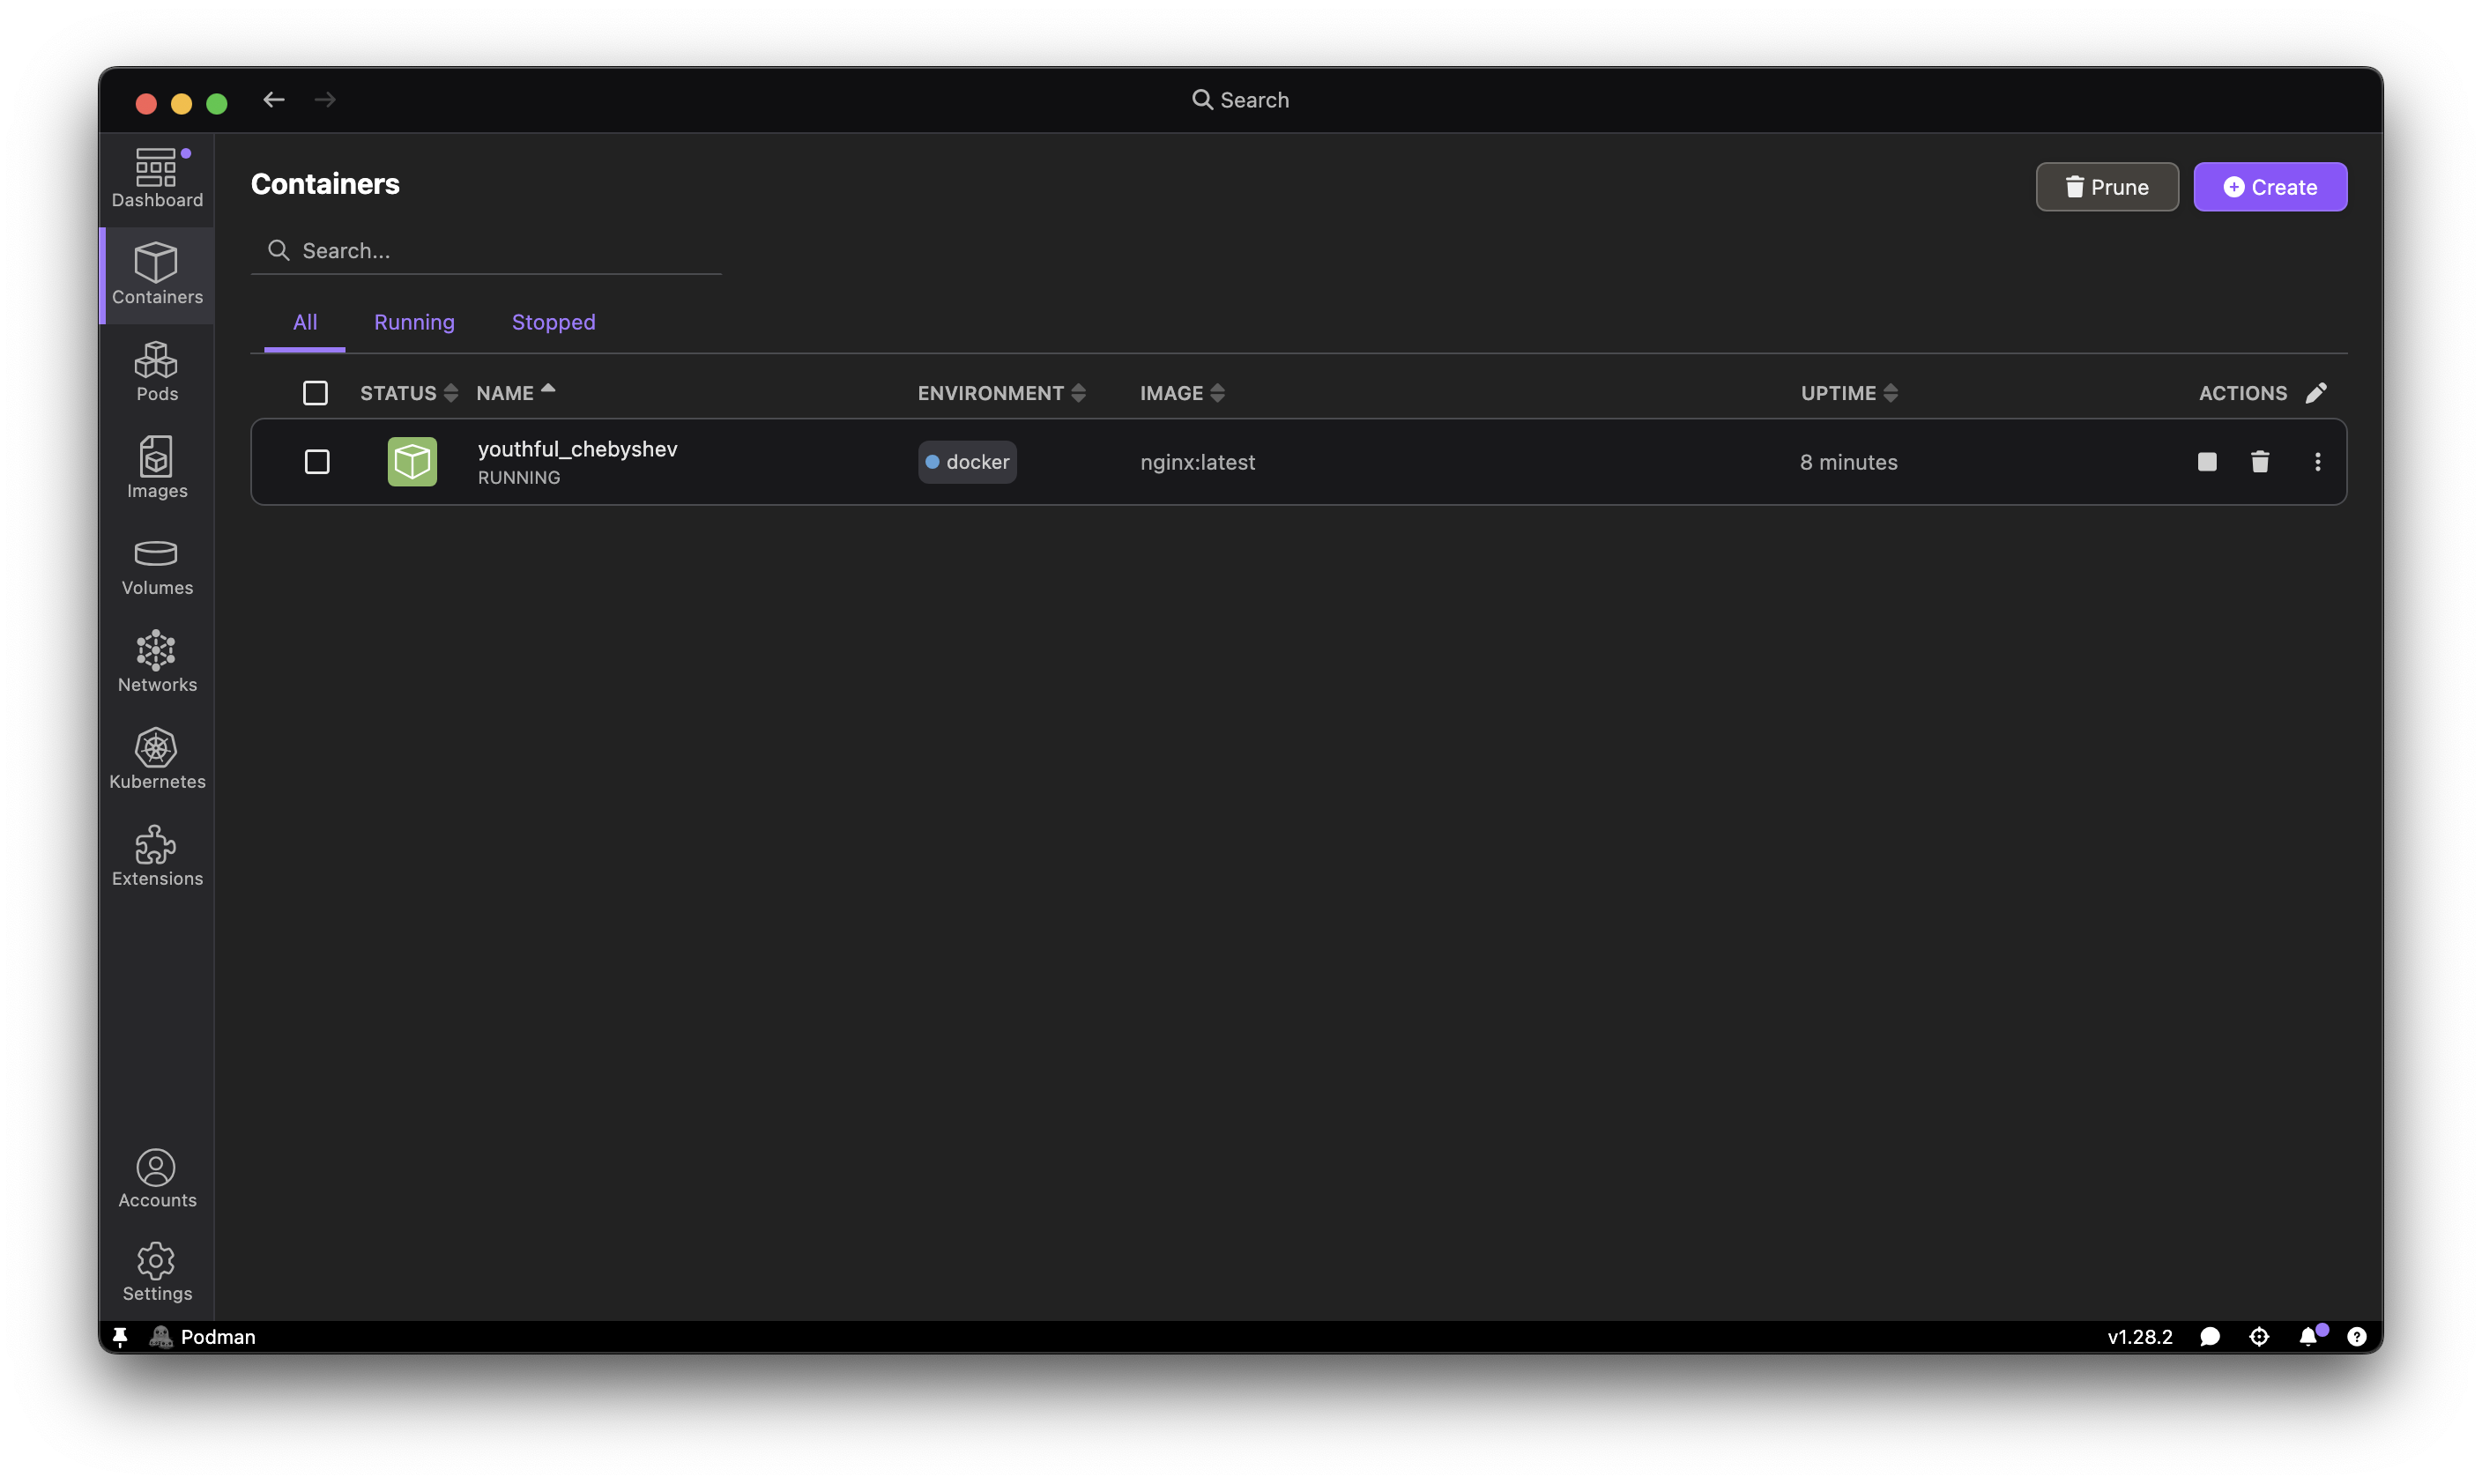
Every operation you perform here goes through the Docker engine. Podman Desktop is acting as an alternative UI for your existing Docker setup.
Step 4: Browse your Docker images
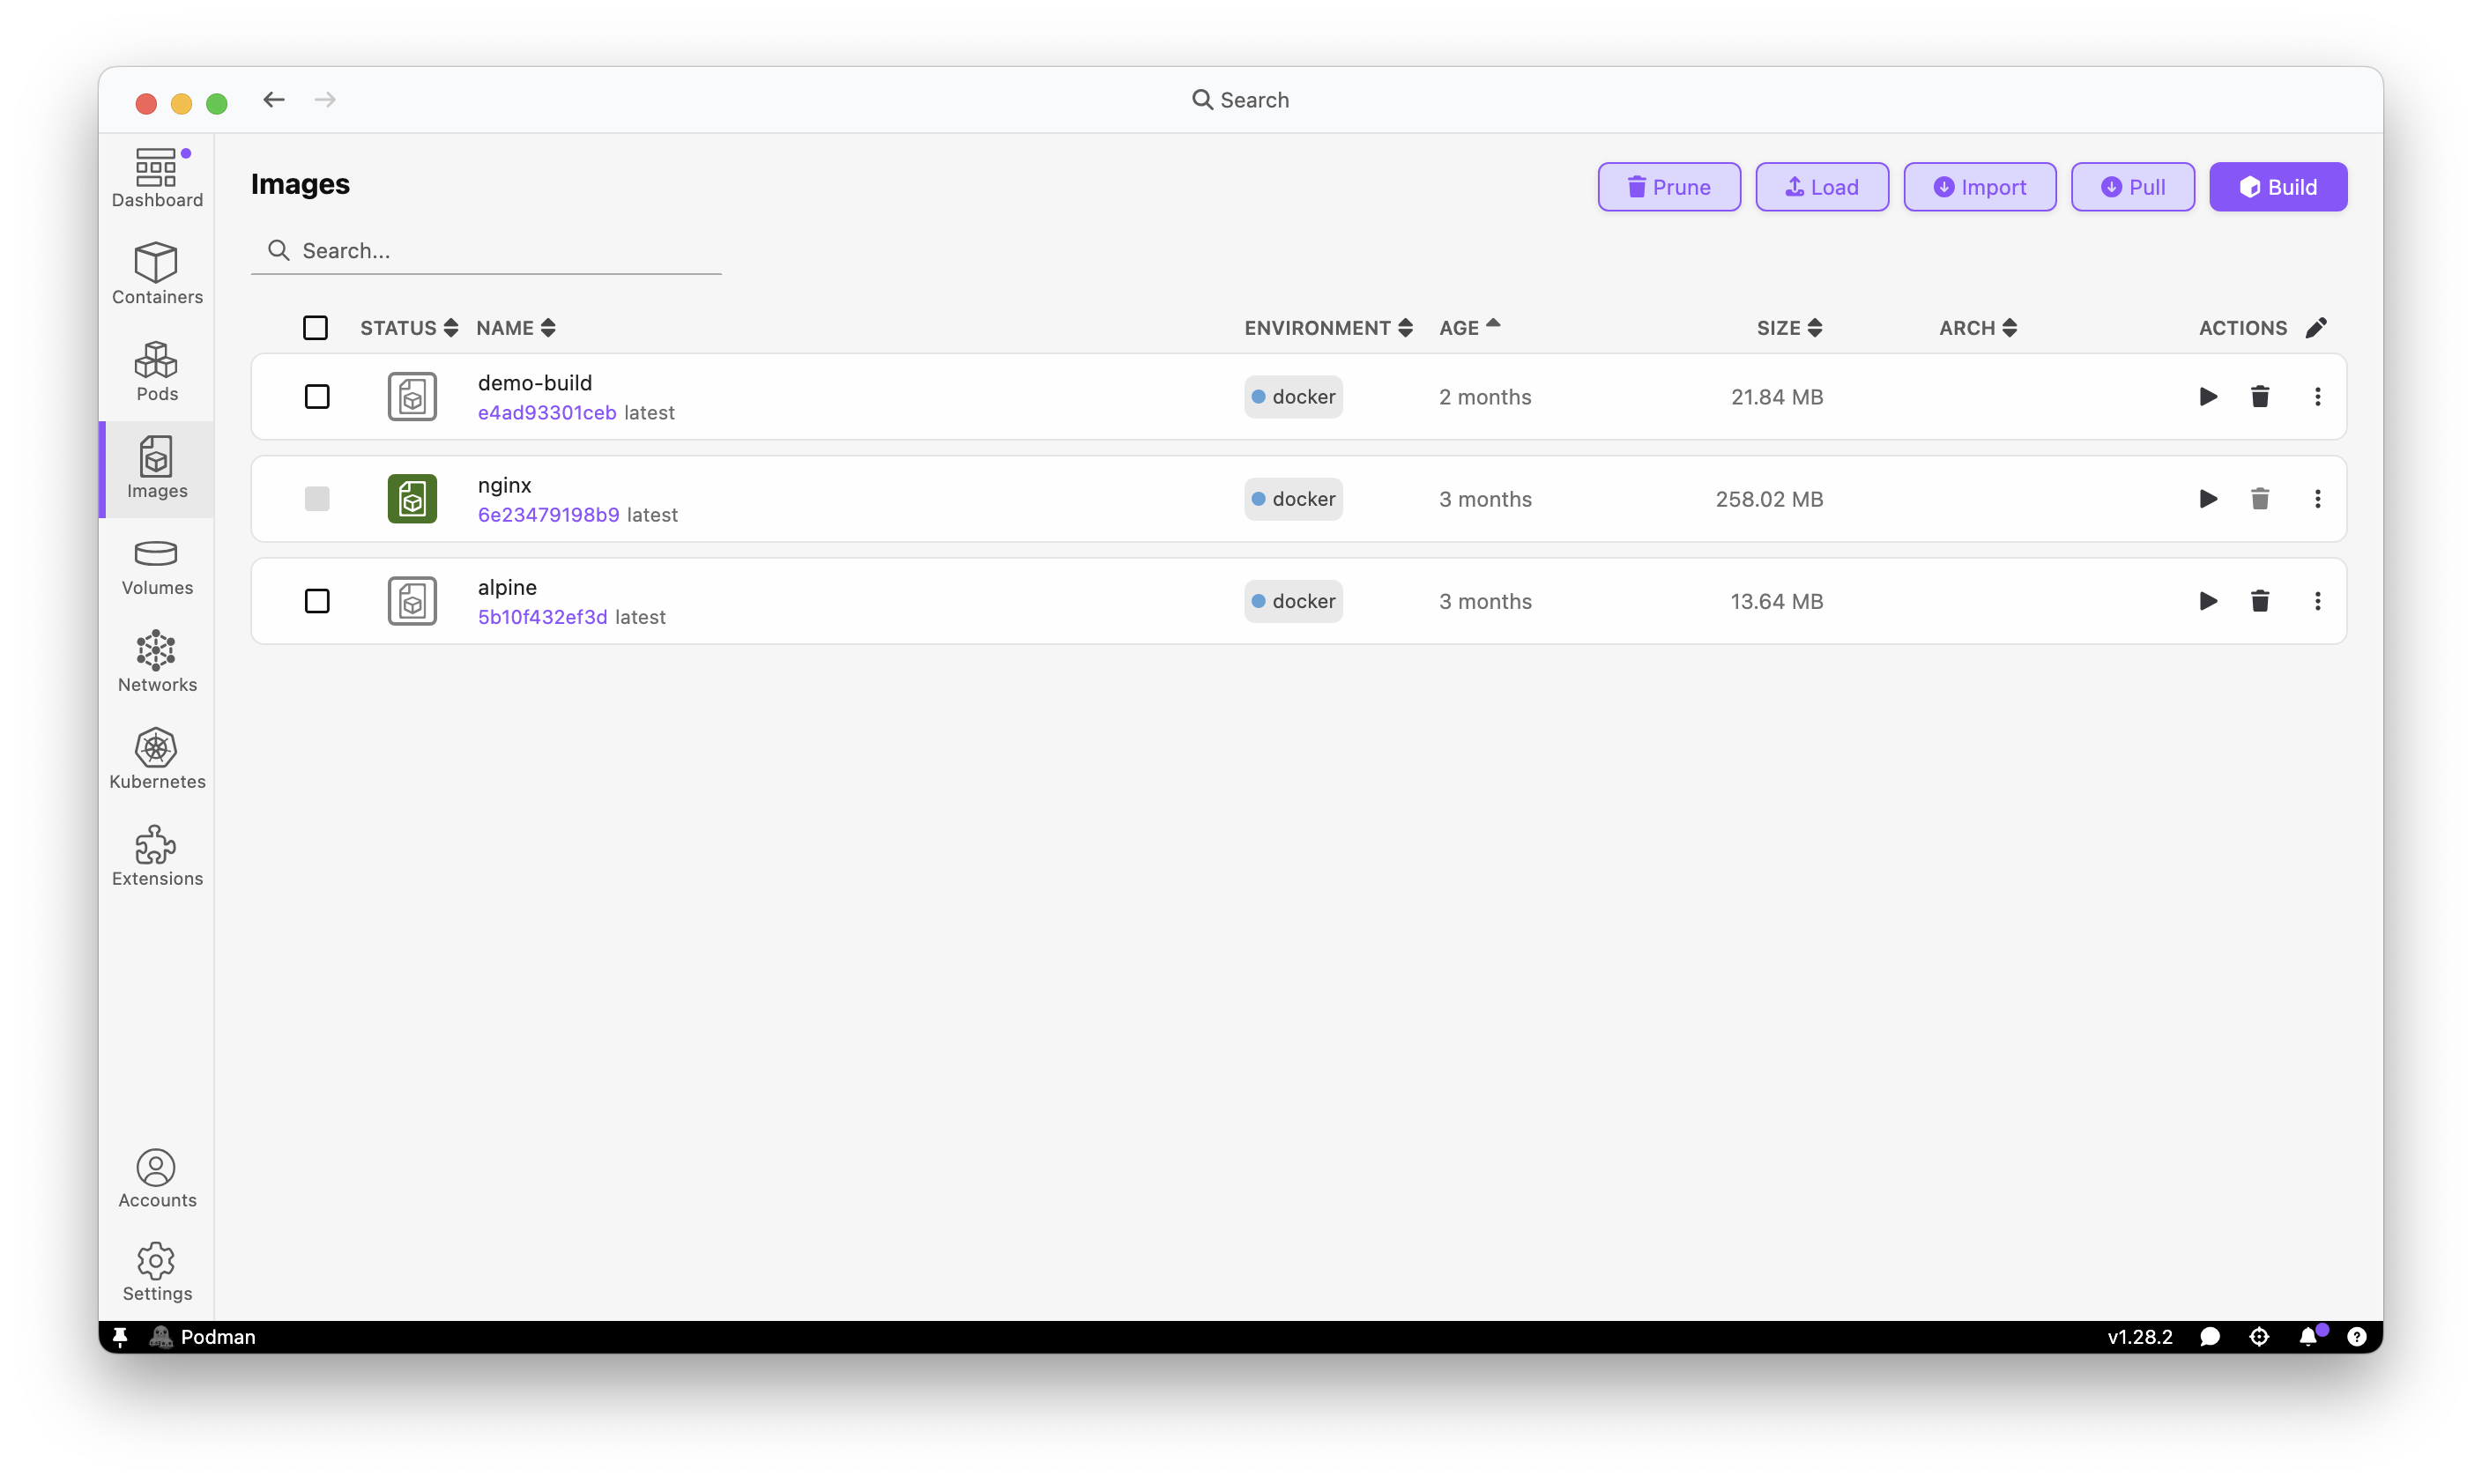
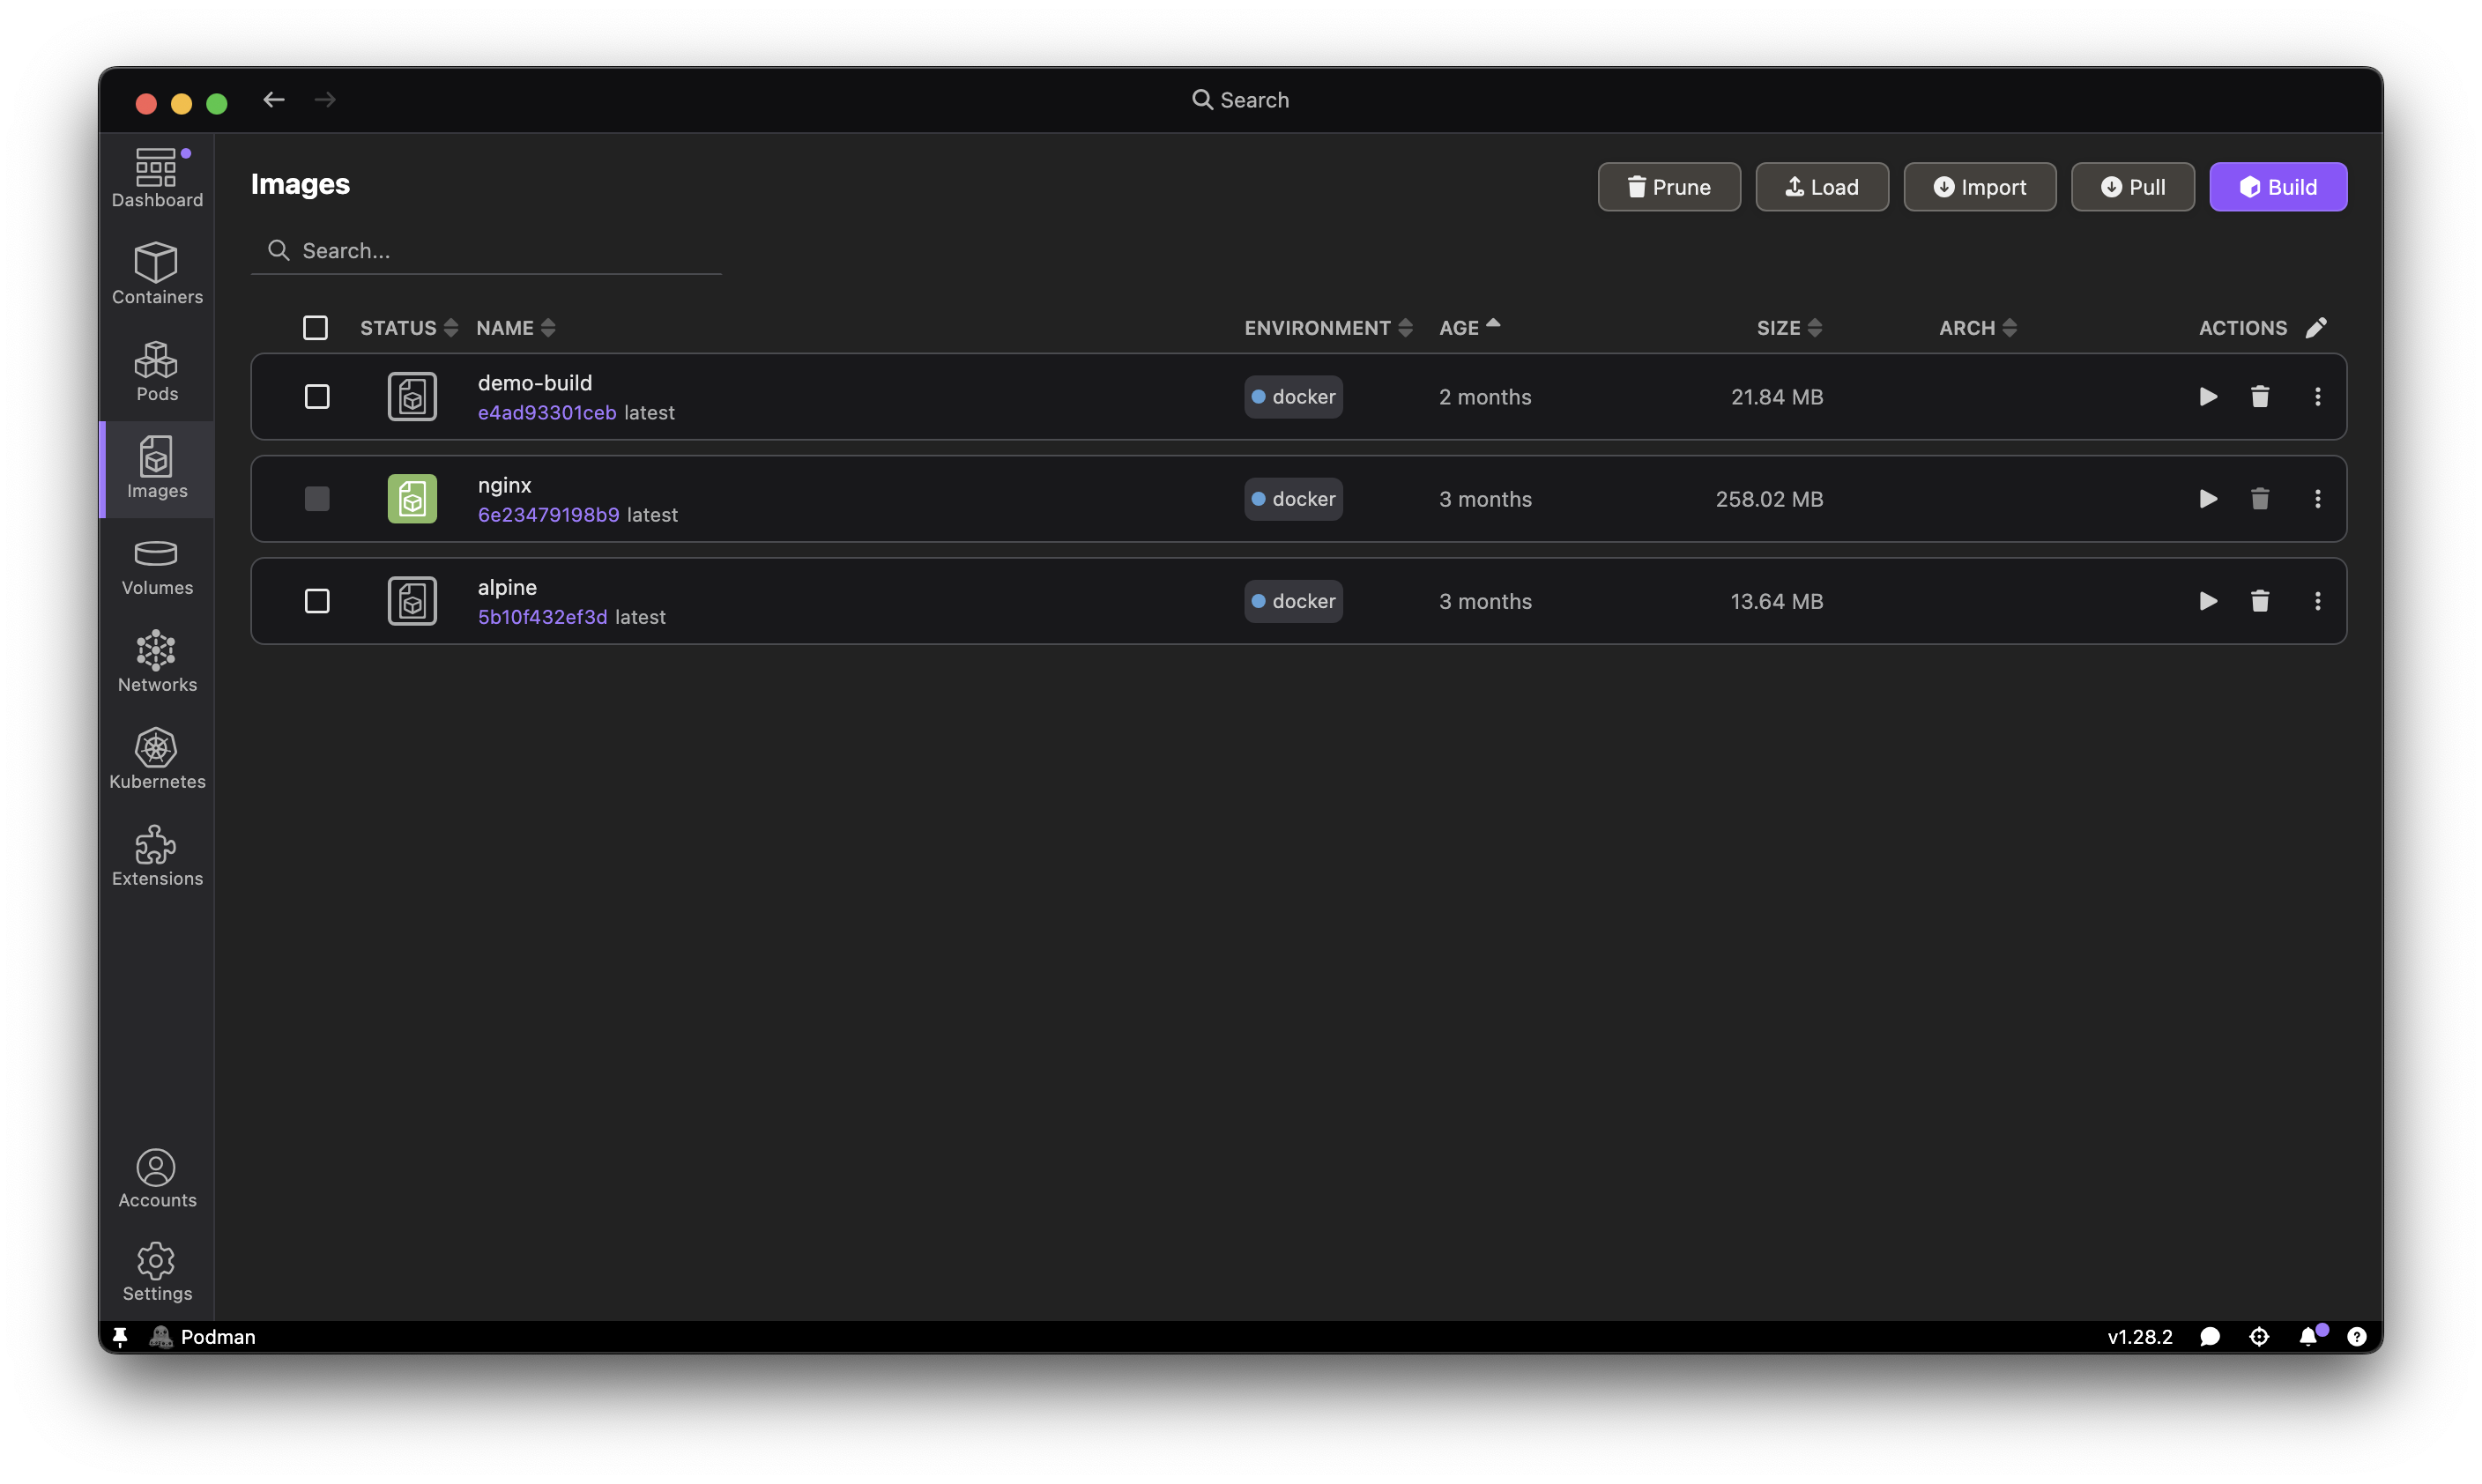
Go to the Images tab. All images pulled or built by Docker are listed. You can:
- Inspect image layers and metadata.
- Run a new container from any image.
- Delete images you no longer need.
What you get from this
At this point you haven't changed anything about your Docker workflow. Docker Desktop is still your engine. But you now have:
- Centralized container management: Podman Desktop gives you one place to view and manage containers across engines, so you can work with Docker today and Podman tomorrow without switching tools.
- A way to compare: When you're ready to try Podman, you can create a Podman machine and see Docker and Podman containers side by side in the same UI. This makes it easy to validate that workloads behave the same way on both engines.
- An integrated path to Kubernetes: As you migrate, you can move from local containers toward Kubernetes workflows in the same tool using Podman Desktop features like Kube Play.
Running Docker and Podman side by side
Once you're comfortable, you can set up Podman alongside Docker:
- In Podman Desktop, go to Settings > Resources and create a Podman machine.
- Pull the same image on both engines.
- Both sets of containers appear in the same Containers tab, labeled by their engine.
This lets you migrate workloads one at a time, no big-bang switch required.
What's next?
This was the zero-commitment first step: see your Docker world inside Podman Desktop. In upcoming posts, we'll cover:
- Running your Docker Compose files with Podman: Use your existing
docker-compose.ymlon the Podman engine. - From Compose to Kubernetes with Podman Kube Play: Generate real Kubernetes manifests from your running containers and test them locally without a cluster.
- Common migration gotchas: Rootless permissions, privileged ports, and networking differences explained with fixes.
Questions or feedback? Start a discussion on GitHub or read the migration documentation.