Podman: from Docker networks to pods, kube play, and going rootless

If you know Docker, Podman Desktop will feel familiar. Podman maintains a high level of compatibility with the Docker CLI, so your existing commands and workflows carry over, including networks. On top of that, Podman brings a concept Docker doesn't have: the pod, where containers talk to each other over localhost instead of a network, just like in Kubernetes. You can even run a pod straight from a Kubernetes YAML file with kube play. That's handy for exercising a workload the way it will run in production, but kube play doesn't enforce Kubernetes admission or OpenShift SCC rules by itself, for that you still need a real cluster or a local one like Kind, covered later in this post.
This post walks through networks, pods, and kube play, before landing on one of Podman's key differences from Docker: its rootless design. There's a nuance worth keeping in mind though: while the podman CLI and podman machine init default to rootless, Podman Desktop's "Create a Podman machine" dialog defaults to a rootful connection instead, notably because Kind on Windows requires it.
1. Command parity
Only the binary name changes for most day-to-day commands, and if you'd rather keep typing docker, alias docker=podman gets you there too:
$ podman pull quay.io/hummingbird/postgresql:18
$ podman images
$ podman volume create pgdata
$ podman run -d -v pgdata:/var/lib/postgresql/data -e POSTGRES_PASSWORD=secret quay.io/hummingbird/postgresql:18
Two things do change once you look closer: how containers get grouped together, and how "root" behaves once a container runs. Both are covered below.
2. Networks work too
Creating a podman network in Podman Desktop looks exactly like Docker:
- Podman Desktop
- Podman CLI
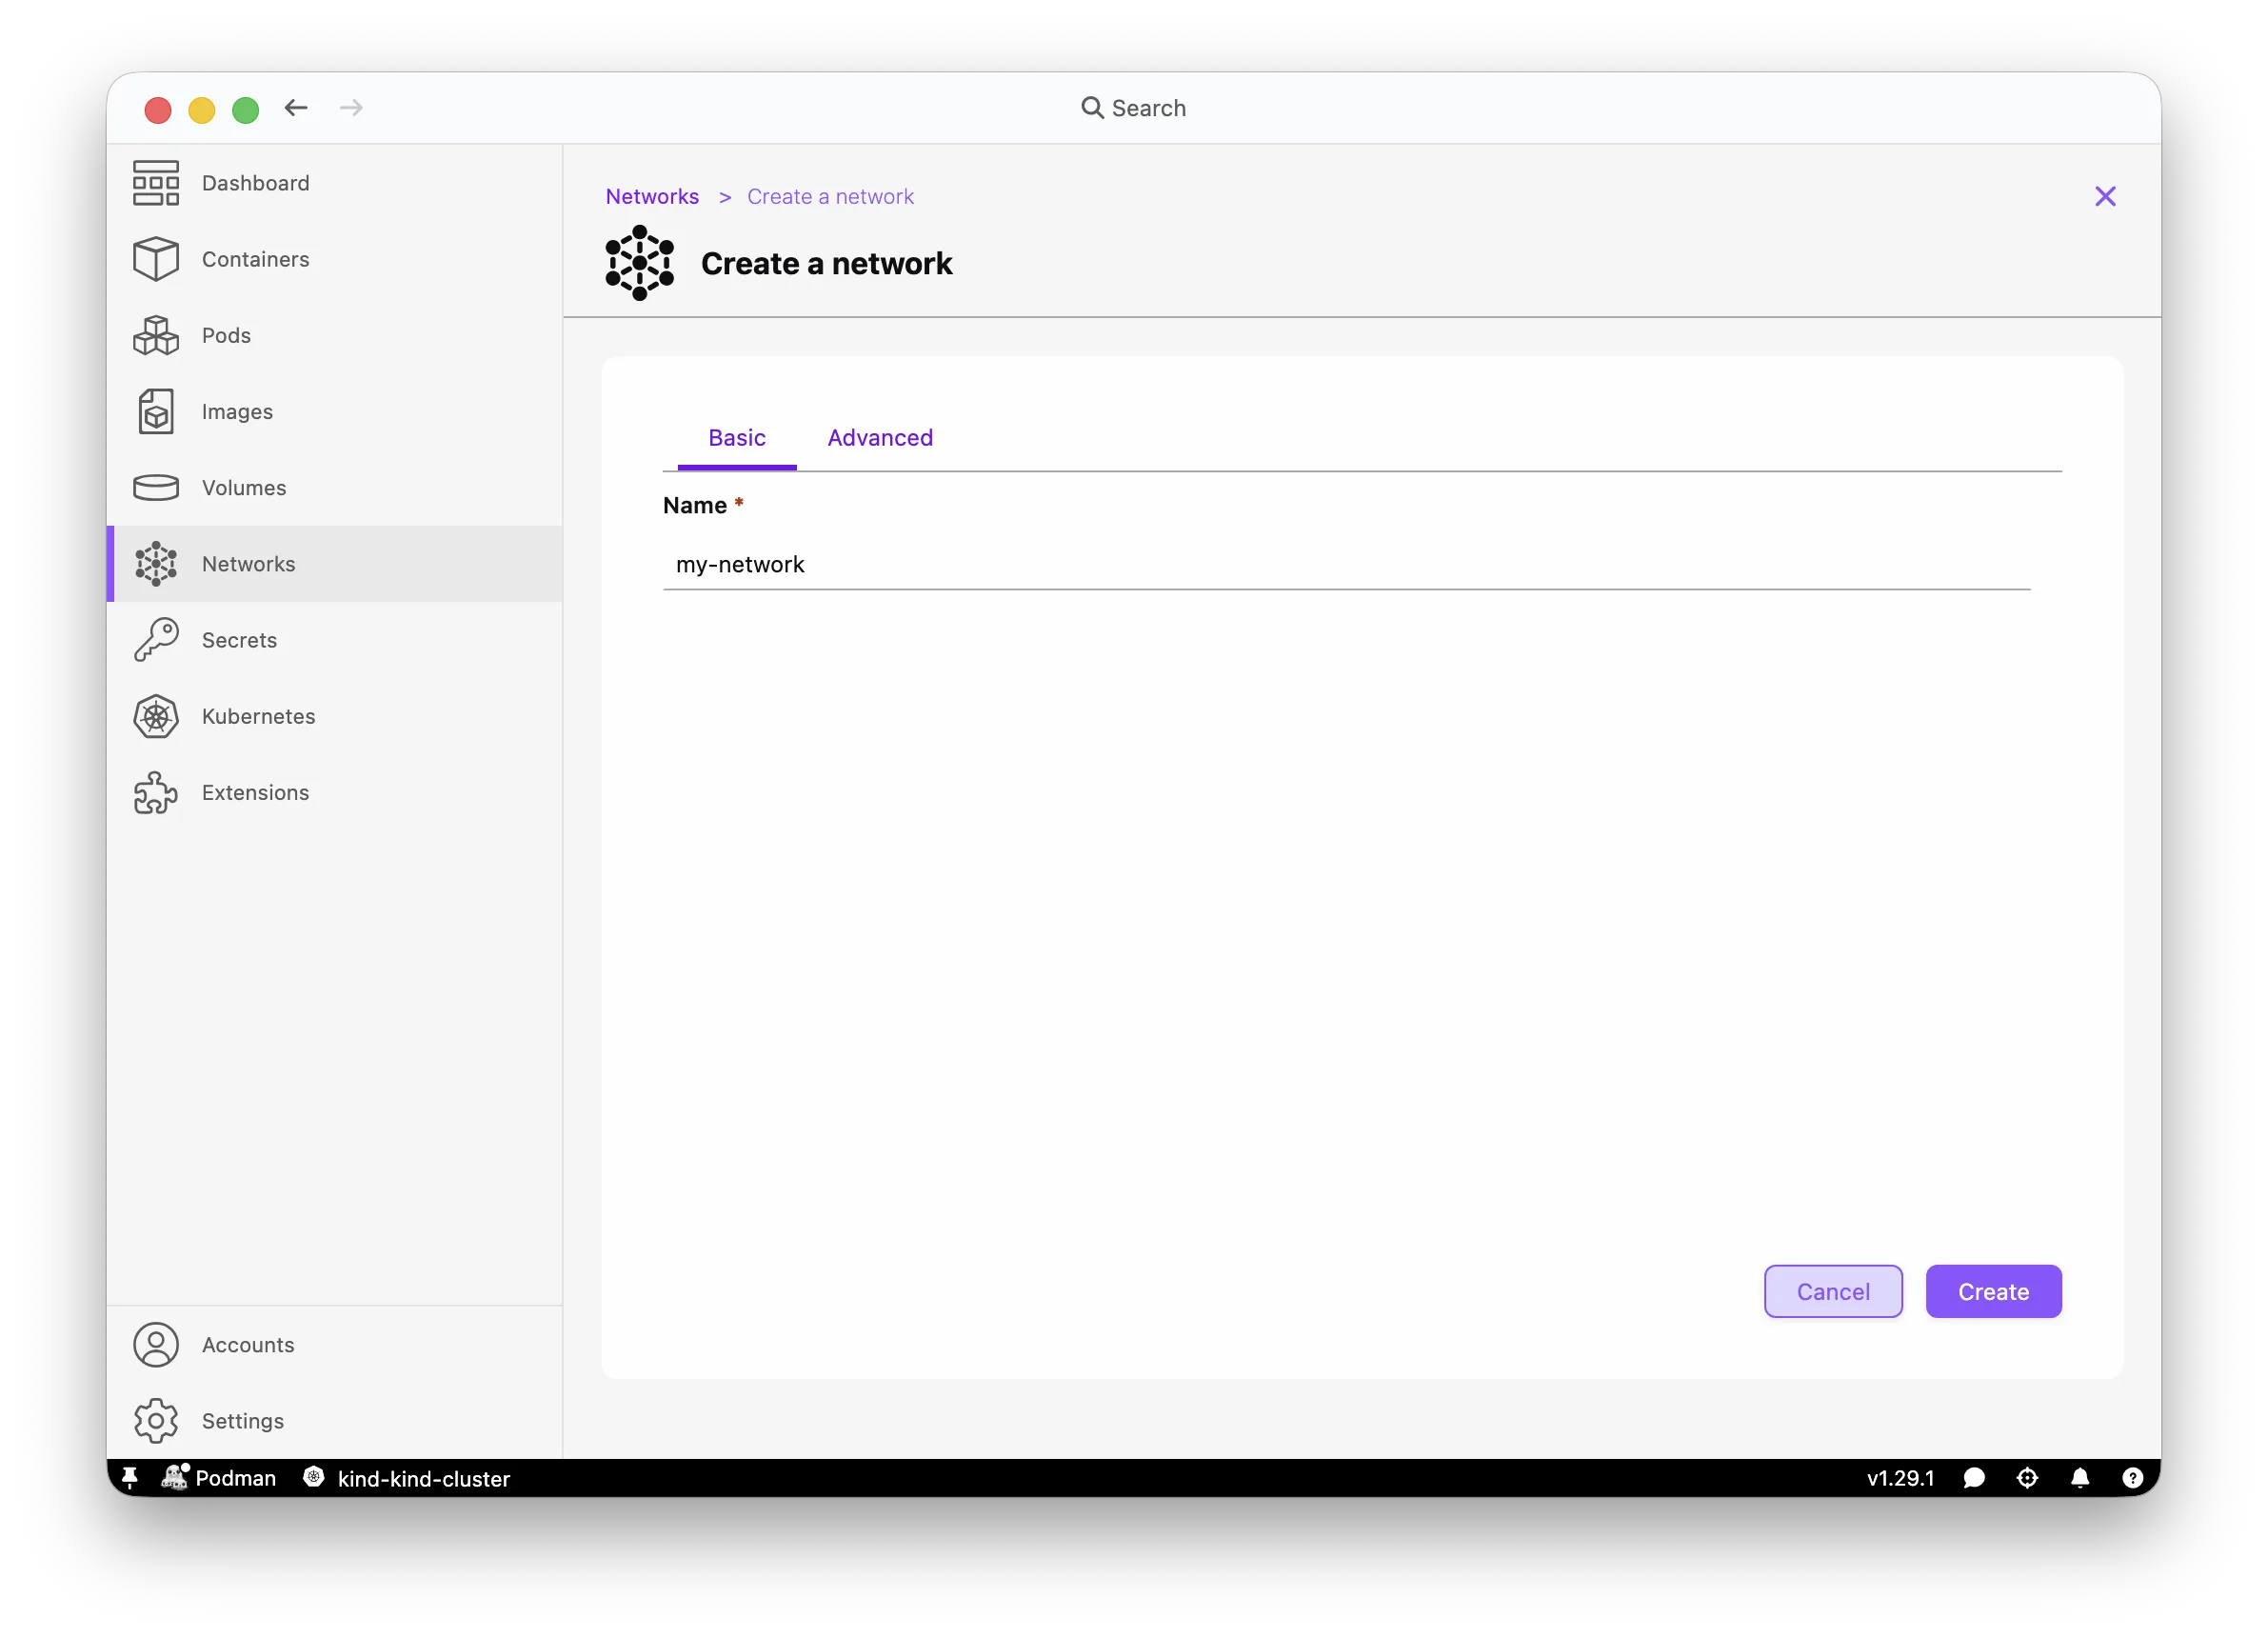
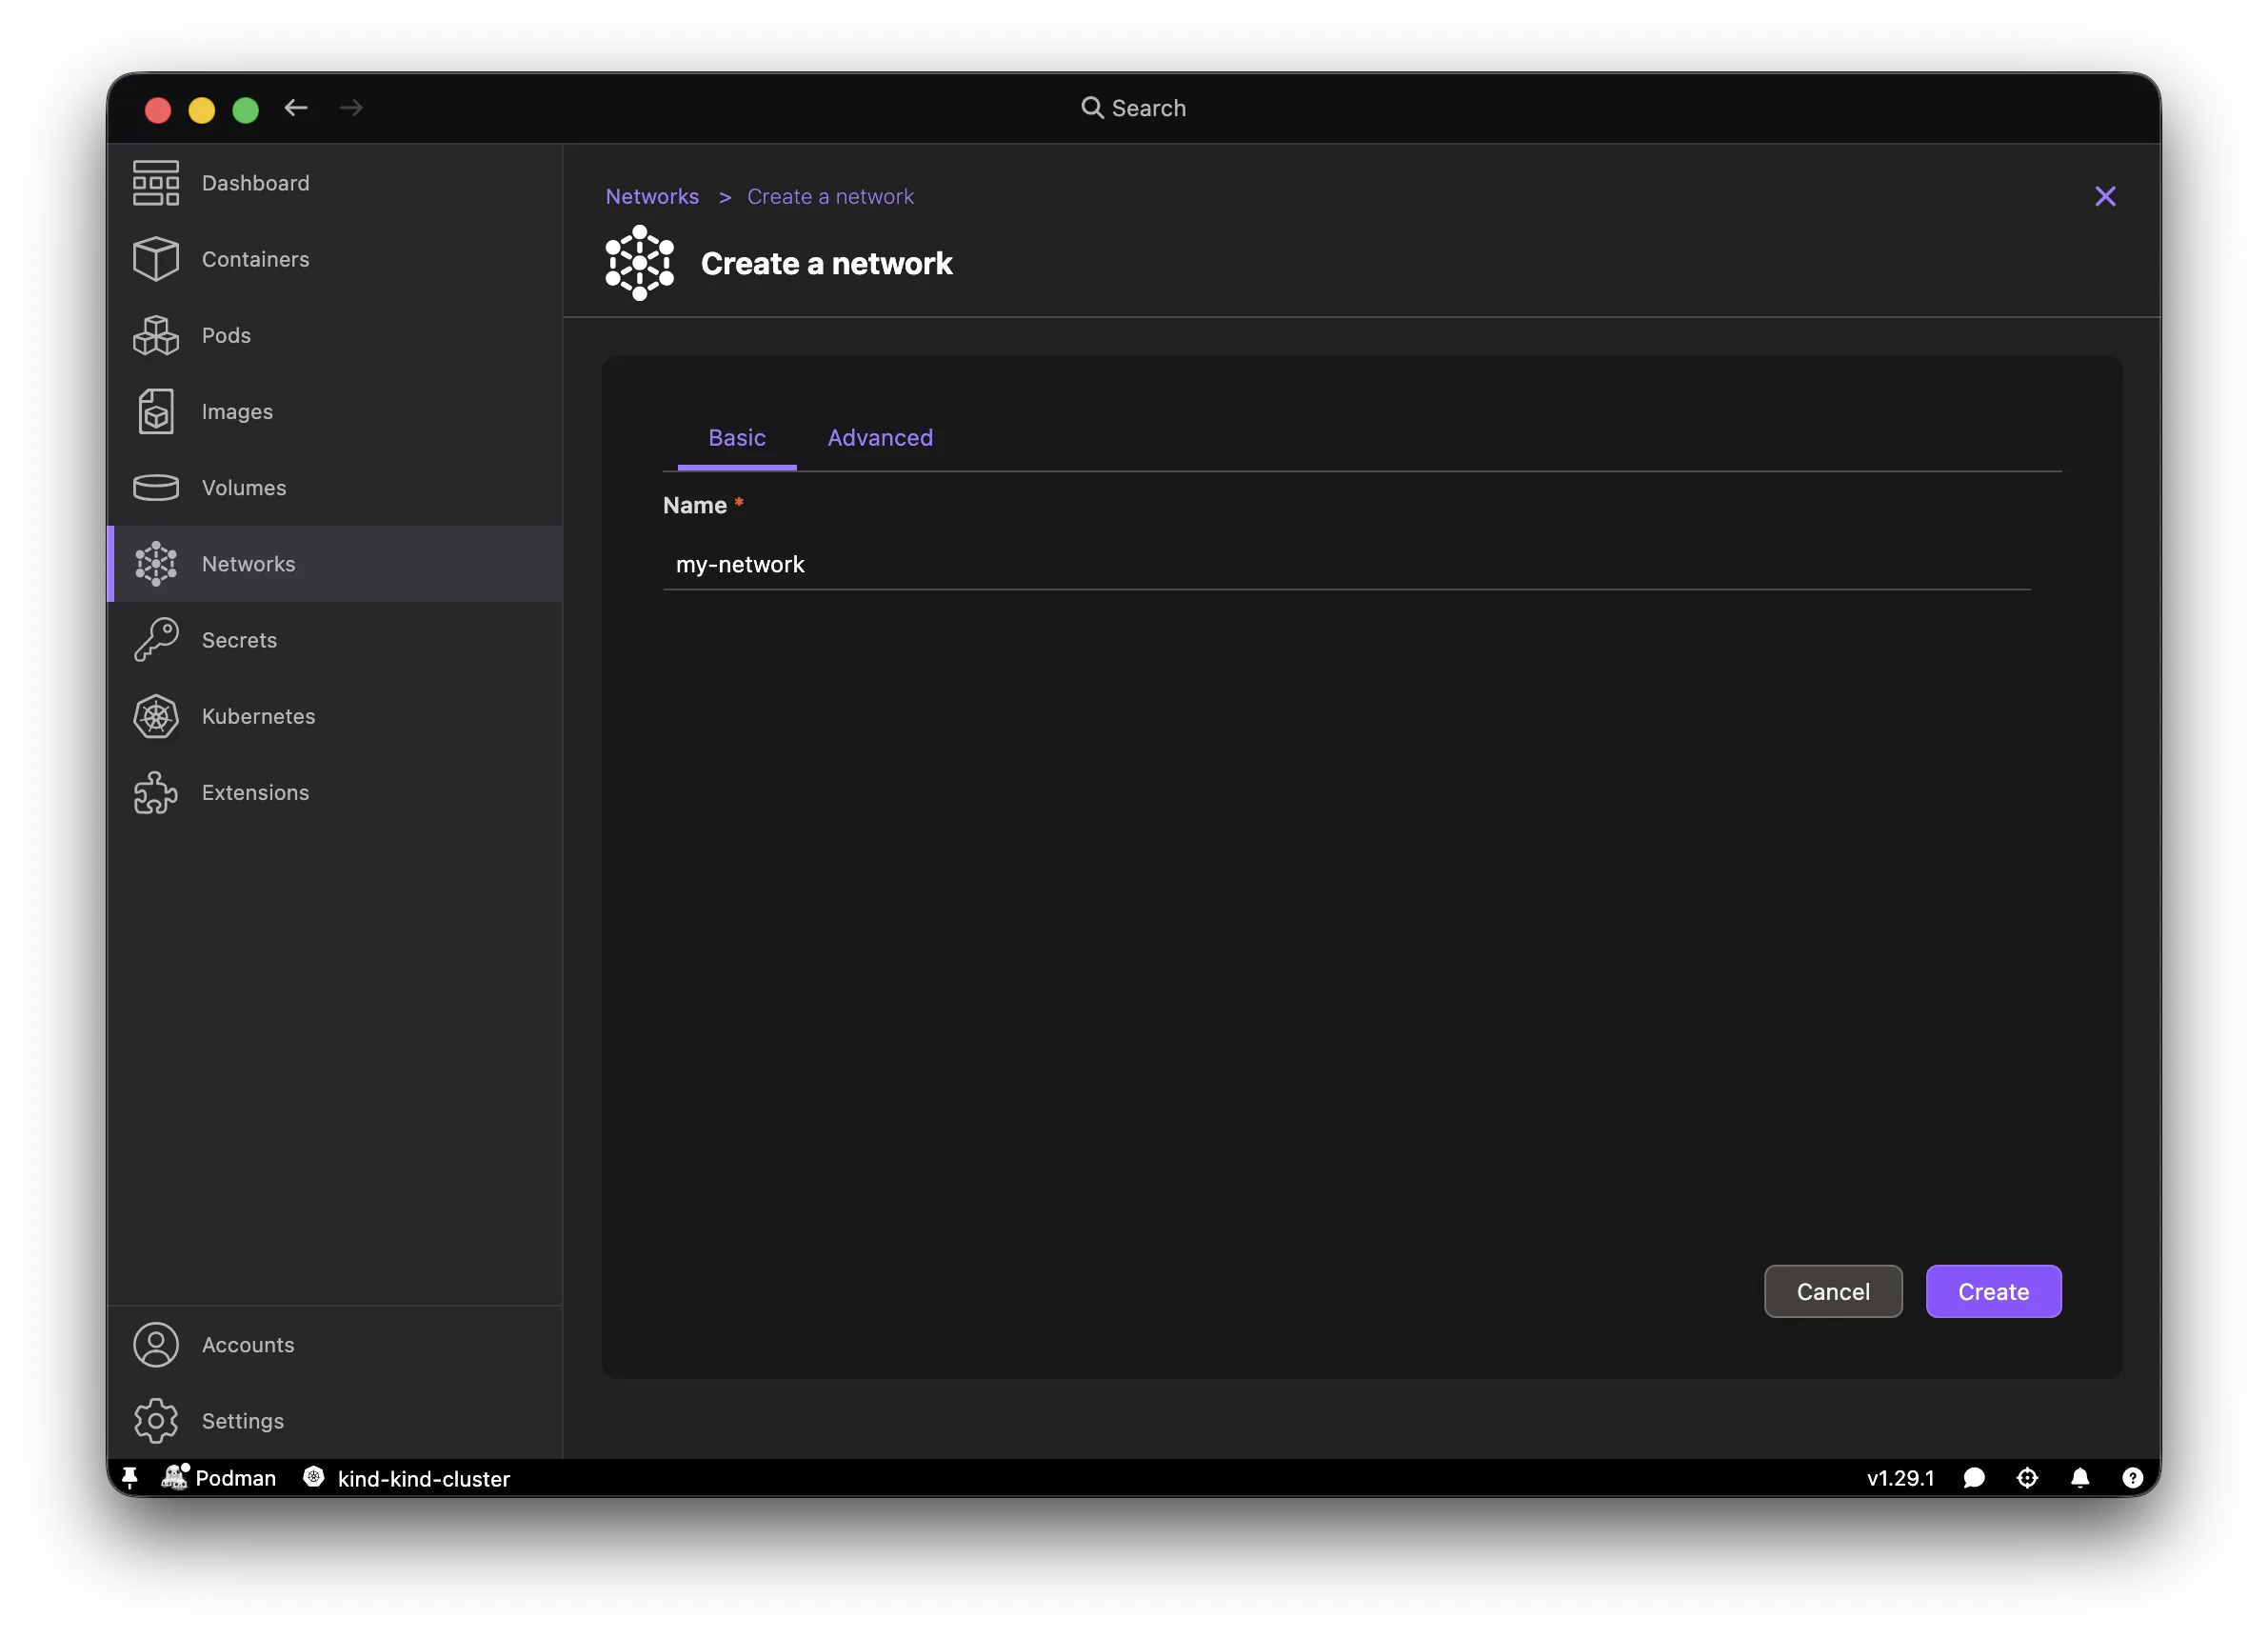
- Go to Networks > Create Network and create a network named
my-network.
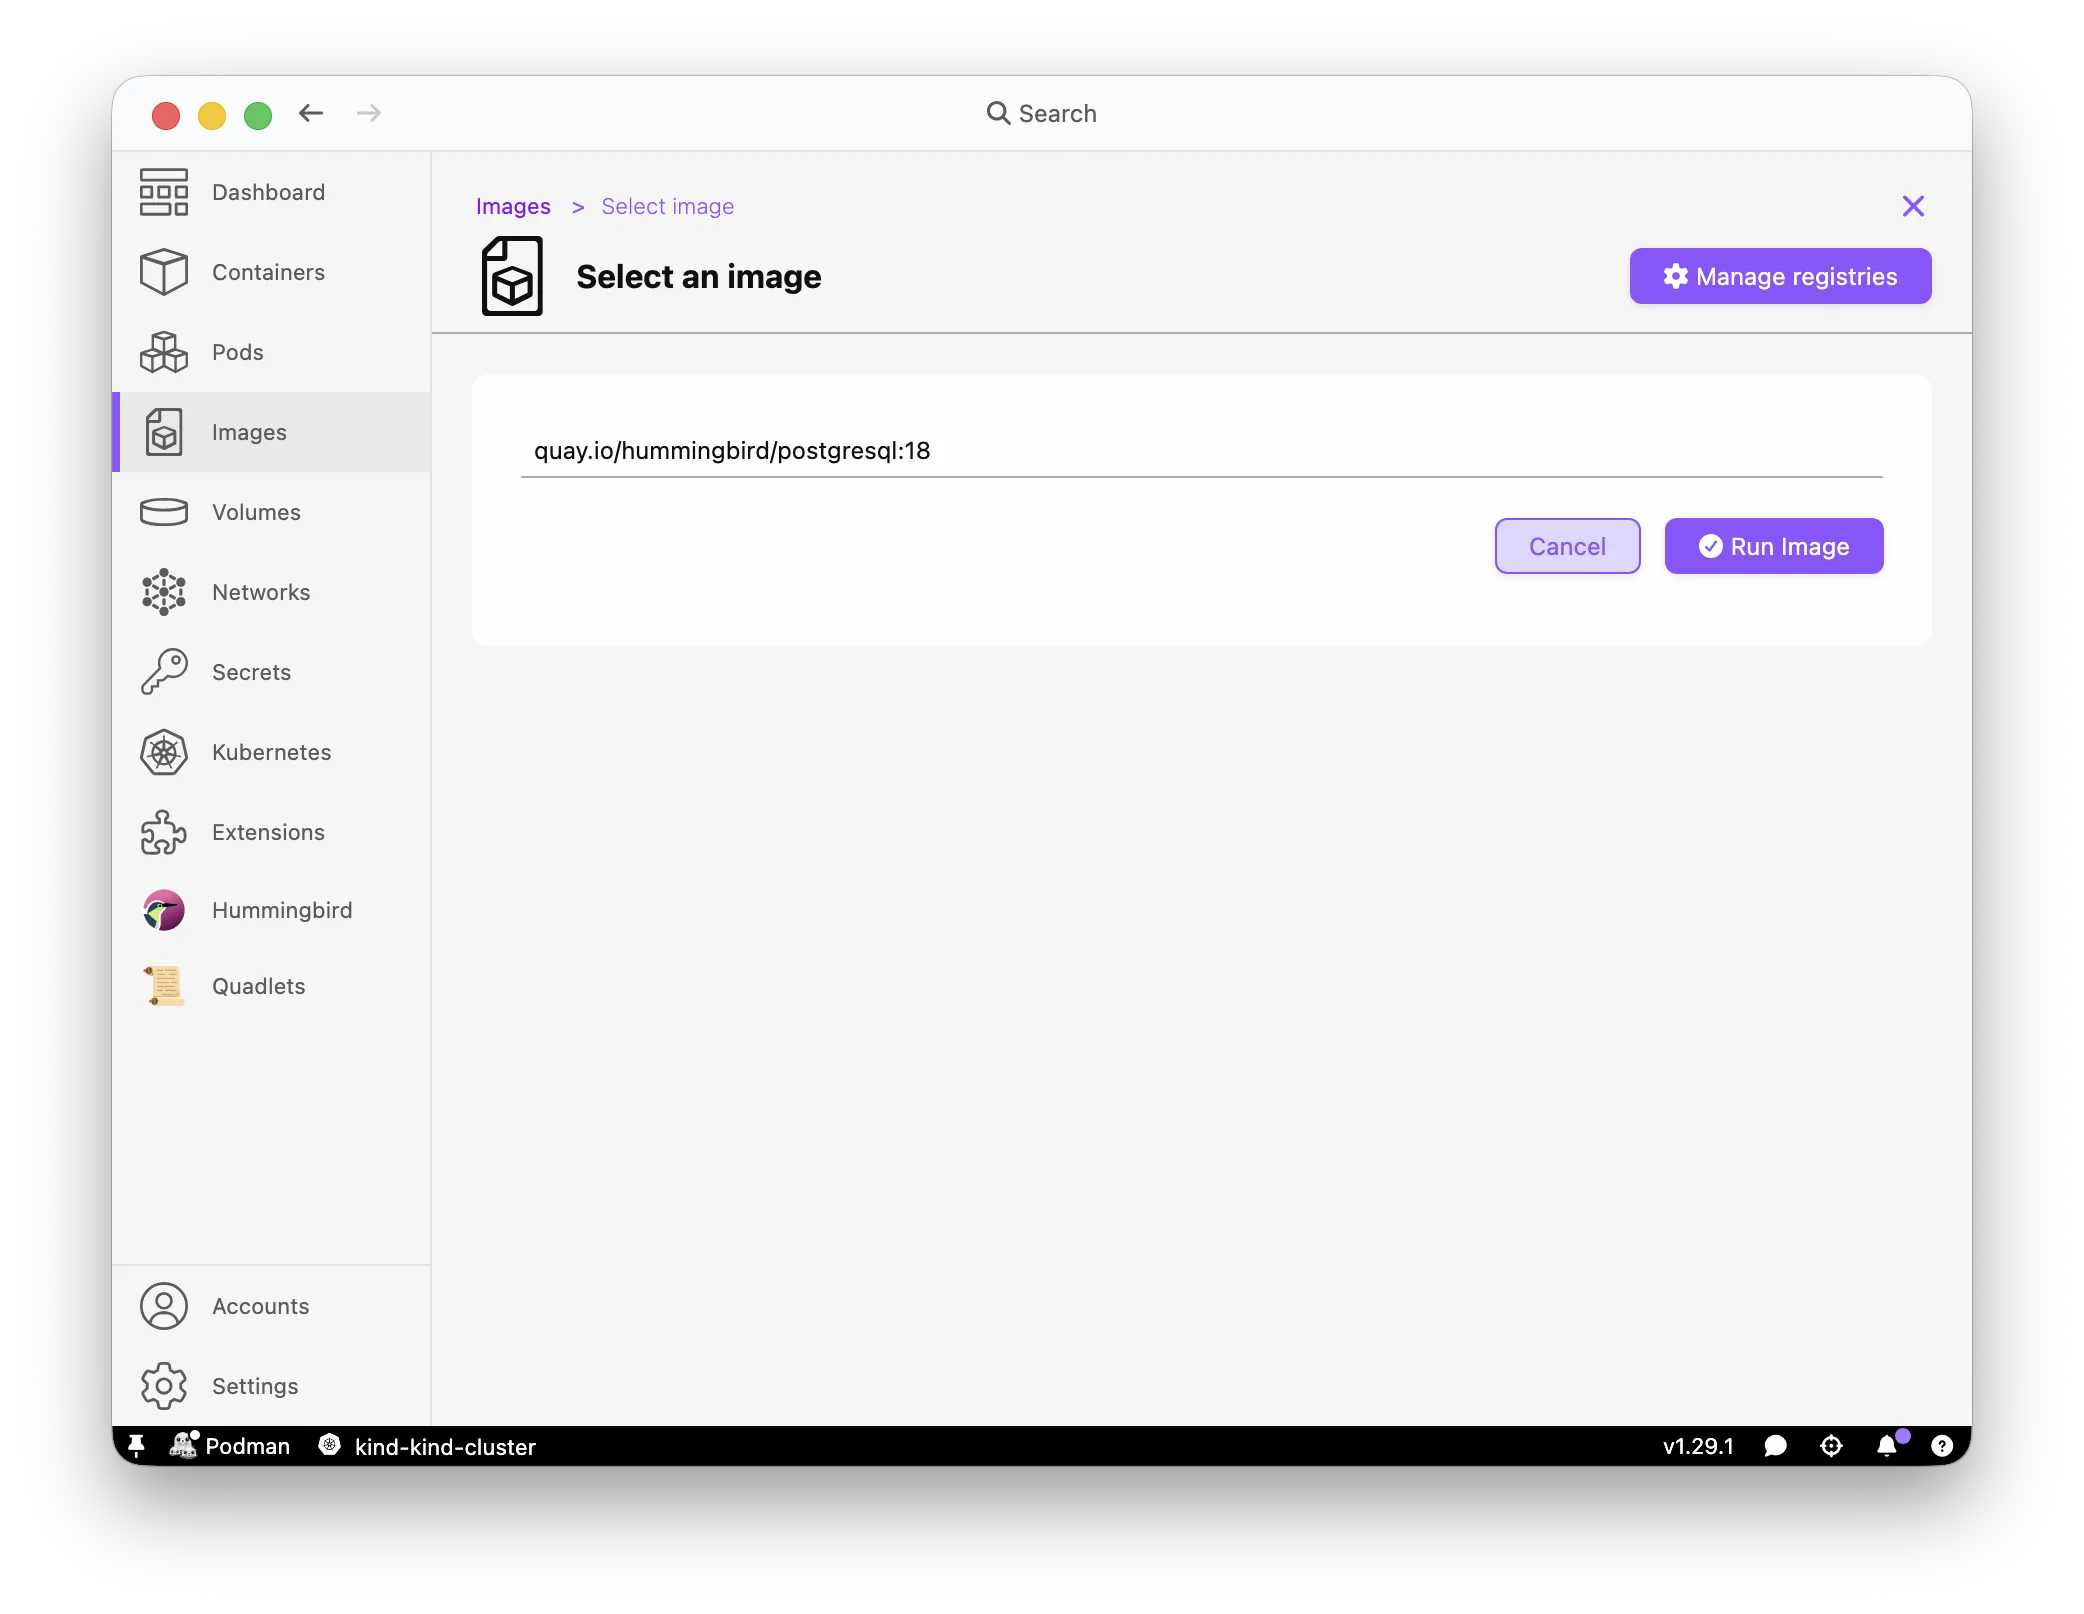
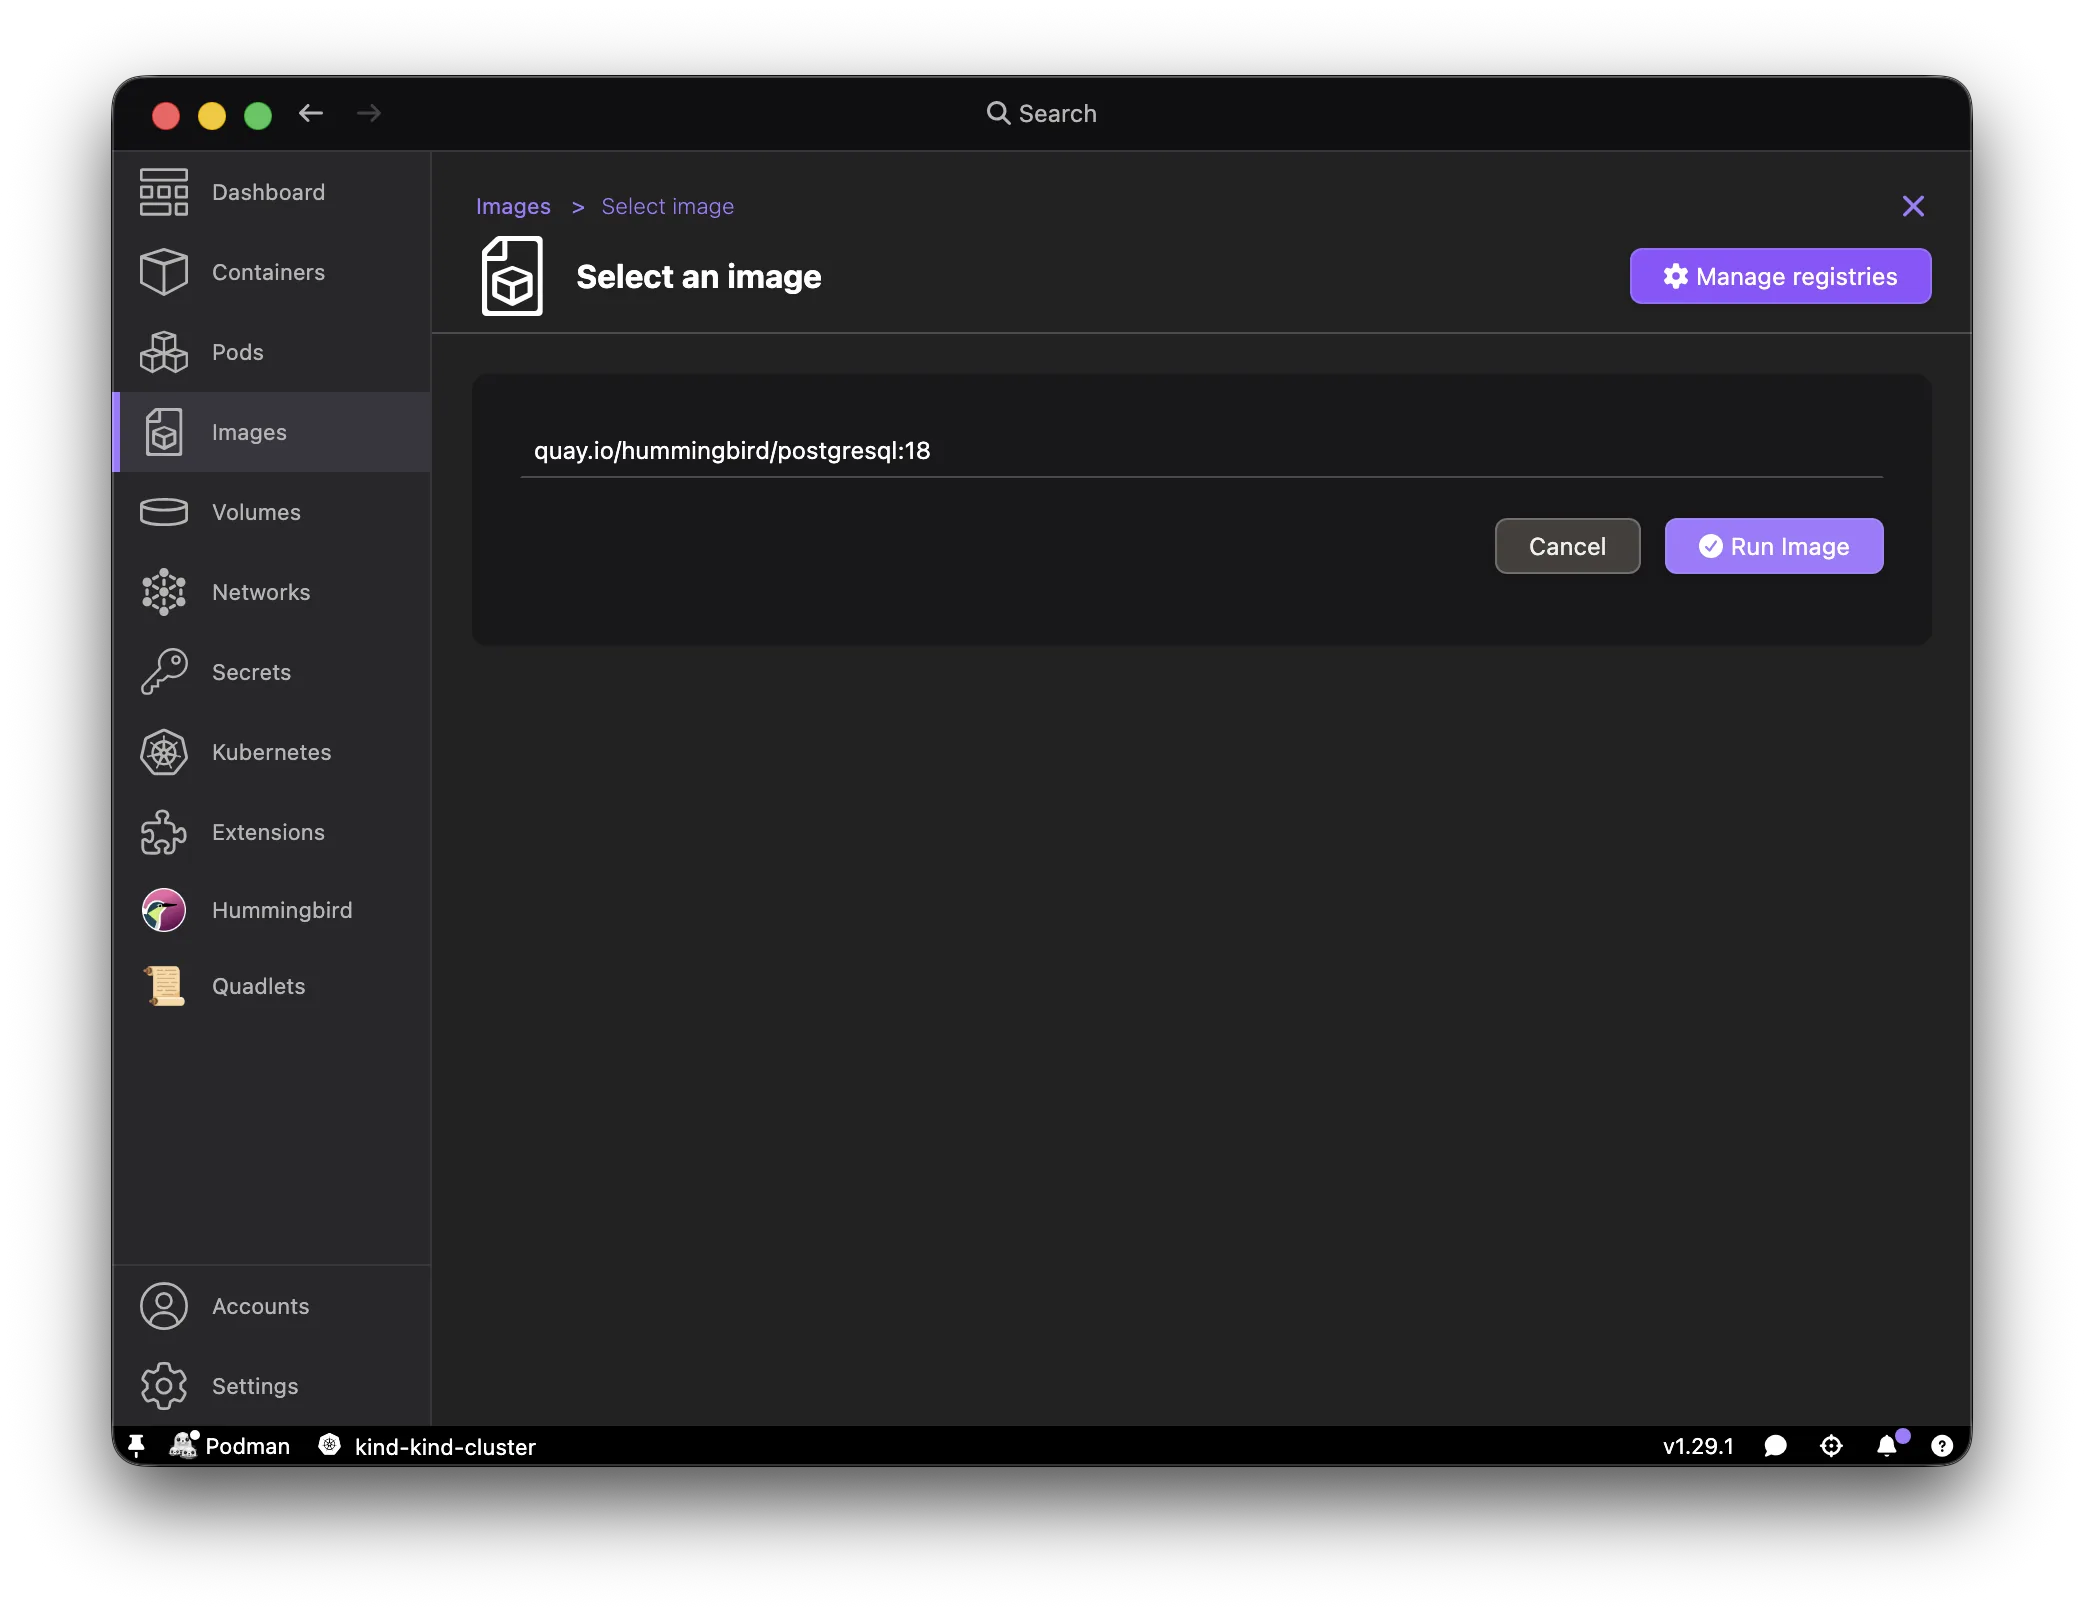
- Go to Containers > Create, select Existing image, and pick
quay.io/hummingbird/postgresql:18.
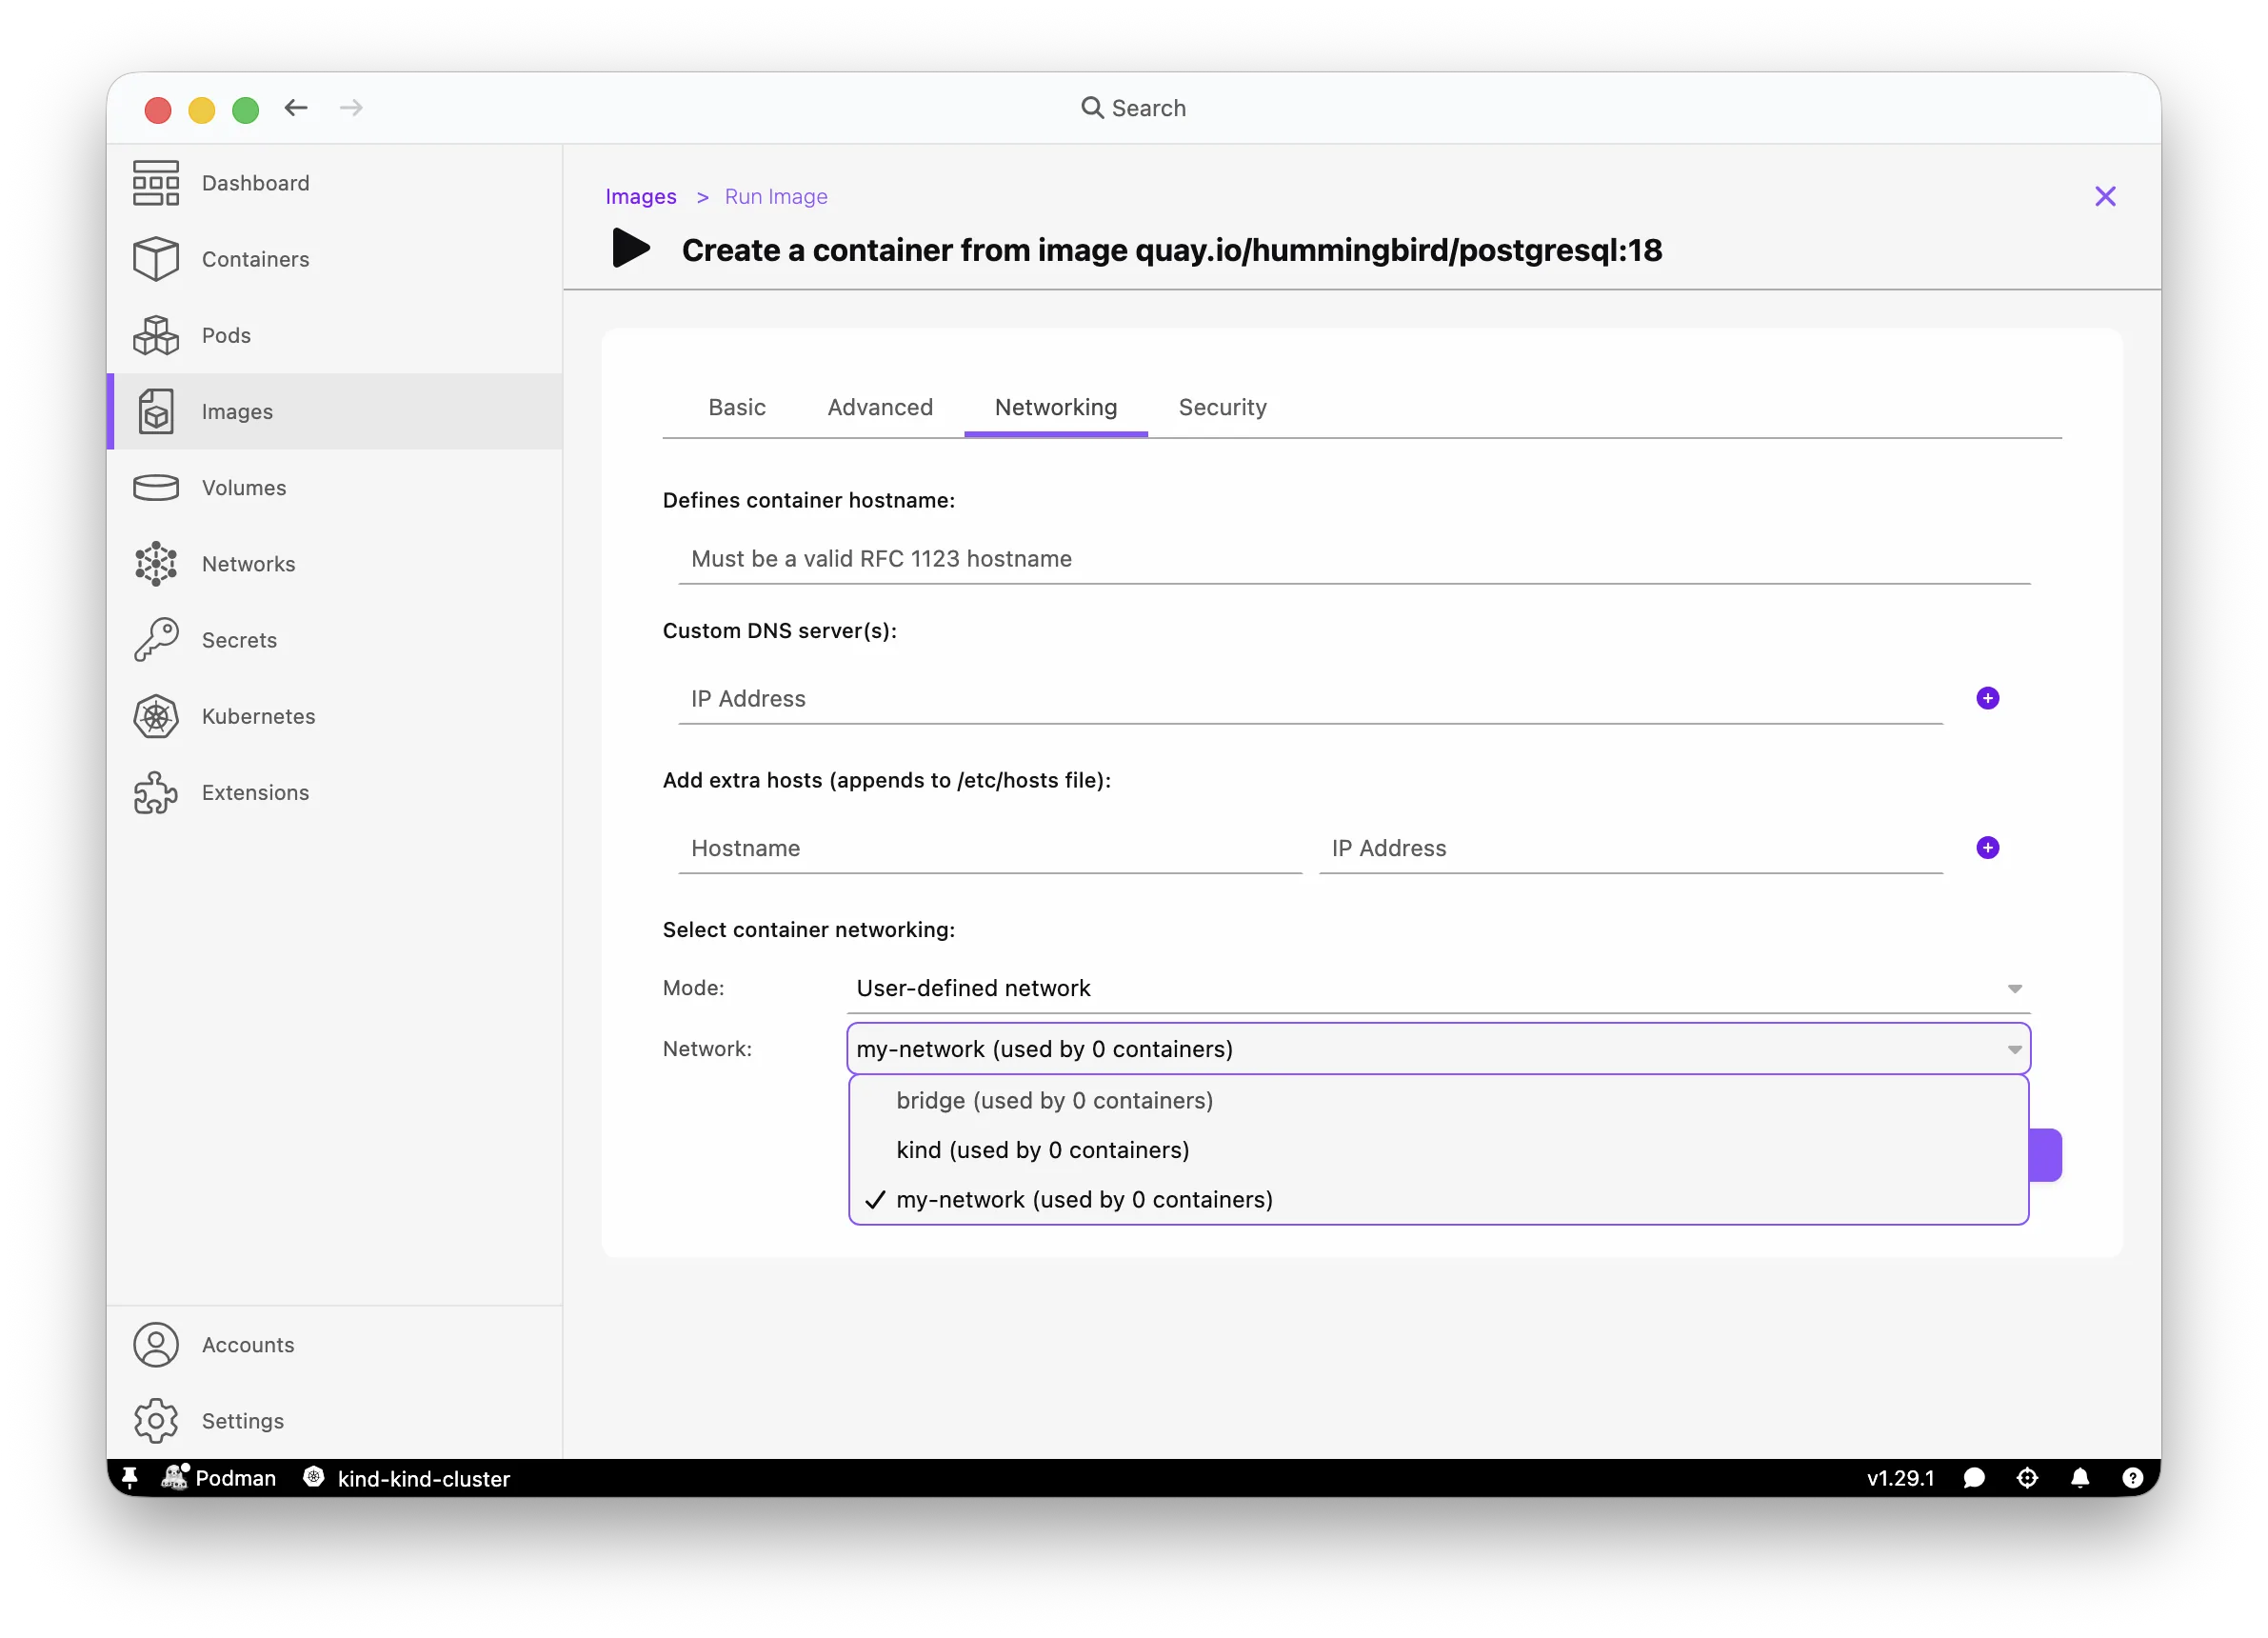
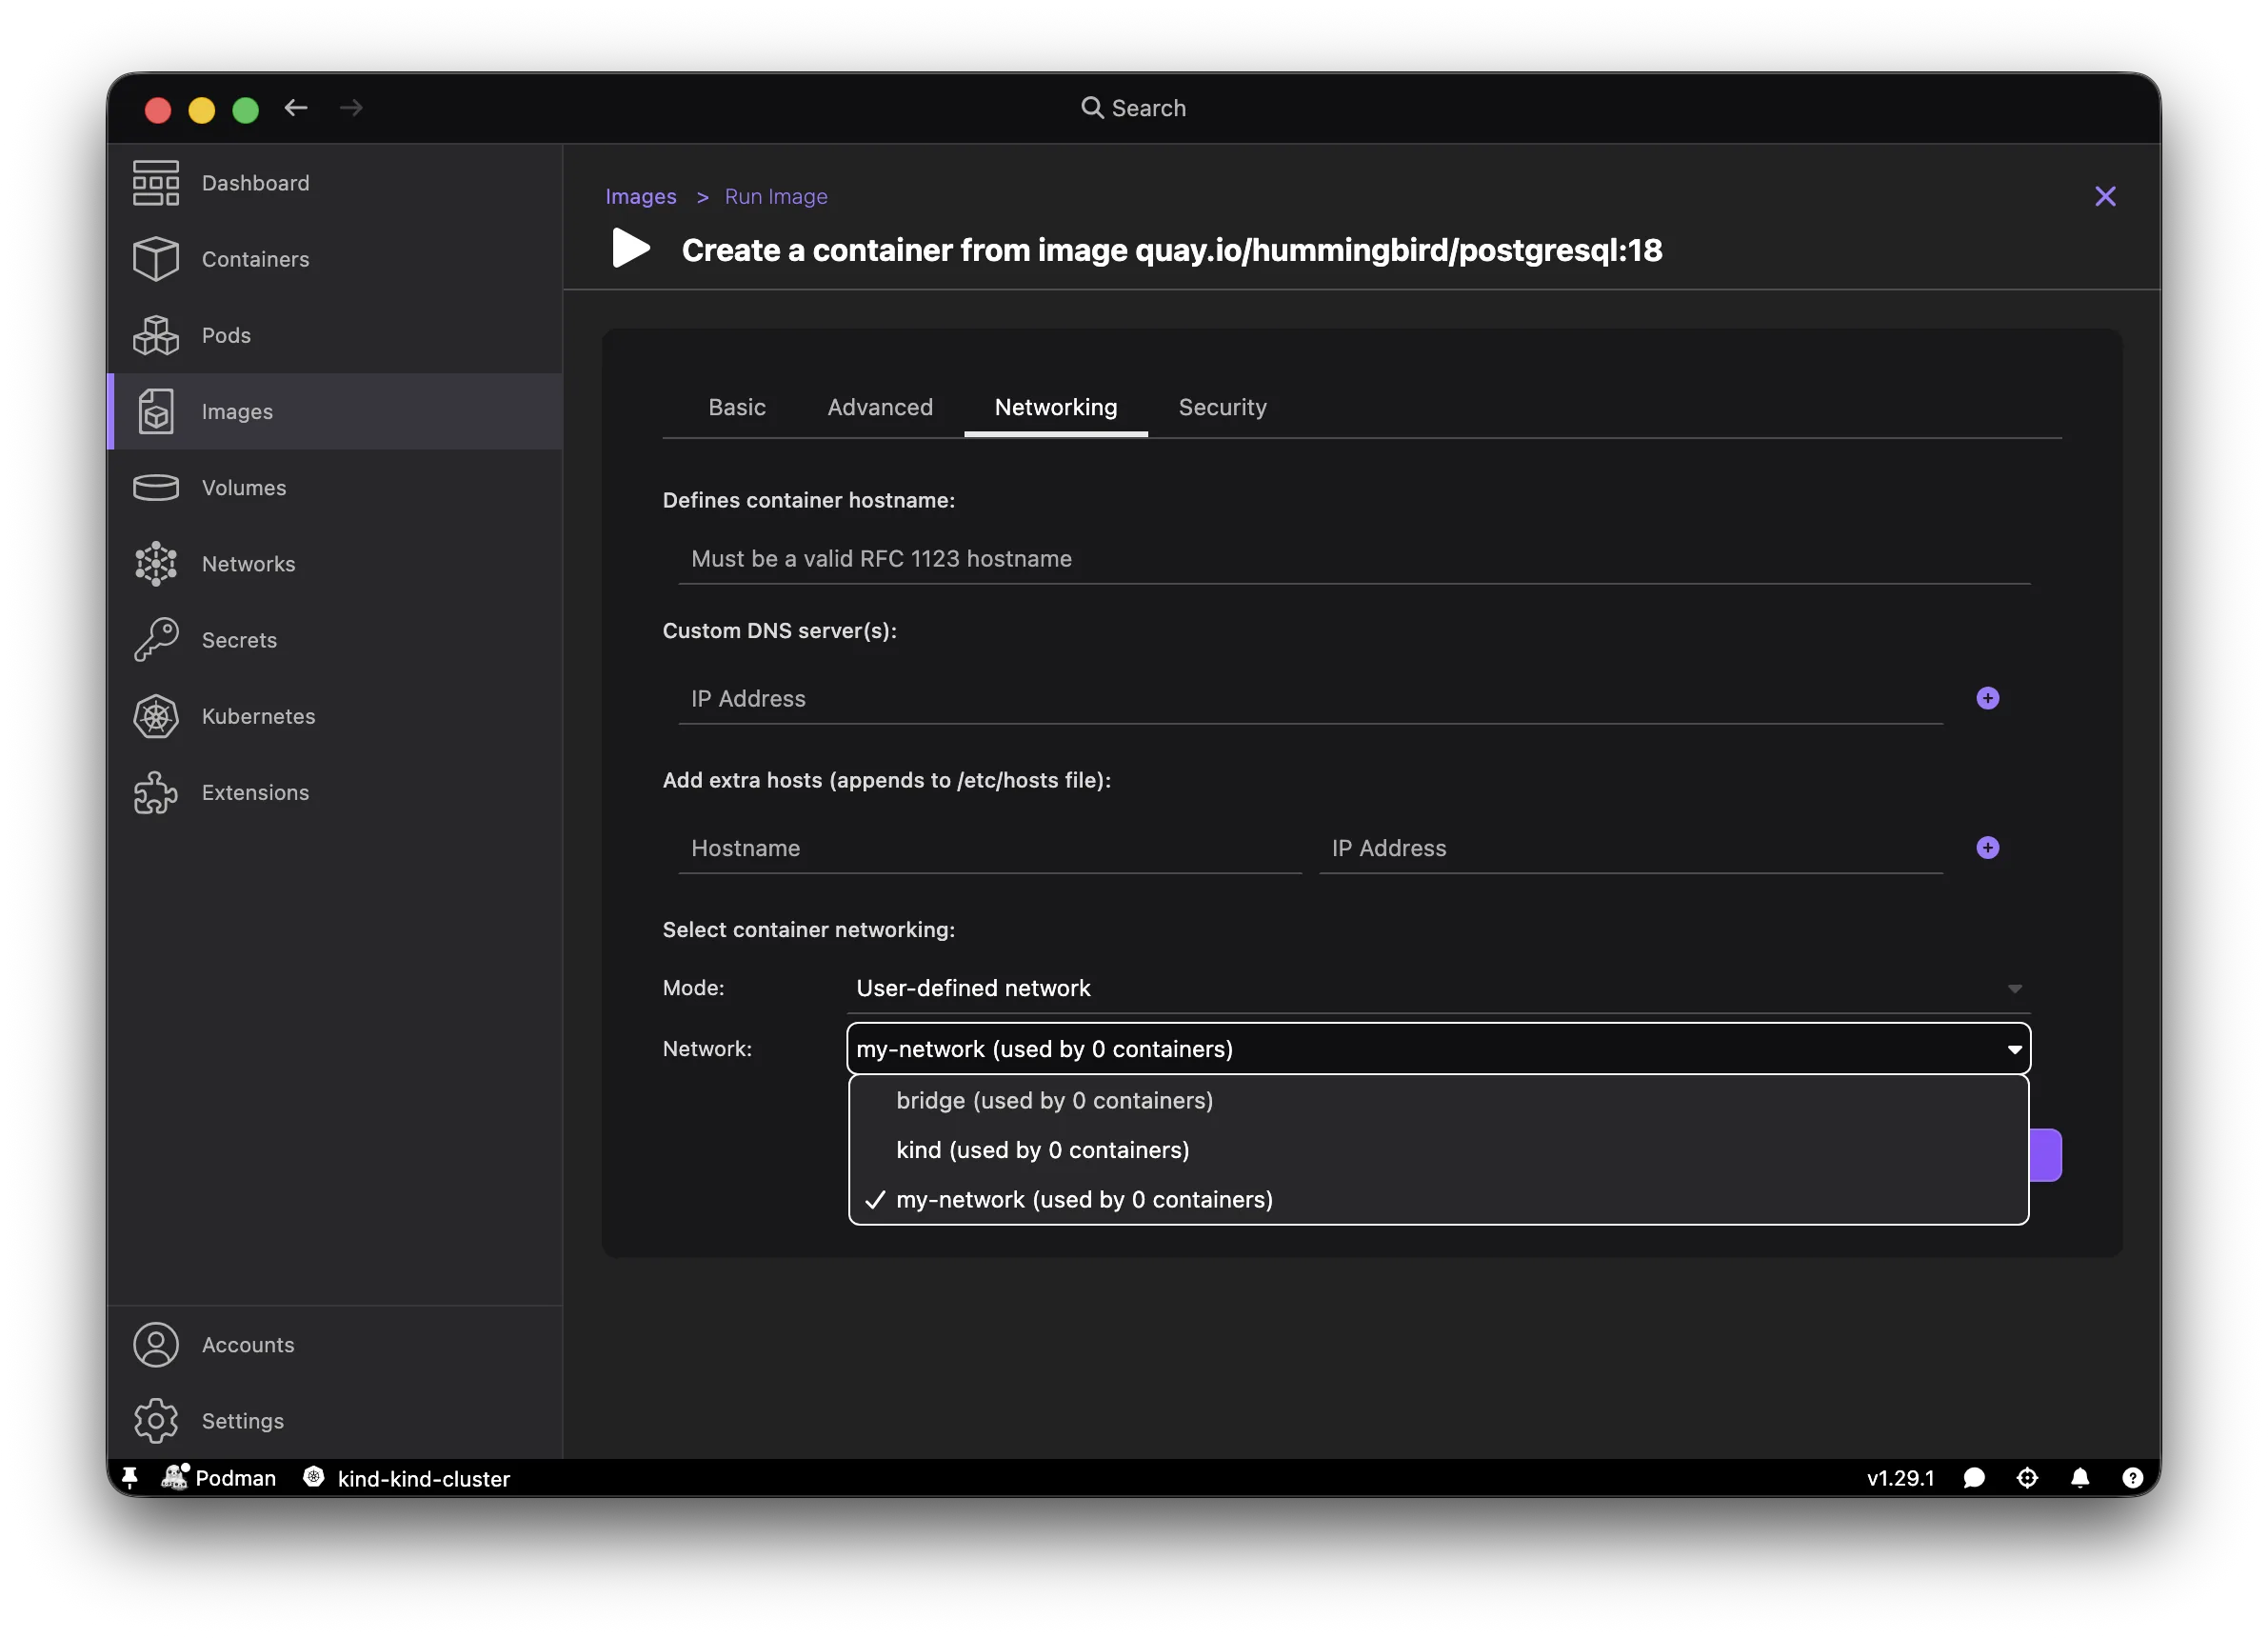
- In the Networking tab, select Container networking, choose User-defined network, then pick
my-network. Name the containerdb.
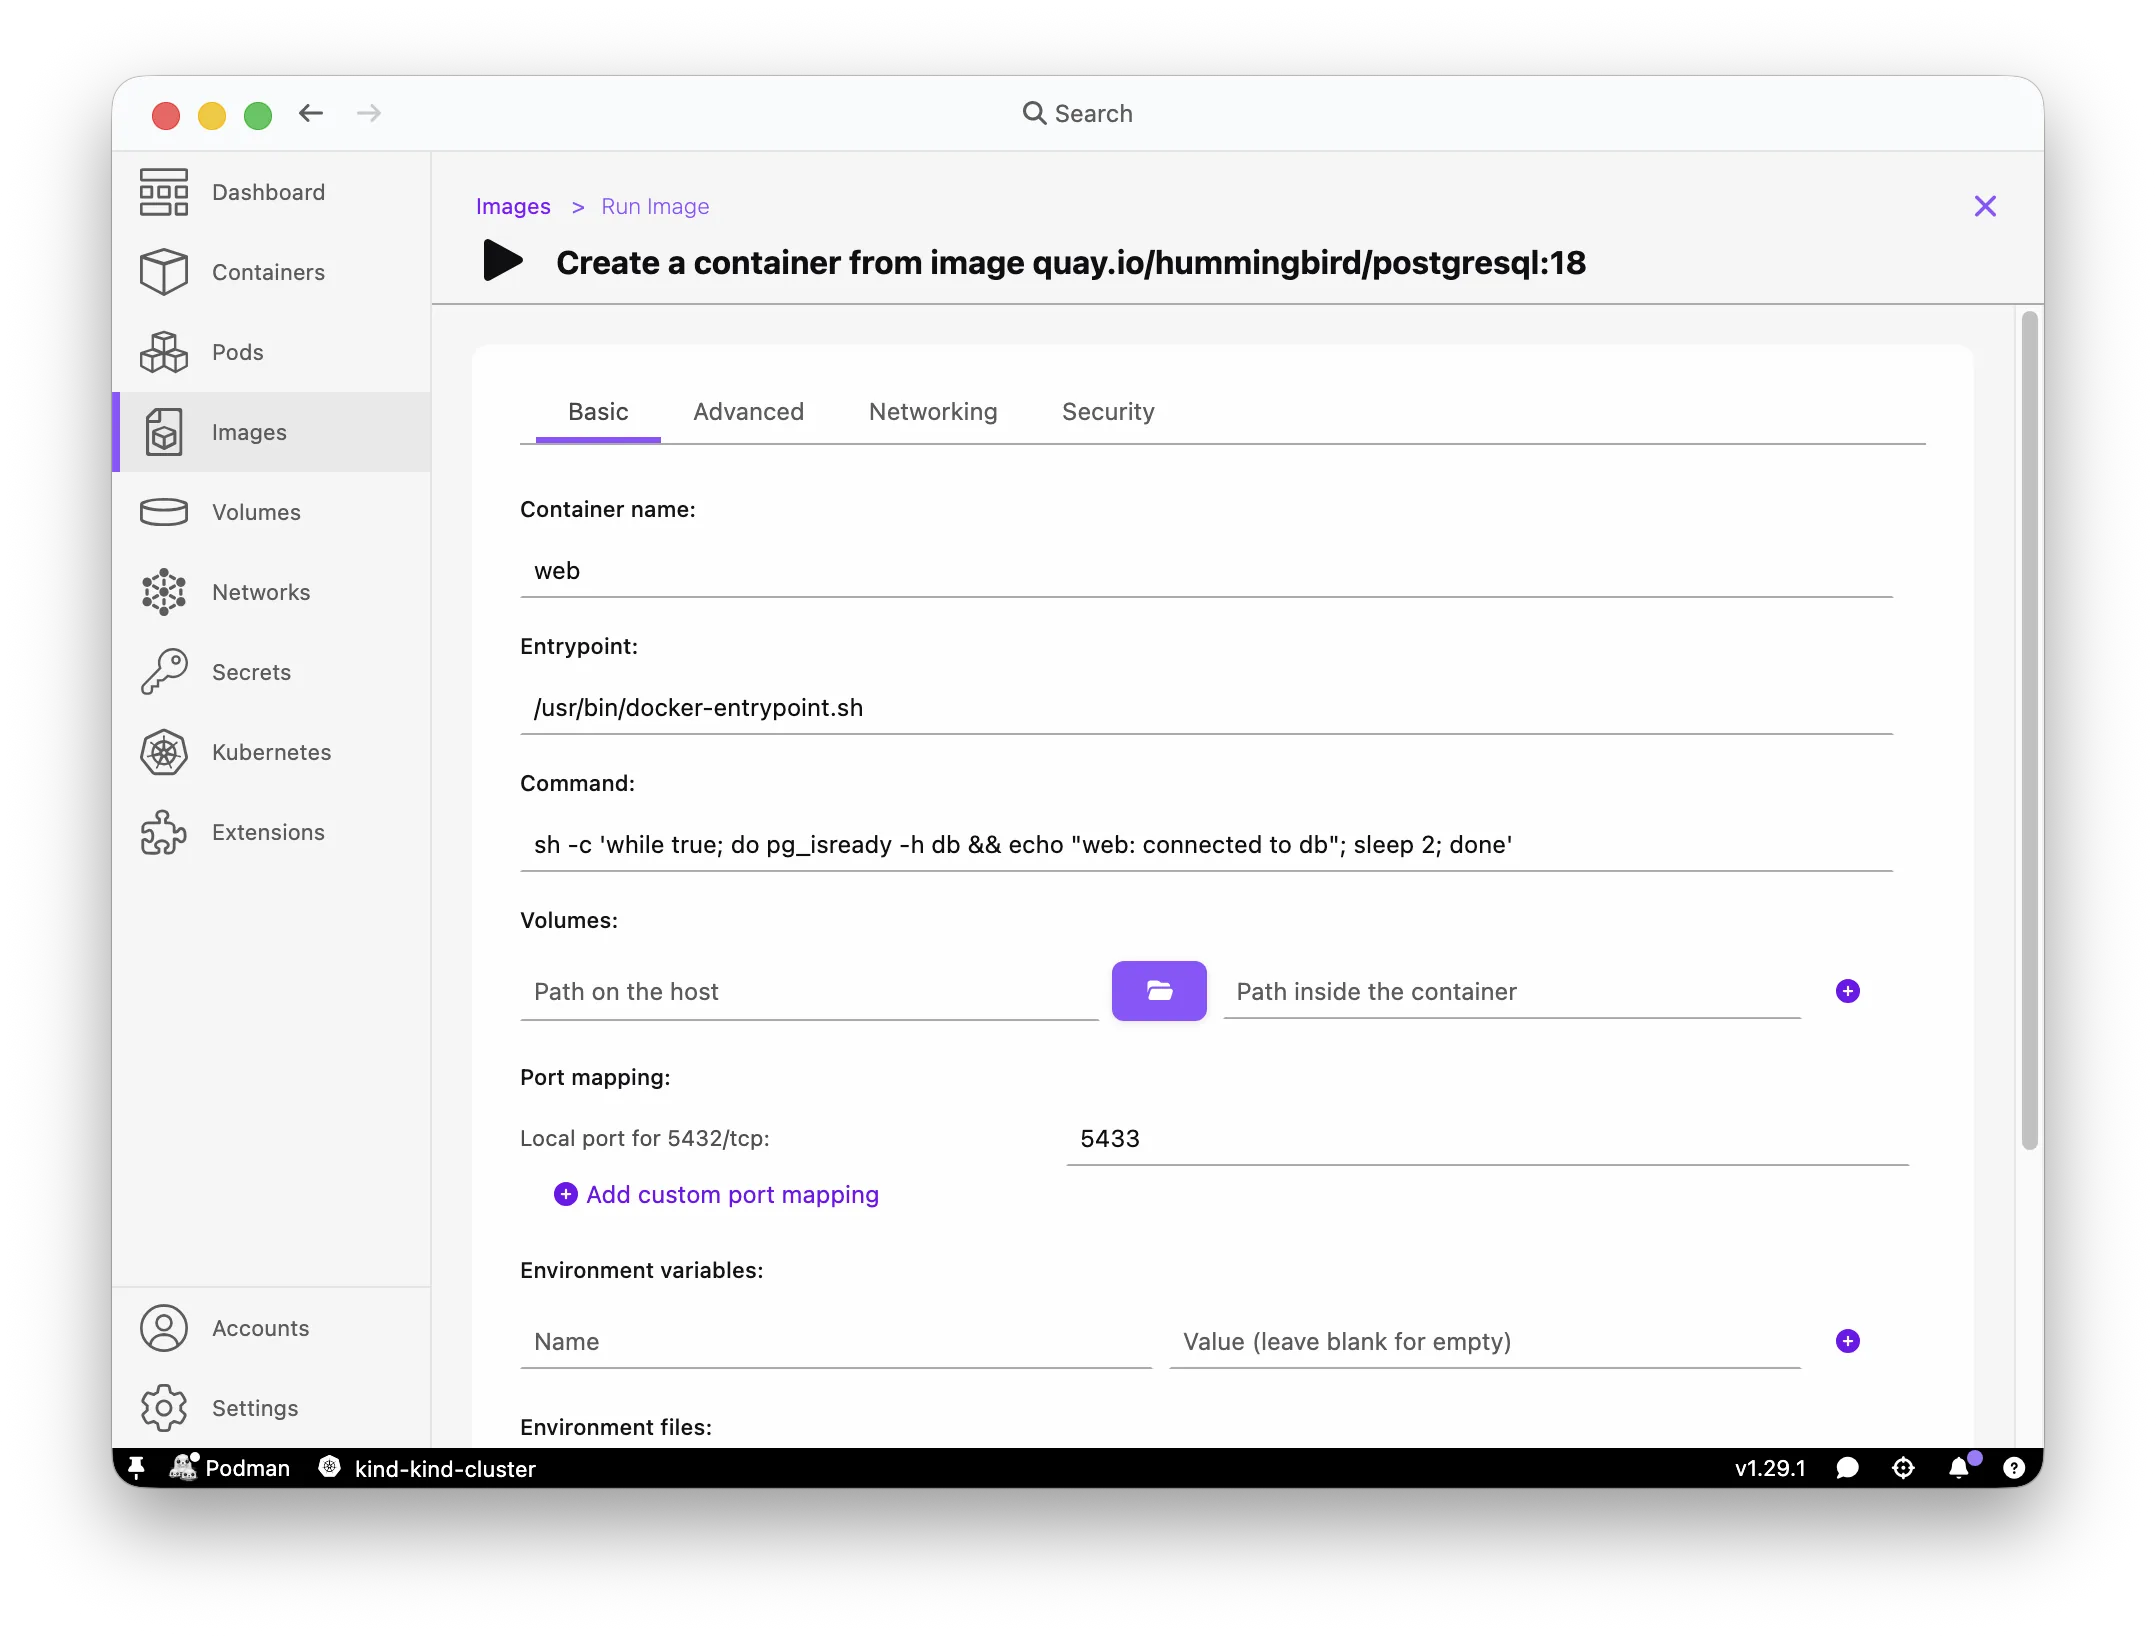
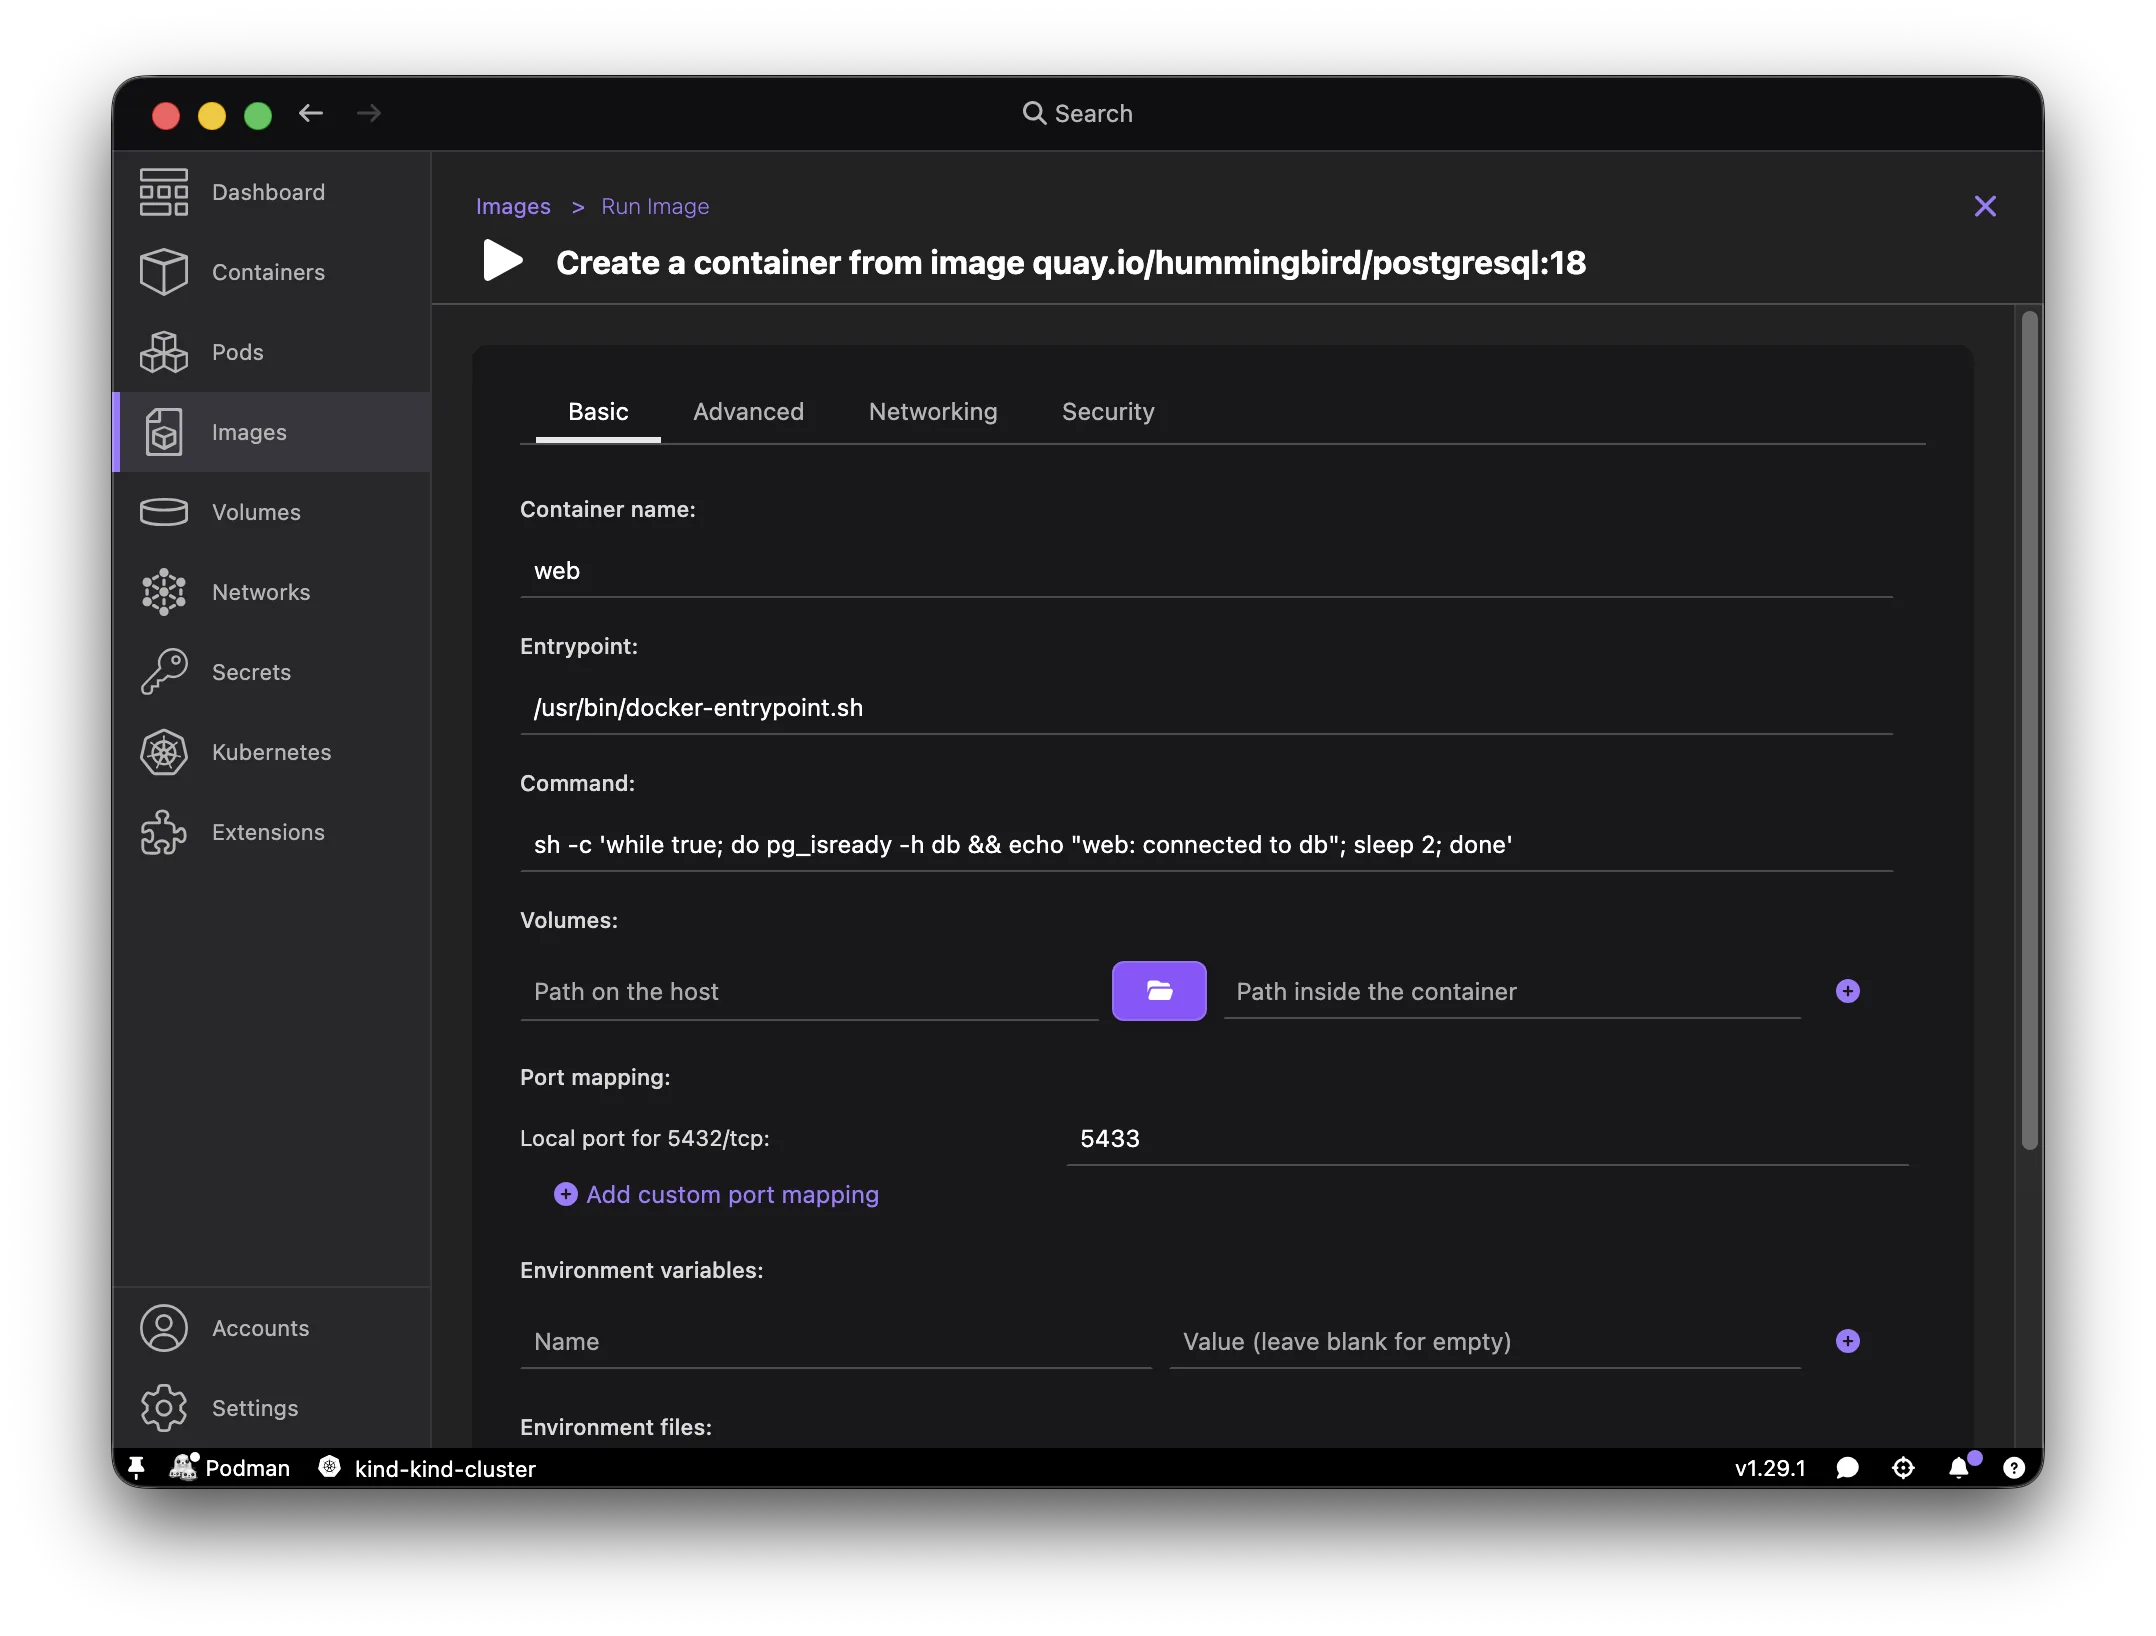
- Run a second container the same way, same image and network, named
web, with commandsh -c 'while true; do pg_isready -h db && echo "web: connected to db"; sleep 2; done'. It checks every couple of seconds thatdbis reachable by name.
$ podman network create my-network
$ podman run -d --network my-network --name db -e POSTGRES_PASSWORD=secret quay.io/hummingbird/postgresql:18
$ podman run -d --network my-network --name web quay.io/hummingbird/postgresql:18 \
    sh -c 'while true; do pg_isready -h db && echo "web: connected to db"; sleep 2; done'
Check that it works:
- Podman Desktop
- Podman CLI
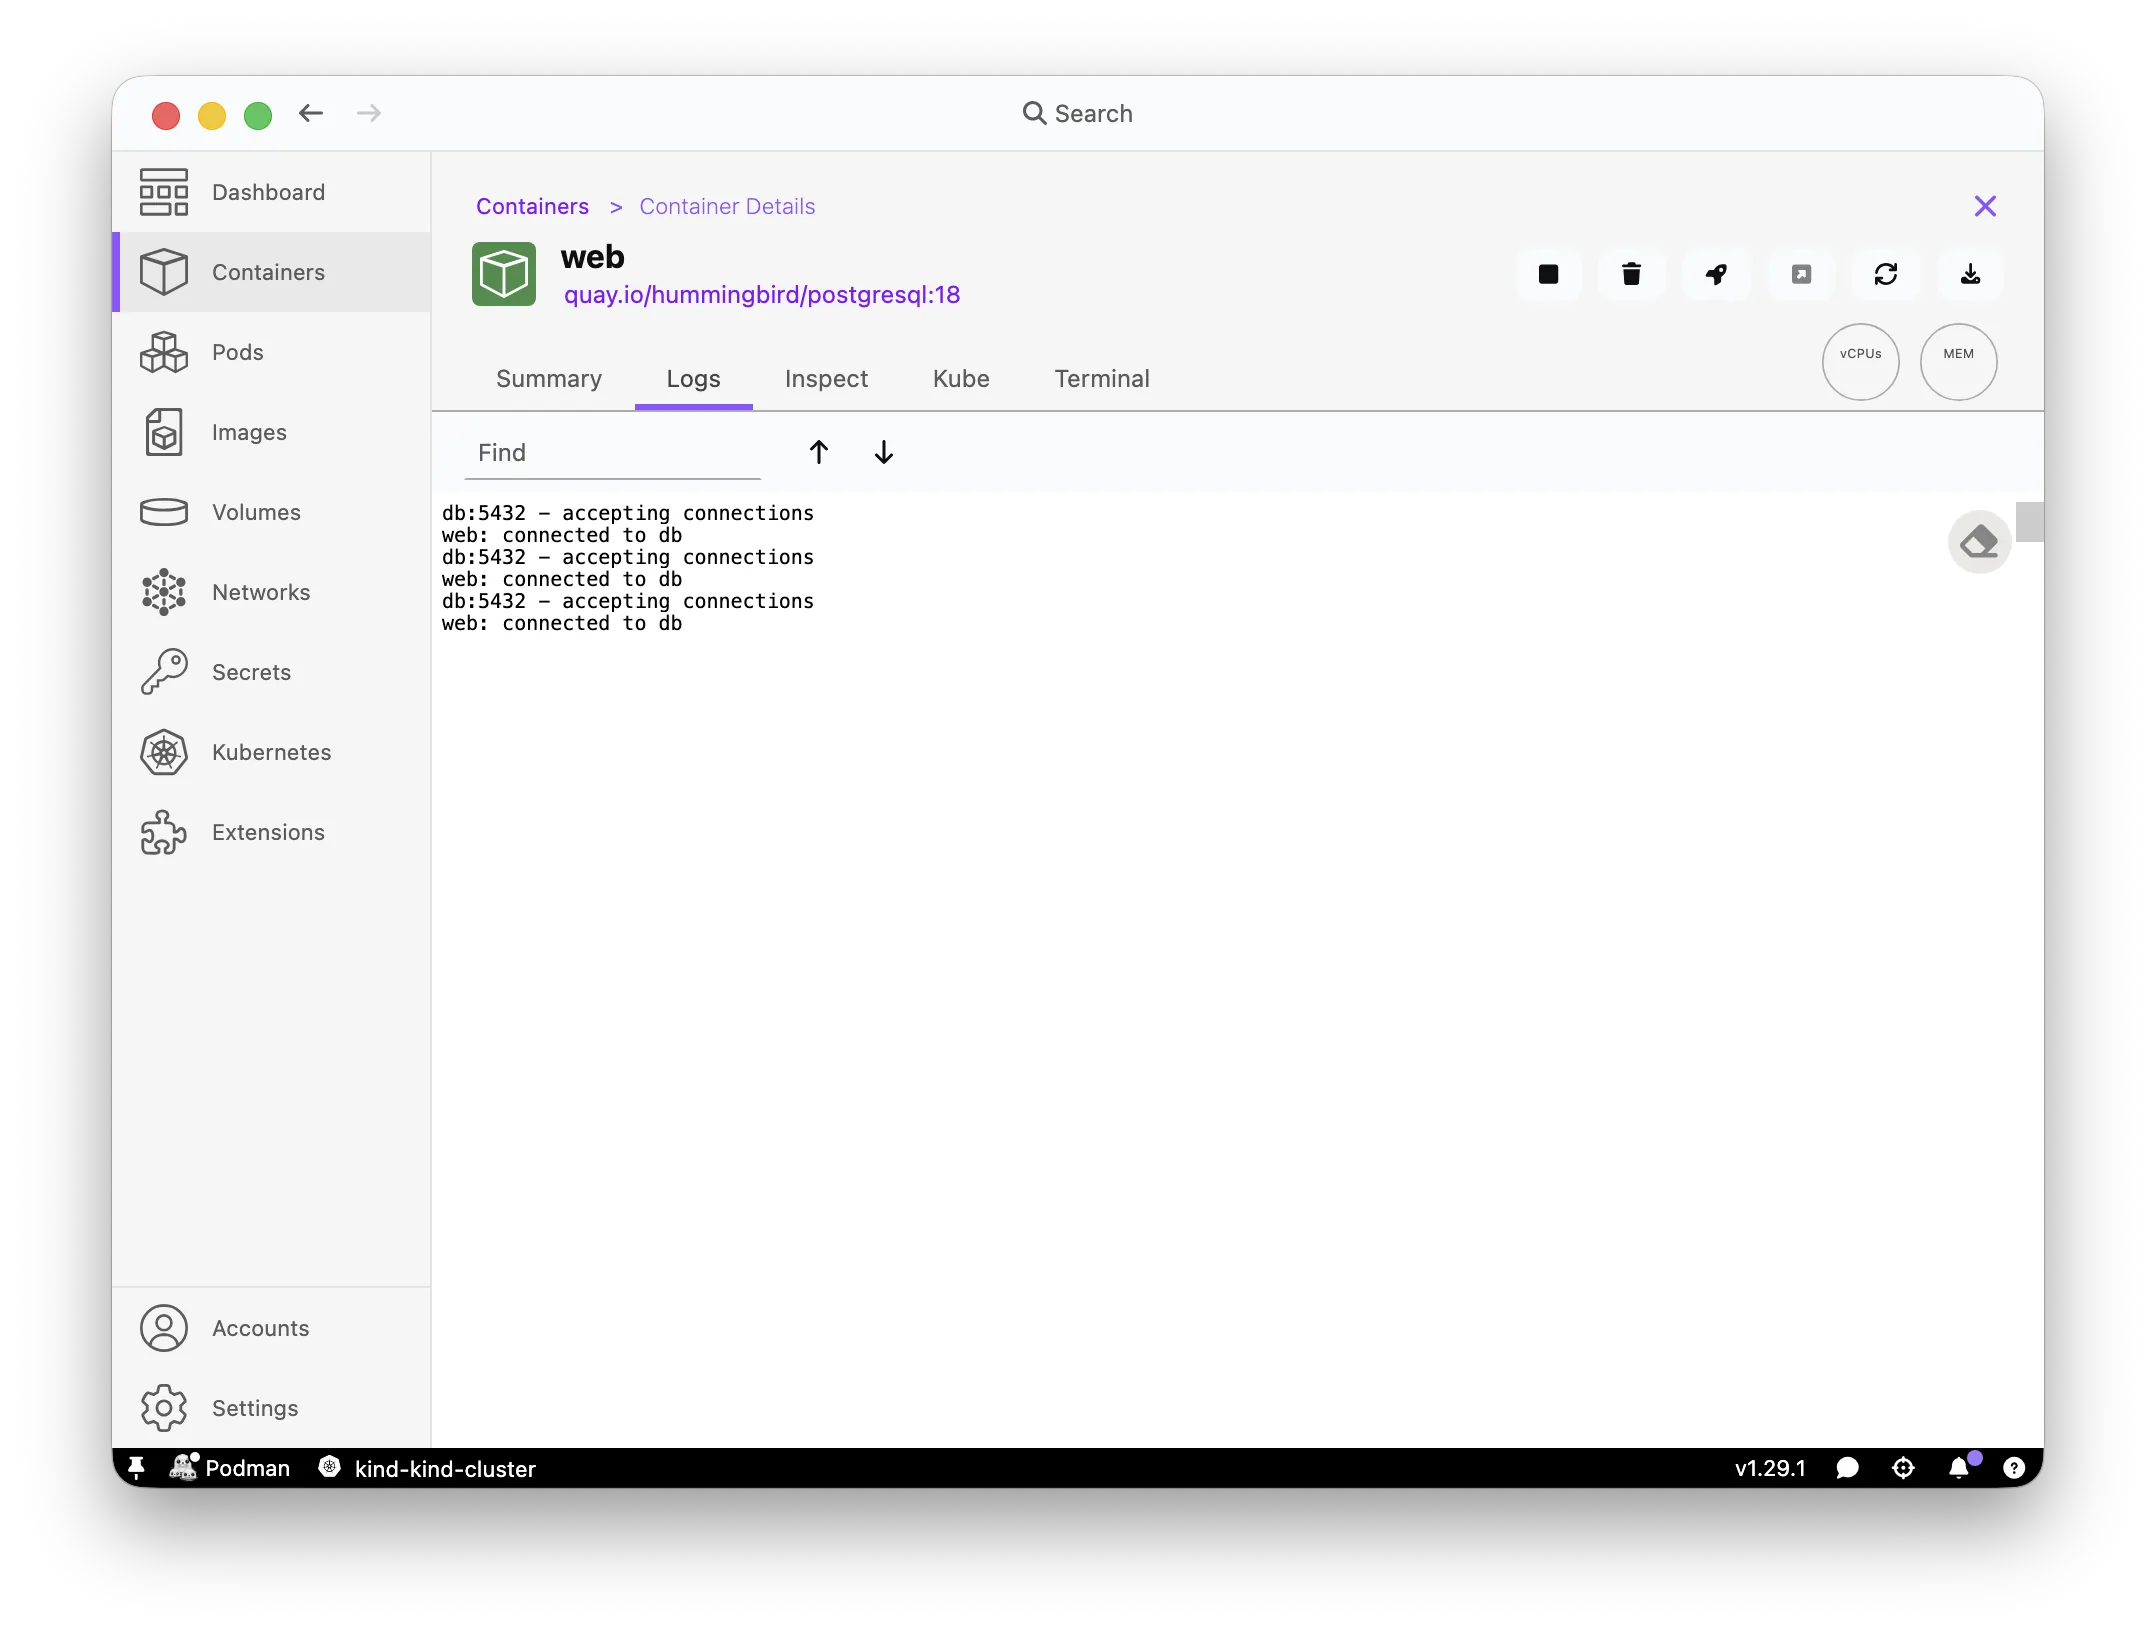
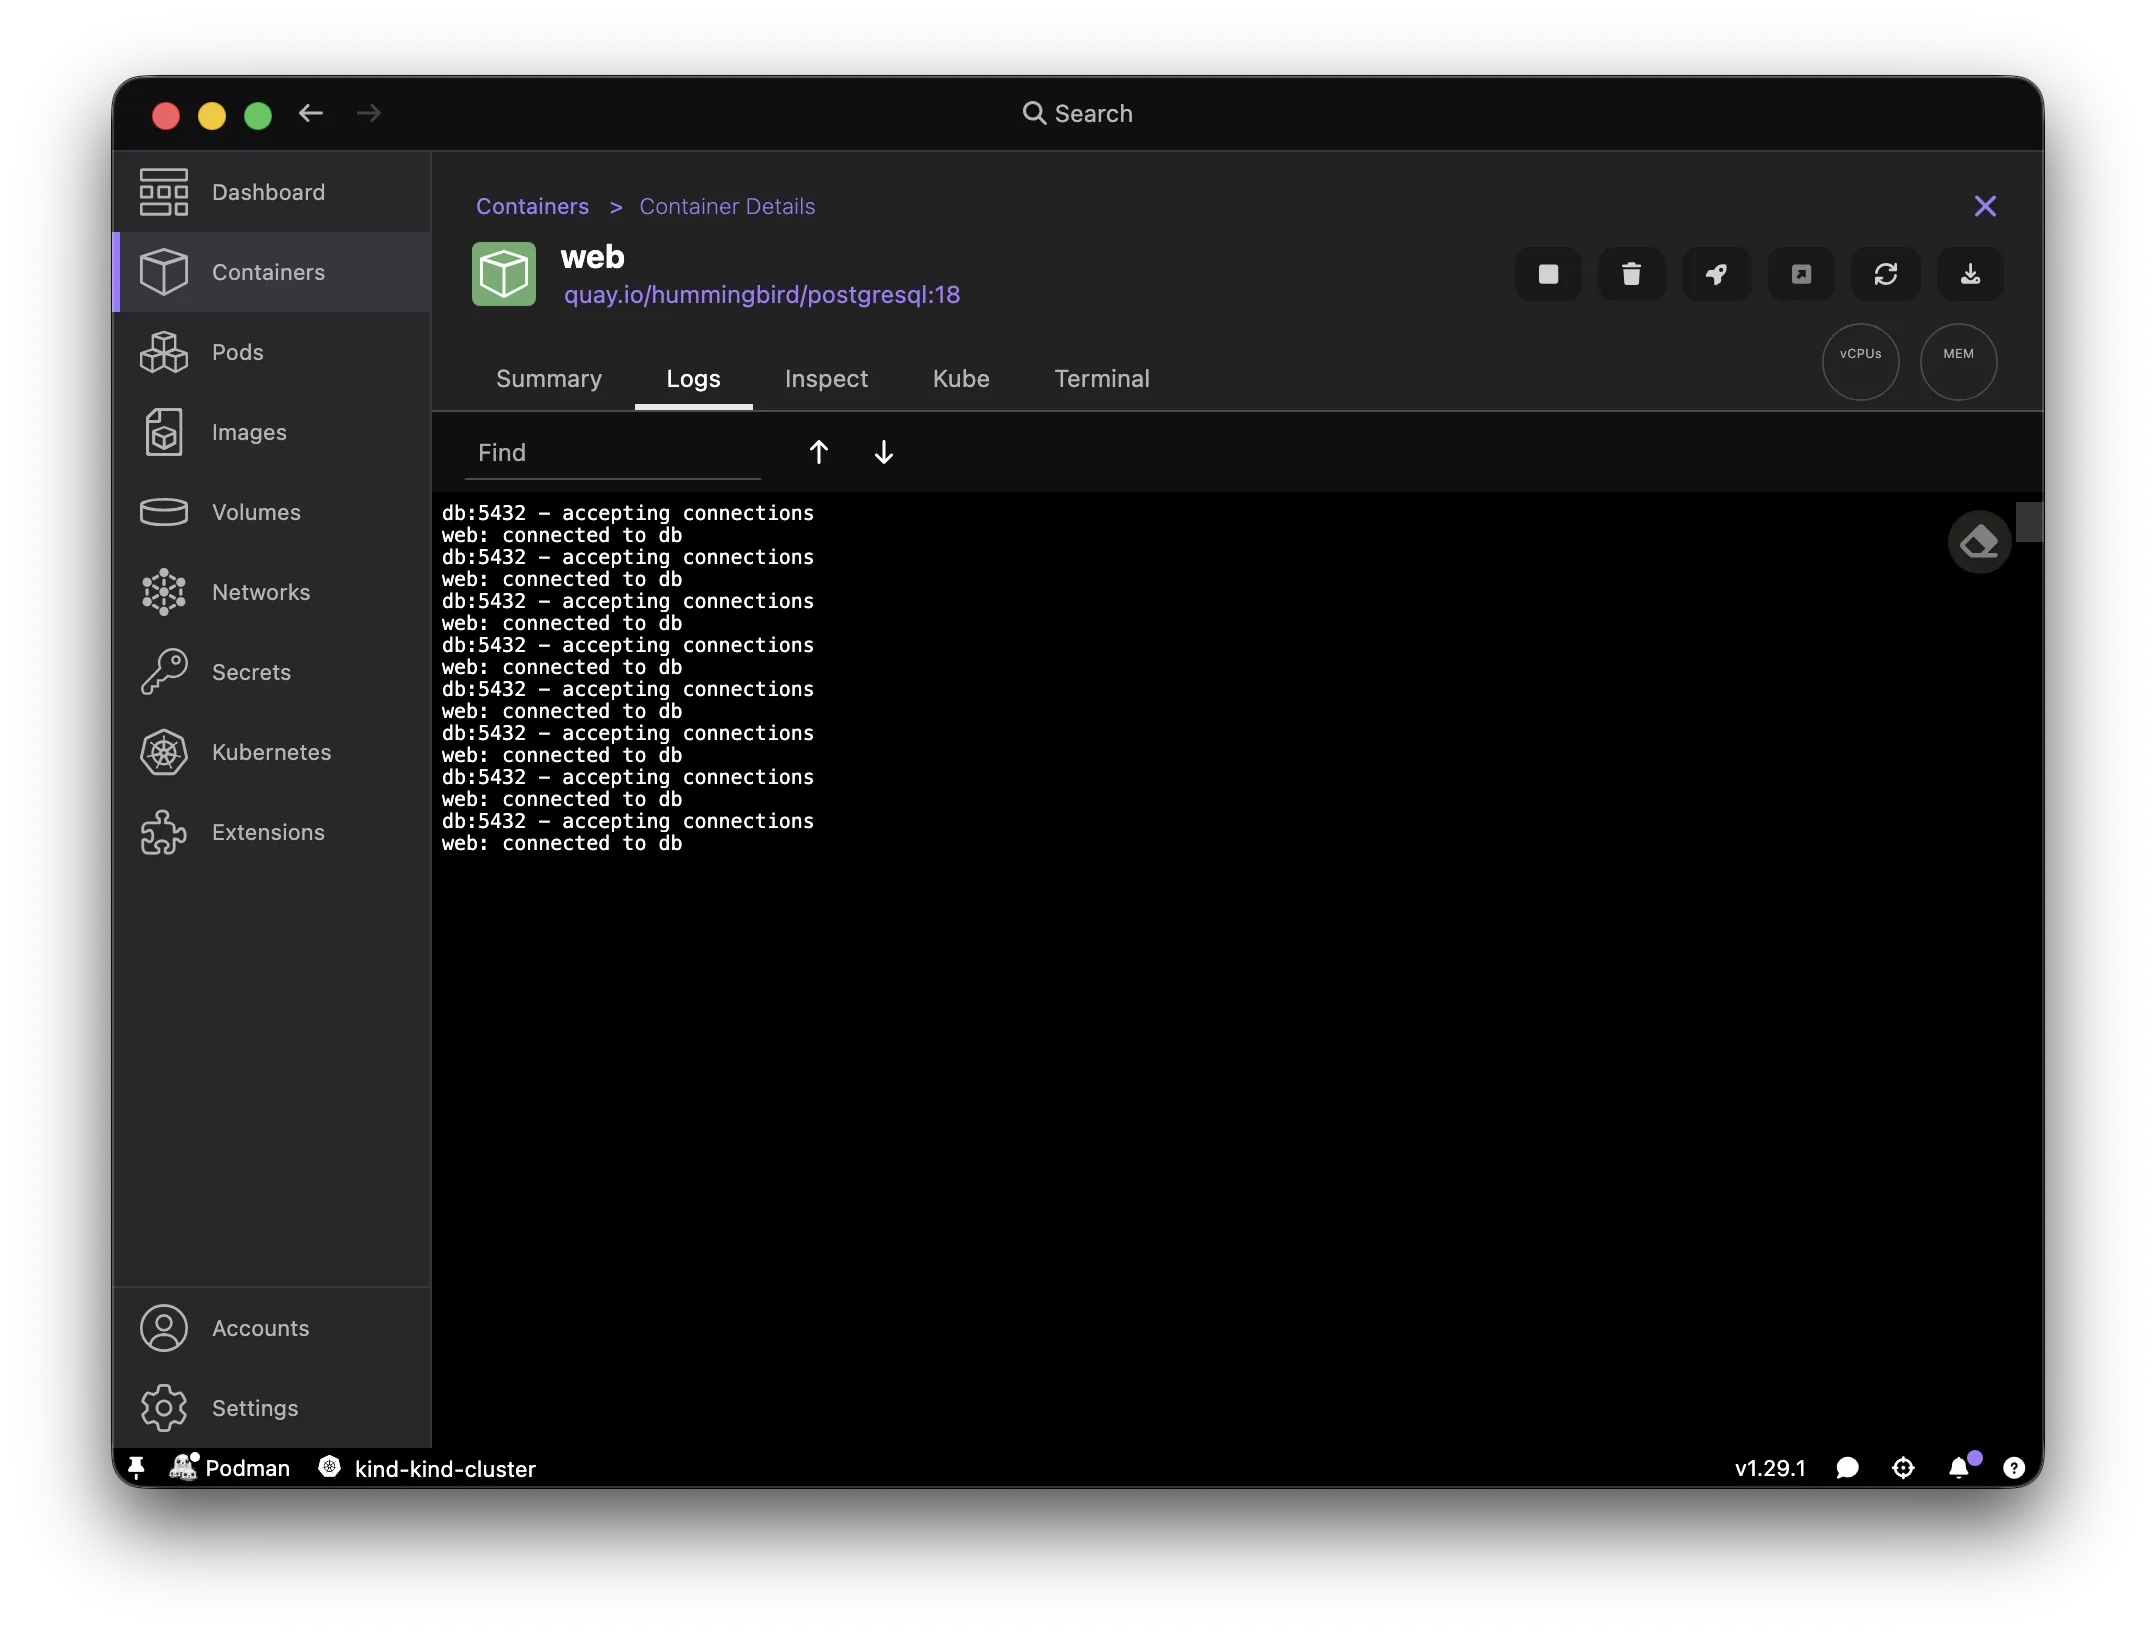
Both containers should show as running on the Containers page, and web's Logs tab should keep printing accepting connections and web: connected to db.
$ podman logs web
# db:5432 - accepting connections
# web: connected to db
Cleanup:
- Podman Desktop
- Podman CLI
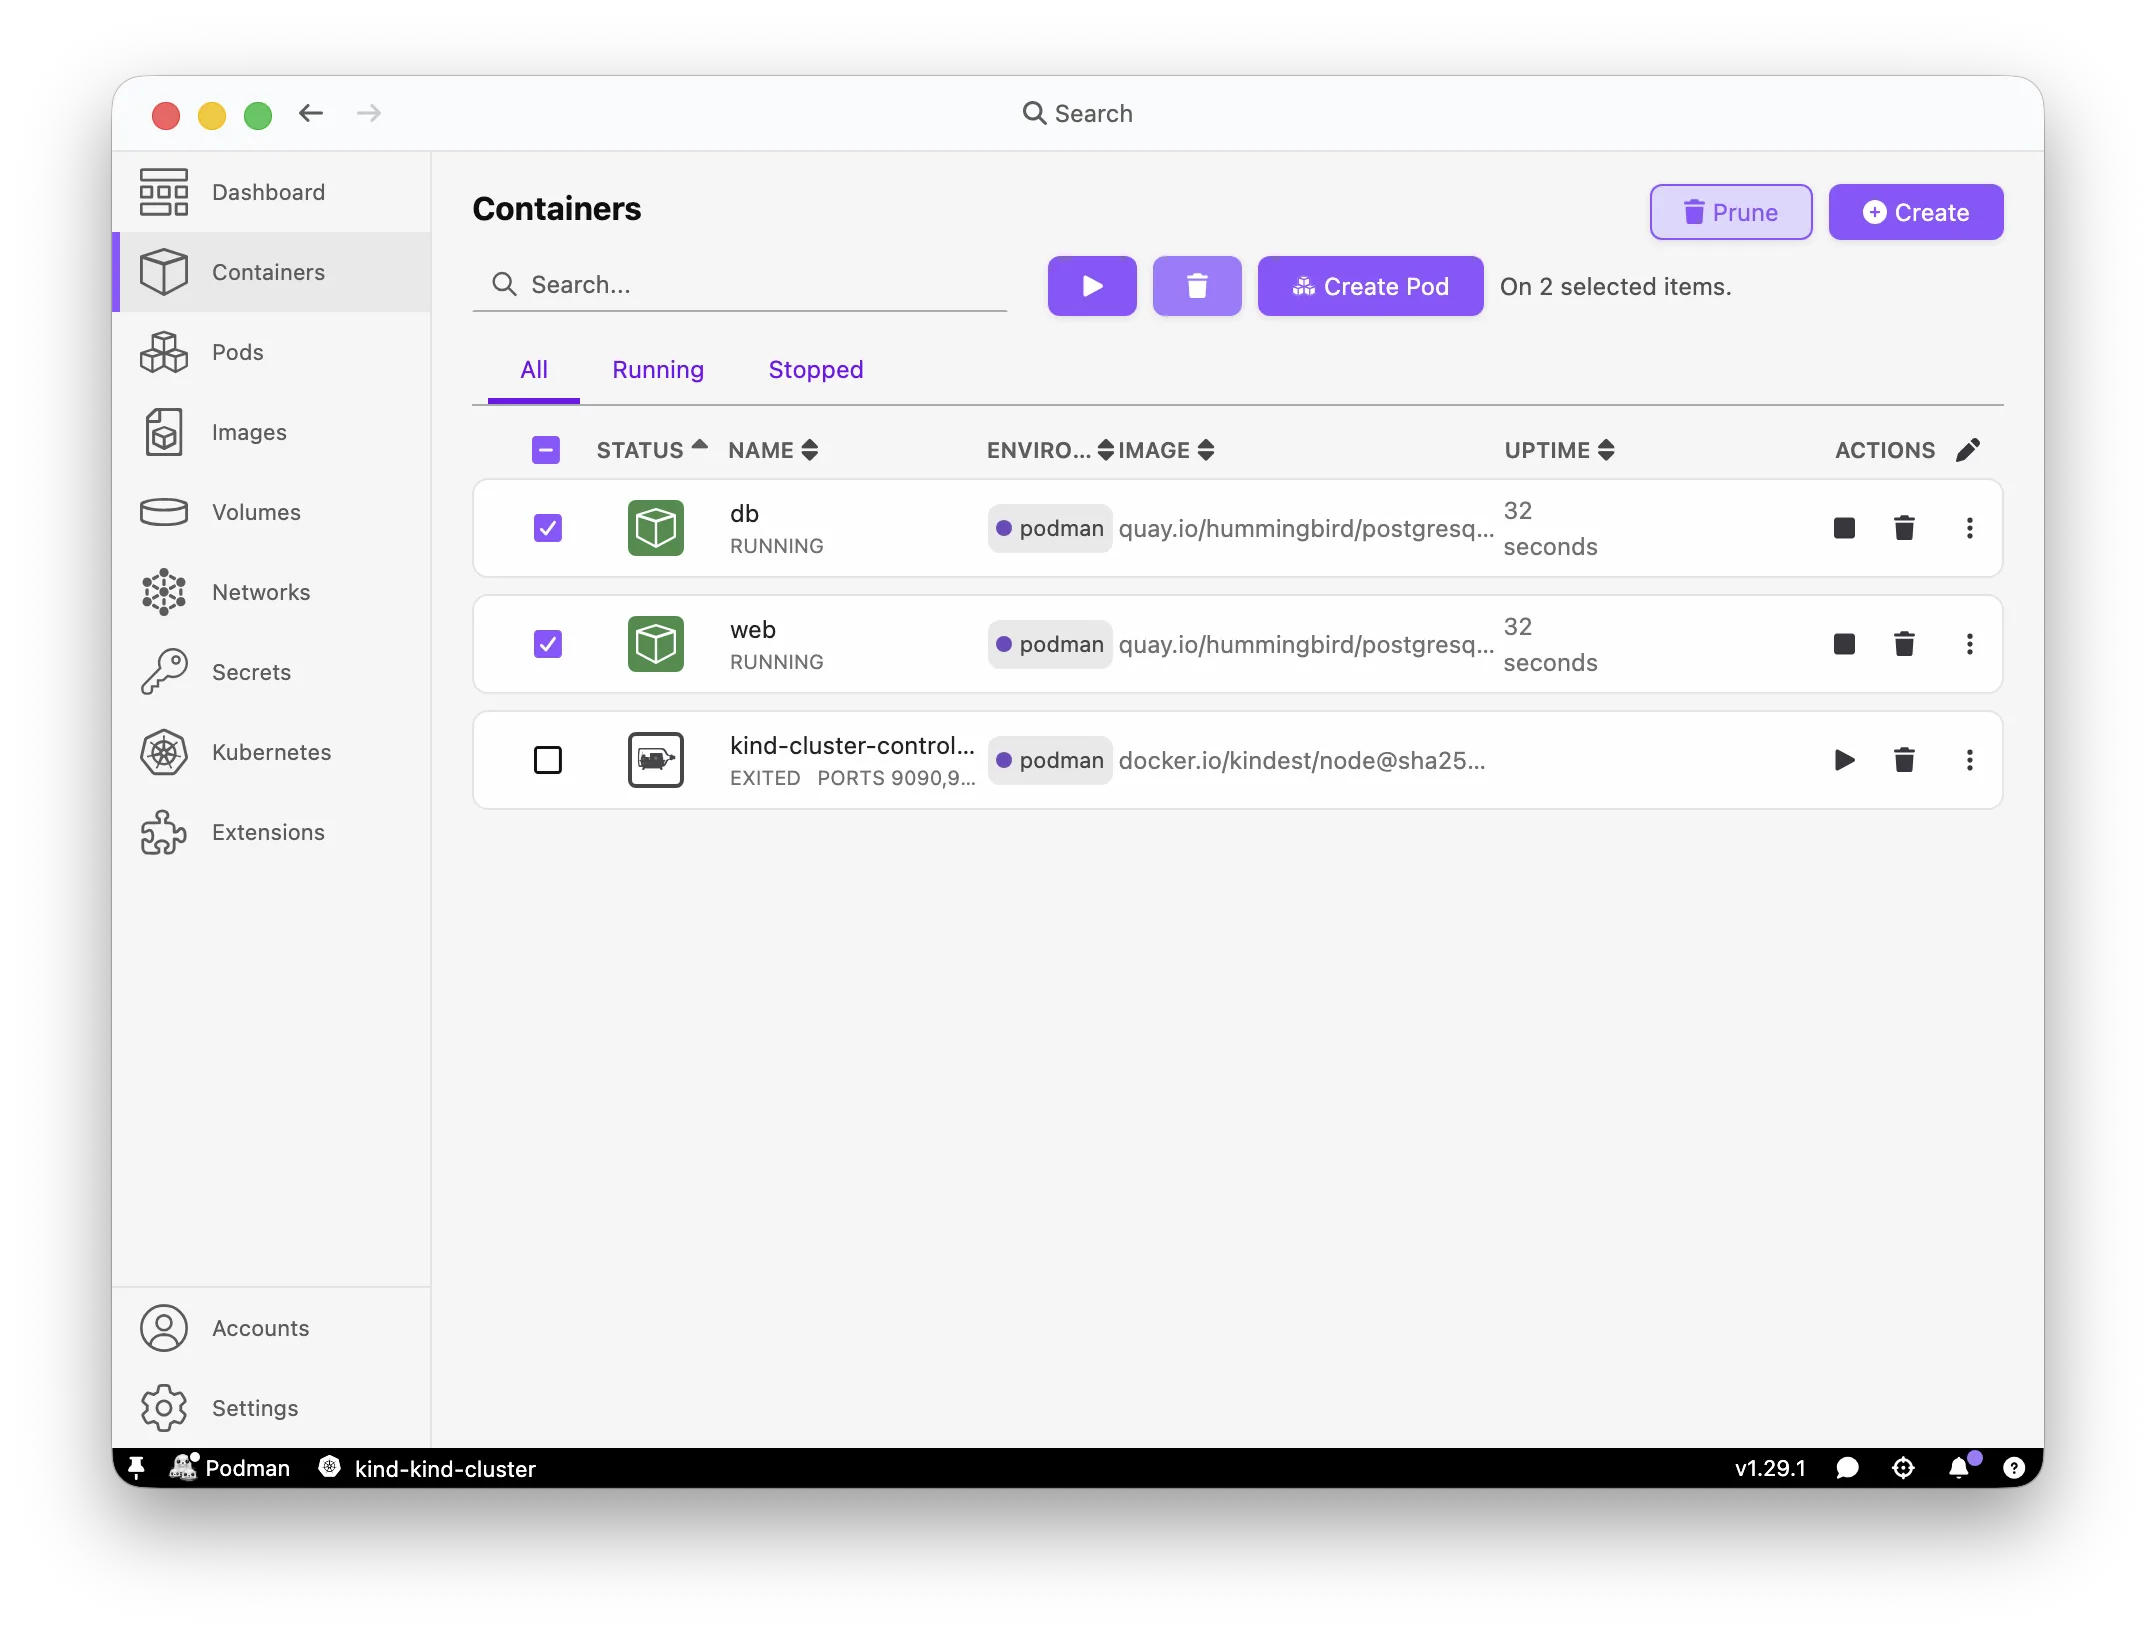
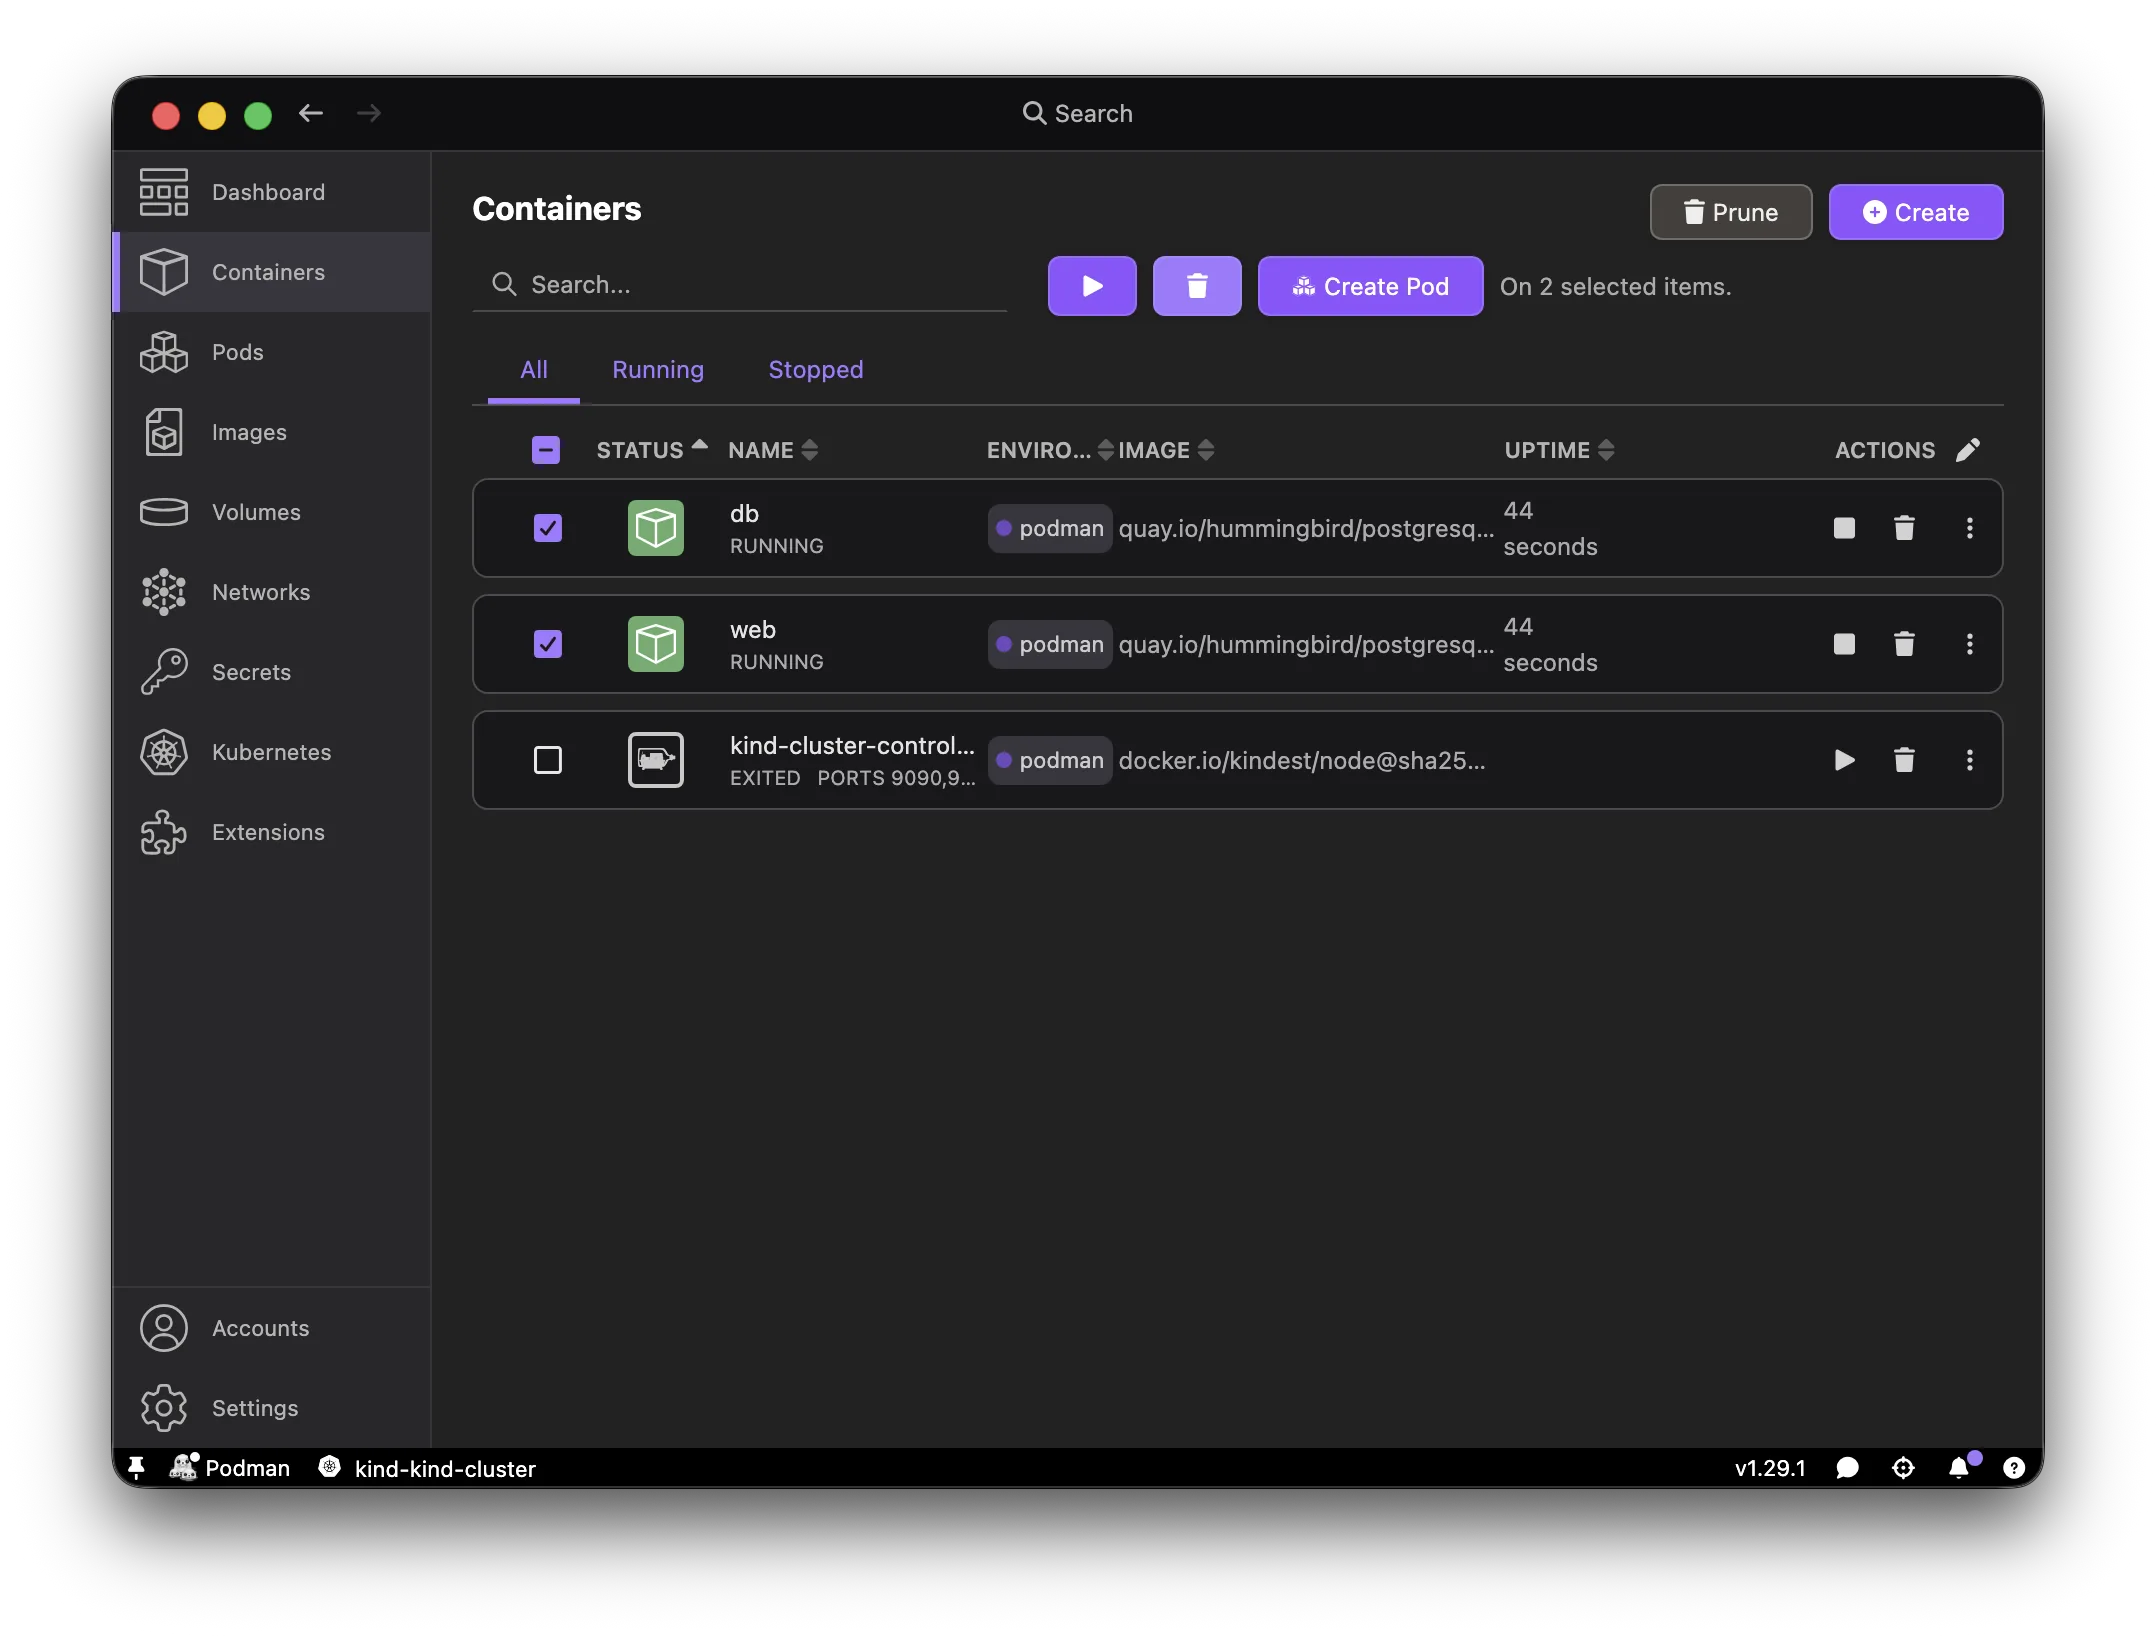
Select db and web in the Containers list and delete them, then delete the my-network network from the Networks list.
$ podman rm -f db web
$ podman network rm my-network
Two small differences worth knowing:
- Since Podman 6 / Netavark 2.0, bridge networks default to
isolate=strict. Containers on different networks can no longer reach each other by default. - To reach a service on your host, Podman supports Docker's
host.docker.internal, plus its ownhost.containers.internal. Your existing Docker scripts and Compose files keep working.
But a network is as far as Docker takes you. Containers stay separate processes that just happen to know each other's names, and that's not how they'll actually be grouped once they land on Kubernetes or OpenShift. Podman has something for that Docker doesn't: the pod.
3. Pods: the alternative to a network
The name "Podman" comes from "Pod Manager". A pod groups containers so they share one network namespace, close to a Kubernetes Pod. Docker has no equivalent, there's no docker pod command. Containers in a pod just talk to each other over localhost instead of a hostname, the same way they will once deployed. See Podman Desktop's guide to creating a pod for more detail.
Building the same db/web setup as a pod instead of a network takes the same steps as before, just grouped differently.
- Podman Desktop
- Podman CLI
Run both containers first.
db container: image quay.io/hummingbird/postgresql:18, environment variable POSTGRES_PASSWORD=secret.
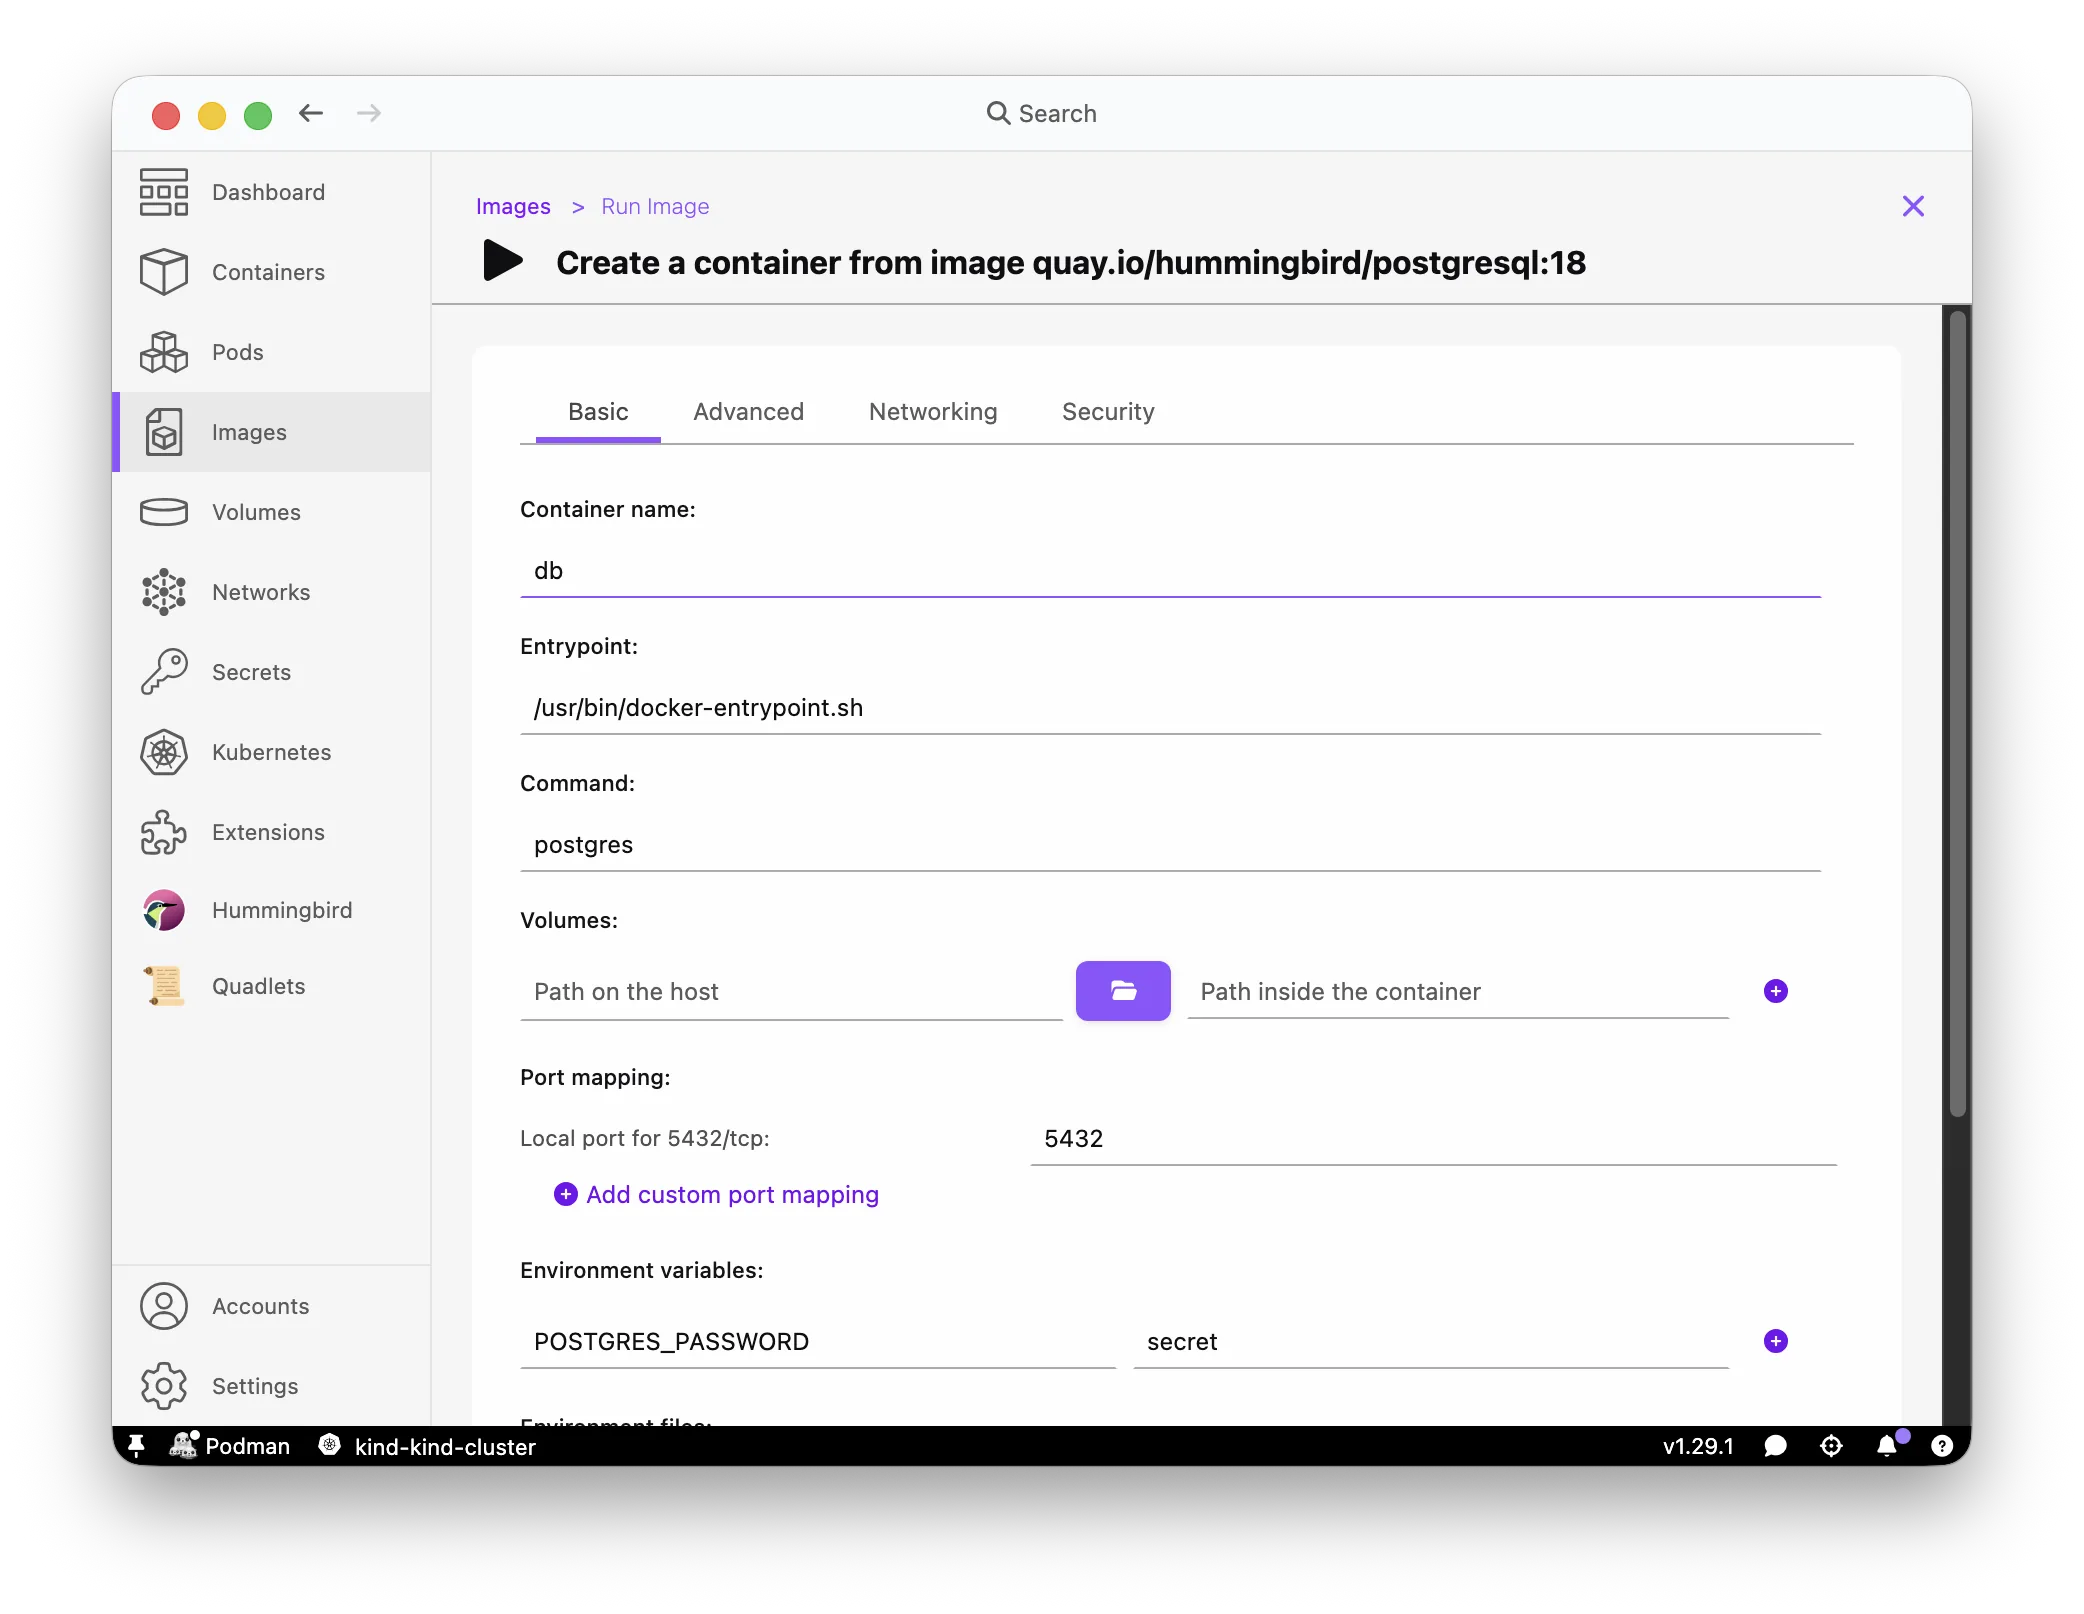
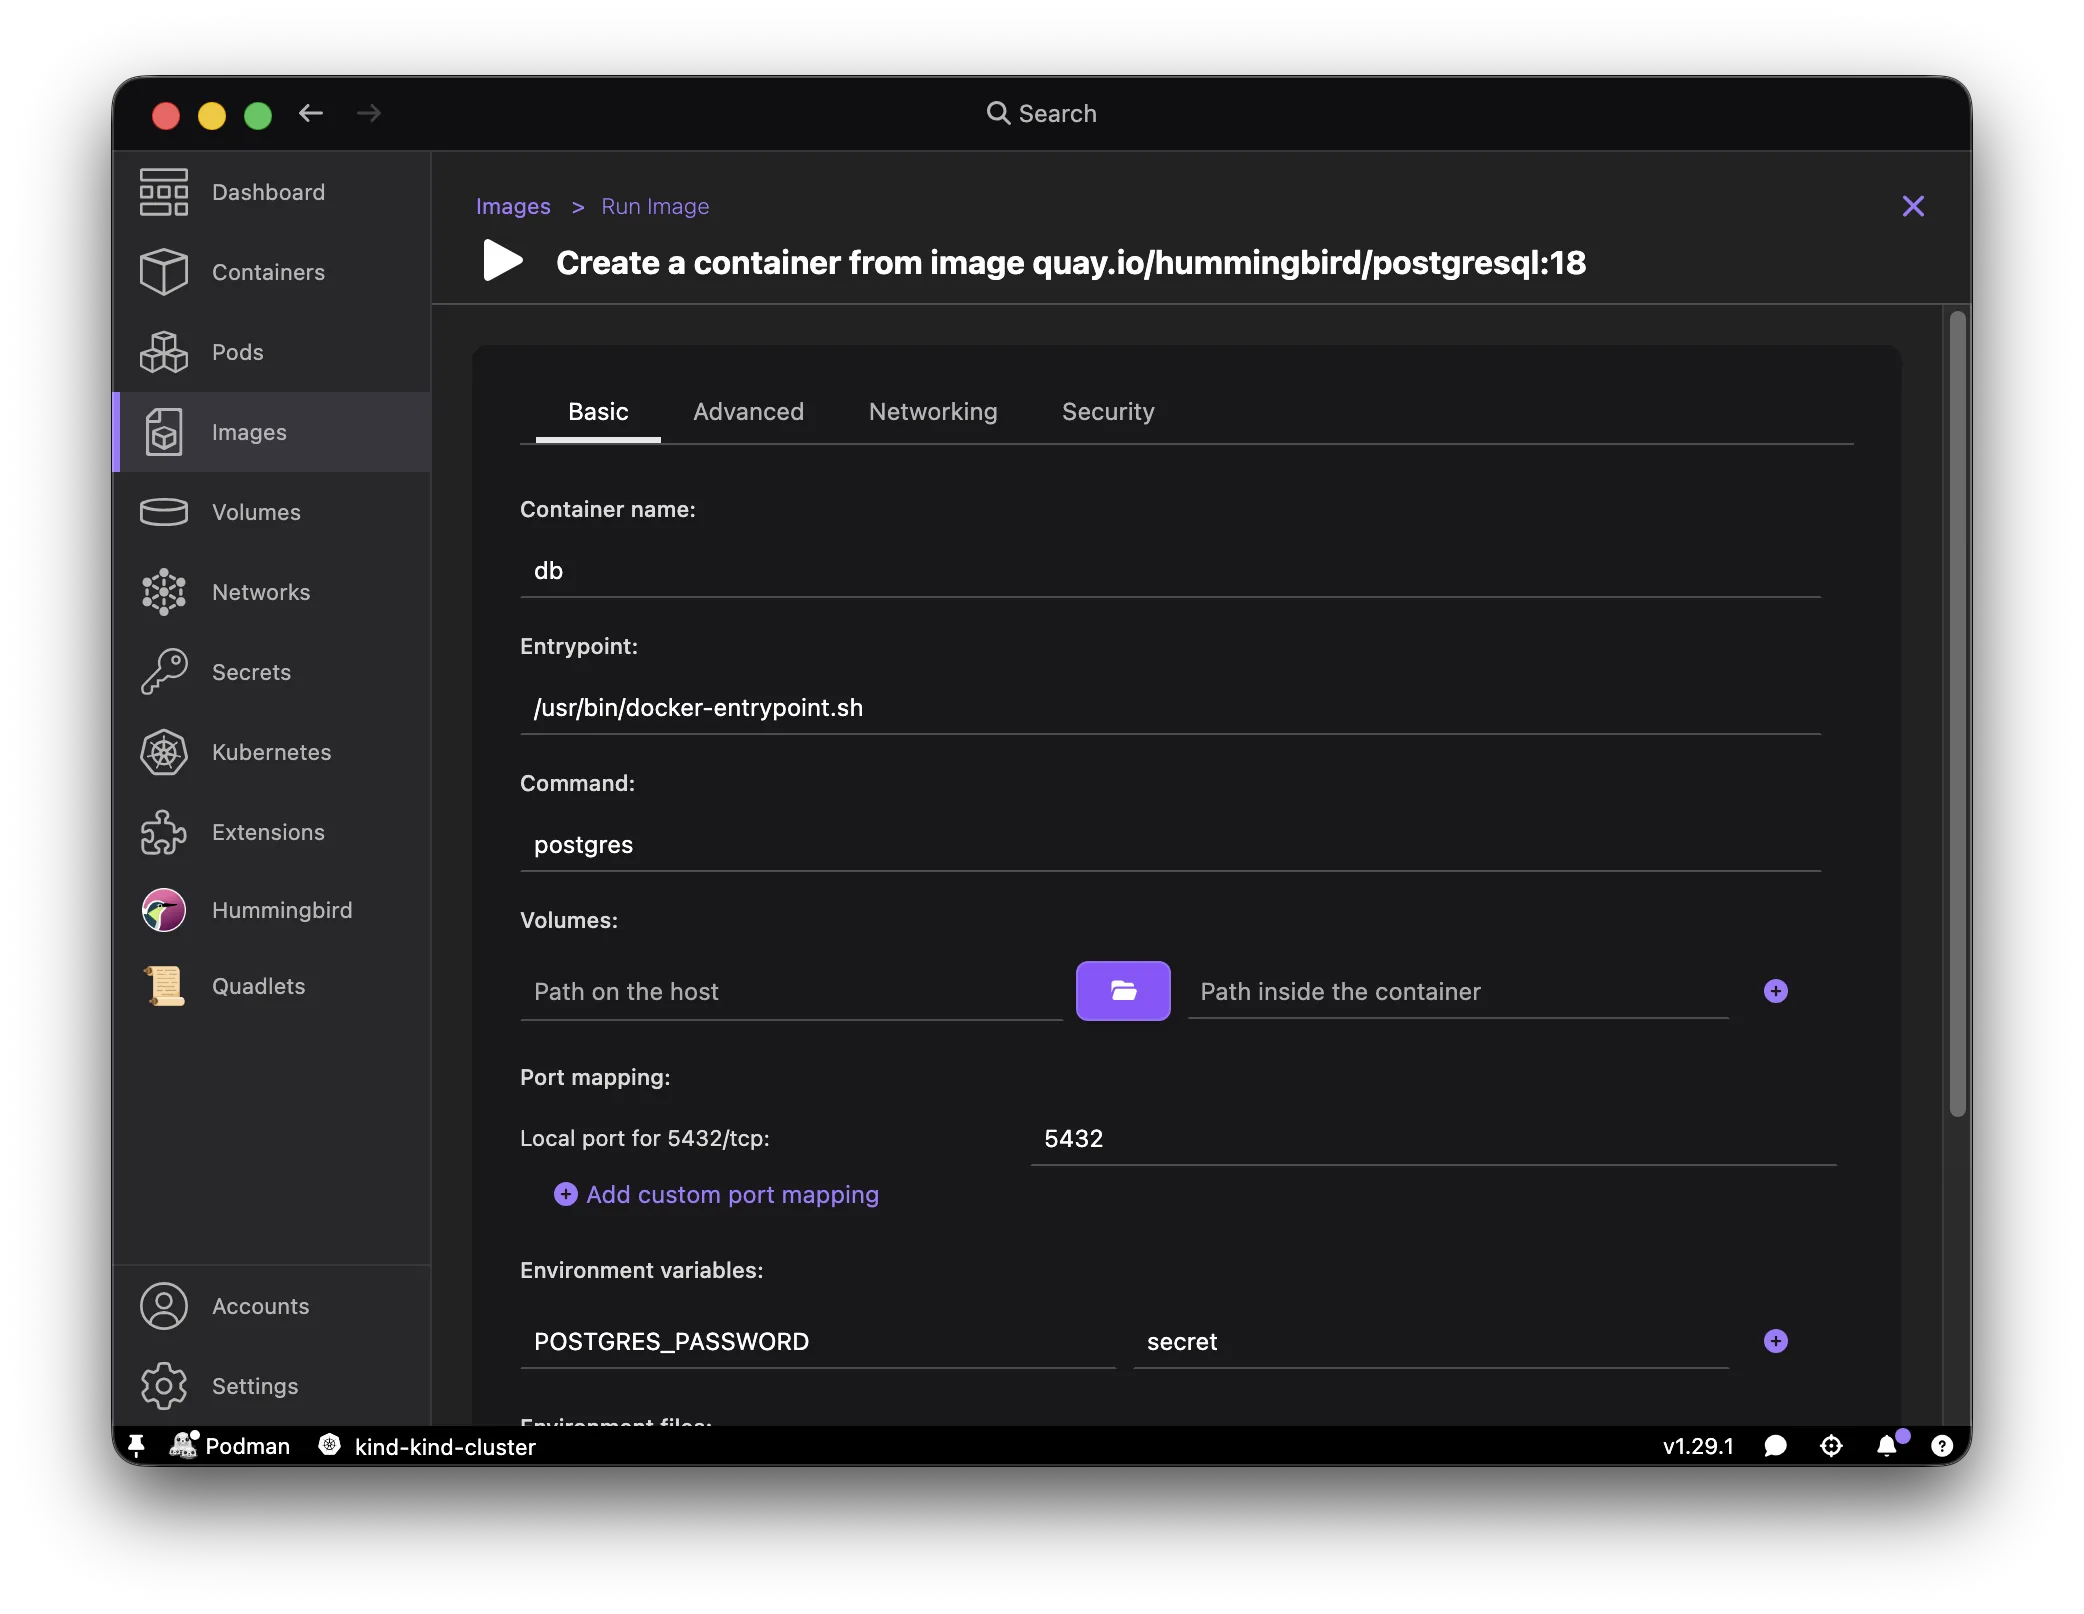
web container: same image, command sh -c 'while true; do pg_isready -h localhost && echo "web: connected to db"; sleep 2; done'.
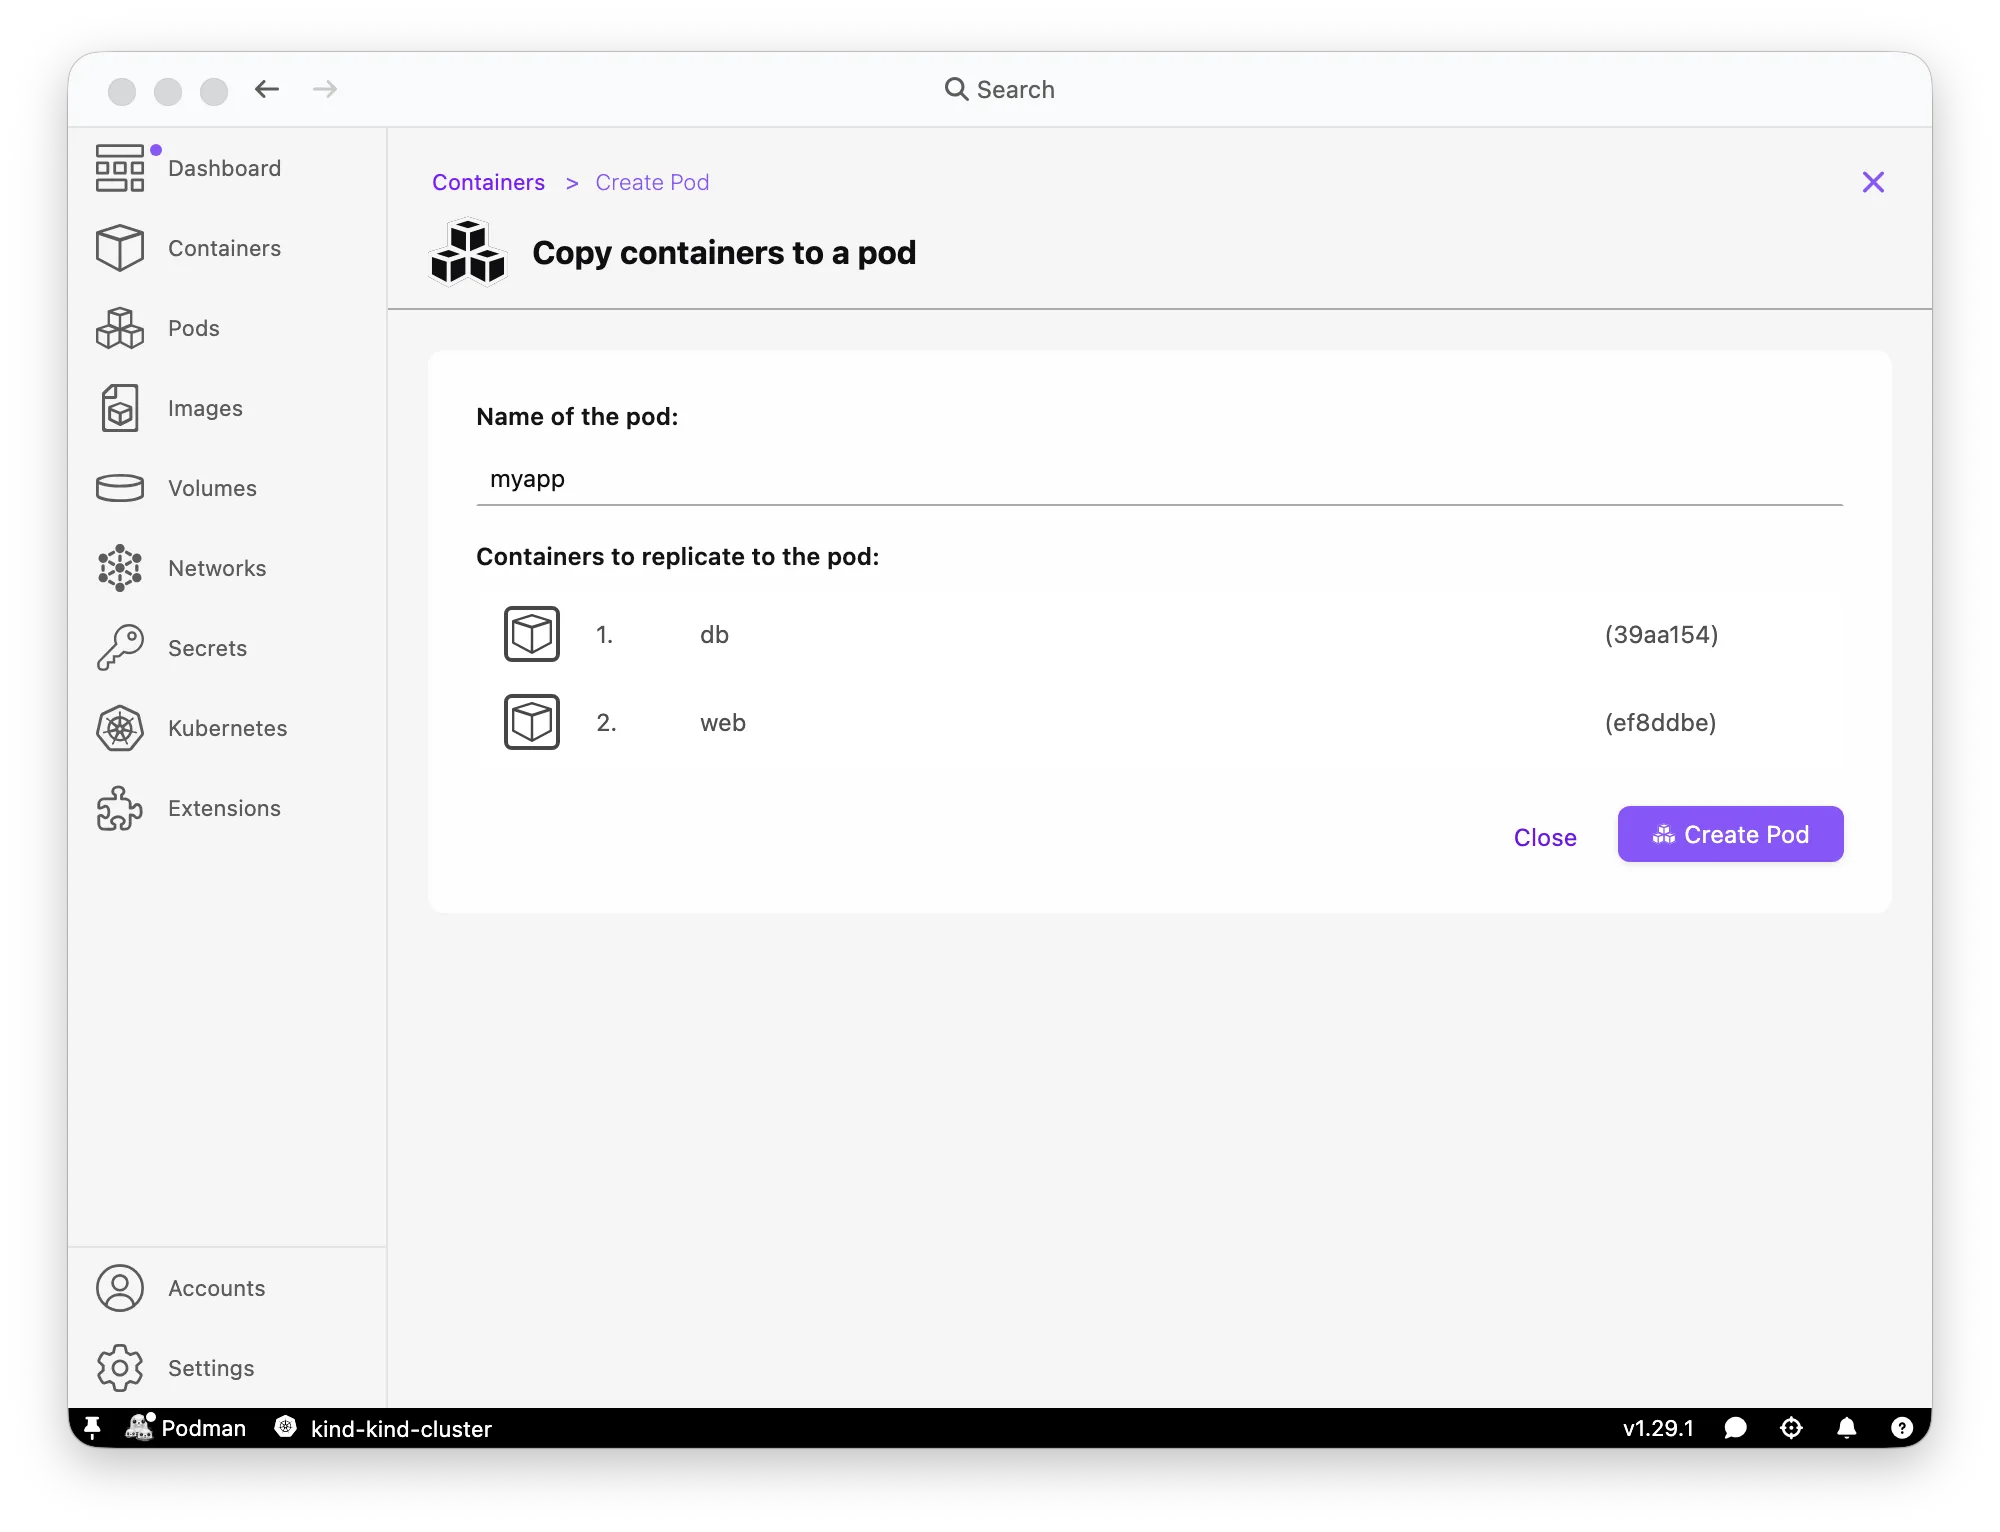
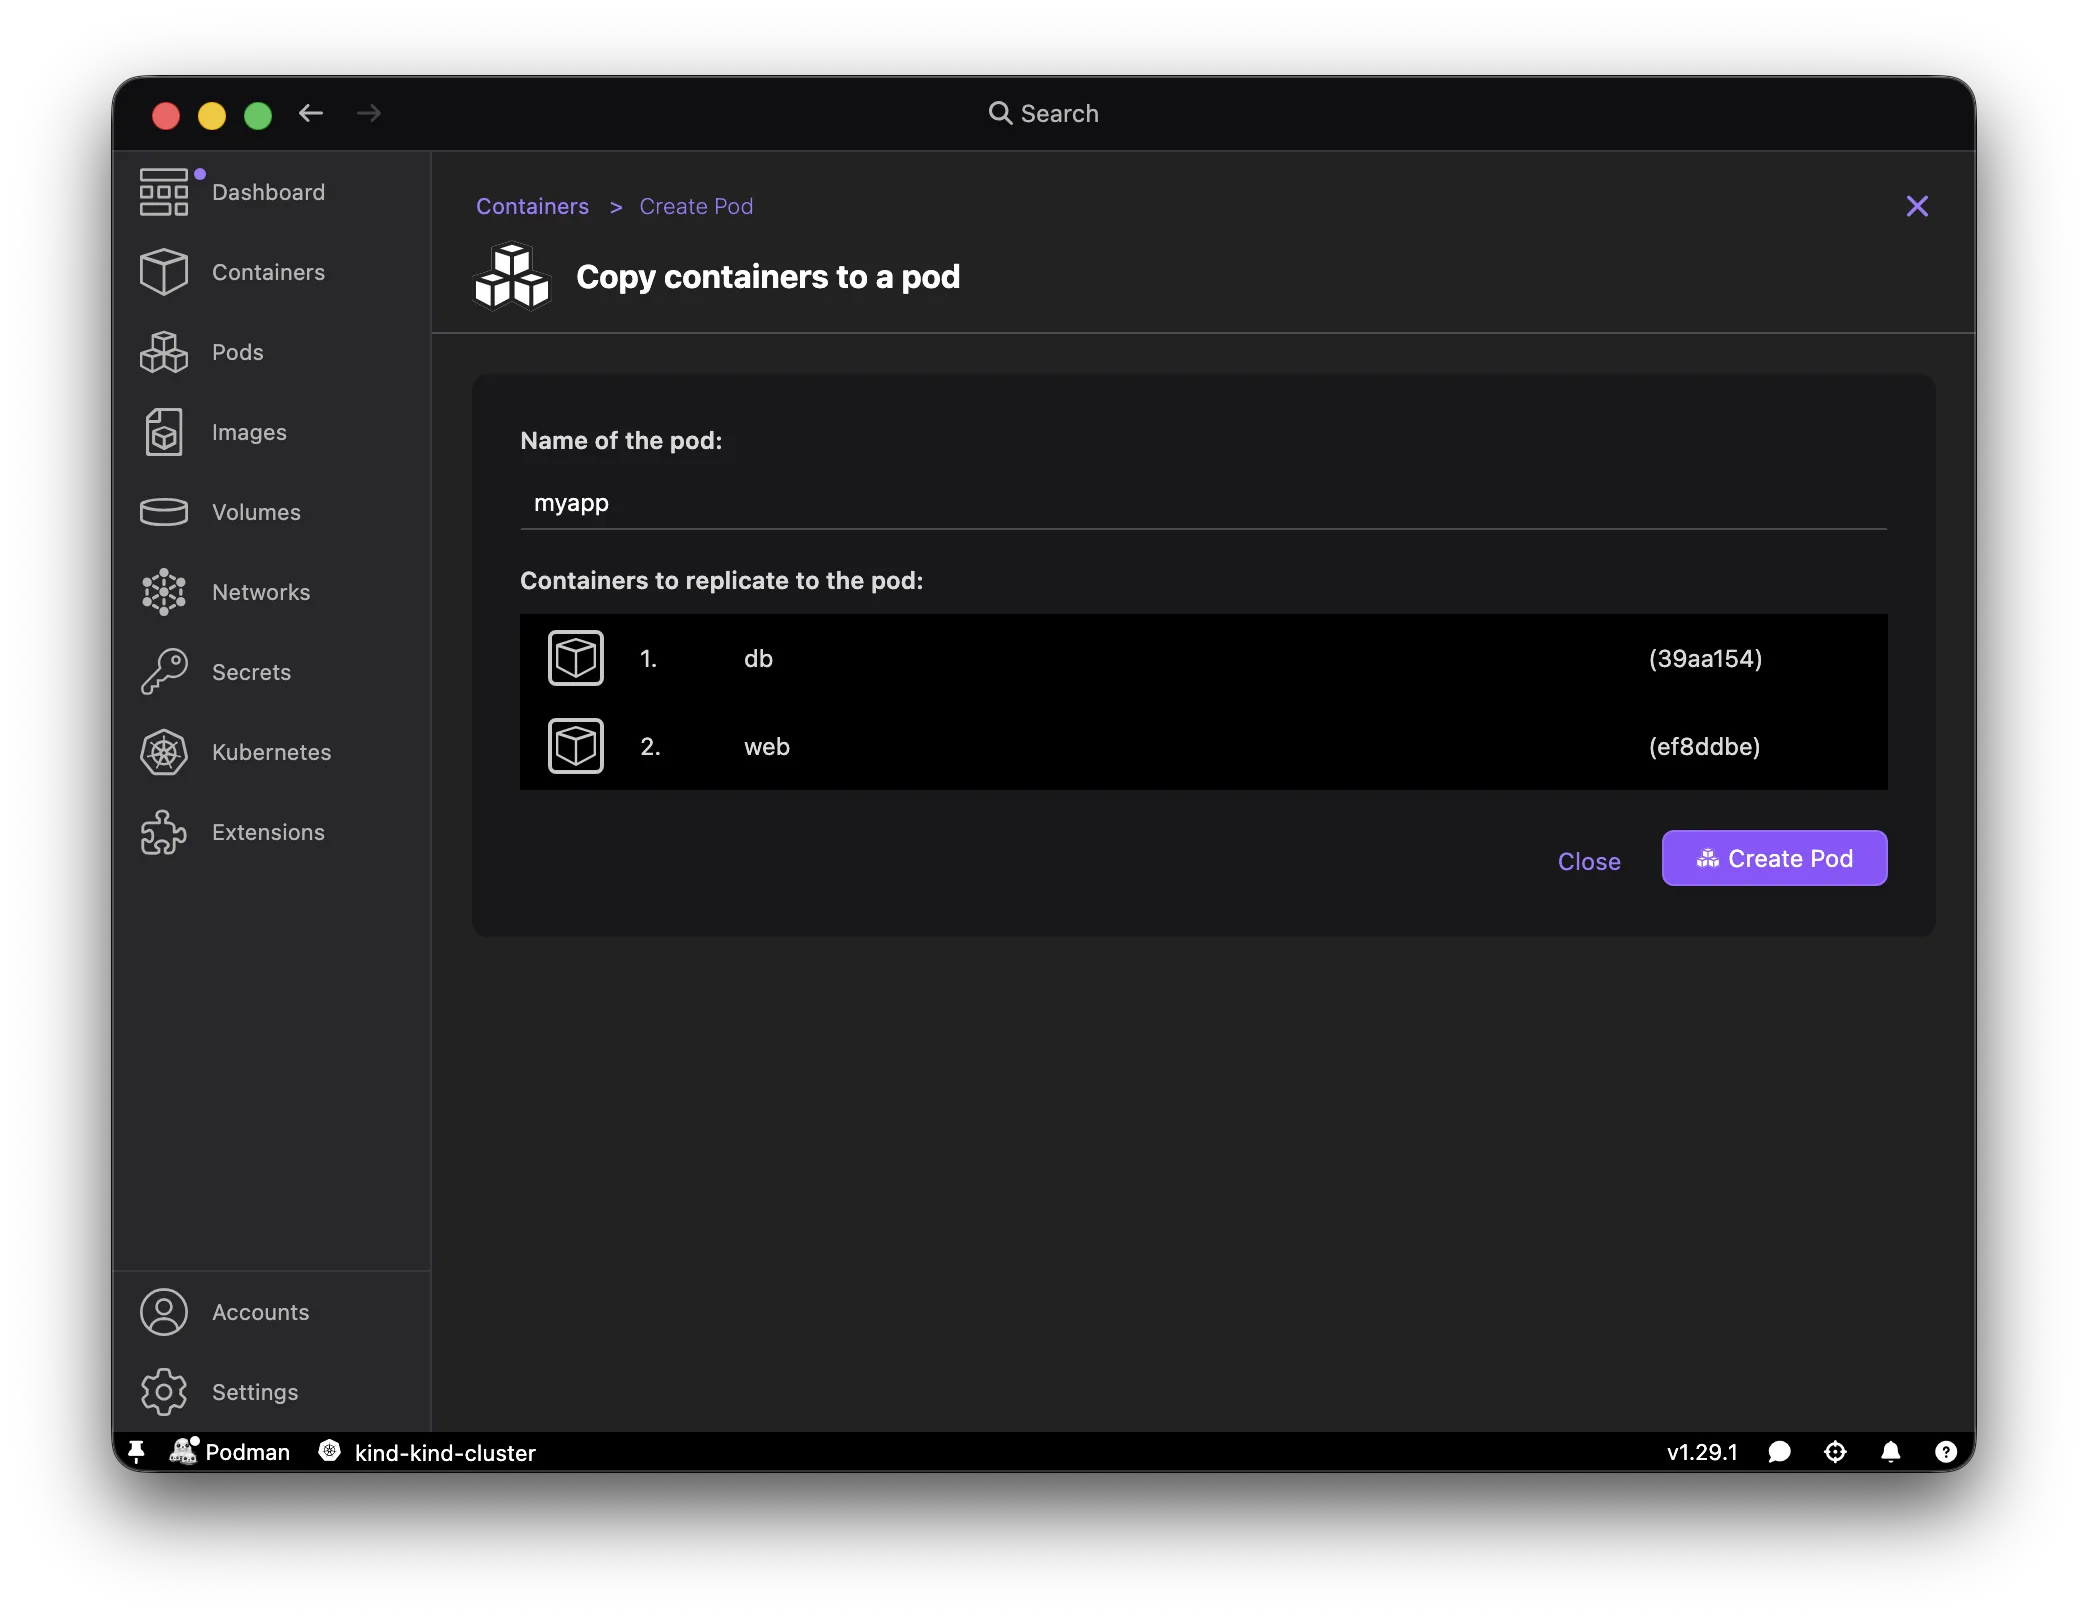
Then select both containers in the Containers list and click Create Pod.
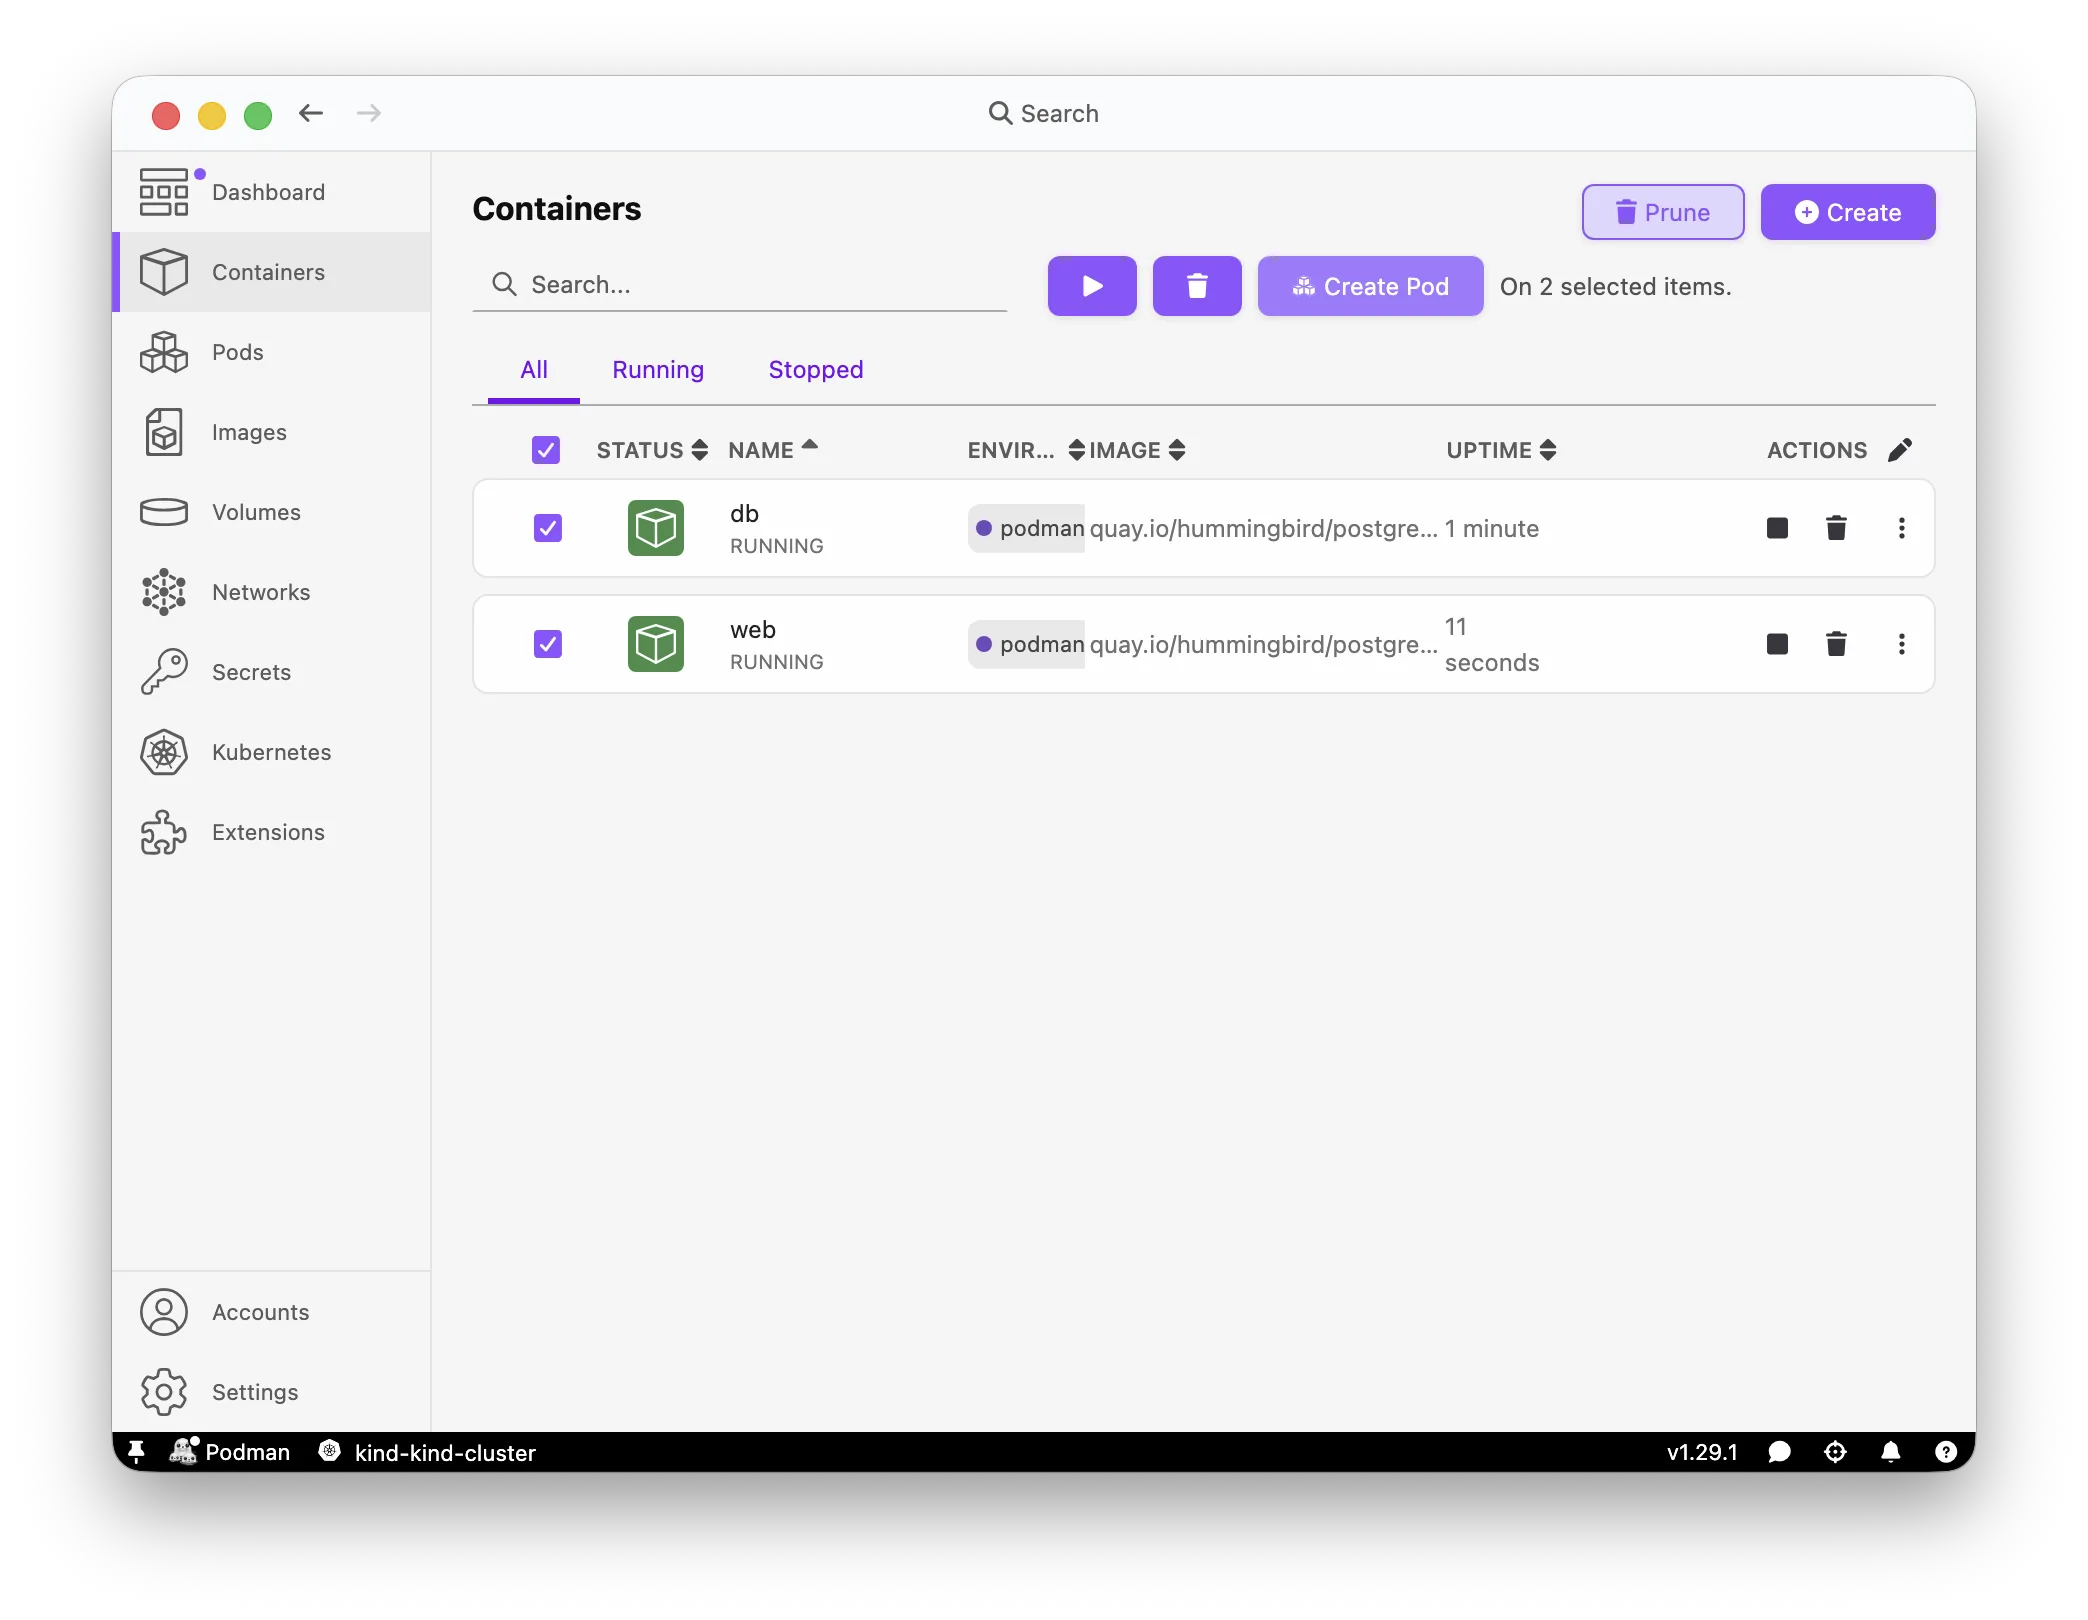
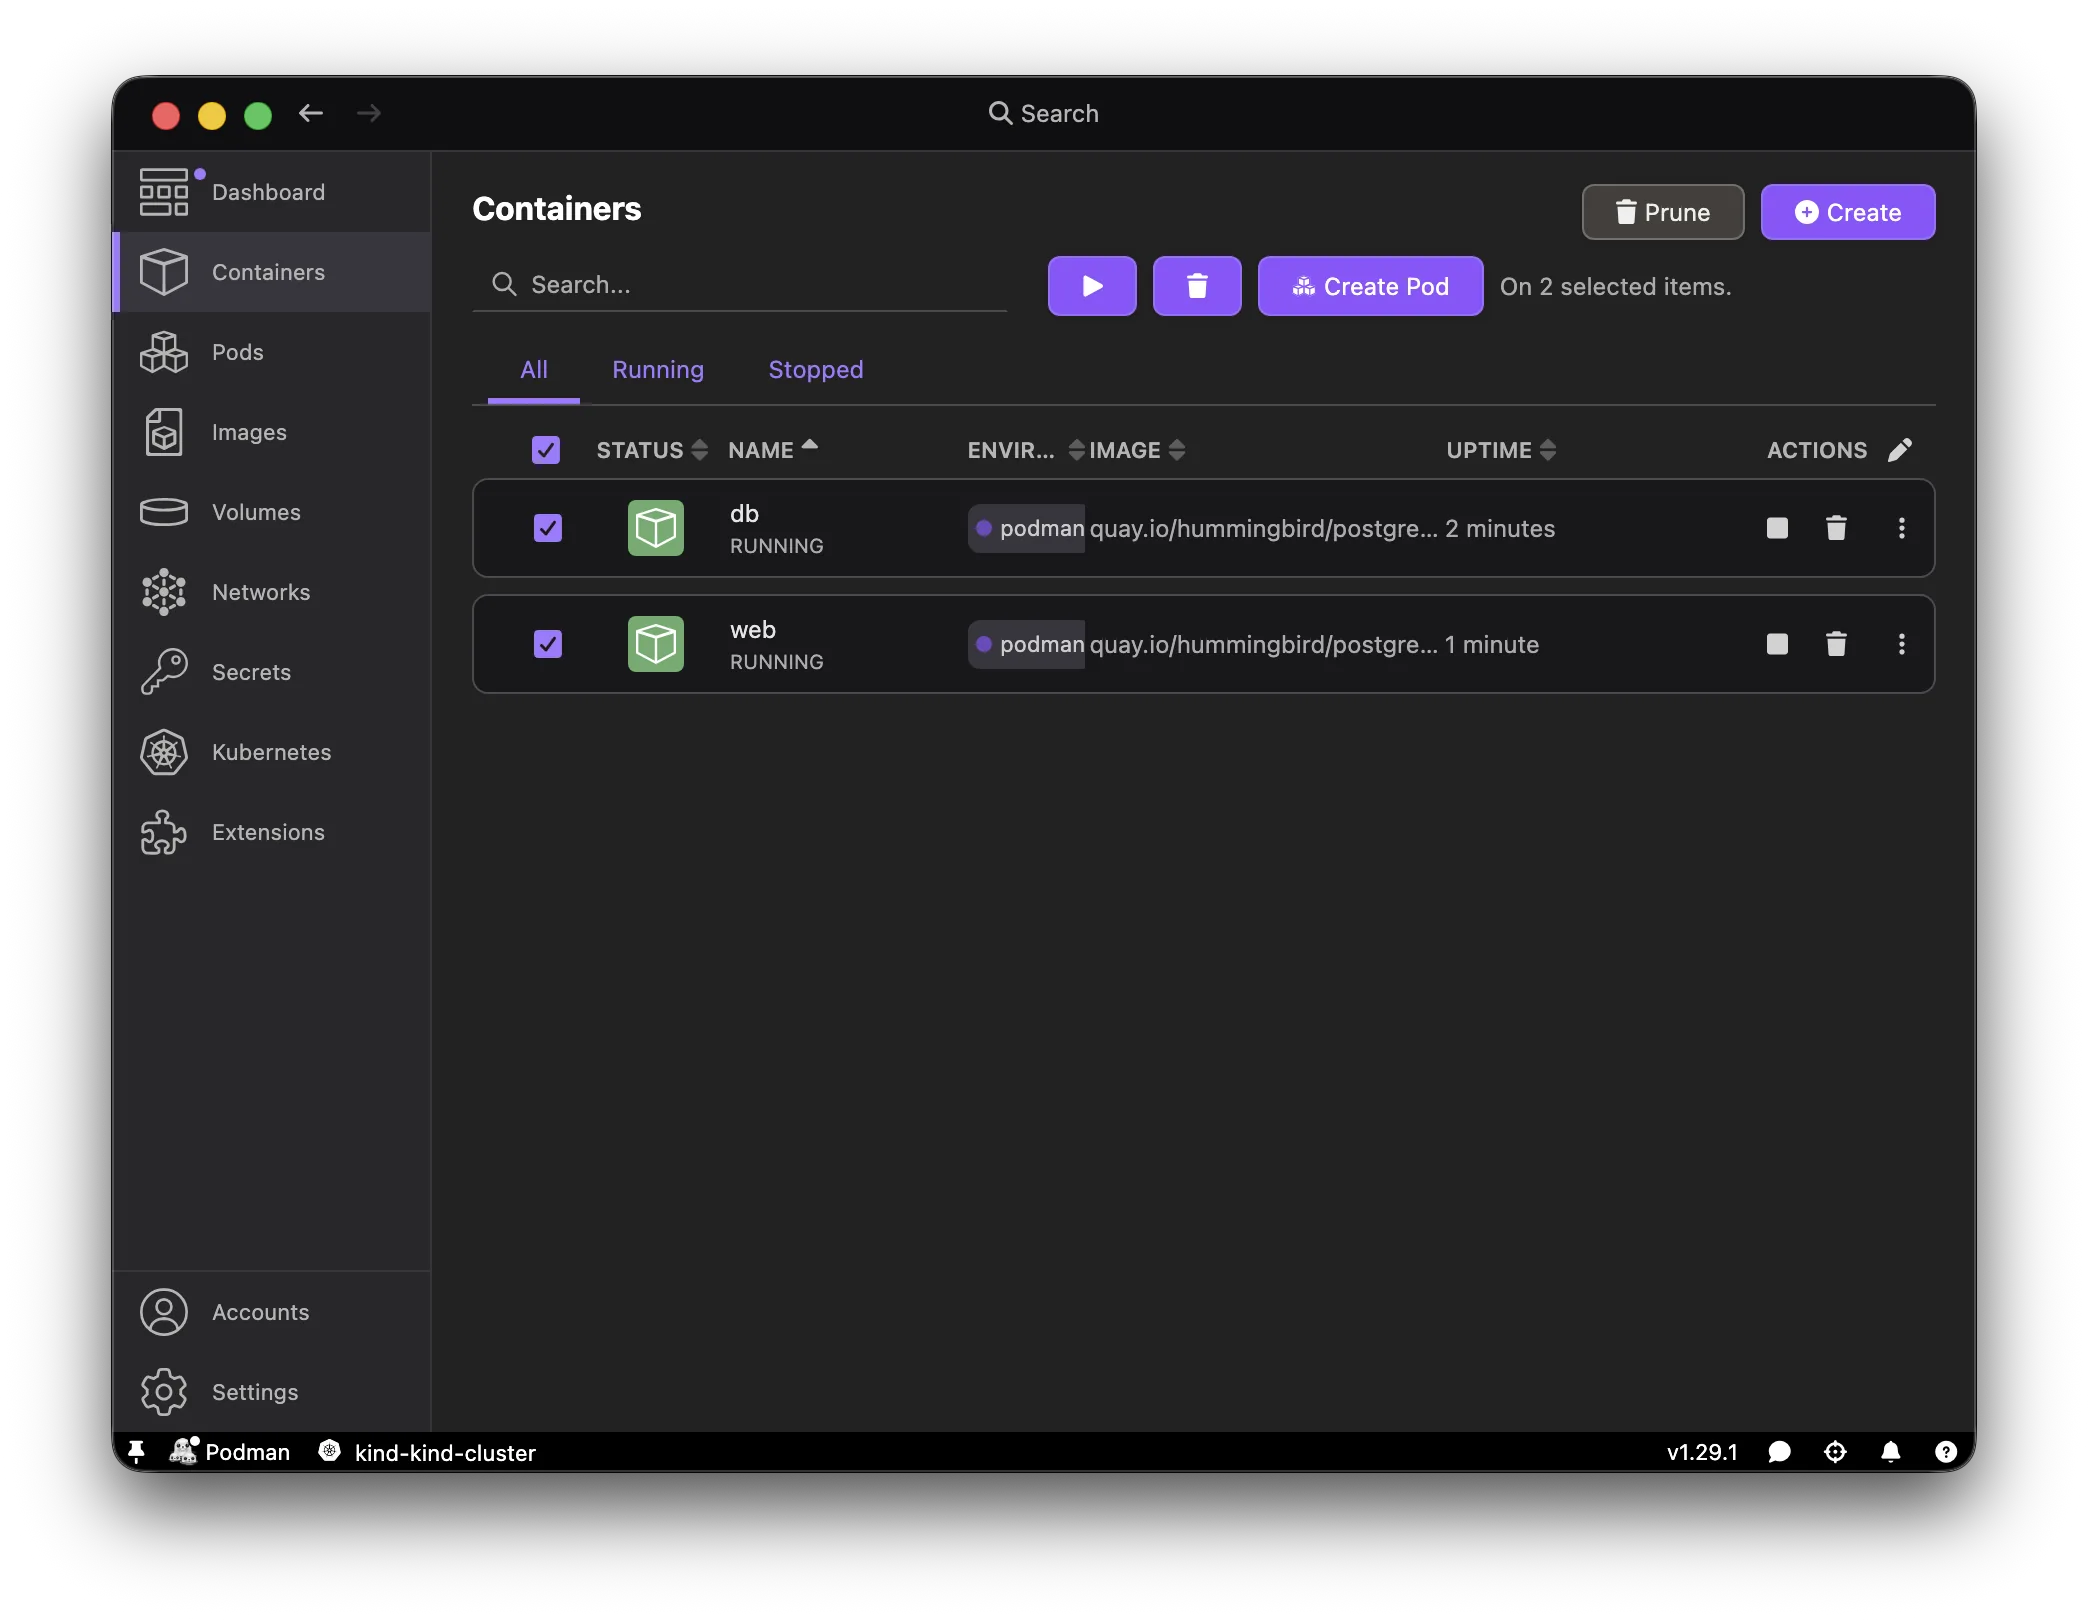
In the Create Pod form, set the pod name to myapp, this is the name the rest of this section refers to.
$ podman pod create --name myapp -p 5432:5432
$ podman run -d --pod myapp --name db -e POSTGRES_PASSWORD=secret quay.io/hummingbird/postgresql:18
$ podman run -d --pod myapp --name web quay.io/hummingbird/postgresql:18 \
    sh -c 'while true; do pg_isready -h localhost && echo "web: connected to db"; sleep 2; done'
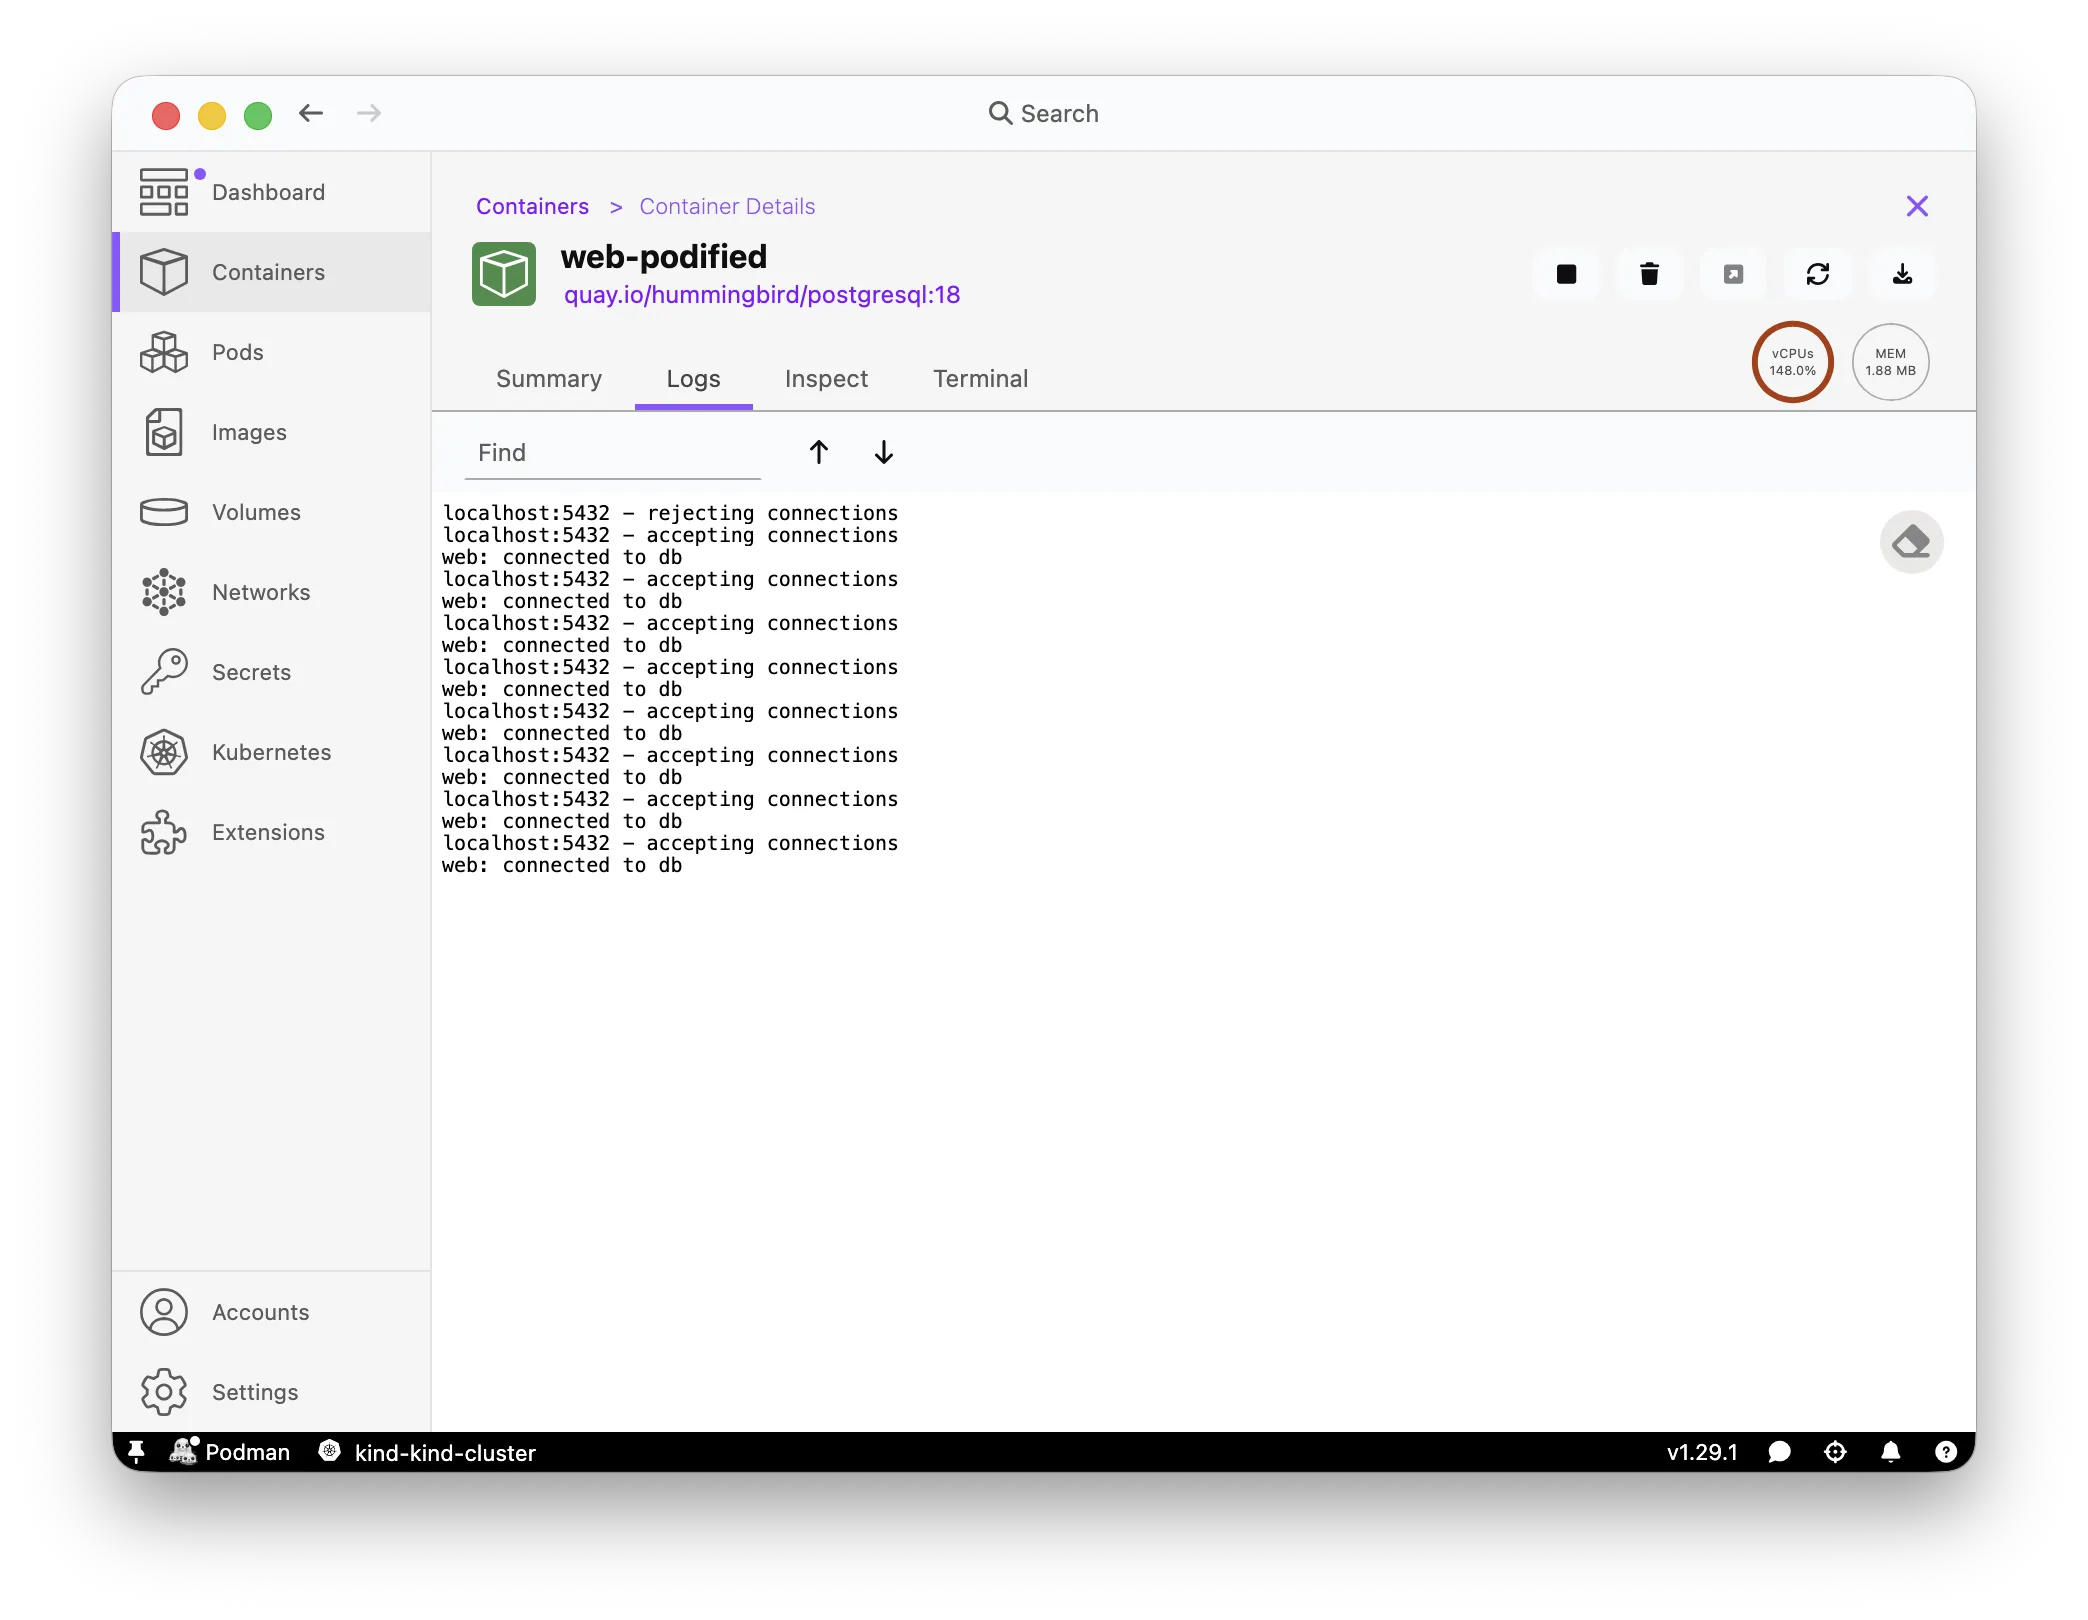
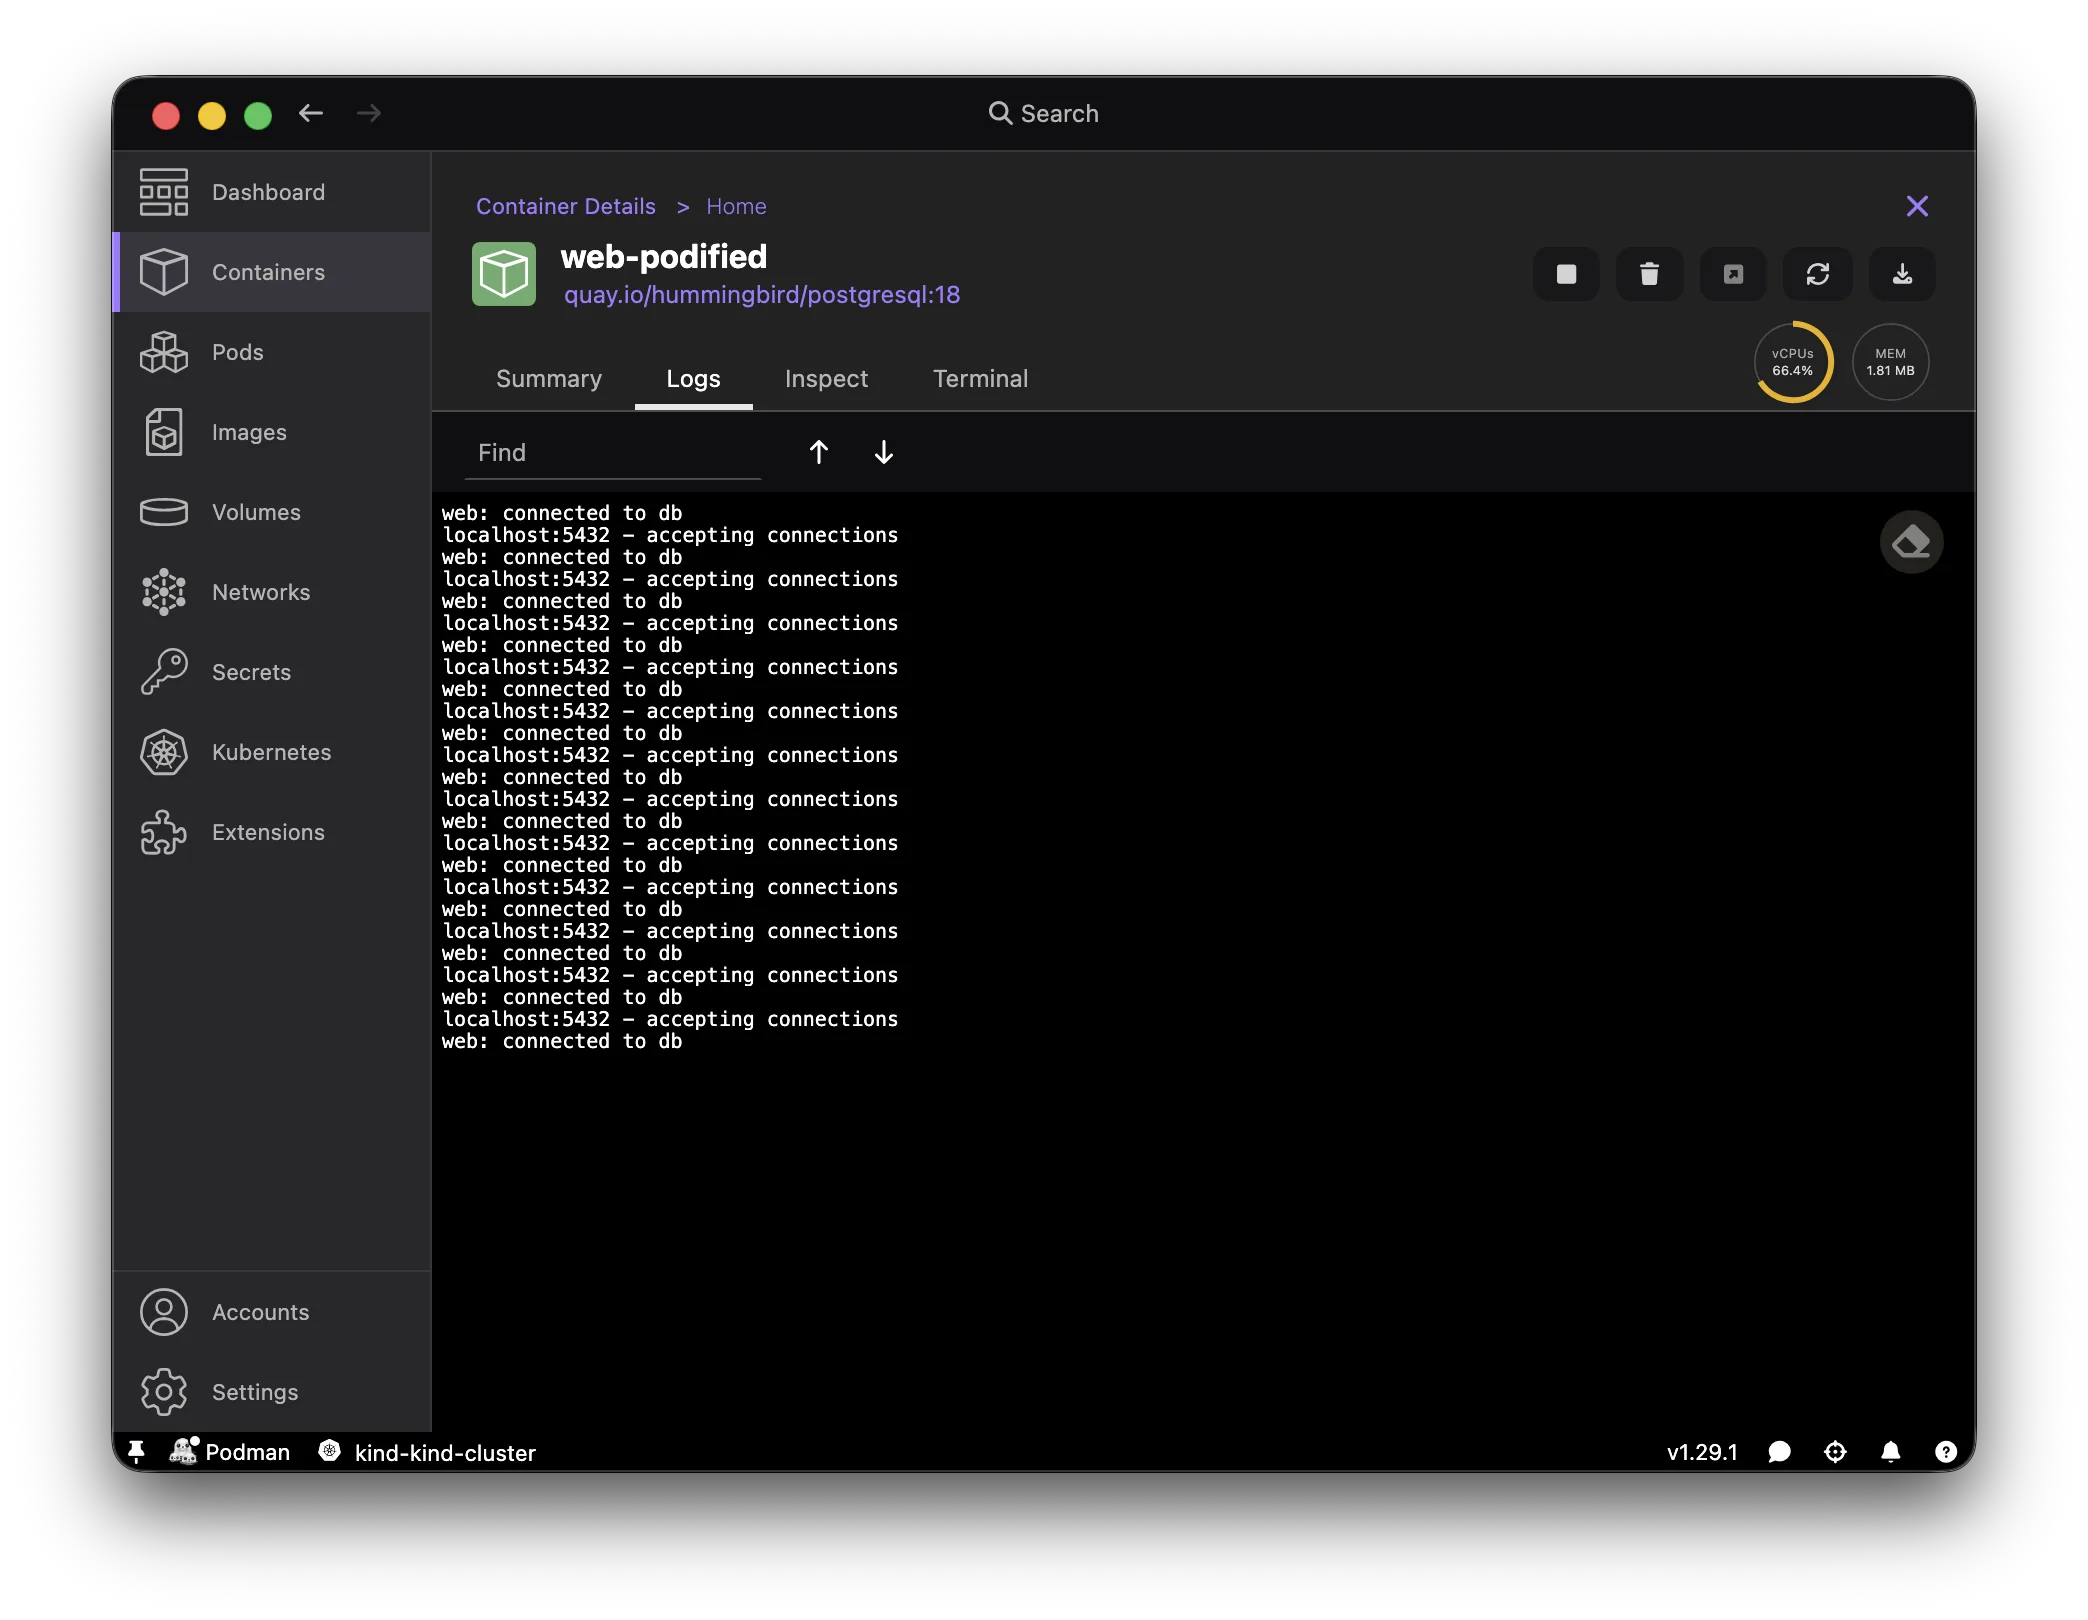
Check web's logs: this time it reaches db over localhost, not a network hostname.
- Podman Desktop
- Podman CLI
$ podman logs web
# localhost:5432 - accepting connections
# web: connected to db
Keep myapp running for now, there's no cluster to deploy it to yet. Before that, there's a production concern worth testing locally: many clusters reject pods that run as root.
4. Testing the non-root policy locally, with Kind
The Kubernetes restricted Pod Security Standard and equivalent enterprise policies like OpenShift's restricted-v2 SCC (Security Context Constraint, OpenShift's own admission policy for what a pod is allowed to do) all enforce this: pods must not run as root. A container that works fine on your laptop can get rejected the moment it reaches a cluster with either policy turned on. Better to catch that locally first, and Podman Desktop's Kind extension lets you do exactly that. Kind only lets you test the Kubernetes side, the pod-security.kubernetes.io/enforce=restricted label below, not restricted-v2 itself, which is specific to OpenShift, but both enforce the same non-root requirement.
Kind creates a local Kubernetes cluster and registers its kube config for you. Podman Desktop can connect to any Kubernetes cluster this way, so once your Kind cluster exists, it shows a second, separate Pods view under Kubernetes. That one lists pods actually running on the cluster (like myapp once deployed below), not your local Podman pods. Keep the two apart as you follow along.
Kind needs a rootful Podman machine on WSL, since a rootless machine can't create a Kind cluster there. For an existing machine: podman machine stop && podman machine set --rootful && podman machine start. Or create a new one already rootful: podman machine init --rootful --now.
- Go to Settings > Resources and create a Kind cluster.
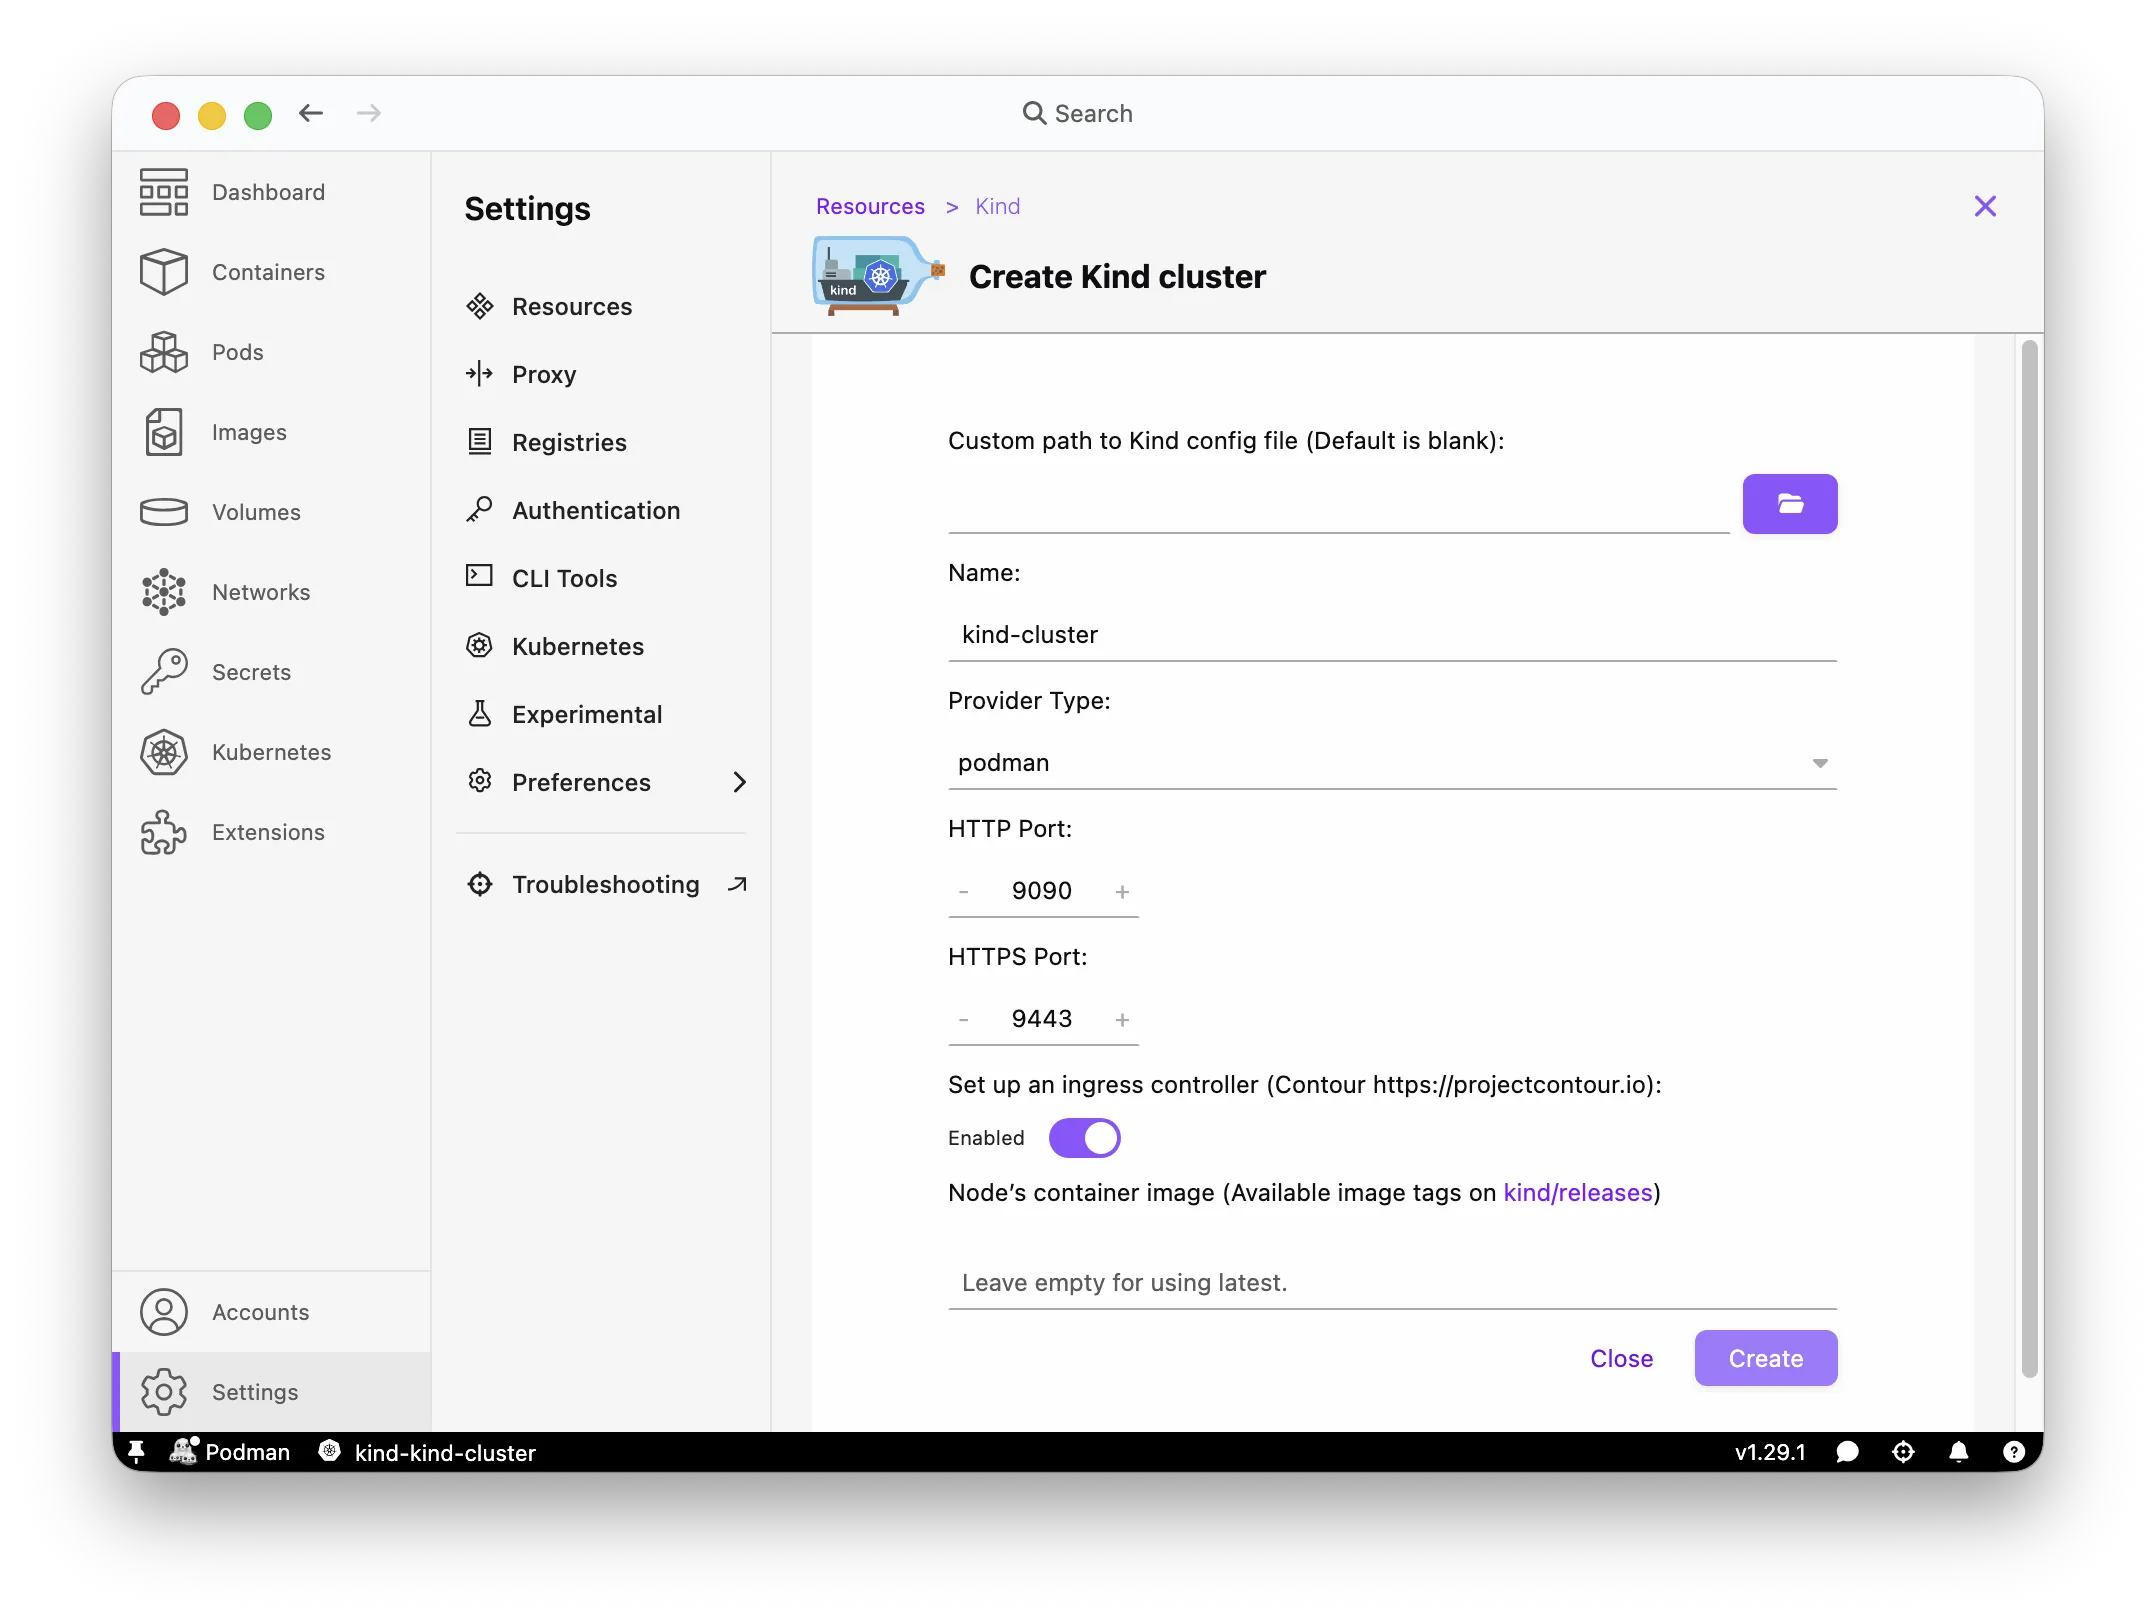
Deploying that same pod to Kubernetes
With a cluster now up, the myapp pod you built earlier is ready to go. A pod is already shaped like a Kubernetes Pod, so rather than hand-writing a manifest, Podman Desktop can generate the YAML and deploy it for you.
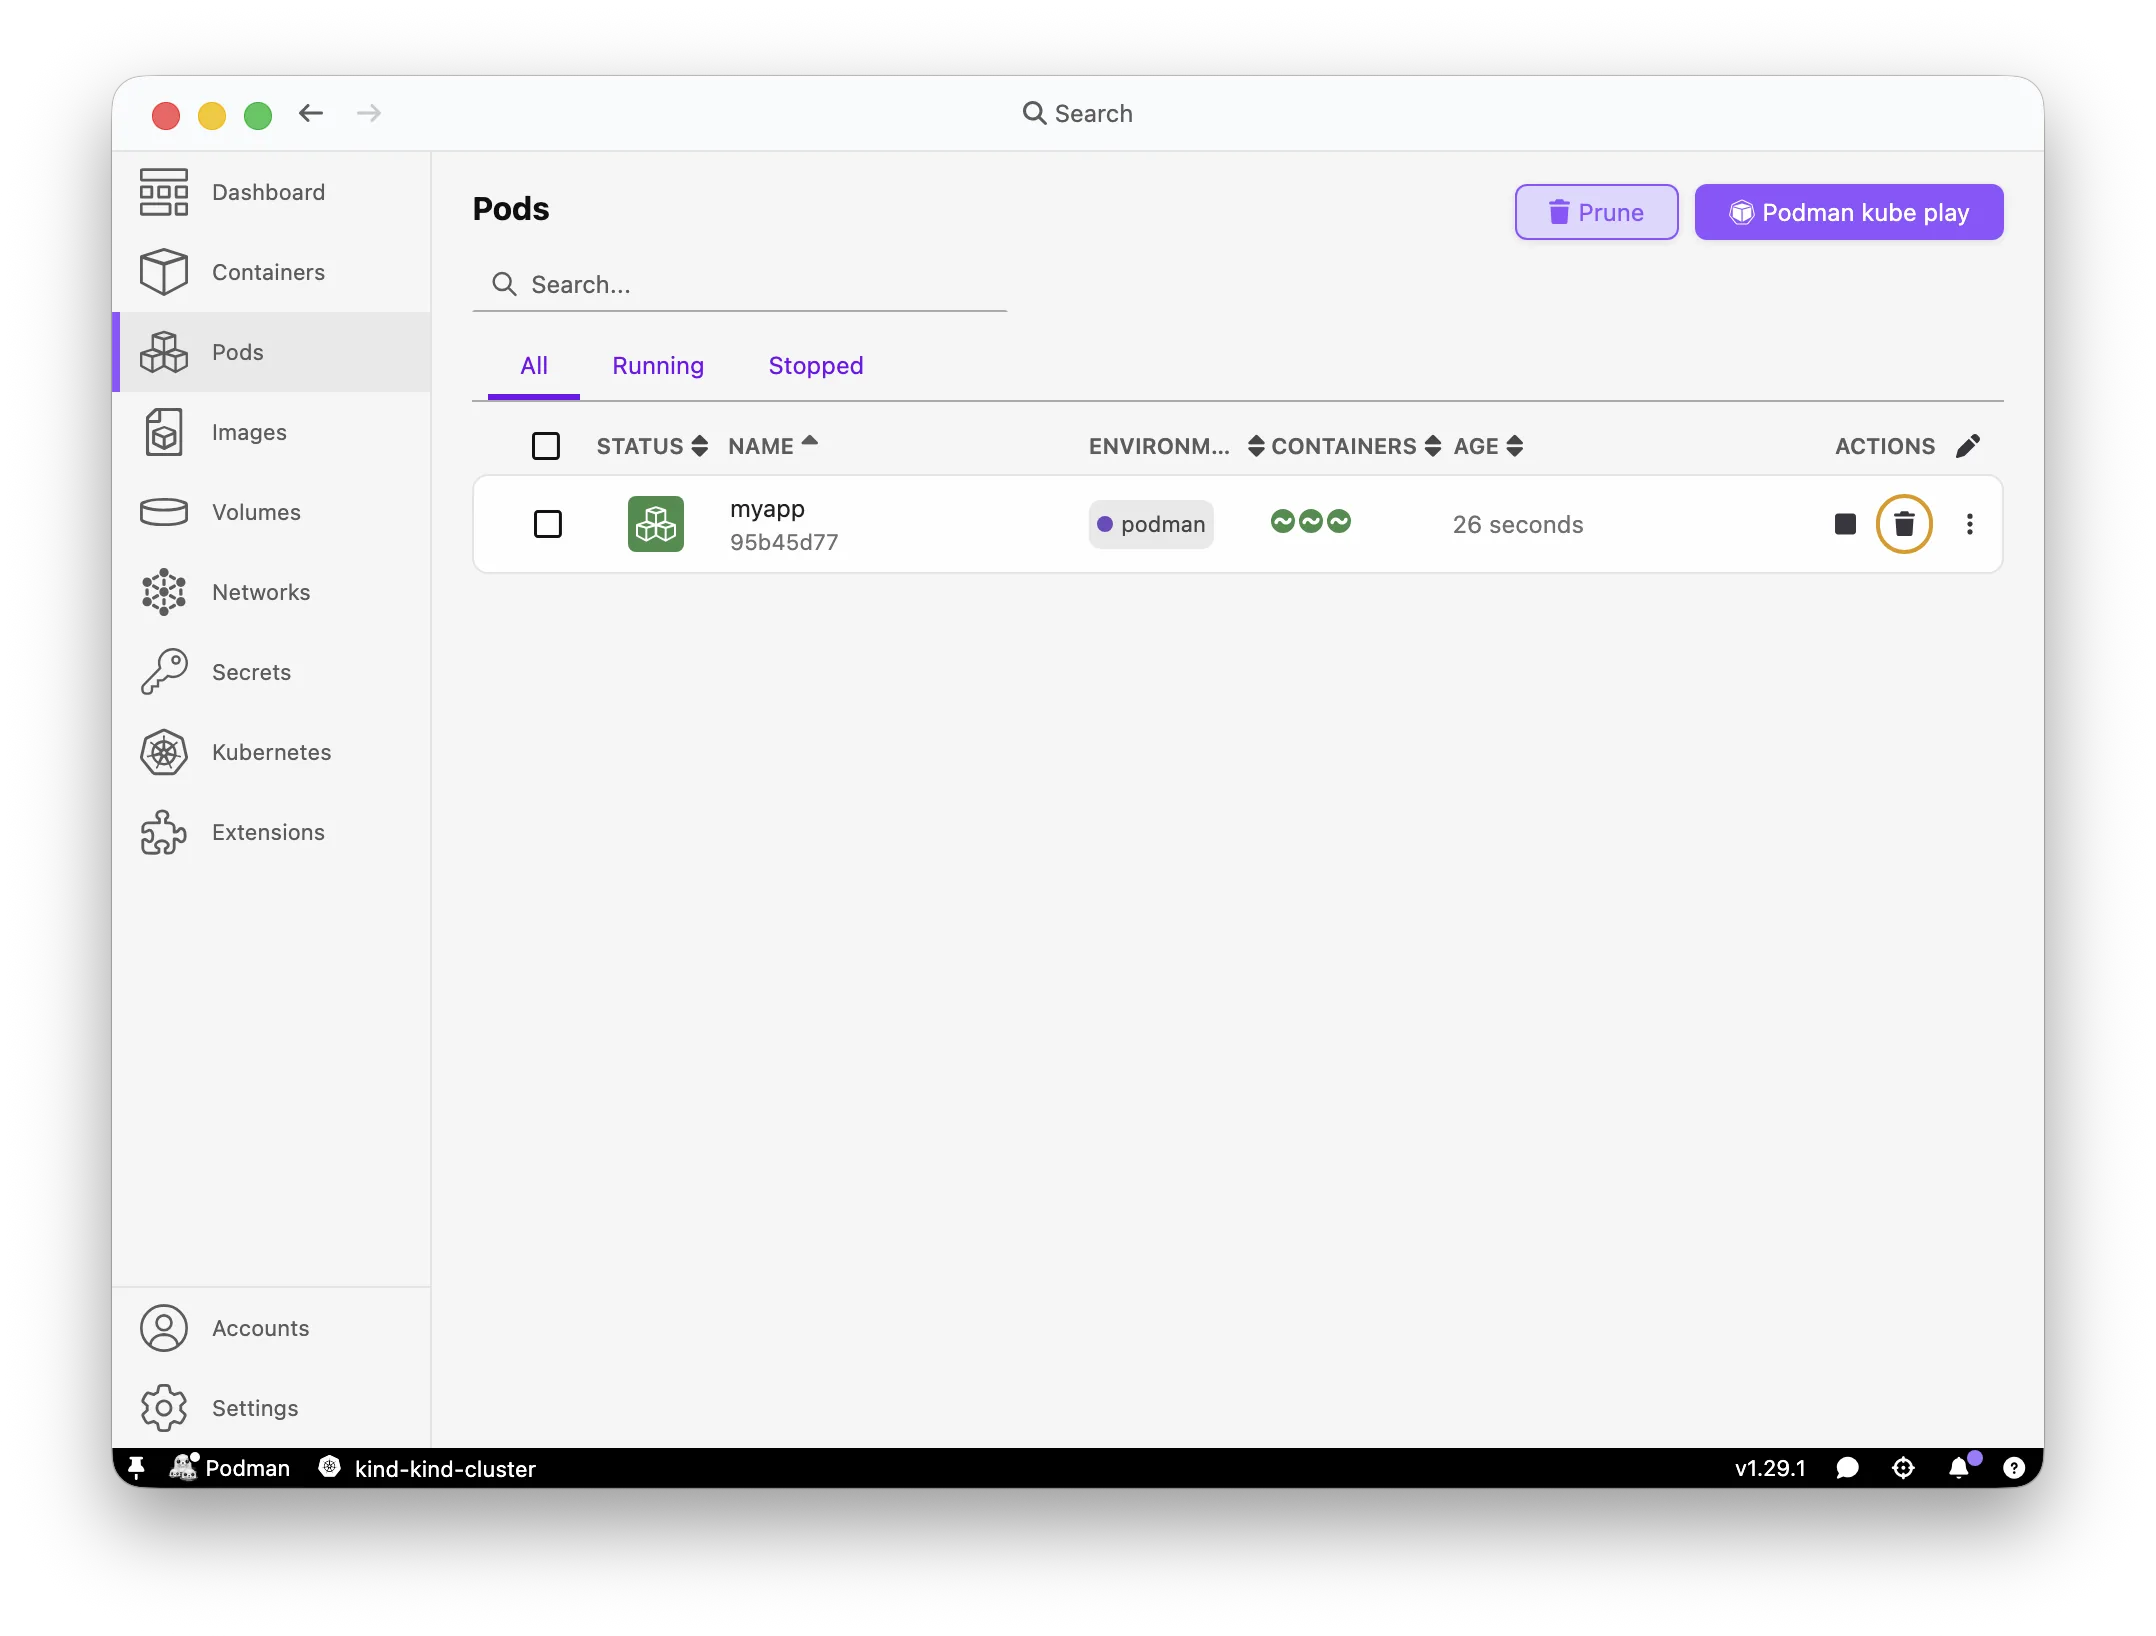
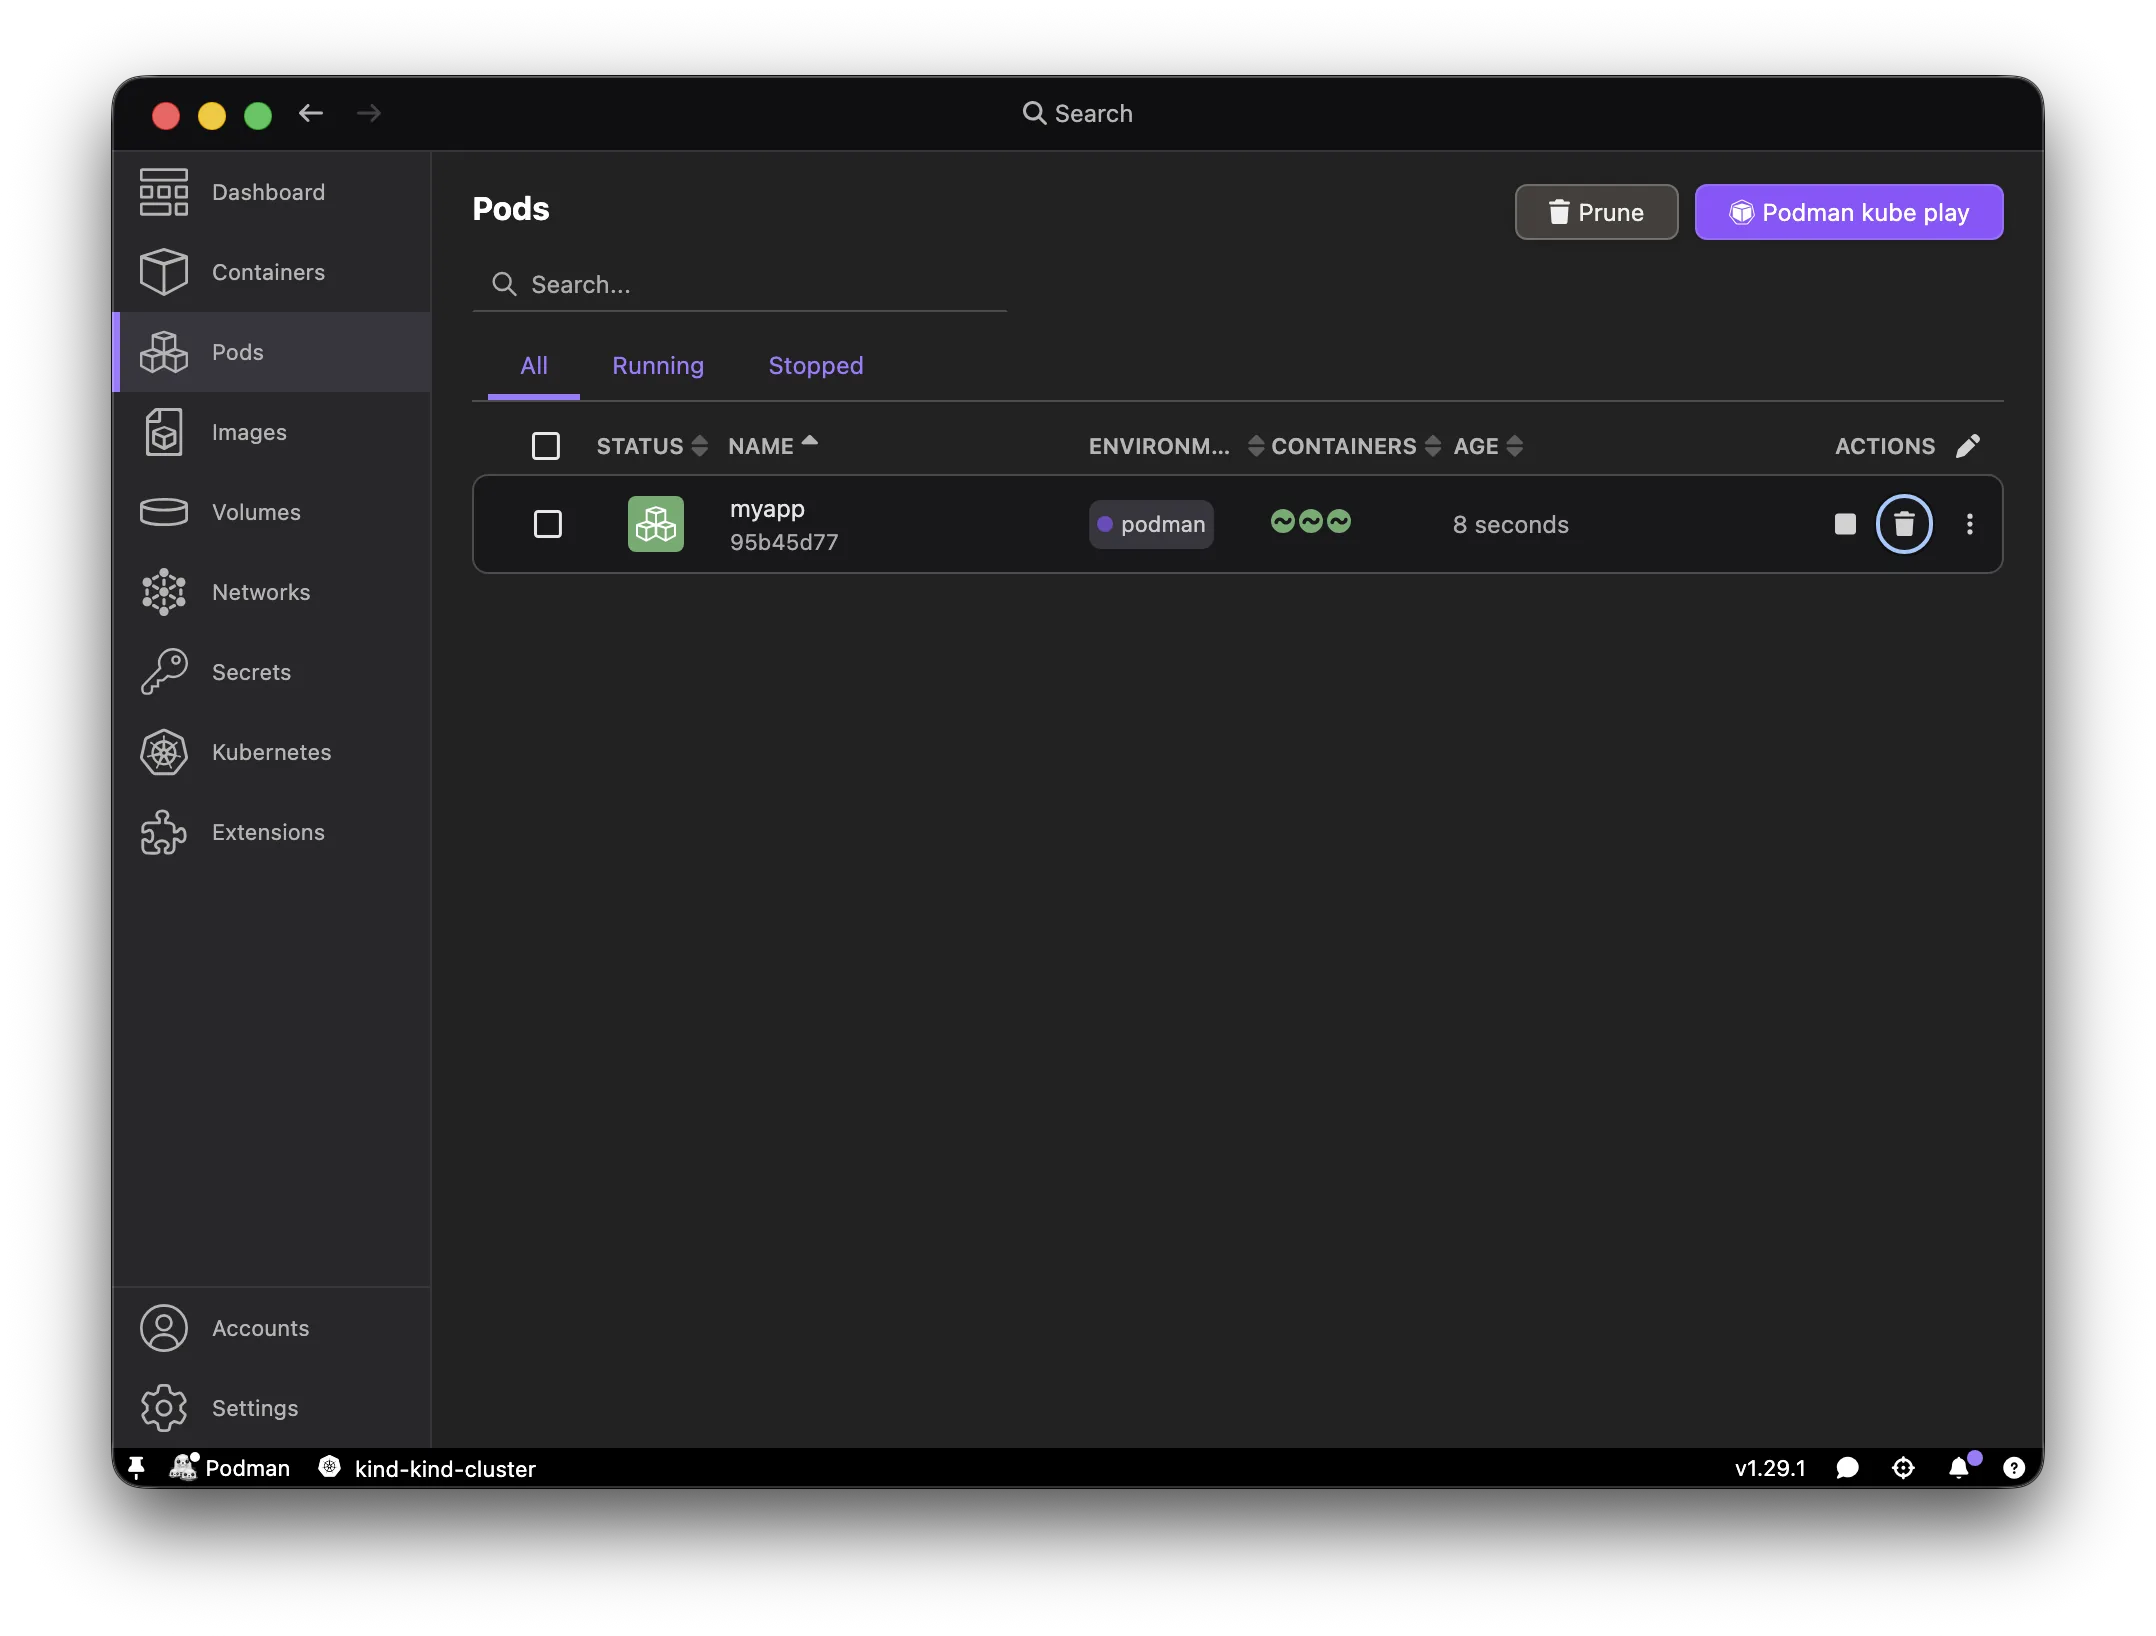
On the Pods page, open myapp's overflow menu and select Deploy to Kubernetes, pick the kind-kind-cluster context, and click Deploy. Podman Desktop strips the auto-generated volume names that would otherwise be too long for Kubernetes, so the deploy just works:
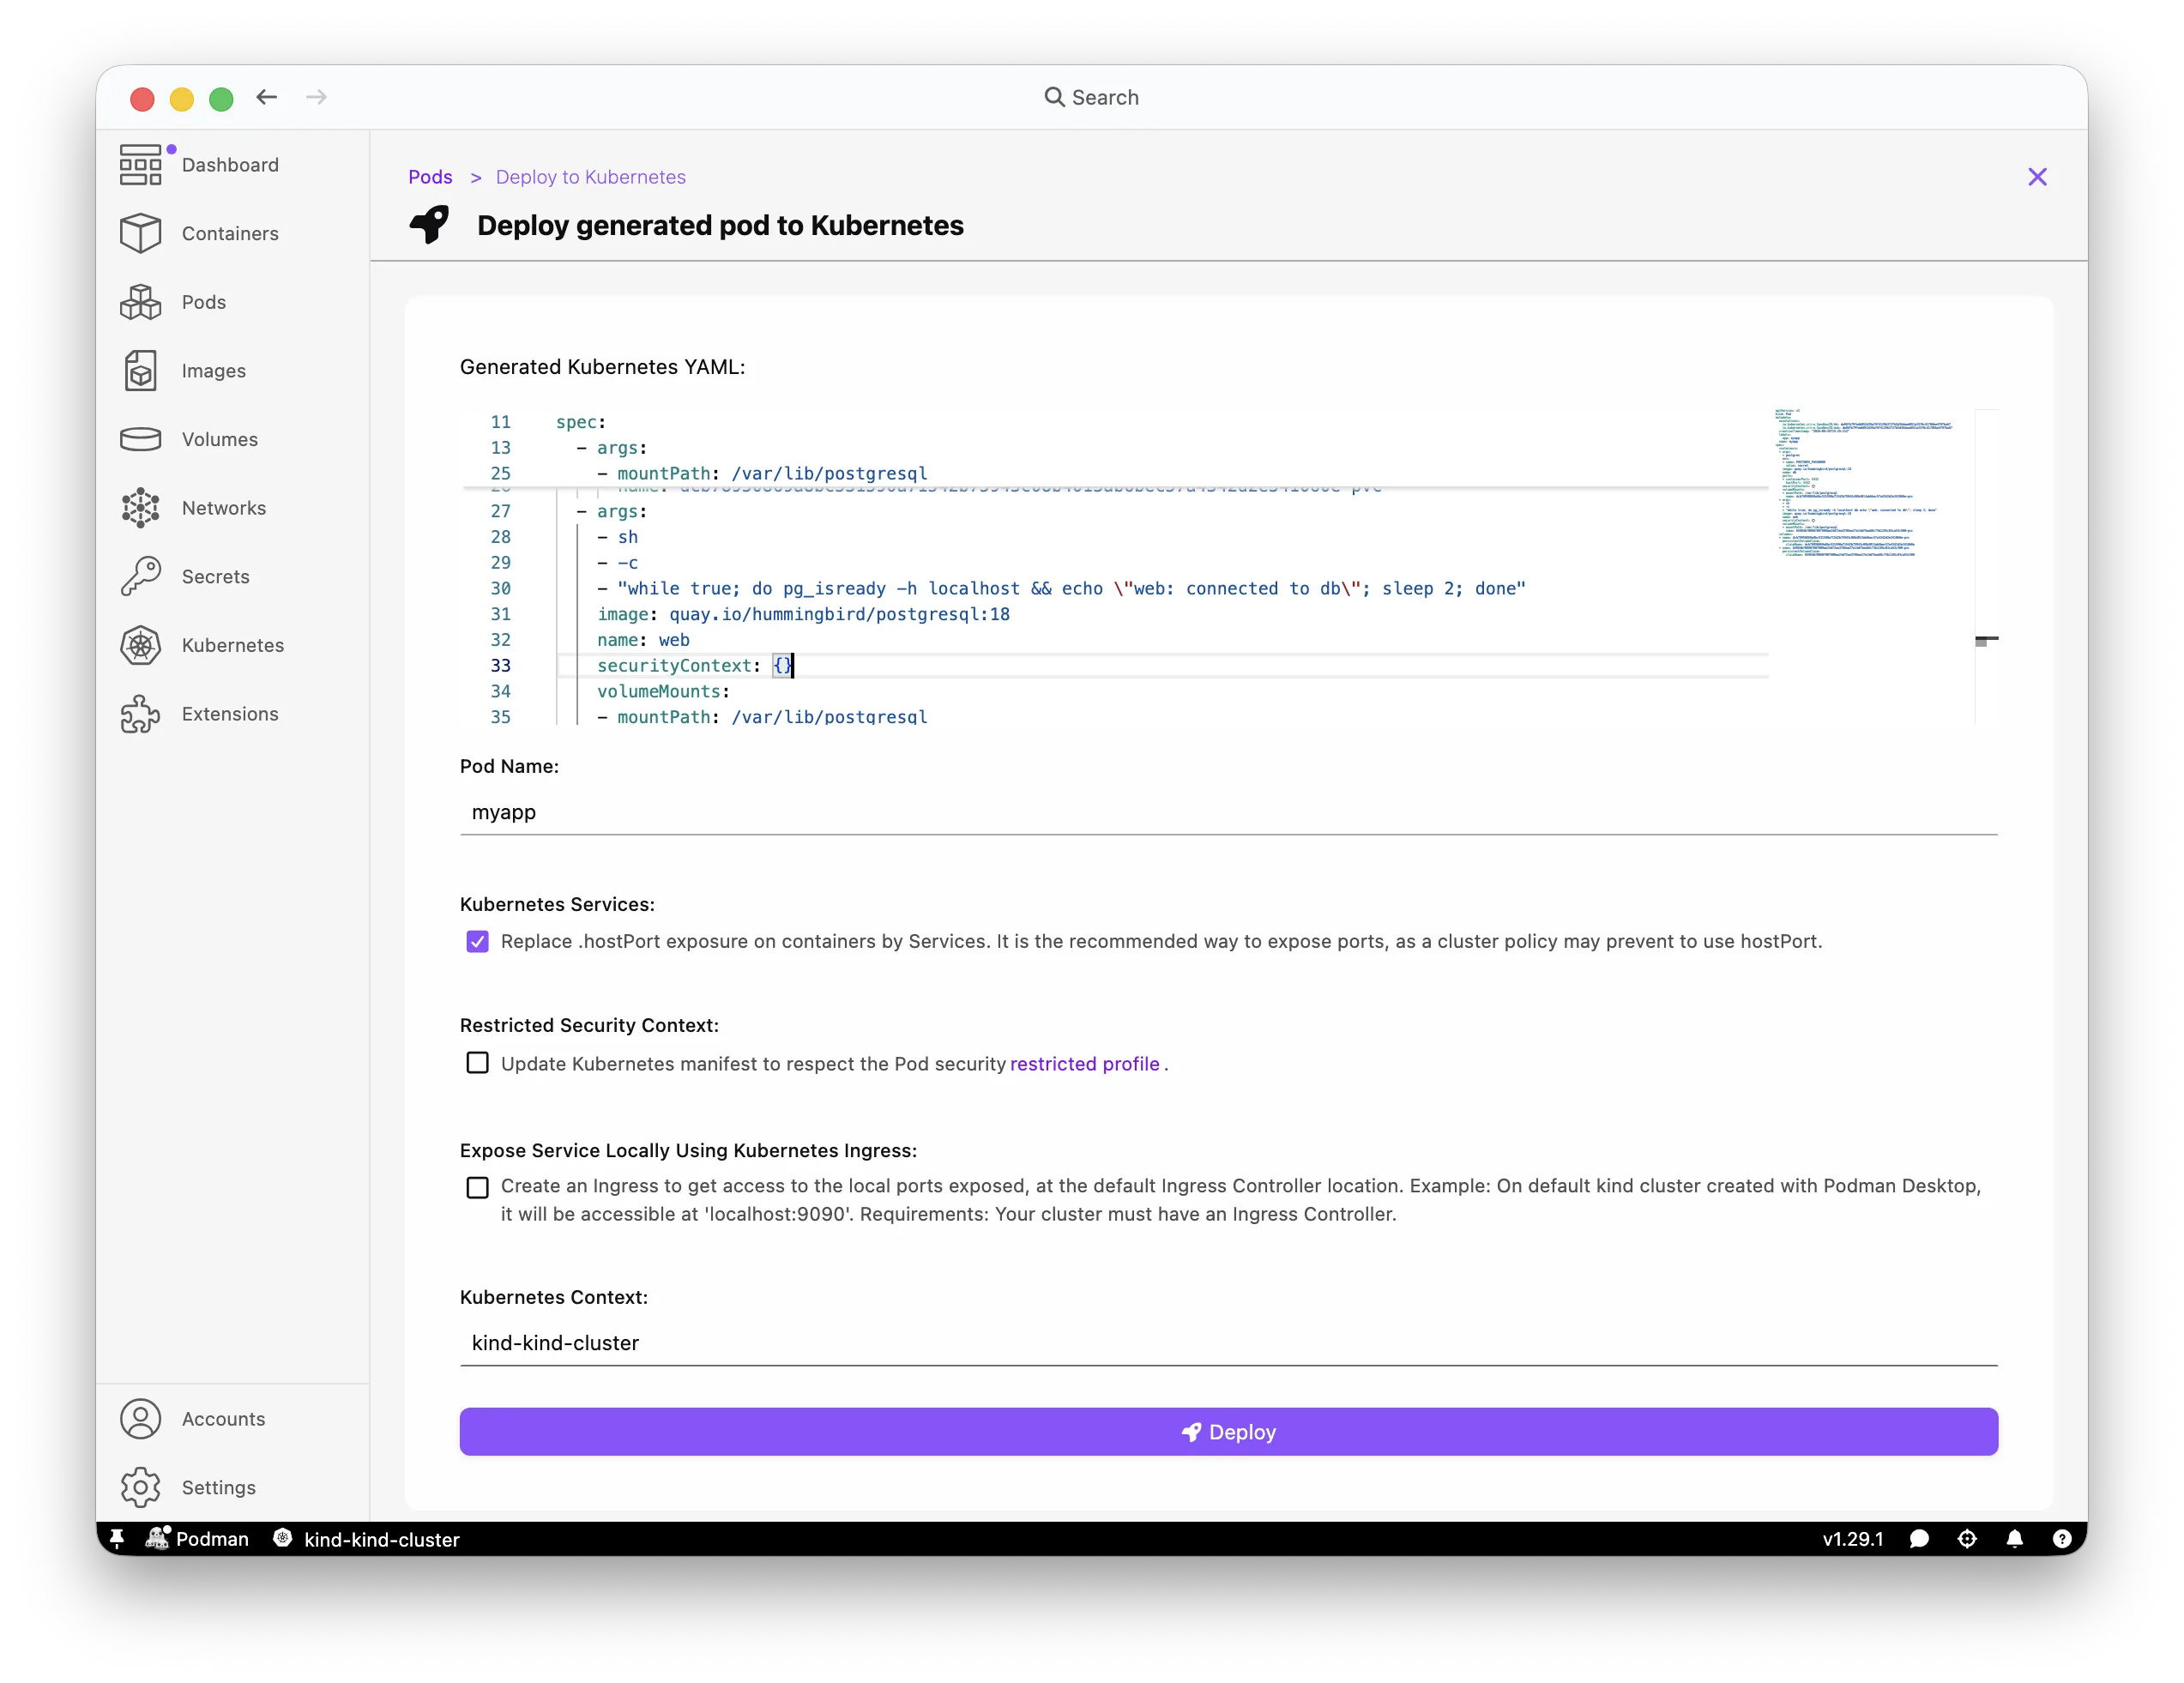
No adaptation needed, develop locally with Podman, then deploy the exact same pod to Kubernetes or OpenShift, Docker has no equivalent for this.
Once you're done, clean up both the local pod and the one now running on the cluster: delete myapp from the Pods page, and delete the deployed pod from Kubernetes > Pods.
What happens when the cluster enforces non-root?
That deploy went through without a hitch because Kind's default namespace ships wide open, with no admission policy and no restrictions. In production, that's rarely the case. Kubernetes clusters can label any namespace with a Pod Security Standard that rejects pods running as root before they ever start. OpenShift goes further with its own restricted-v2 SCC enabled by default.
You can reproduce this locally in the same Kind cluster. Label the default namespace with the restricted policy:
$ kubectl config use-context kind-kind-cluster
$ kubectl label --overwrite ns default pod-security.kubernetes.io/enforce=restricted
Now try deploying myapp again. On the Pods page, open myapp's overflow menu and select Deploy to Kubernetes, pick the kind-kind-cluster context, and click Deploy, exactly like before. This time the cluster rejects it because the pod has no securityContext.
The Hummingbird images myapp uses already run as non-root, so the containers themselves are fine. What's missing is the securityContext that tells Kubernetes the pod intends to run that way.
Start from the generated YAML. On the Pods page, open myapp's overflow menu and select Generate Kube:
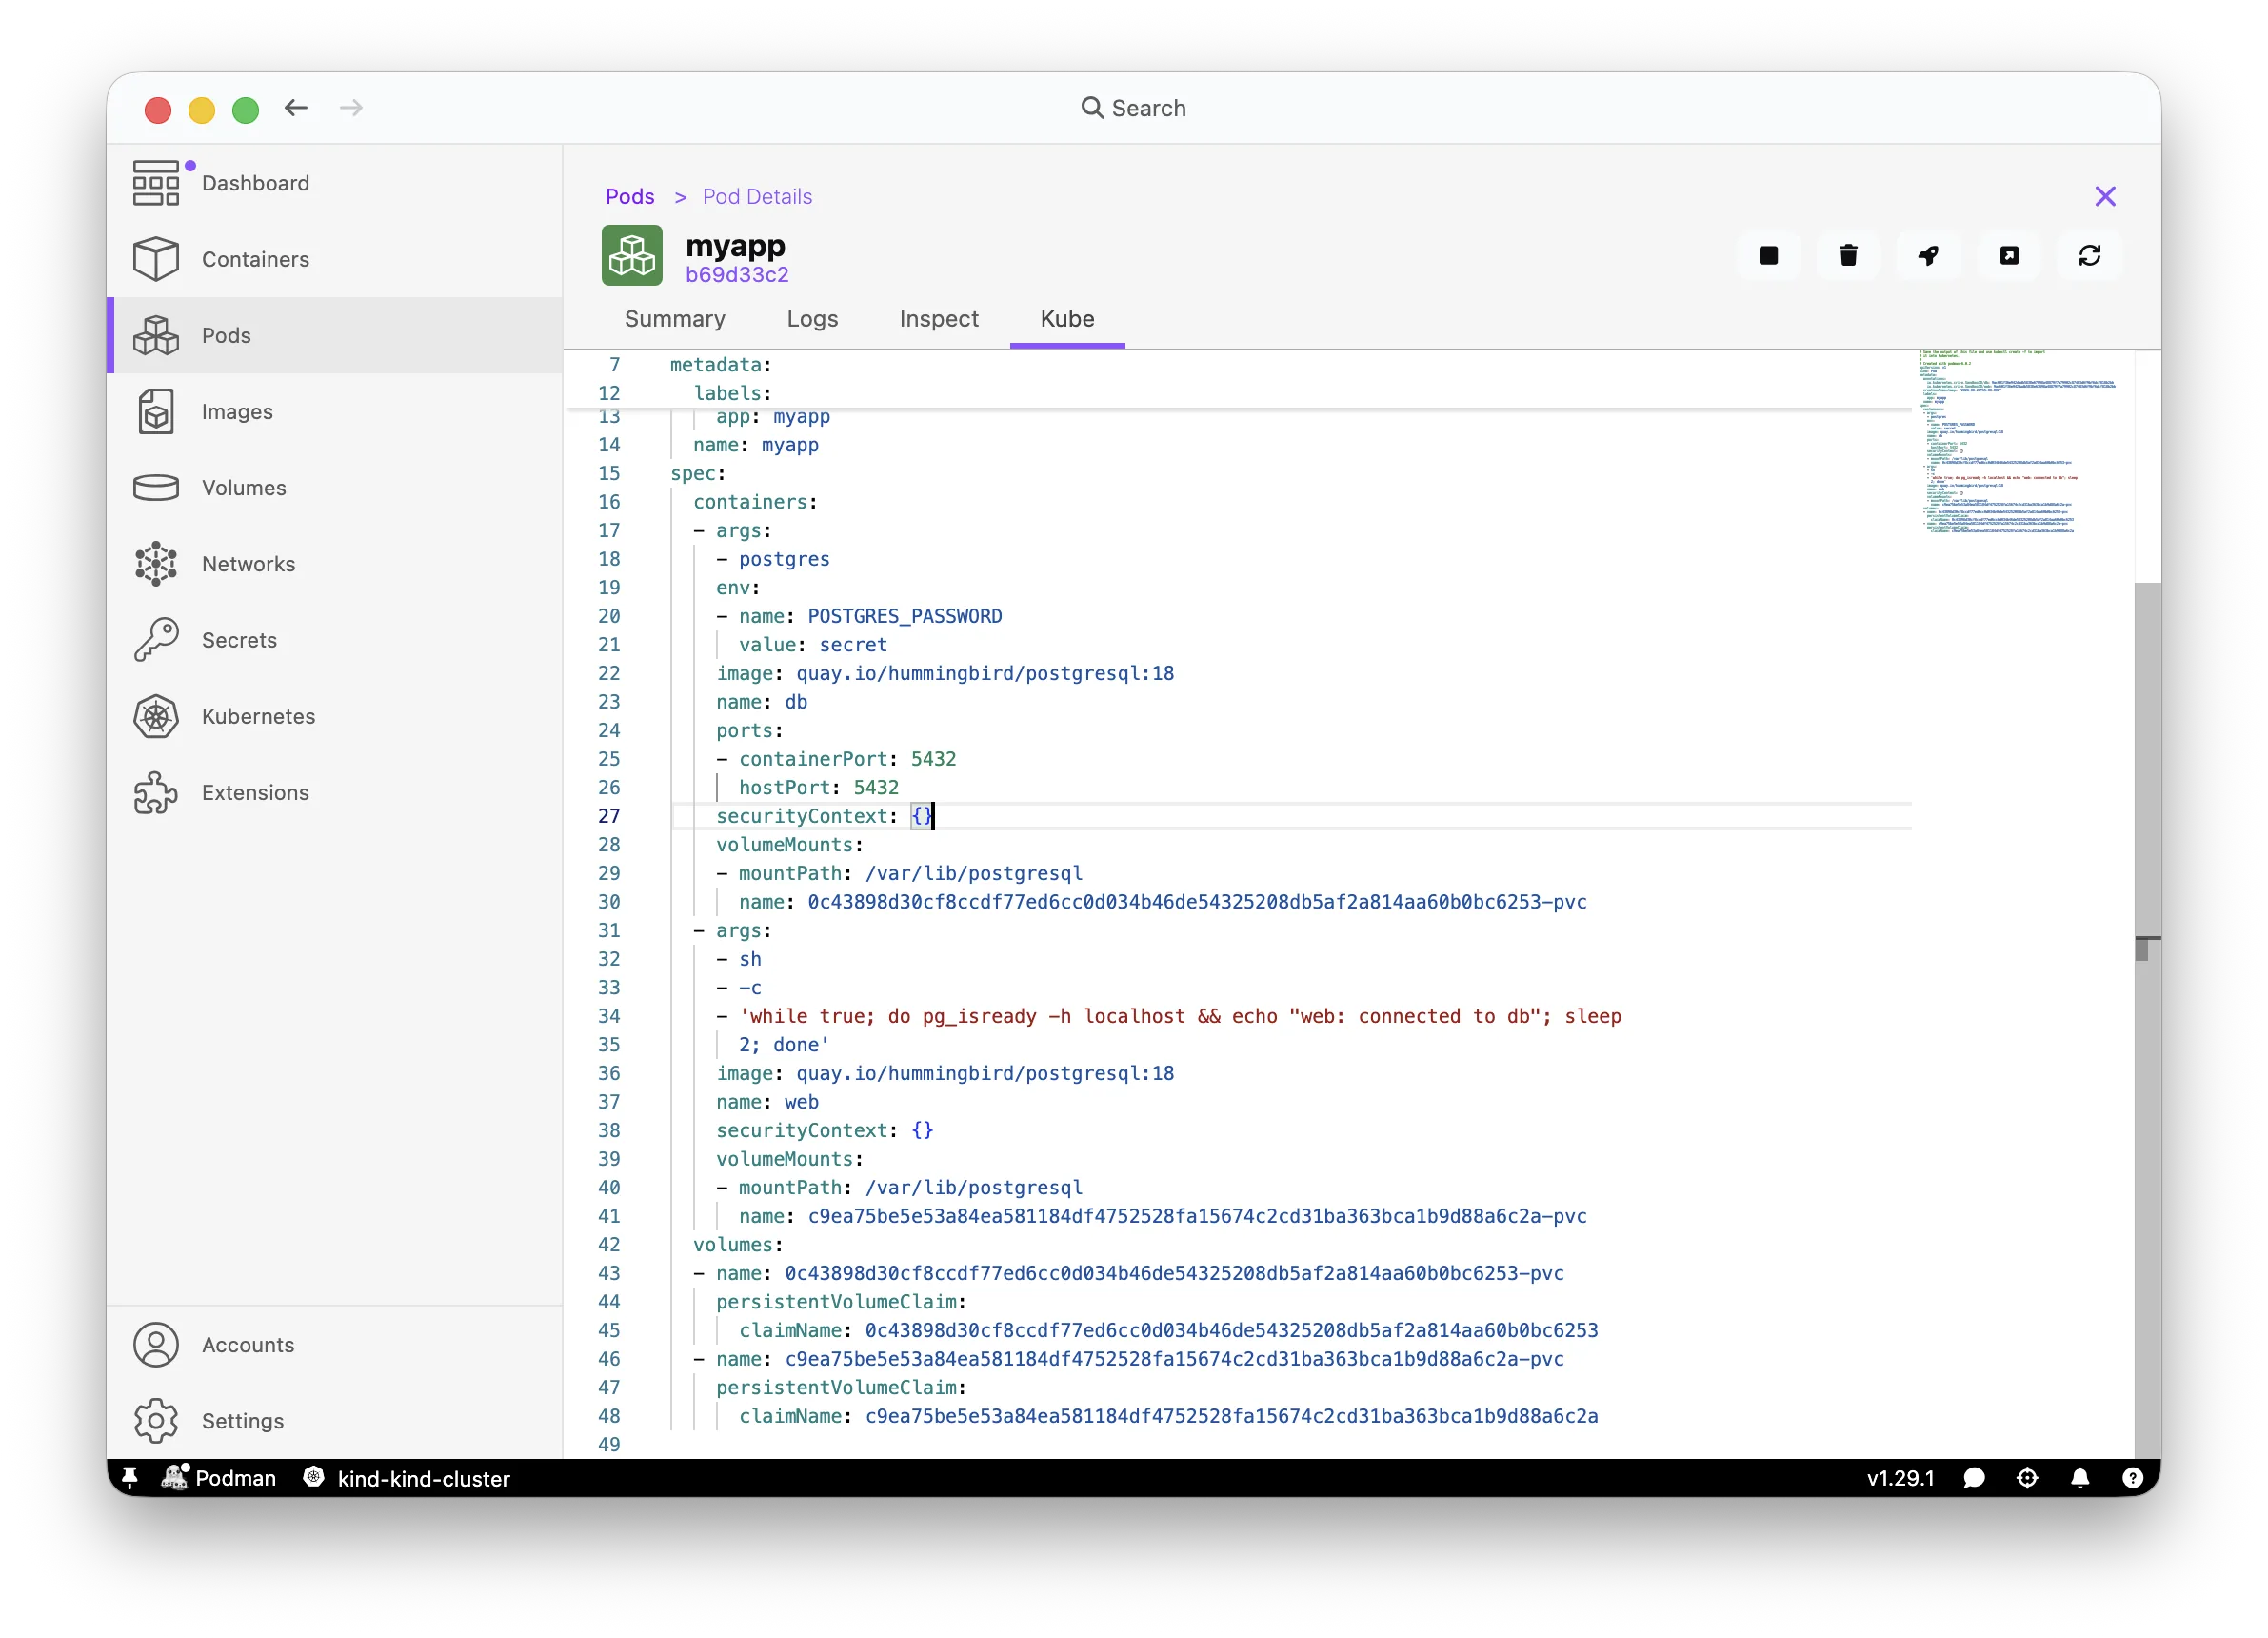
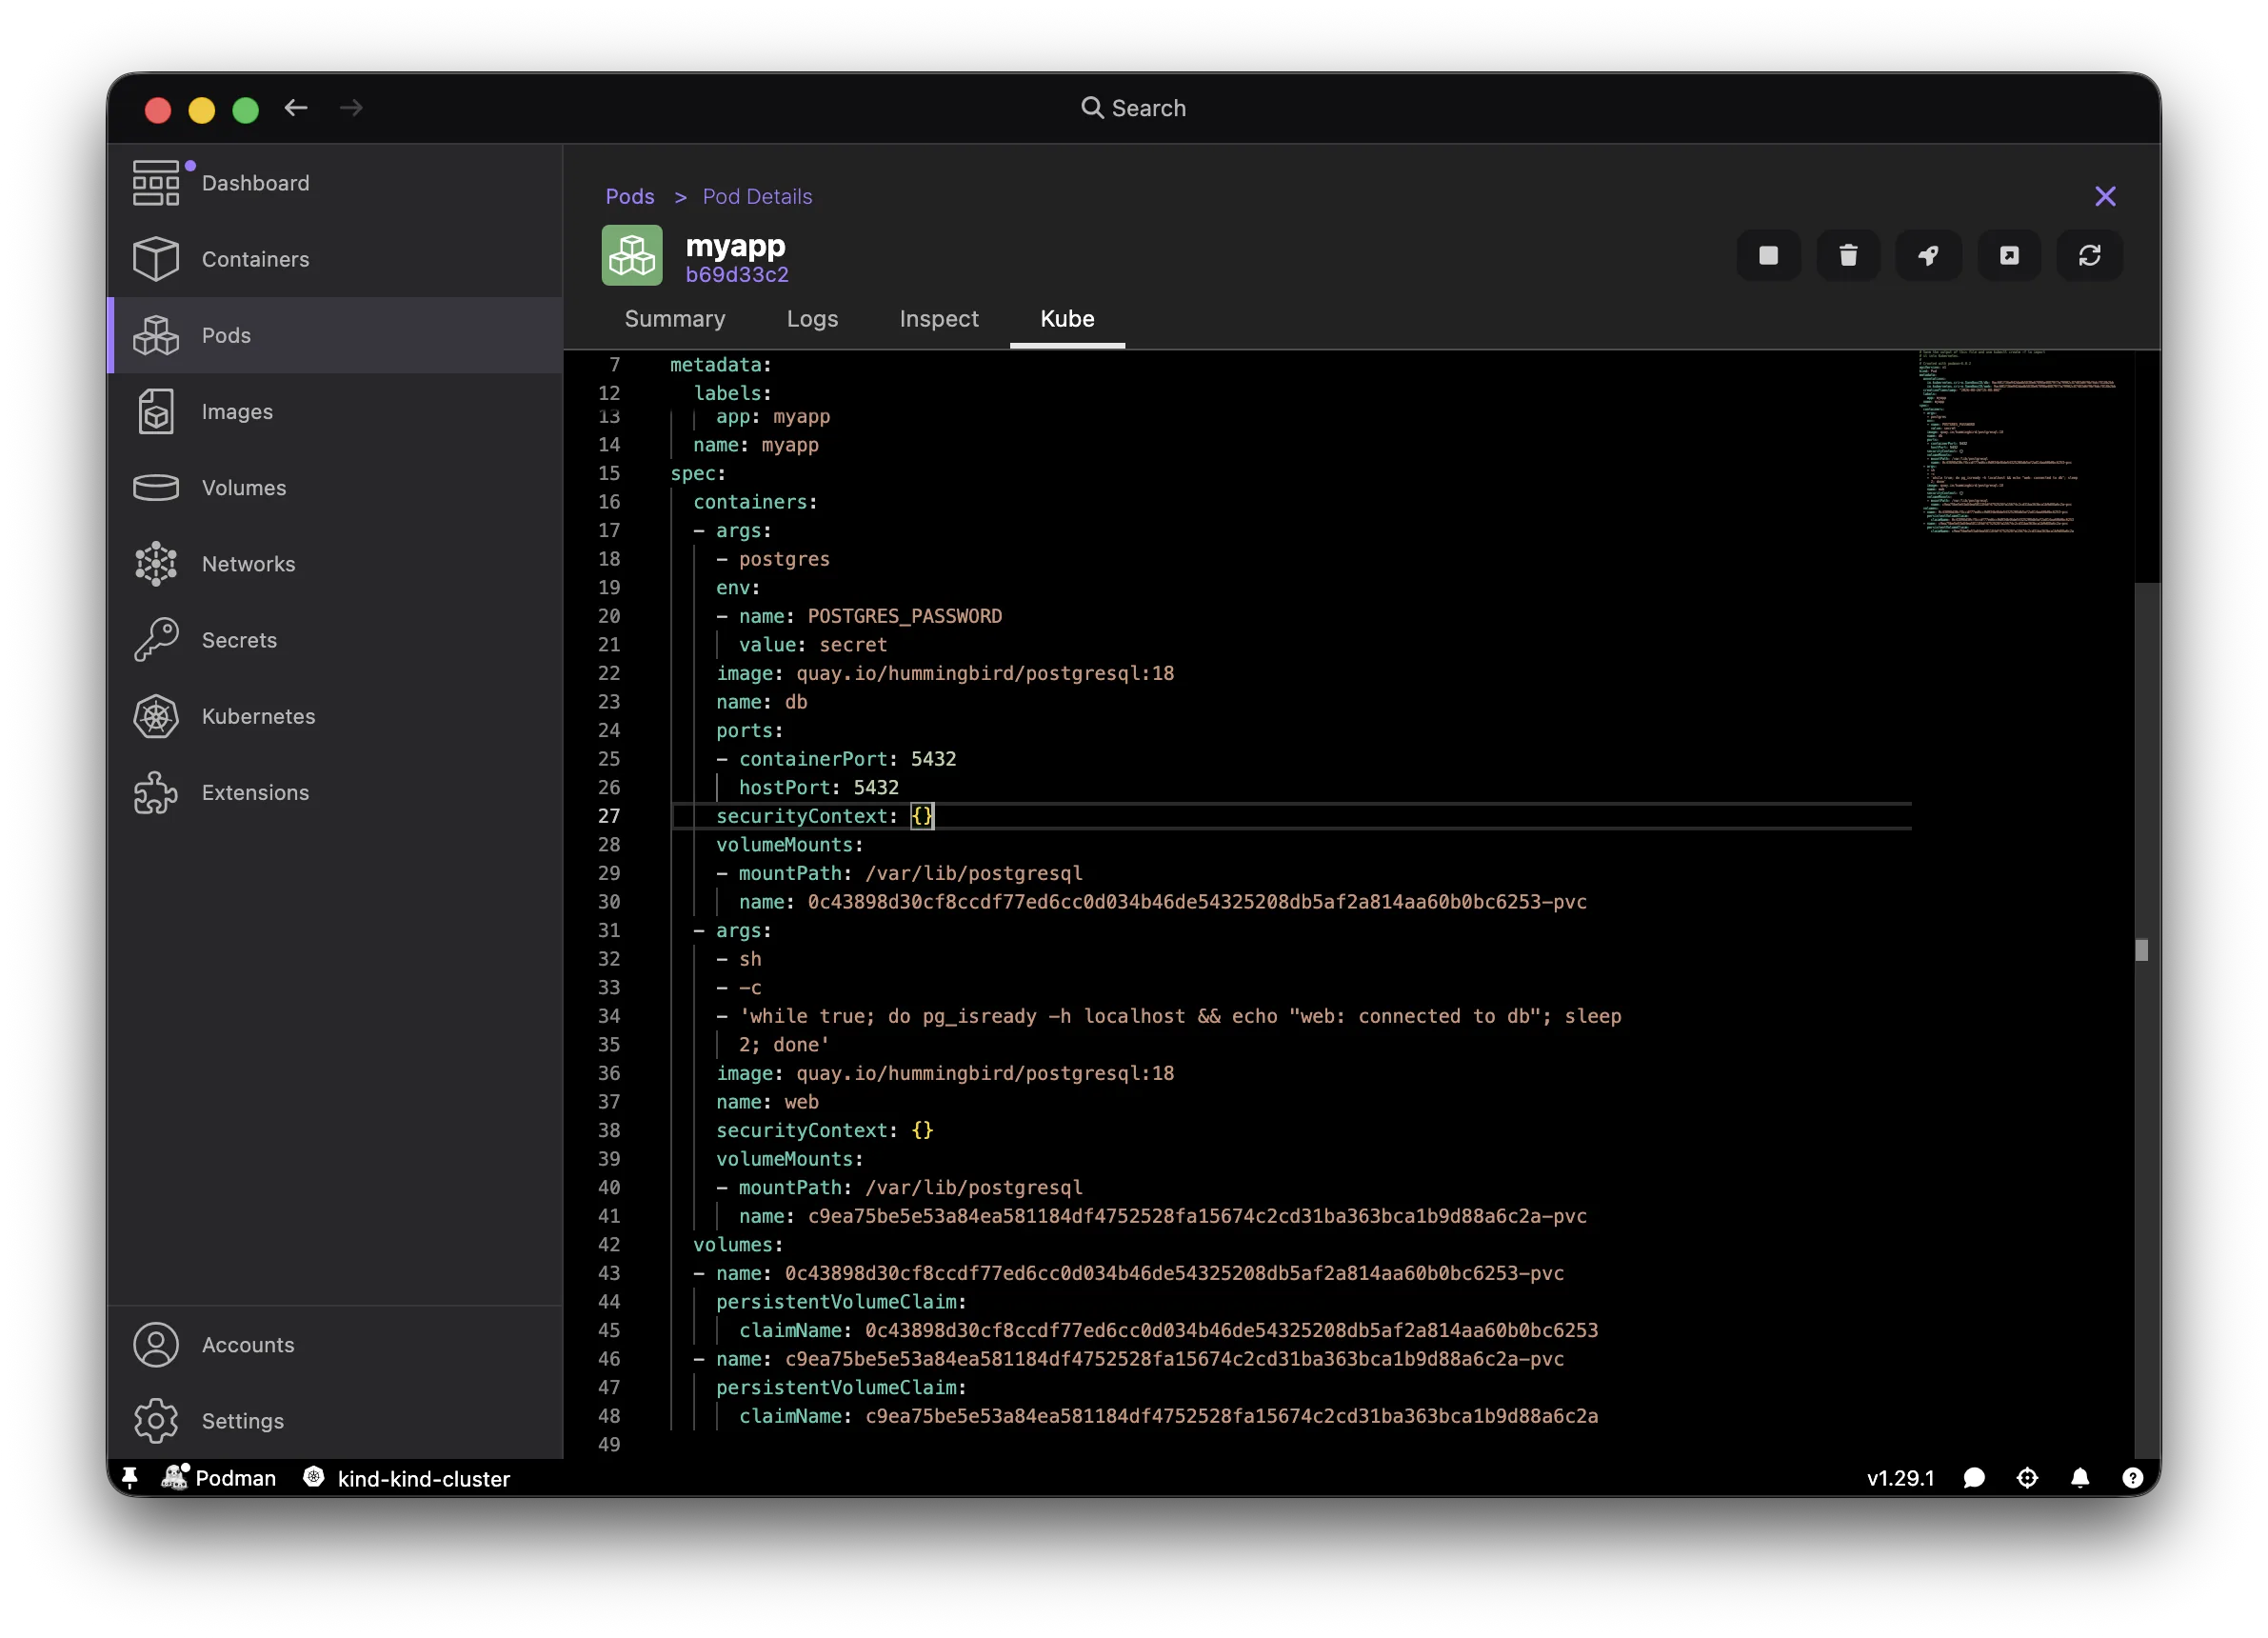
The output looks like this (trimmed):
apiVersion: v1
kind: Pod
metadata:
  labels:
    app: myapp
  name: myapp
spec:
  containers:
    - args:
        - postgres
      env:
        - name: POSTGRES_PASSWORD
          value: secret
      image: quay.io/hummingbird/postgresql:18
      name: db
      ports:
        - containerPort: 5432
      securityContext: {}
    - args:
        - sh
        - -c
        - 'while true; do pg_isready -h localhost && echo "web: connected to db"; sleep 2; done'
      image: quay.io/hummingbird/postgresql:18
      name: web
      securityContext: {}
Notice the empty securityContext: {} on each container. Two things need fixing before this YAML can pass a restricted namespace:
- Replace every
securityContext: {}with a block that satisfies the policy (allowPrivilegeEscalation: false,runAsNonRoot: true, drop all capabilities, set a seccomp profile). You also needrunAsUser: 999because the Hummingbird image setsUSER postgres(a name, not a number), and Kubernetes can't verify a non-numeric user is actually non-root. - Remove the
volumeMountsfrom each container and thevolumesblock at the bottom.podman kube generateproduces hash-based volume names that exceed Kubernetes' 63-character limit, and they aren't needed for this test.
Here is the cleaned-up YAML ready to import:
apiVersion: v1
kind: Pod
metadata:
  labels:
    app: myapp
  name: myapp
spec:
  containers:
    - args:
        - postgres
      env:
        - name: POSTGRES_PASSWORD
          value: secret
      image: quay.io/hummingbird/postgresql:18
      name: db
      ports:
        - containerPort: 5432
      securityContext:
        allowPrivilegeEscalation: false
        runAsNonRoot: true
        runAsUser: 999
        capabilities:
          drop: ['ALL']
        seccompProfile:
          type: RuntimeDefault
    - args:
        - sh
        - -c
        - 'while true; do pg_isready -h localhost && echo "web: connected to db"; sleep 2; done'
      image: quay.io/hummingbird/postgresql:18
      name: web
      securityContext:
        allowPrivilegeEscalation: false
        runAsNonRoot: true
        runAsUser: 999
        capabilities:
          drop: ['ALL']
        seccompProfile:
          type: RuntimeDefault
Save it to a file, then import it from Kubernetes > Pods > Apply YAML:
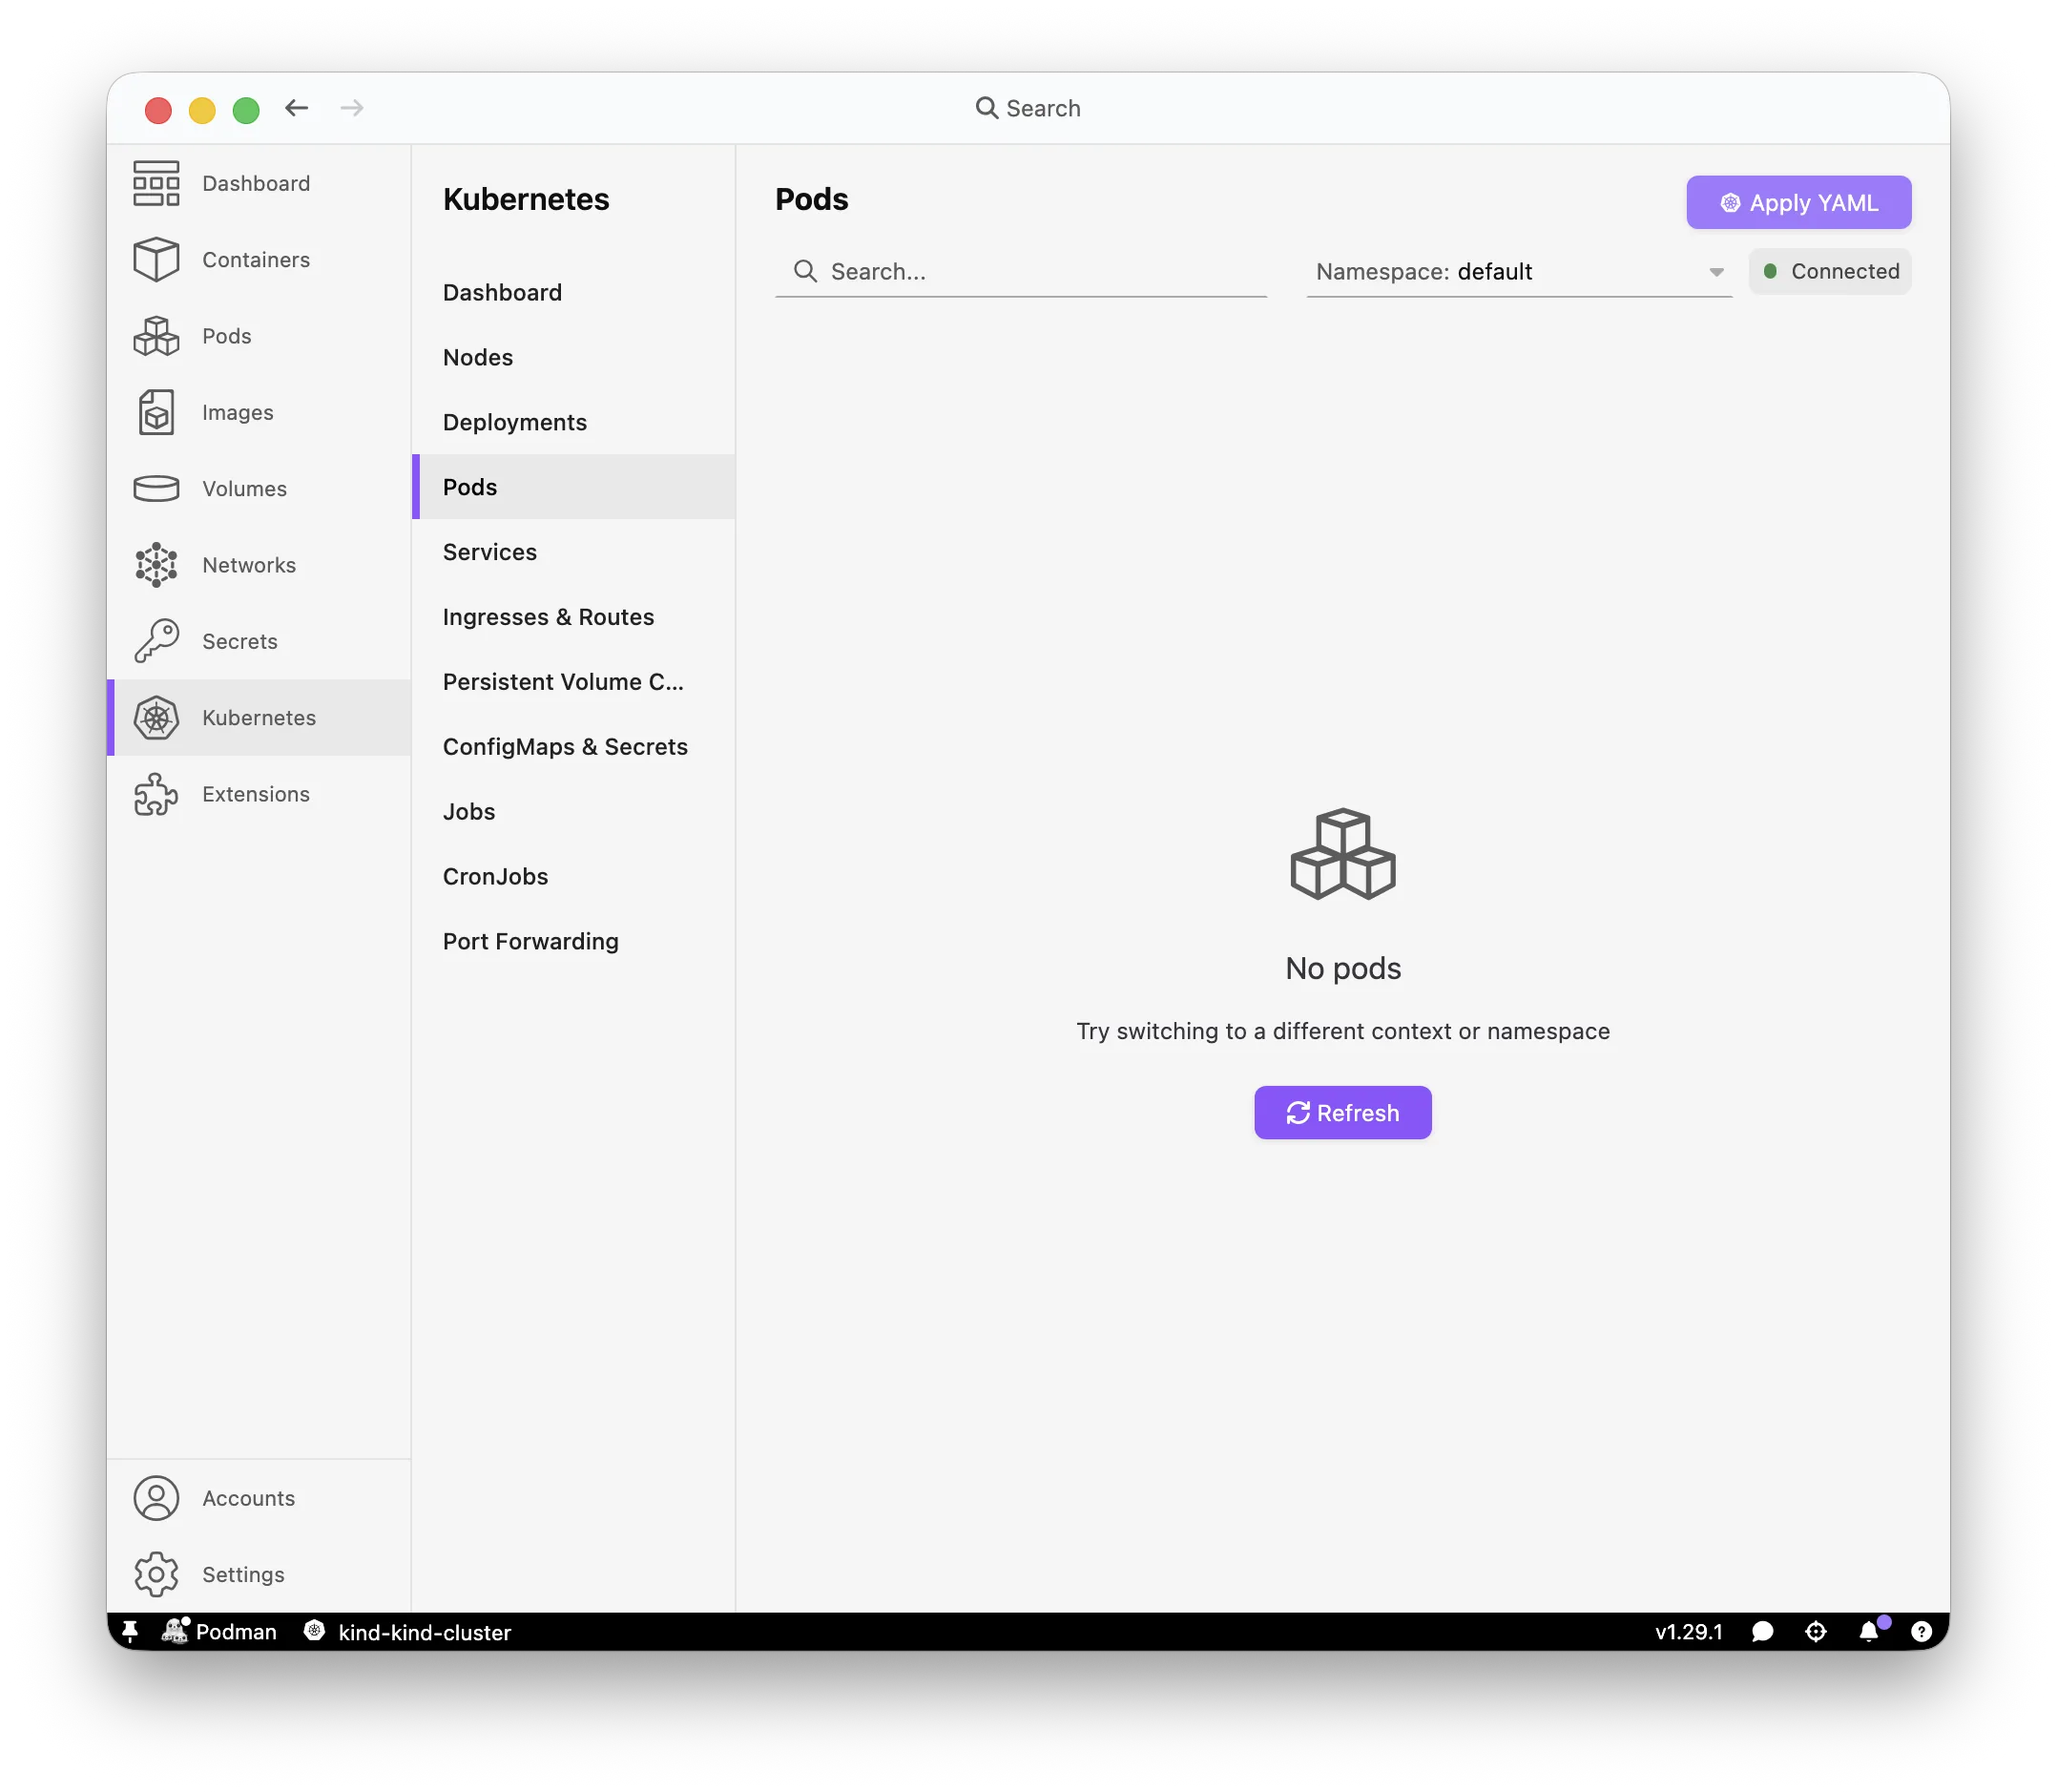
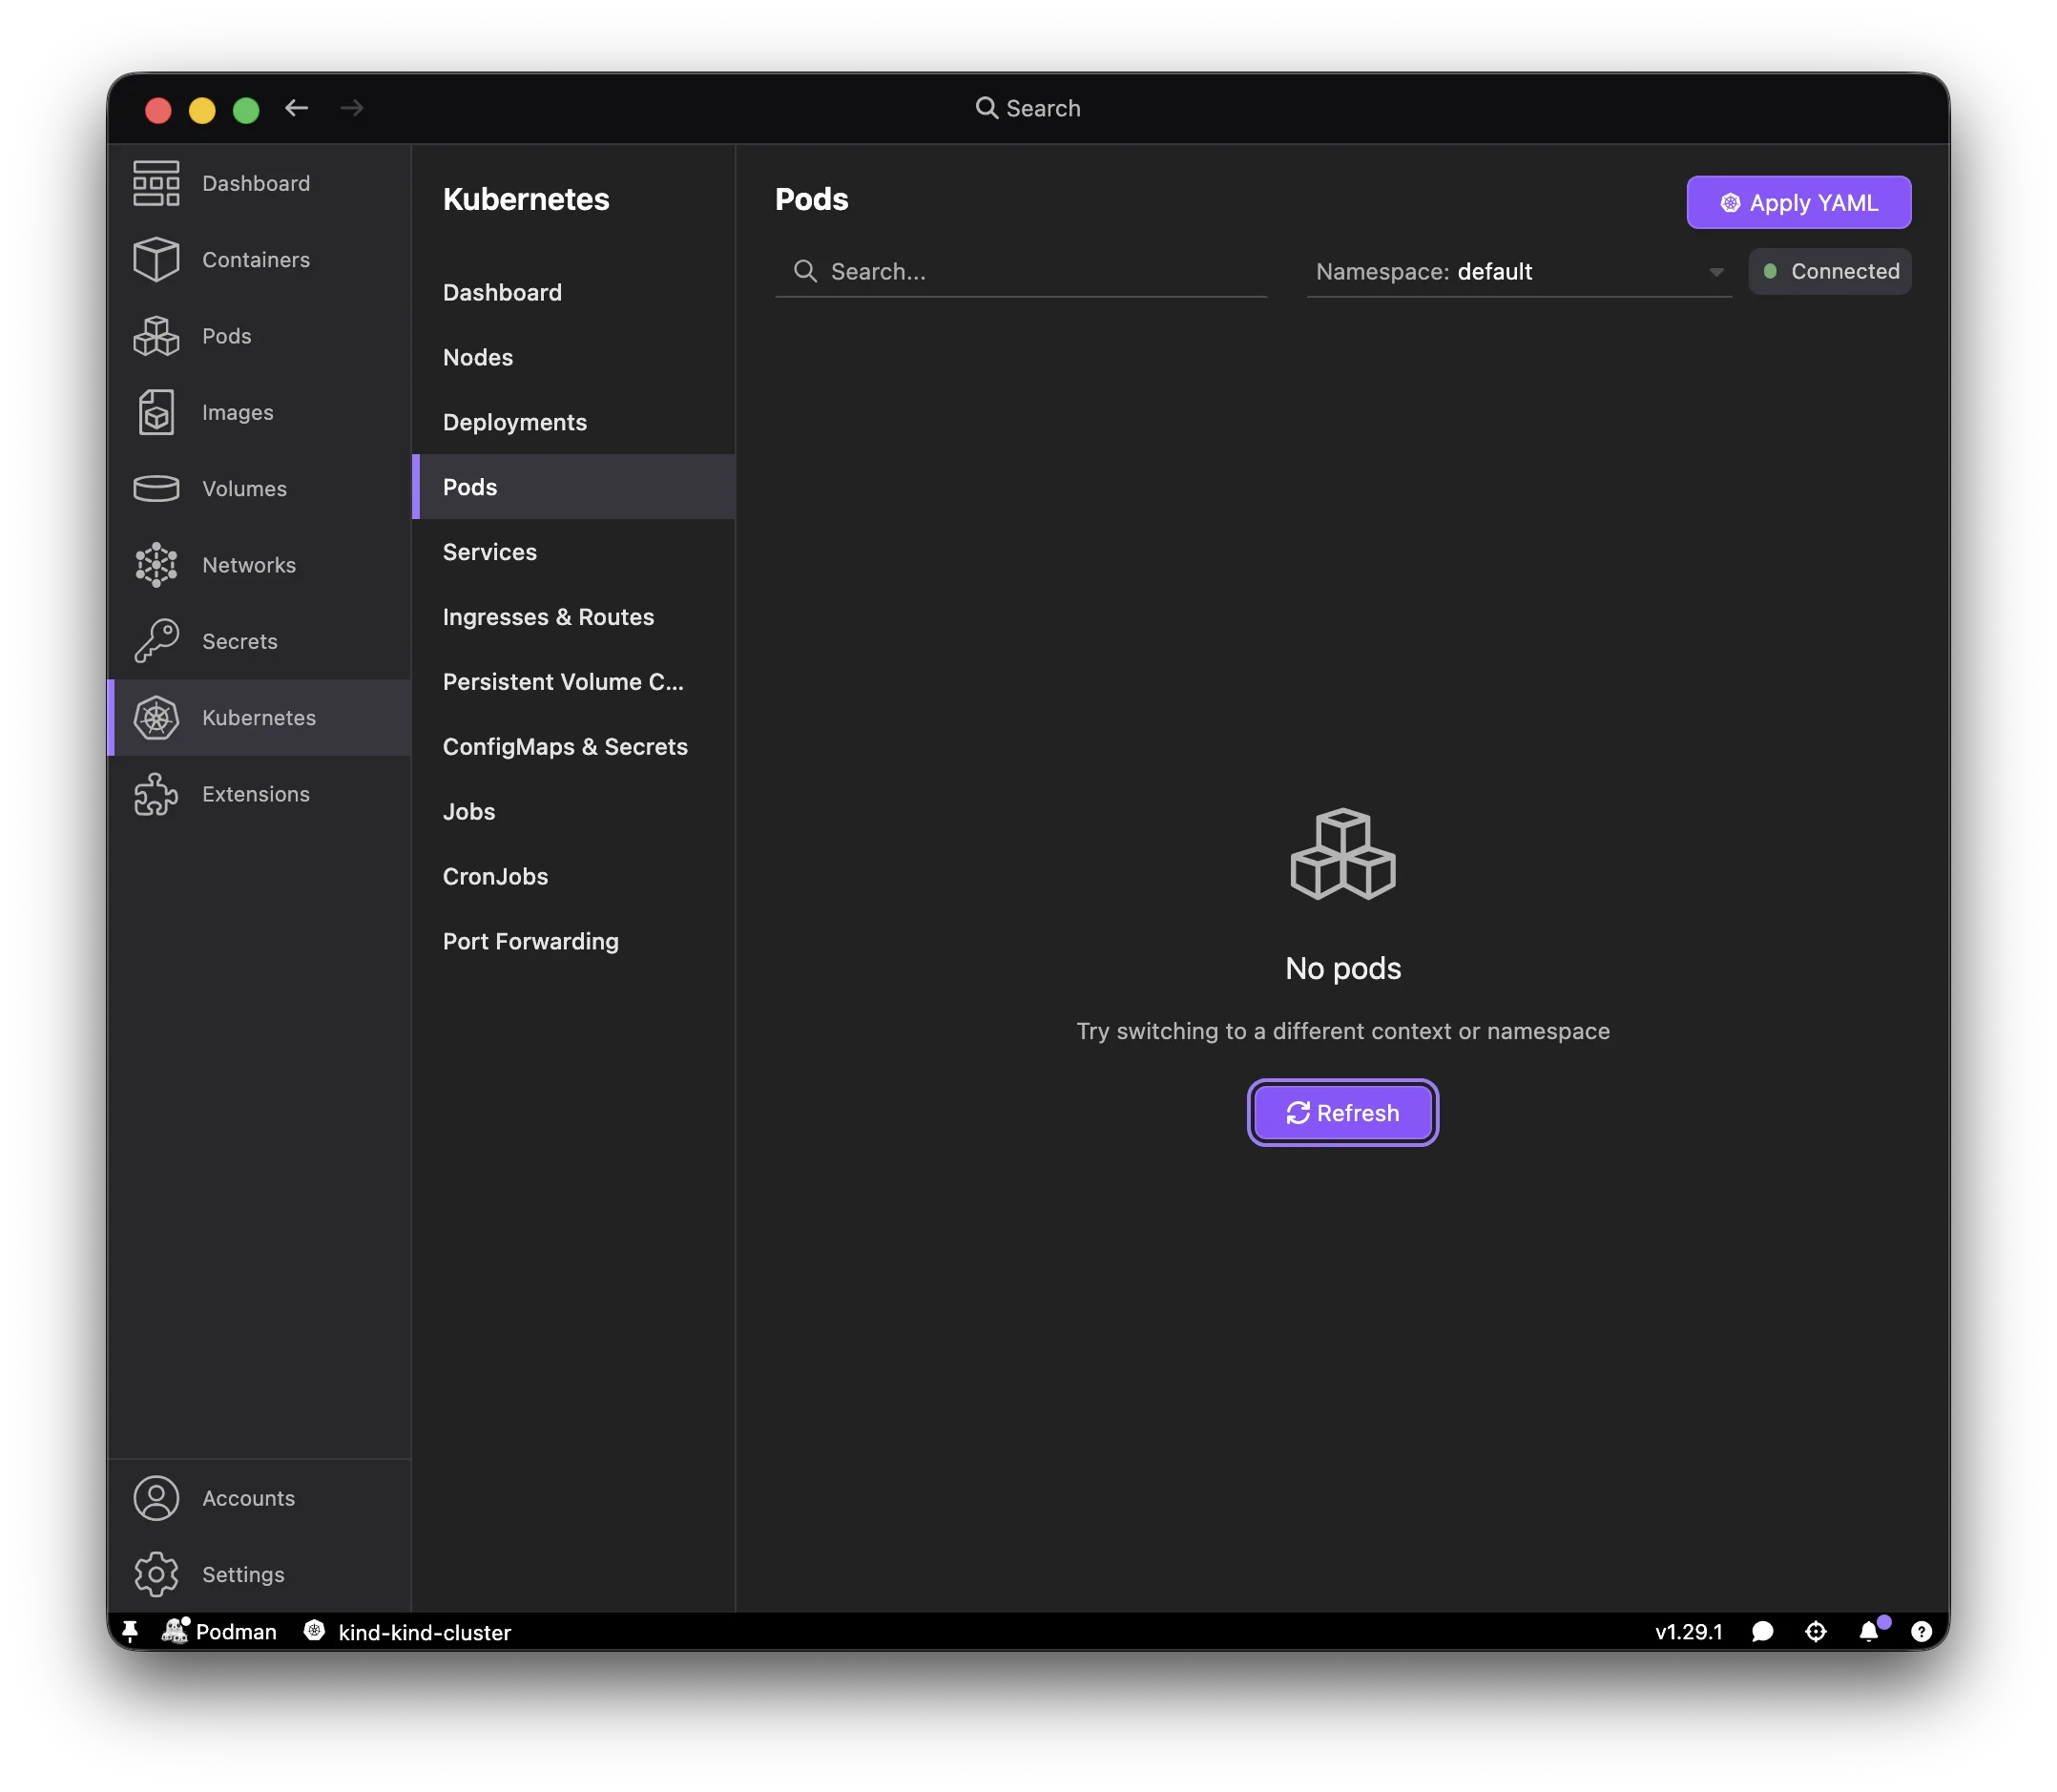
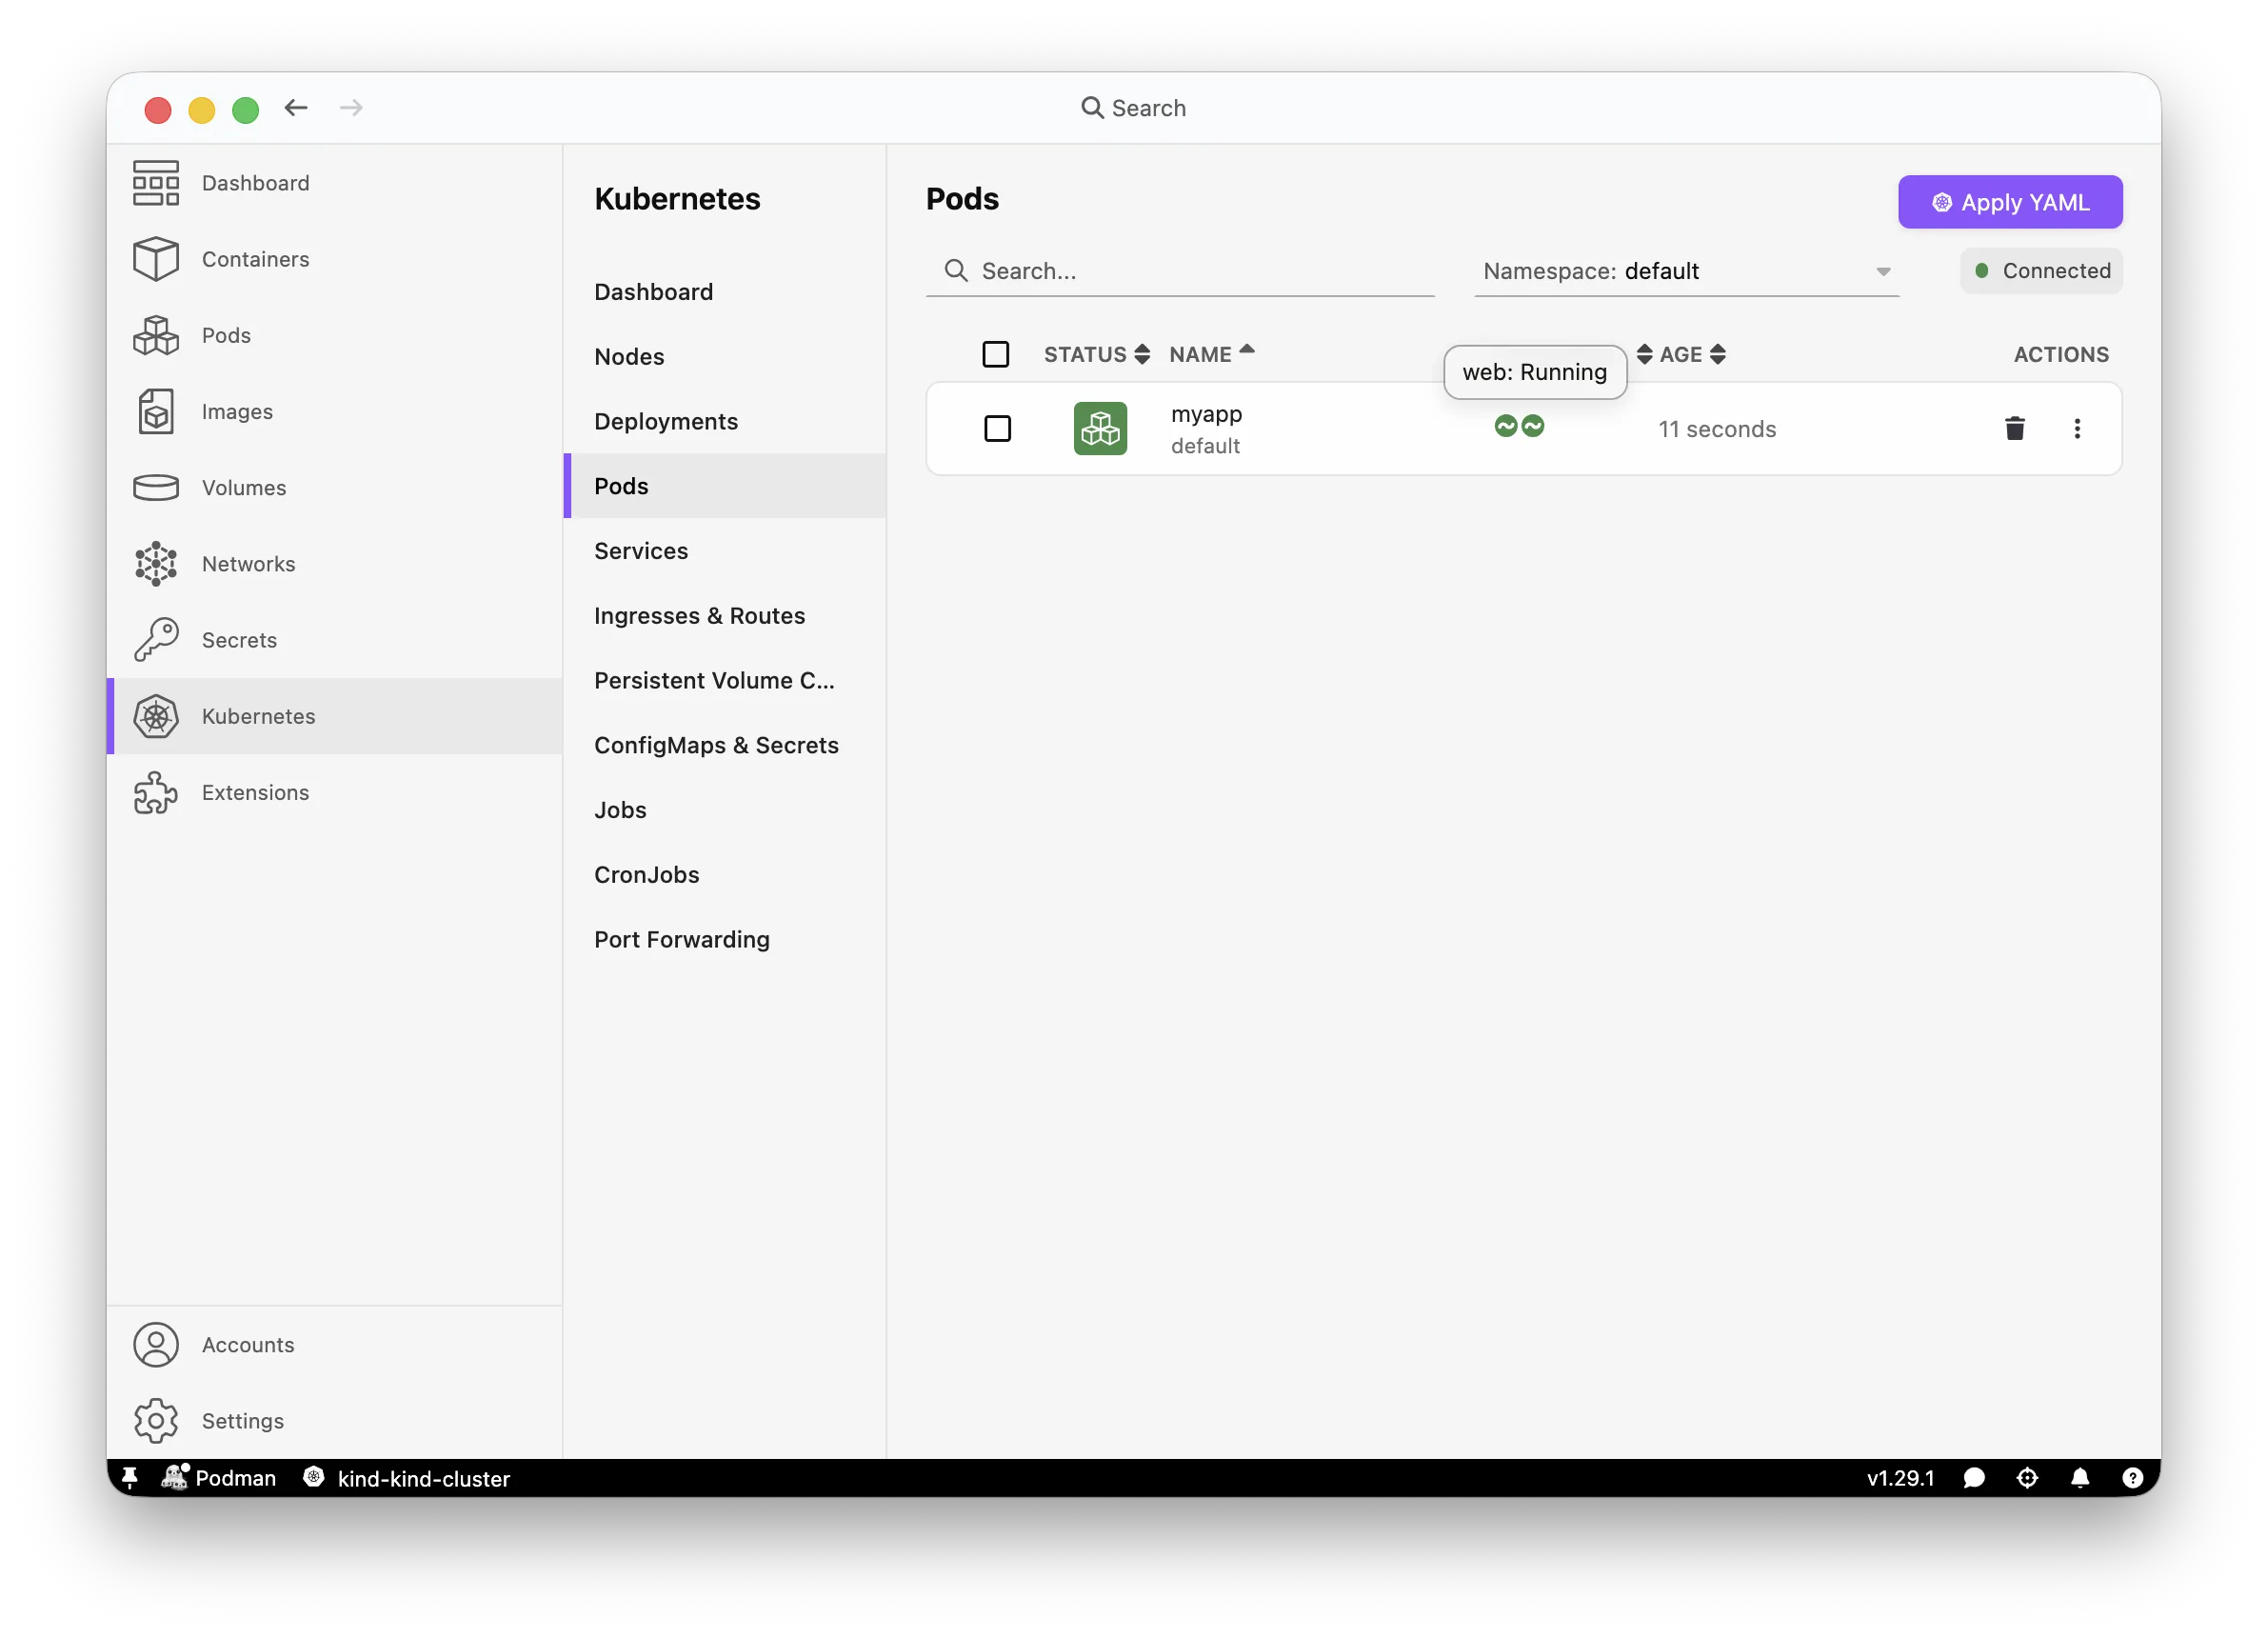
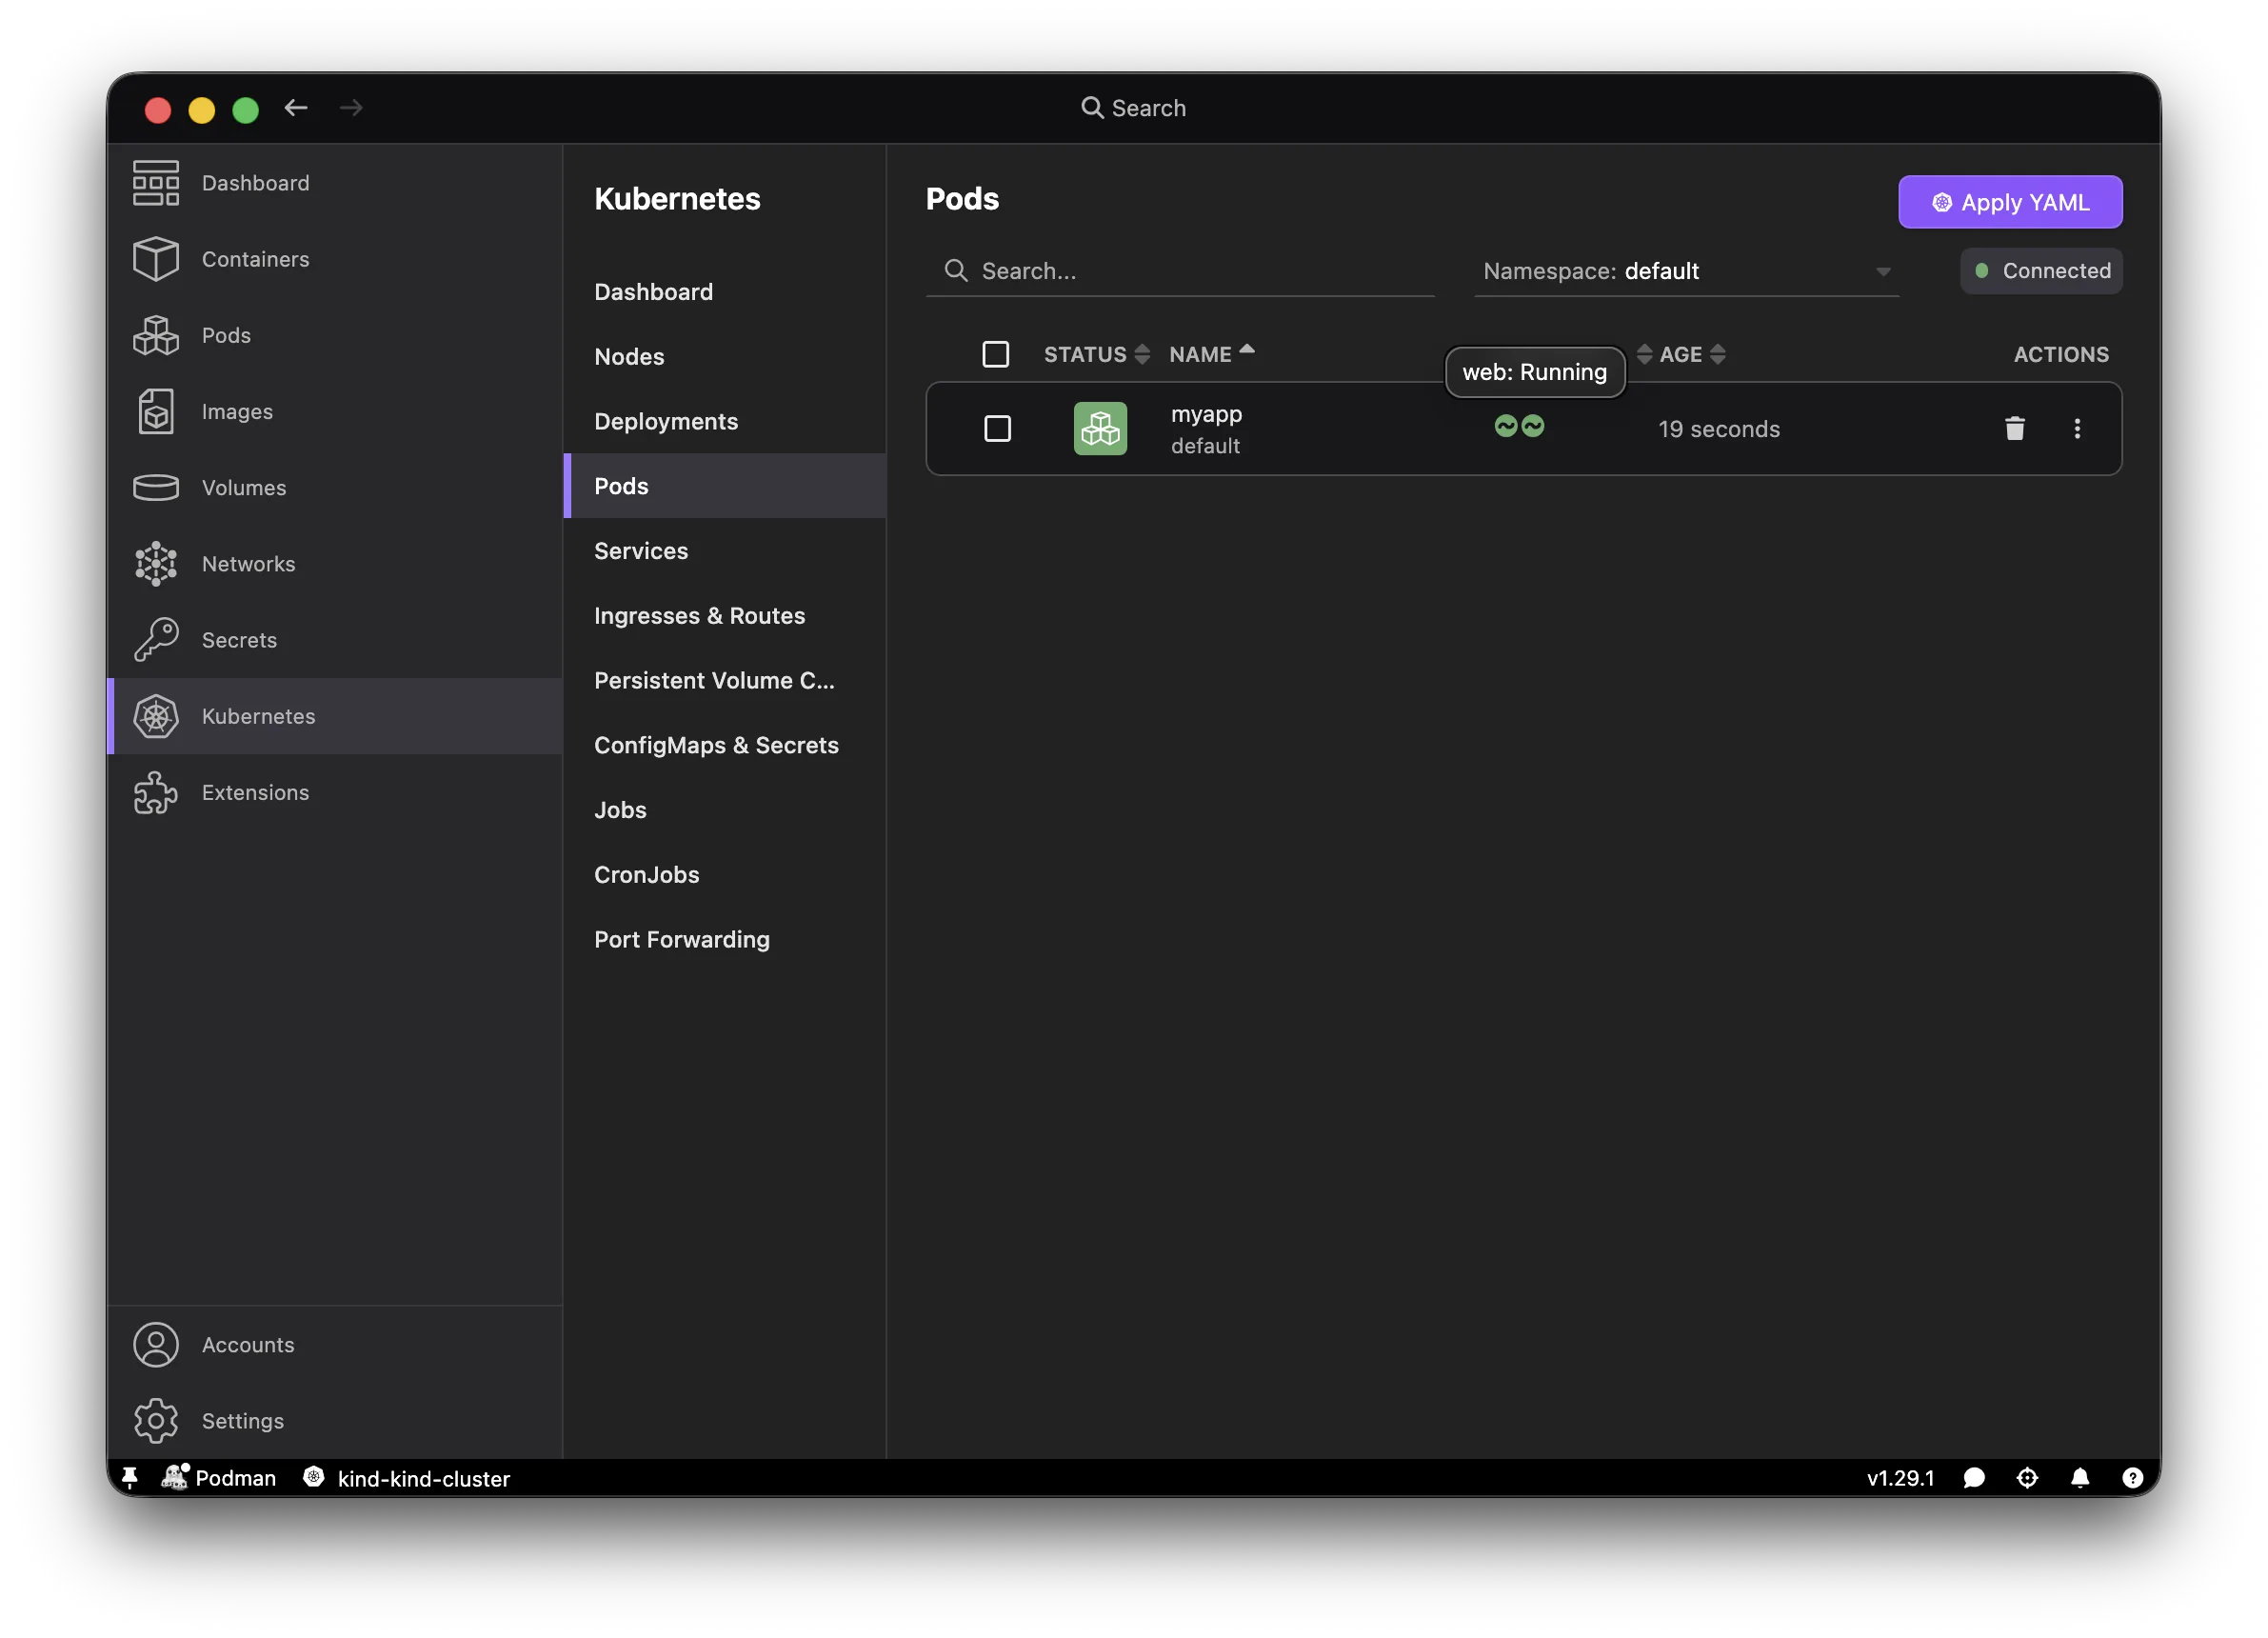
This time the deploy succeeds. Podman Desktop's Kubernetes > Pods view shows myapp running on the cluster:
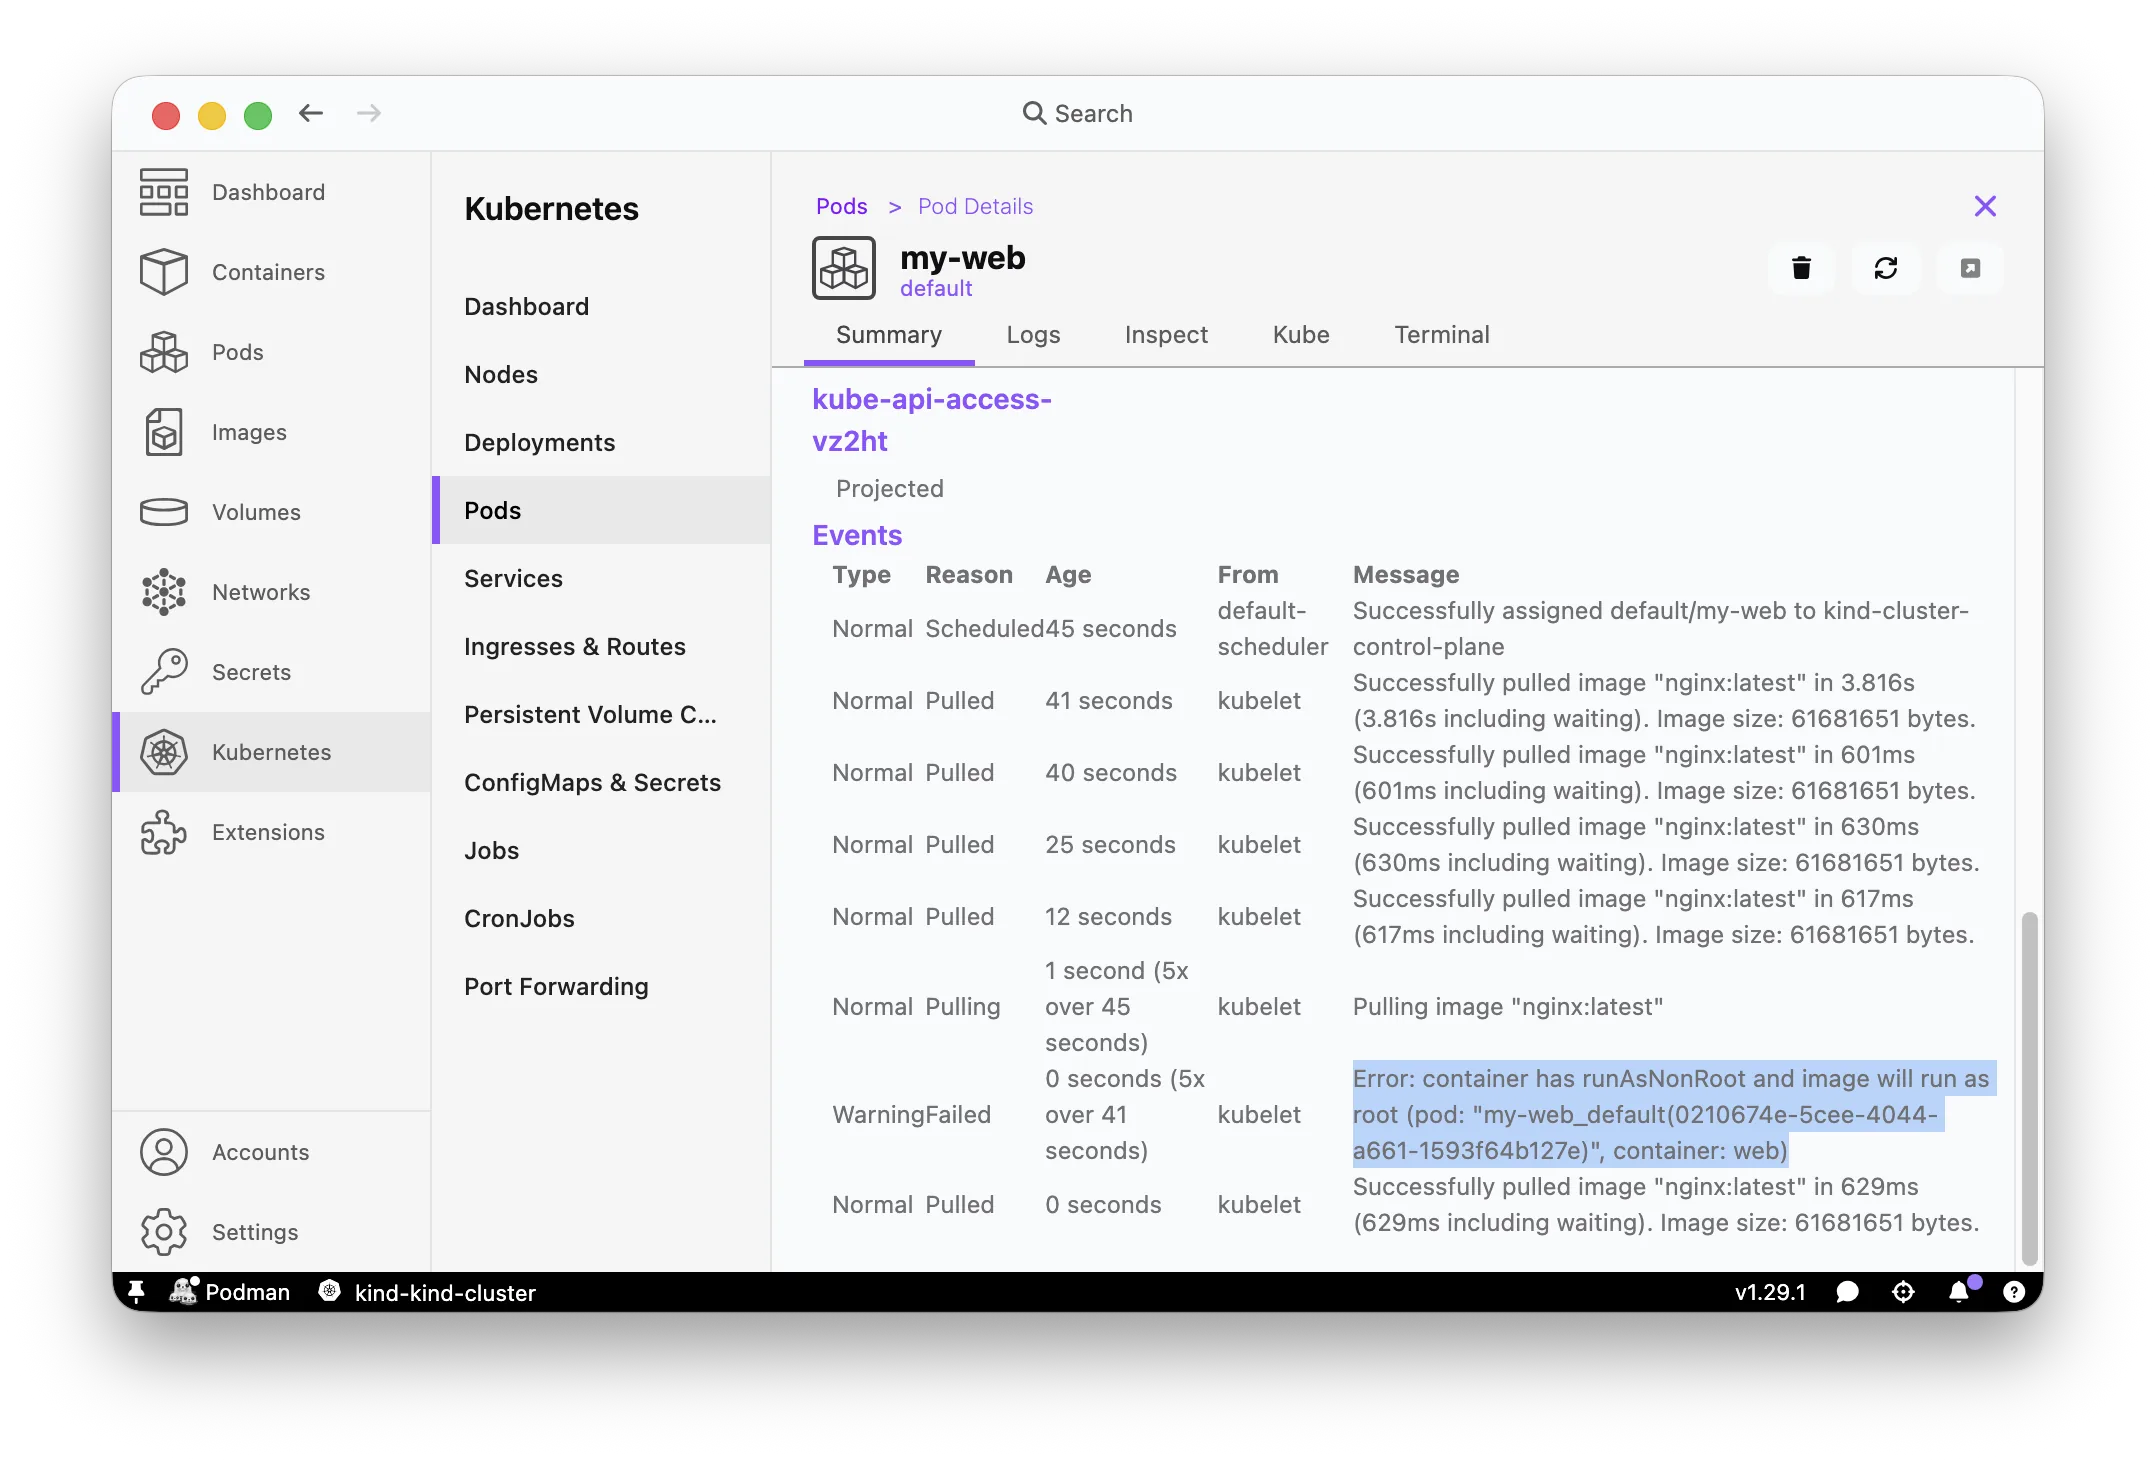
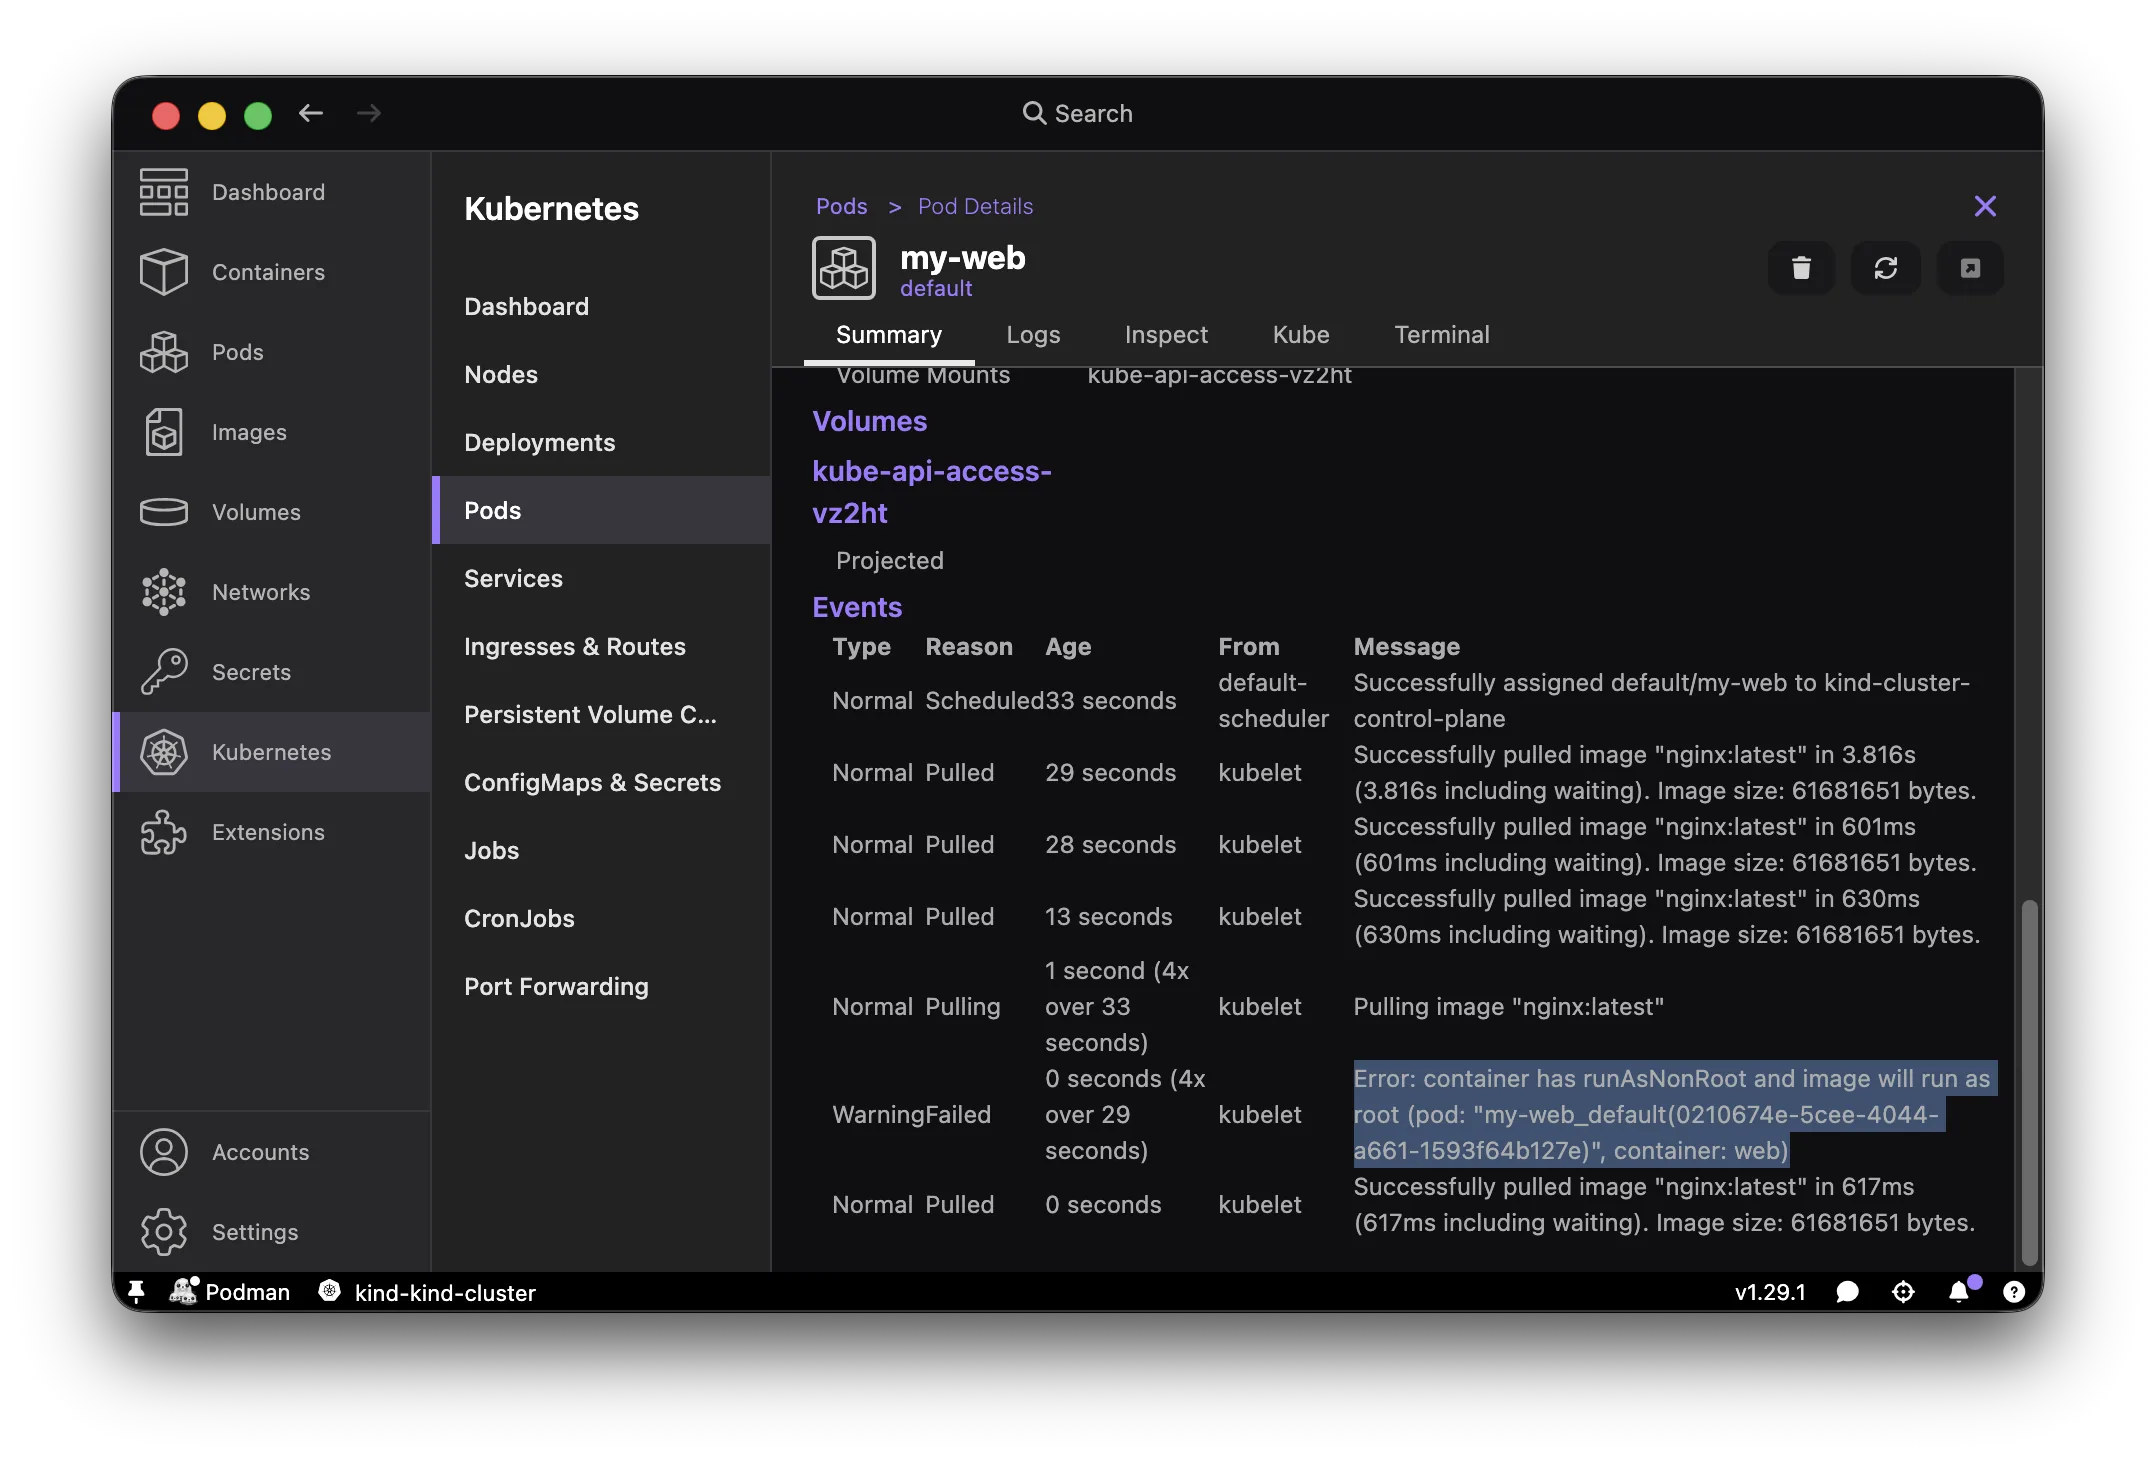
One more test to show why both pieces matter: use the same securityContext, but with the plain image: nginx:1.27, which still runs as root internally. The fields look correct, so admission passes, but the pod fails at runtime instead:
$ cat <<'EOF' | kubectl apply -f -
apiVersion: v1
kind: Pod
metadata:
  name: nginx-root
spec:
  containers:
    - name: web
      image: nginx:1.27
      ports:
        - containerPort: 8080
      securityContext:
        allowPrivilegeEscalation: false
        runAsNonRoot: true
        capabilities:
          drop: ["ALL"]
        seccompProfile:
          type: RuntimeDefault
EOF
$ kubectl get pod nginx-root
# NAME         READY   STATUS                       RESTARTS   AGE
# nginx-root   0/1     CreateContainerConfigError   0          5s
$ kubectl describe pod nginx-root | grep "Error"
# Error: container has runAsNonRoot and image will run as root
Same view, but now an error state:
$ kubectl delete pod nginx-root
When done, delete the Kind cluster from Settings > Resources.
Documentation: Project Hummingbird | OpenShift SCC | K8s Pod Security Standards | Red Hat image guidelines
5. Why Podman makes rootless easy
That rejection is about the image, not about Podman. The same restricted policy would reject a container that runs as root inside, whether it was built and run with Docker or Podman. What is specific to Podman is something else entirely: how little work it takes to keep that same container from having root access on your host, even when it thinks it's root inside.
One clarification up front: "rootless" here describes Podman's own design, not something every Podman Desktop user automatically gets. A Podman machine can be created rootful or rootless, and the default in Podman Desktop's "Create a Podman machine" dialog is rootful. Check which one you're actually running with:
$ podman info --format=json | jq -r '.host.security.rootless'
Everything below explains why a rootless connection is worth using when your setup allows it, not a claim that Podman Desktop is rootless out of the box.
No daemon, no root process
Docker runs dockerd, a long-running root process that manages every container. Anyone in the docker group can talk to it, and Docker itself warns that this is close to root access, since the daemon can mount any host path and start privileged containers on request. Docker does ship a rootless mode since Engine 20.10, but you have to turn it on.
Podman skips the daemon entirely. On Linux, each podman run is a direct fork/exec under your own user account. On macOS and Windows, there's no native container runtime, so podman machine runs a small Linux VM, and your local podman CLI is really a remote client talking to the podman process inside that VM. The fork/exec still happens, just inside the VM's own user, rather than directly on your host. Either way, a process inside the container can still see itself as UID 0, but a user namespace maps that back to an unprivileged user underneath (your host user on Linux, or the VM's user on macOS/Windows). If something inside a container, or in Podman itself, goes wrong, it's limited to what that user can already access, not full control of the machine or VM. It's not a complete boundary though: it can still read or write anything that user owns, or reach services that user can already reach.
| Docker | Podman | |
|---|---|---|
| Architecture | Root daemon (dockerd) | No daemon; fork/exec into a user namespace on Linux, or inside a VM on macOS/Windows |
| Container UID | Root inside = root on host (via daemon) | Root inside = an unprivileged user on Linux, or in the VM on macOS/Windows |
That's also why pods are lightweight
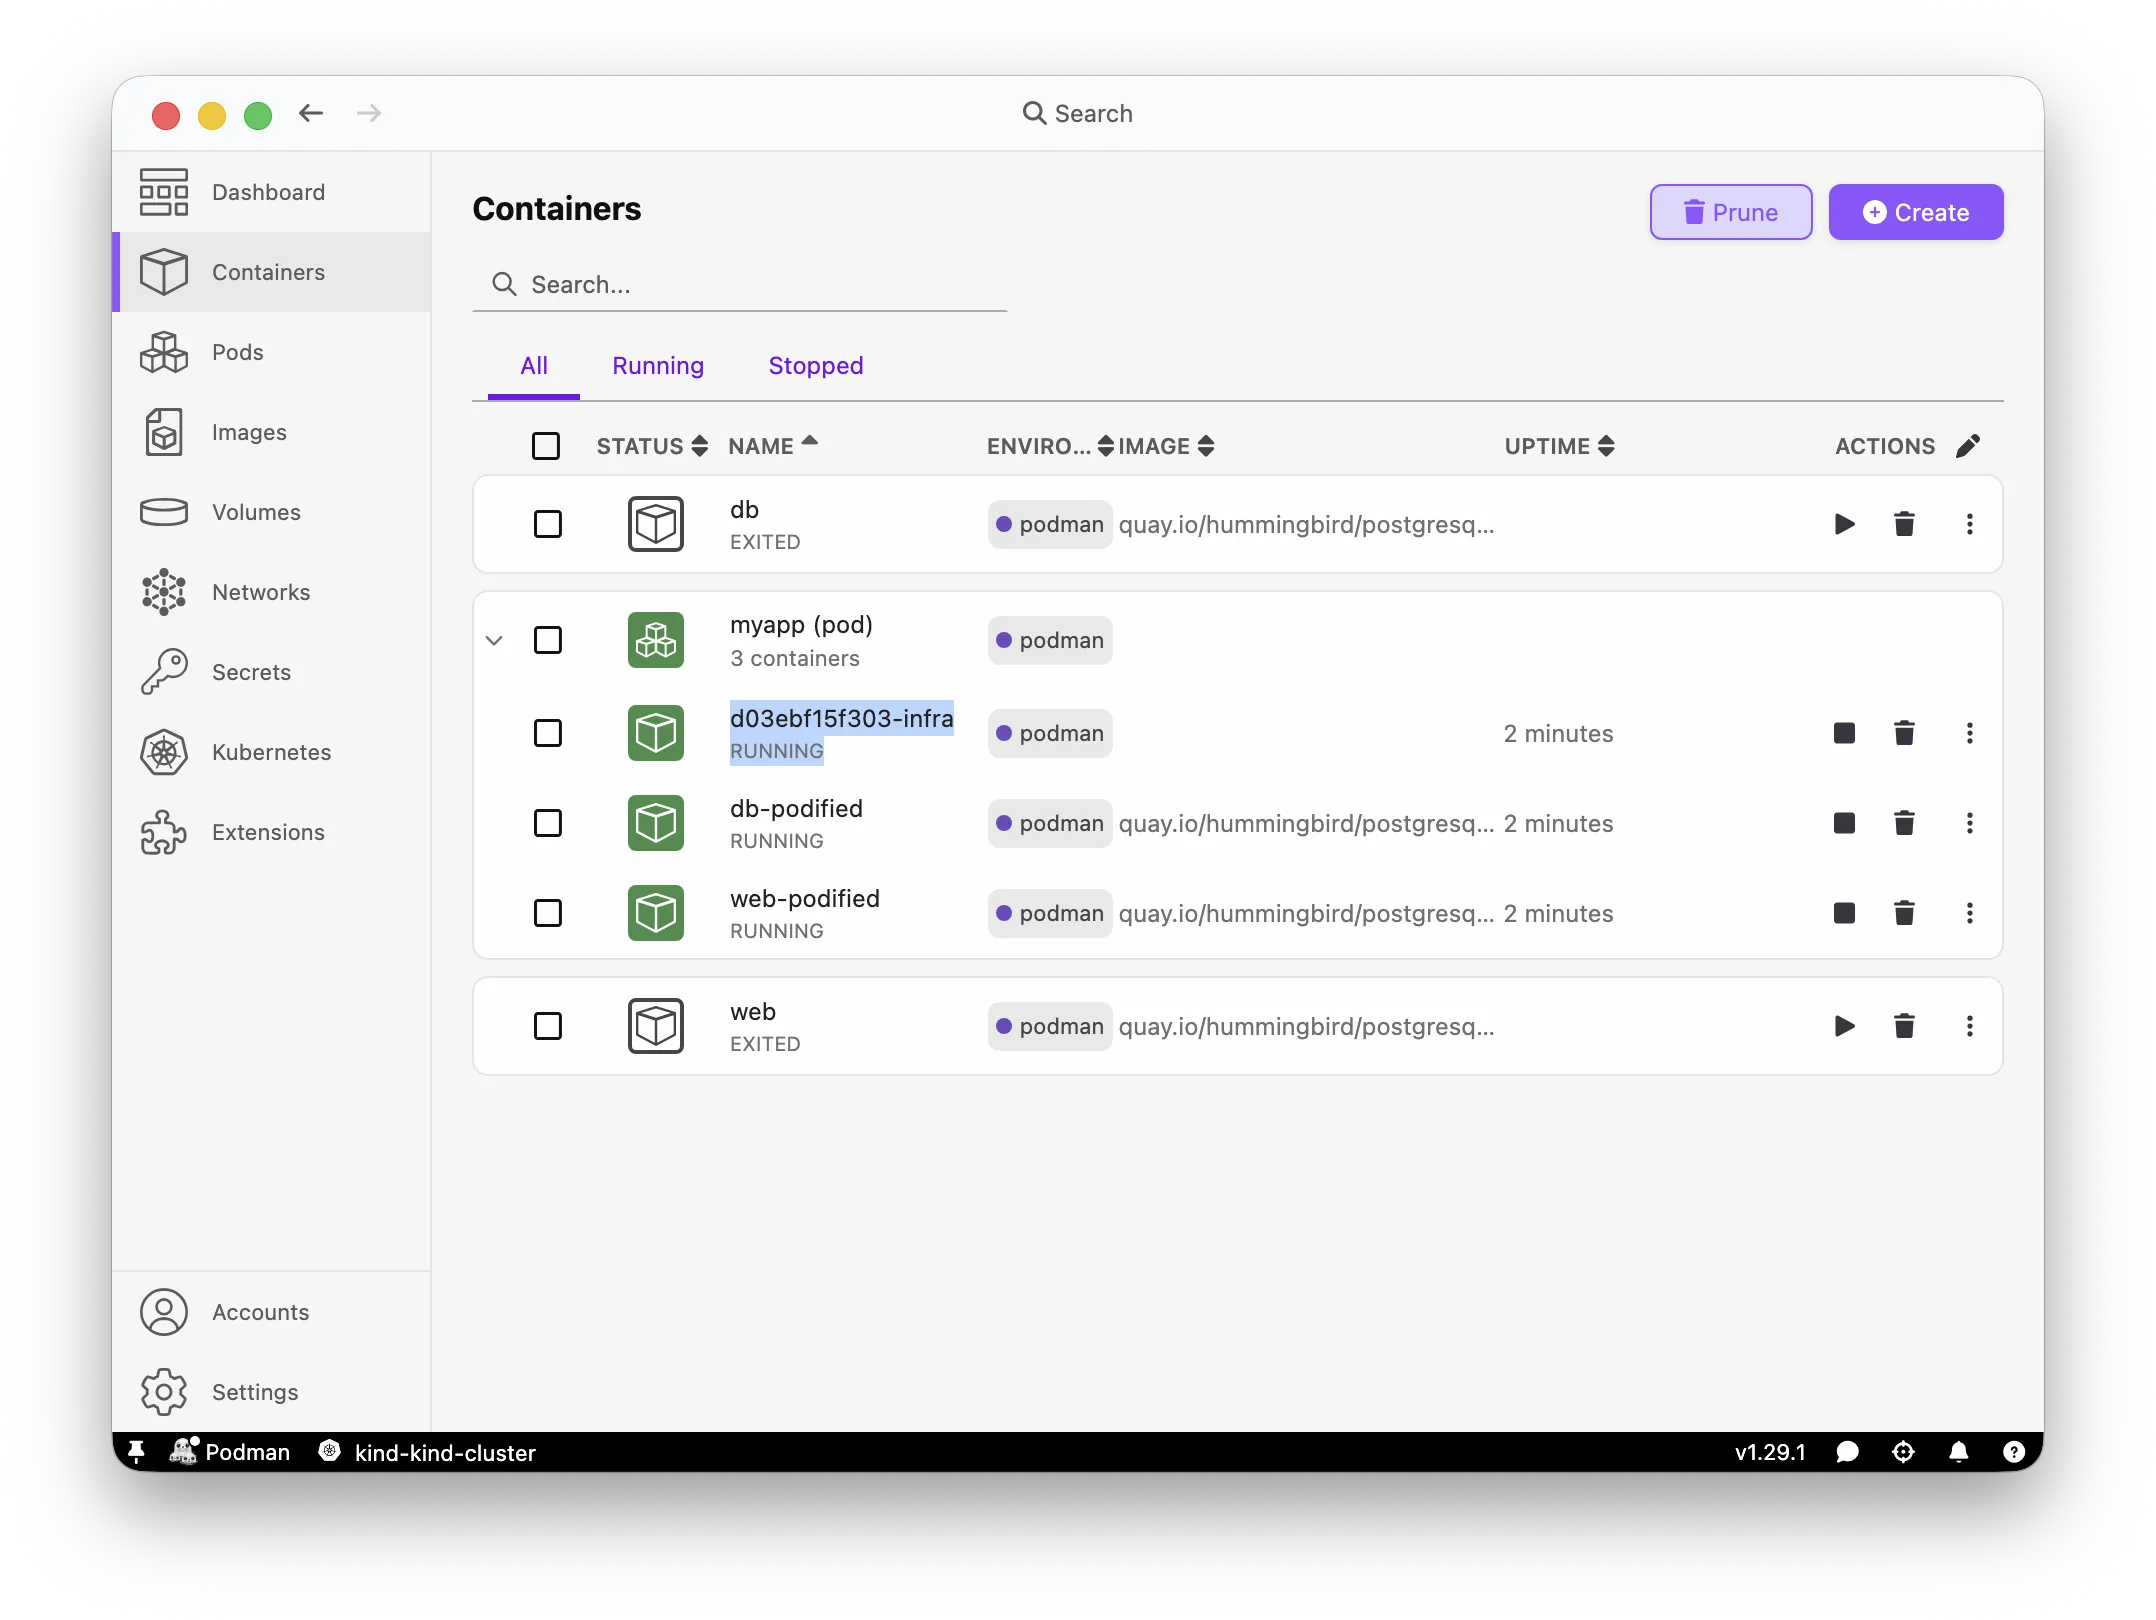
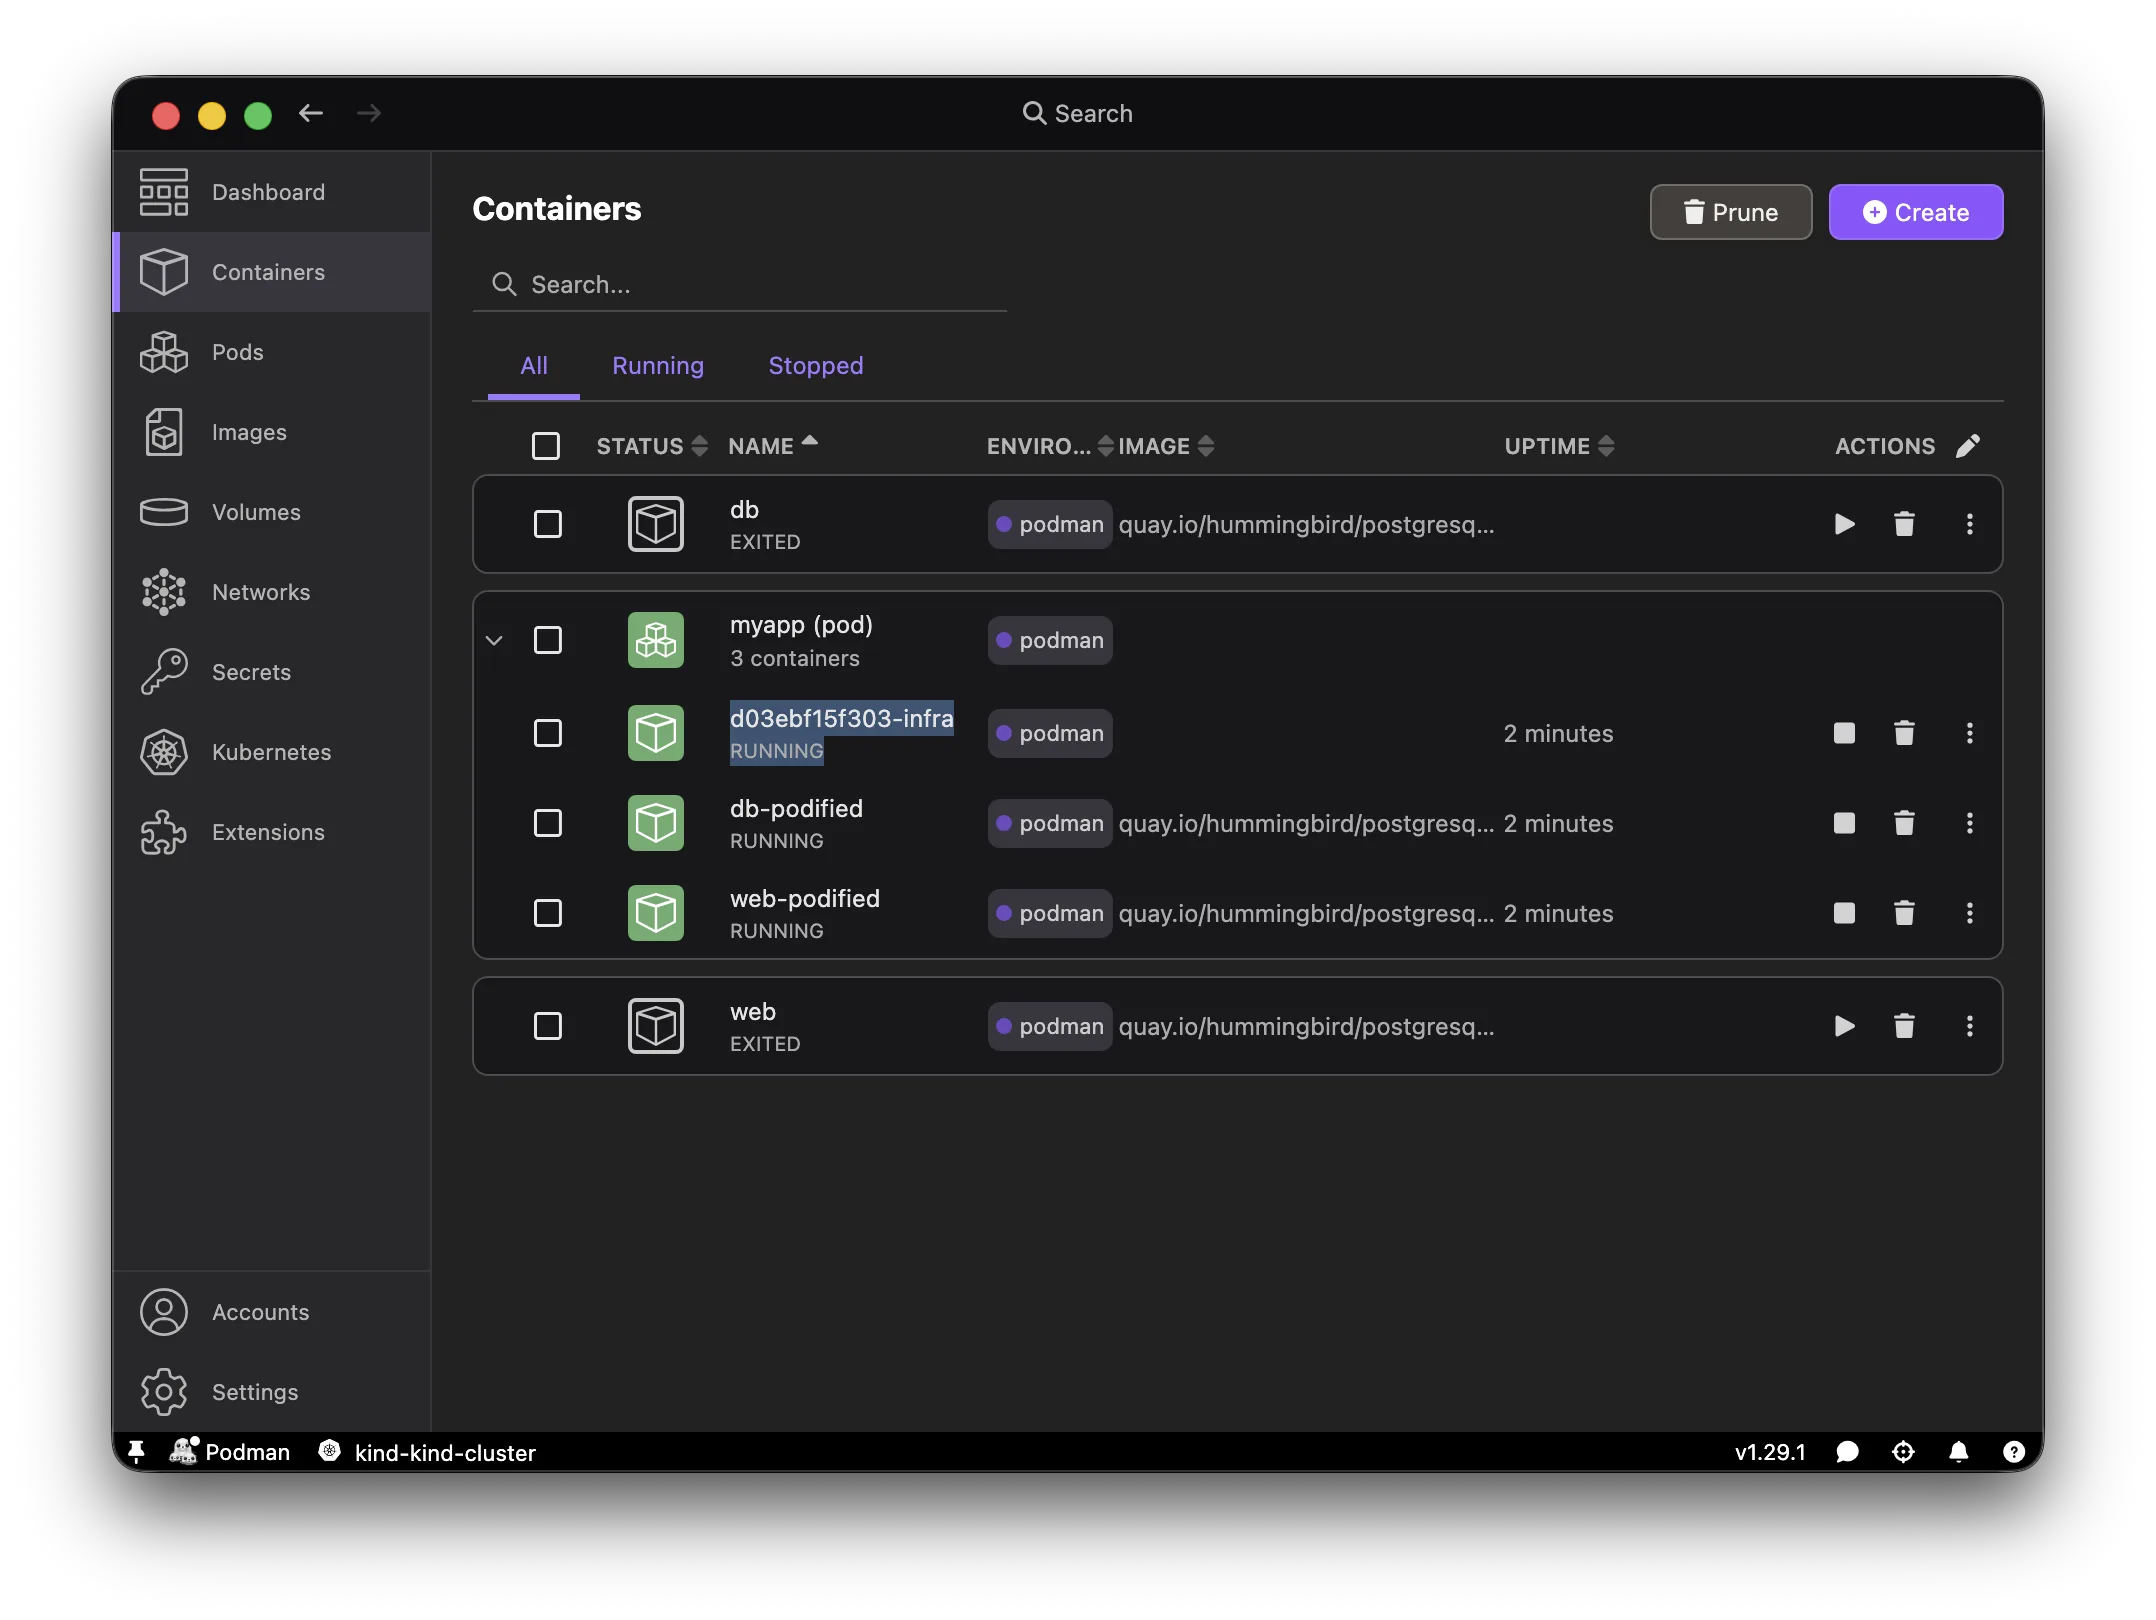
podman pod create just starts a small infra container whose only job is to own a network namespace. Every container you add with --pod forks into that same namespace, the way any Linux process can join a namespace another process already created. There's no daemon tracking "which containers belong to which pod" somewhere else, Podman just reads that from local state on disk. A pod ends up being a handful of ordinary processes sharing one namespace, not some new kind of object that needs a service to manage it.
You can see that infra container yourself. Open the myapp pod on the Containers page, and next to db and web there's a third one, usually named myapp-infra, sitting quietly and holding the shared namespace open:
If you need the container's user to match your own host UID, say, for sane file ownership on a mounted volume, use --userns=keep-id instead. It maps your host UID/GID straight into the container rather than remapping everything to UID 0.
No daemon also means no socket
Docker's daemon listens on /var/run/docker.sock, and tools like Testcontainers, VS Code Dev Containers, and various CI runners talk to it directly. Podman has no daemon, so that socket just isn't there unless you ask for it:
# With Podman running but Docker Compatibility disabled:
$ docker info --format=json | jq -r .ServerVersion
# failed to connect to the docker API at unix:///var/run/docker.sock
On macOS, turn it on under Settings > Preferences > Docker Compatibility, then enable Third-Party Docker Tool Compatibility. This maps /var/run/docker.sock to the Podman socket:
$ docker info --format=json | jq -r .ServerVersion
# 6.0.2  (Podman responds with its own version)
With that toggle on, the docker CLI and most tools that expect the Docker socket work without any further changes. That specific setting is macOS-only. On Windows, Podman exposes a named pipe instead, npipe:////./pipe/docker_engine, which many Docker-aware tools pick up automatically.
On Linux, there's no toggle, you start the Podman API socket yourself with systemd and point tools at it. For a rootless setup:
$ systemctl --user enable --now podman.socket
$ export DOCKER_HOST=unix://$XDG_RUNTIME_DIR/podman/podman.sock
For a rootful setup:
$ sudo systemctl enable --now podman.socket
$ export DOCKER_HOST=unix:///run/podman/podman.sock
One clarification, since the name carries baggage from Docker Desktop. /var/run/docker.sock is the control interface of Docker's daemon, the always-running root process that holds every container's state. Podman's podman.sock is a different thing: it's served by podman system service, a REST API listener that can even be started on demand through systemd socket activation, and it calls into the same container-management code the CLI uses, rather than keeping its own long-running state like dockerd does. Docker Compatibility just gives Docker-flavored tools a familiar address to call, not a second daemon hiding in the background.
Even the installer tries to be rootless
Podman Desktop pushes the same idea back to installation, before you've even run a container.
On Windows with WSL already enabled, the Podman v6 MSI installer lets you choose a user-scoped install (%LOCALAPPDATA%\Programs\Podman) instead of a machine-wide one, and with that option, podman machine init/start need no elevation. Podman Desktop itself installs with the "Only for me" option, no admin required. Choose those options and the whole workflow can stay admin-free from install to runtime. The installation guide covers macOS and Linux too, if WSL isn't your setup.
A few spots still ask for elevated access, and it's worth knowing why:
- macOS: the installer asks for your password once, to set up
podman-mac-helper, a LaunchDaemon that forwards/var/run/docker.sockto your Podman socket, because/var/runis owned by the system. Podman Desktop itself just installs by dragging it to Applications. - Windows with Hyper-V: creating a Hyper-V VM needs administrator rights. WSL doesn't.
- Docker-in-Docker style CI: some pipelines expect a root daemon inside the container, and for those you can still create a rootful machine with
podman machine init --rootful. - Podman Desktop's default: in the "Create a Podman machine" dialog, "Machine with root privileges" is on by default. Turn it off if you want a fully rootless machine from the start.
Documentation: Rootless containers with Podman | Podman rootless mode | Rootless tutorial | Windows installation
Putting it together
A network isn't wrong, it's just not the whole picture. Swap some of those networks for pods, and use kube play to run that grouping straight from a Kubernetes YAML file, so what you test locally is closer to what actually gets deployed.
Rootless is the other half of the story. Podman didn't invent it, but it makes it easy to get, provided your Podman connection is actually rootless, which isn't the default everywhere. Once a pod reaches OpenShift or a cluster with restricted policies, running as non-root stops being optional, and a Kind cluster lets you catch that locally first. Having no daemon is what makes this workflow lightweight, not the reason any of it's required, root is a production concern either way, with or without Podman.
Summary
| Area | Docker | Podman | Fix |
|---|---|---|---|
| Networking | User-defined networks (legacy --link deprecated) | Same networks, plus pods and kube play for K8s-ready setups | Prefer pods once you are aiming at production |
| Architecture | Root daemon (dockerd) | No daemon; fork/exec on Linux, or inside a podman machine VM on macOS/Windows | Check podman info --format=json | jq -r '.host.security.rootless', switch to a rootless machine if it says false |
| Socket | /var/run/docker.sock on macOS/Linux, a named pipe on Windows, always available | No socket by default, endpoint and setup vary by OS | macOS: enable Docker Compatibility. Windows: use the npipe endpoint. Linux: start podman.socket and export DOCKER_HOST |
| Non-root images | Root images run locally with both, but get rejected on OpenShift/K8s restricted policies | Same | For plain Kubernetes, add USER 1001 in your Containerfile, or use a non-root image like Hummingbird (fixed UID 65532). For OpenShift, which assigns an arbitrary UID from the project's range, also make runtime paths writable by group 0 |
| Install | Requires admin (daemon plus group membership) | Admin-free on Windows/WSL, macOS needs a password for the helper | Improving with each release |
Going further
- Installing Podman Desktop
- Migration documentation
- Docker Compatibility settings
- Creating a pod
- Deploying a pod to Kubernetes
- Working with the Kind extension
- Podman
podman runvolume options - Creating images for OpenShift
If you run into a case not covered here, open a discussion on GitHub.