Creating an OpenShift Local instance
Red Hat OpenShift Local manages a minimal OpenShift or MicroShift cluster on your workstation for local development and testing.
With Podman Desktop and the OpenShift Local extension, you can manage your OpenShift Local instances.
Prerequisites
Procedure
-
Install the OpenShift Local extension: on to Dashboard, click OpenShift Local .
-
Install the OpenShift Local binaries, when on the Dashboard, you see Podman Desktop was not able to find an installation of OpenShift Local.
- Windows
- macOS
- Linux
- In the OpenShift Local tile, click Install.
- When prerequisites are missing, follow the instructions.
- In the Red Hat OpenShift Local screen, click Yes to start the installation.
- Follow the installation program instructions.
- Reboot to finalize system changes.
- In the OpenShift Local tile, click Install.
- When prerequisites are missing, follow the instructions.
- In the Red Hat OpenShift Local screen, click Yes to start the installation.
- Follow the installation program instructions.
- Reboot to finalize system changes.
- Go to the Red Hat OpenShift local download page.
- Select your platform.
- Click Download OpenShift Local.
- Extract the archive.
- Copy the
crcbinary to a directory in your$PATH, such as/usr/local/bin. - To configure your system, run the command:
$ crc setup- Exit and restart Podman Desktop.
-
(Optionally) Review the extension settings in Settings > Preferences > Extension: Red Hat OpenShift Local.
-
On the Dashboard, click Initialize and start.
- Select your OpenShift Local Virtual machine preset, if not set in Settings > Preferences > Extension: Red Hat OpenShift Local > Preset.
- MicroShift (experimental): provides a lightweight and optimized environment with a limited set of services.
- OpenShift: provides a single node OpenShift cluster with a fuller set of services, including a web console (requires more resources).
- Provide a pull secret, required to pull container images from the registry:
- Open the Red Hat OpenShift Local download page.
- Click Copy pull secret.
- Get back to Podman Desktop.
- Paste the pull secret, and press
Enter.
- Select your OpenShift Local Virtual machine preset, if not set in Settings > Preferences > Extension: Red Hat OpenShift Local > Preset.
Verification
-
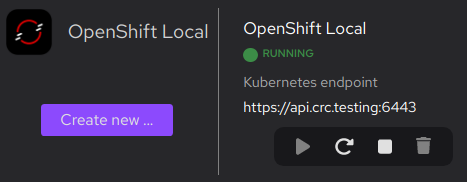
On the Dashboard screen, OpenShift Local is running.
-
On the Settings > Resources screen, your OpenShift Local instance is running.
-
Select your OpenShift Local instance the Podman Desktop tray.
-
Run basic tasks such as: