Installing in a restricted environment
In a restricted environment you might face the following challenges:
-
The default Podman Desktop and Podman installation methods download assets during the setup.
However, a network restricted environment might refuse access to these external resources.
Consider rather using the restricted environment installation method.
-
The Podman Machine receives a network address distinct to your computer network address.
When you are using a VPN, you might have problems to access, from your host, resources that the Podman Machine exposes.
Consider enabling the User mode networking option when creating your Podman Machine to route the network traffic through your host.
-
The Podman Machine connects directly to the external network.
However, a restricted environment might block all traffic not going to a proxy.
Consider configuring Podman Desktop and your Podman Machine to route the traffic through a proxy.
This tutorial is guiding you through the required steps to work in a restricted environment.
Installing Podman Desktop and Podman
- Windows
- macOS
- Linux
The Windows Installer for restricted environments has all artifacts required to install Podman Desktop and Podman. It does not require Internet access to download resources during installation. However, it does not contain additional utilities, such as Compose or Kind.
-
Check that your environment has:
- 6 GB RAM for the Podman Machine.
- Windows Subsystem for Linux version 2 (WSL 2) prerequisites. See Enabling WSL 2, WSL basic commands, and Troubleshooting WSL 2:
- The Windows user has administrator privileges.
- Windows 64bit.
- Windows 10 Build 19043 or greater, or Windows 11.
- On a virtual machine: Nested Virtualization enabled.
-
Prepare your system.
Enable the WSL feature, without installing the default Ubuntu distribution of Linux.
Open the Command Prompt, and run:.
> wsl --install --no-distribution -
Restart your computer.
-
Download the Installer for restricted environments from to the Windows downloads page.
-
Copy the downloaded file to the Windows host in a restricted environment, and run it.
-
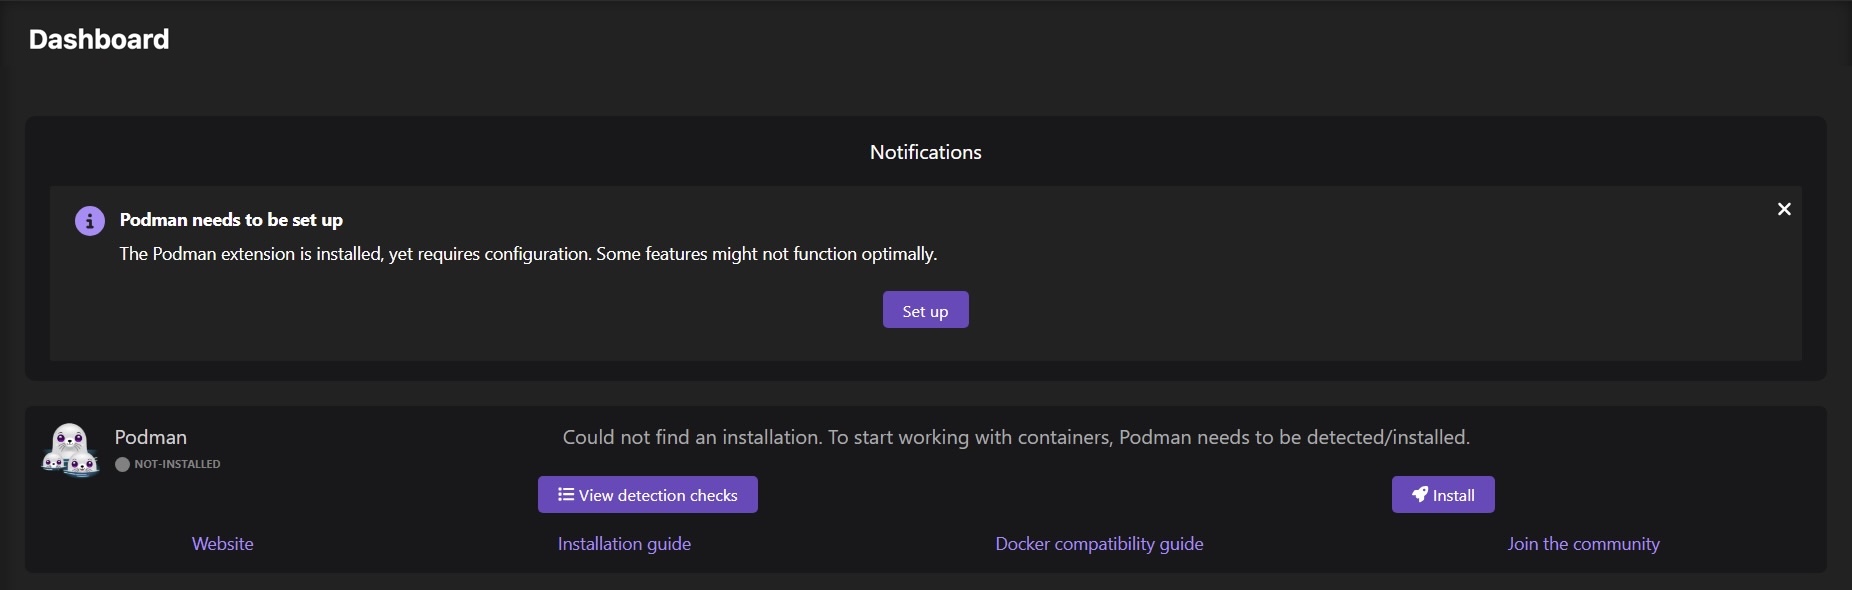
Go to Dashboard from the left navigation pane. The screen displays: Podman needs to be set up.
-
Click the Set up button.
-
Review and validate all confirmation screens to set up the Podman Machine.
Optionally, when you are using a VPN, consider enabling user mode networking:
- When you are using a VPN, you might have problems to access, from your host, resources that the Podman Machine exposes.
To enable access from your host to resources on your Podman Machine, in the Create Podman machine screen, enable the User mode networking (traffic relayed by a user process) option.
The macOS Disk Image for restricted environments has all artifacts required to install Podman Desktop and Podman. It does not require Internet access to download resources during installation. However, it does not contain additional utilities, such as Compose or Kind.
-
Download the Disk Image for restricted environments from the macOS downloads page.
-
Copy the downloaded file to the macOS host in a restricted environment, and double-click it.
-
Drag the Podman Desktop icon to the Applications folder.
-
Go to Dashboard from the left navigation pane.The screen displays: Podman needs to be set up.
-
Click the Set up button.
-
Review and validate all confirmation screens to set up the Podman Machine.
tipTo route the network traffic through your VPN, in the Create Podman machine screen, enable the User mode networking (traffic relayed by a user process) option.
The Linux AMD64 binary (tar.gz) has all artifacts required to install Podman Desktop. It does not require Internet access to download resources during installation. However, it does not contain additional utilities, such as Podman CLI, Compose, or Kind.
-
The Podman Desktop archive for restricted environments does not contain Podman CLI.
To install Podman, go to the Podman website, and follow the installation instructions.
-
Download the AMD64 binary (tar.gz) archive from the Linux Downloads page.
-
Copy the downloaded file to the Linux host in a restricted environment, and extract the archive content.
-
In the extracted directory, open the
podman-desktopexecutable file.
Verification
-
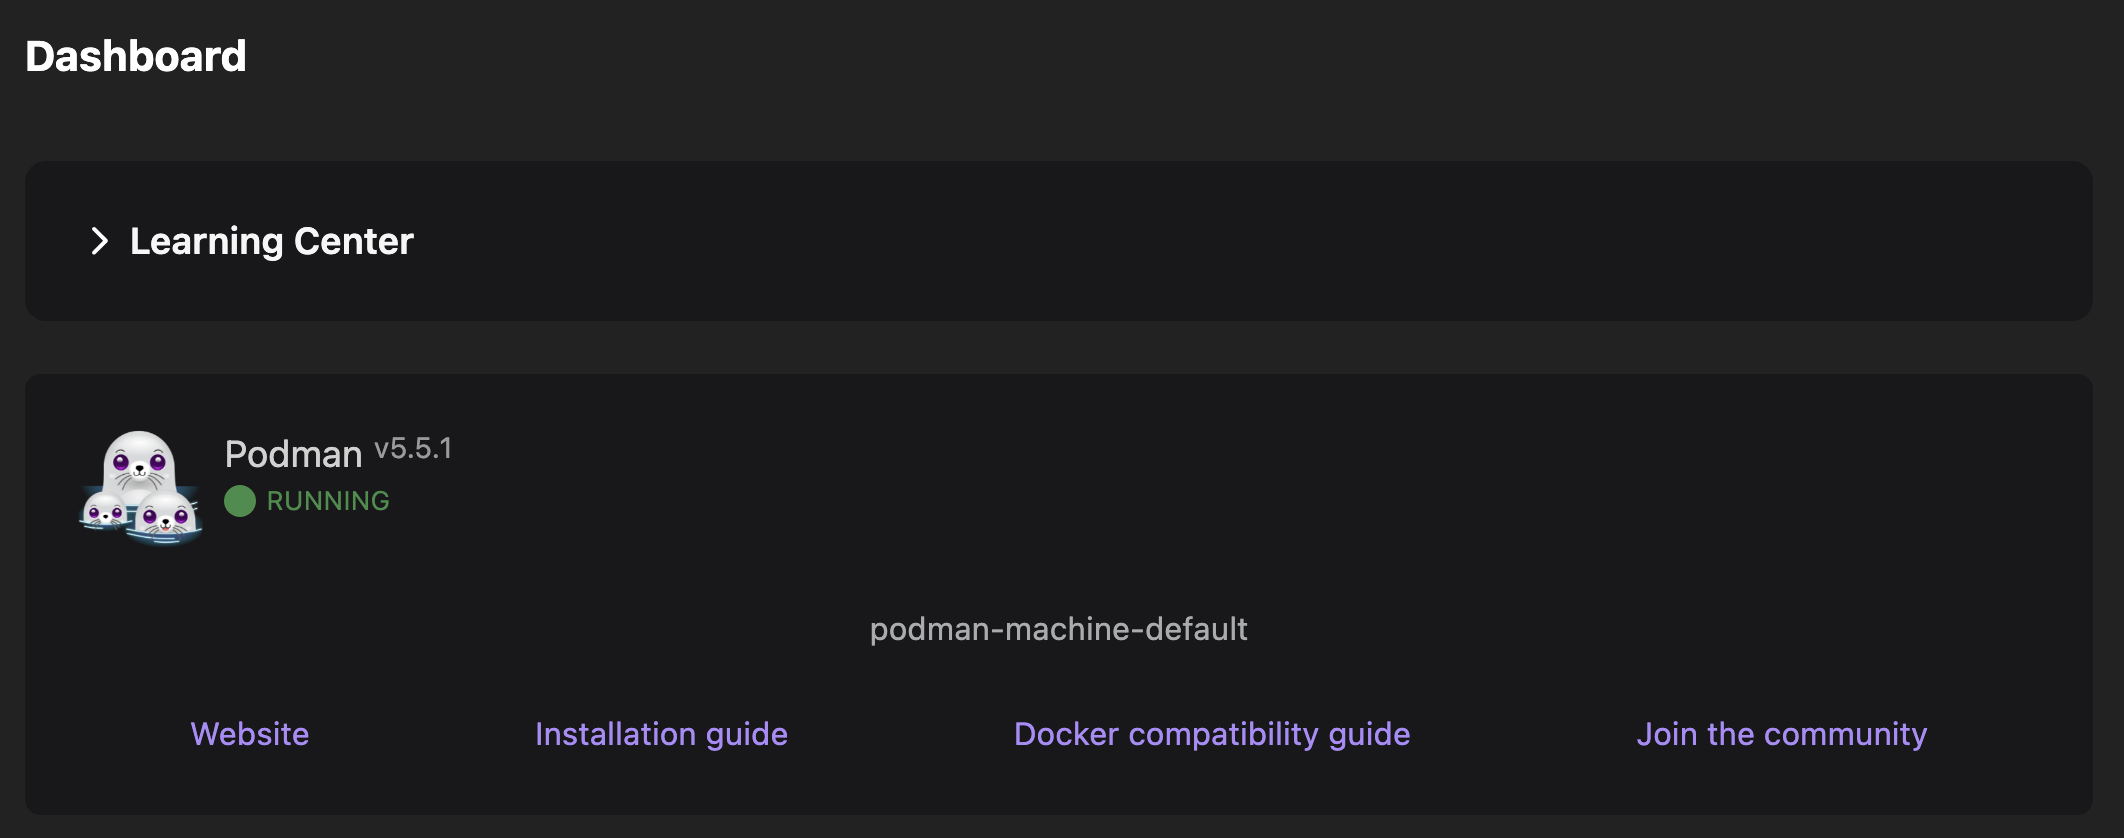
In the Dashboard, the Podman tile displays Podman is running.
Using a proxy
Requirements:
<your.proxy.tld:port>: Your proxy URL.- Optional: your proxy Certificate Authorities (CA) in Privacy-Enhanced Mail (PEM) format.
- Windows
- macOS
- Linux
-
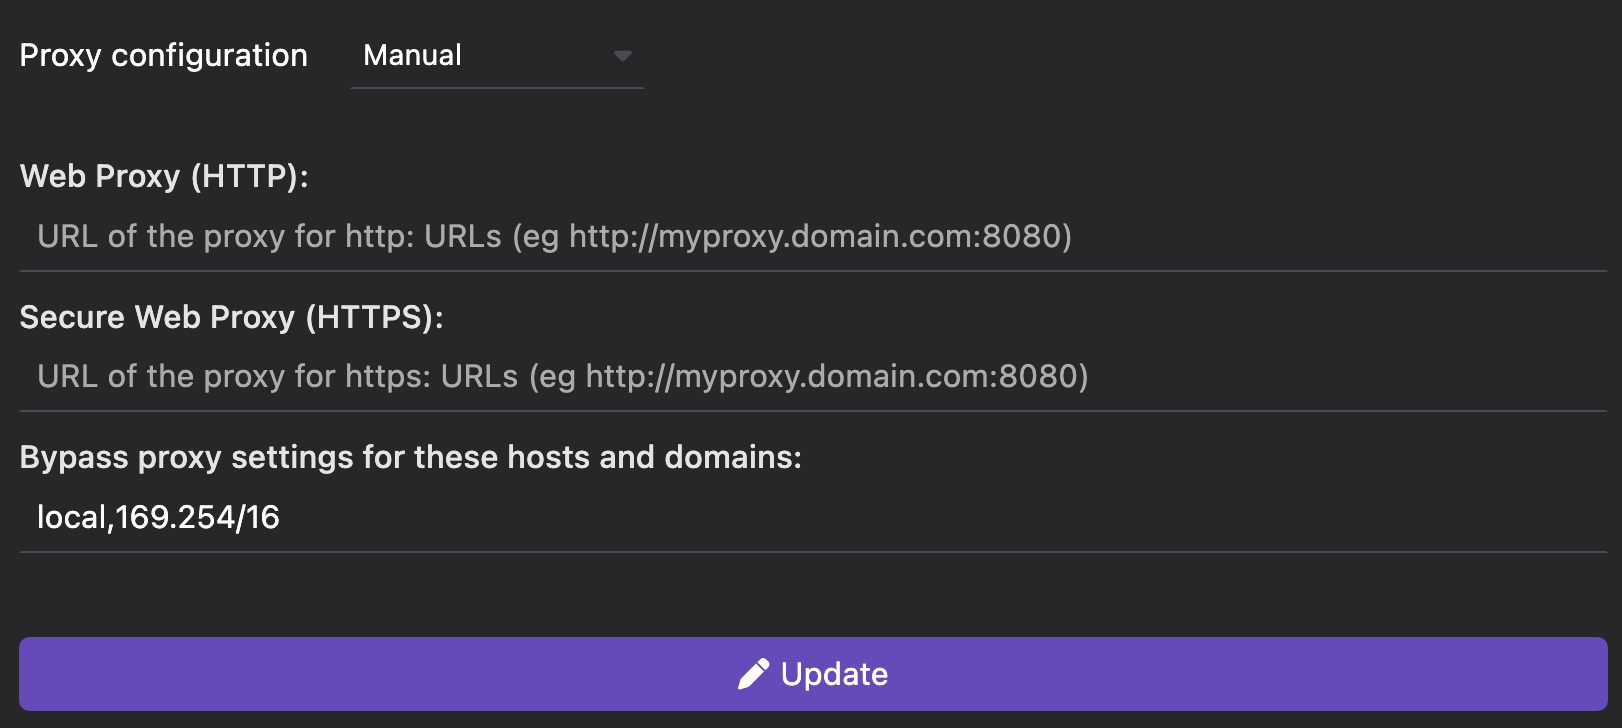
Go to Settings > Proxy from the left navigation pane.
-
Select a proxy configuration: System, Manual, or Disabled.
- If you select Manual, configure your proxy URLs and bypass proxy settings details.
- If you select Manual, configure your proxy URLs and bypass proxy settings details.
-
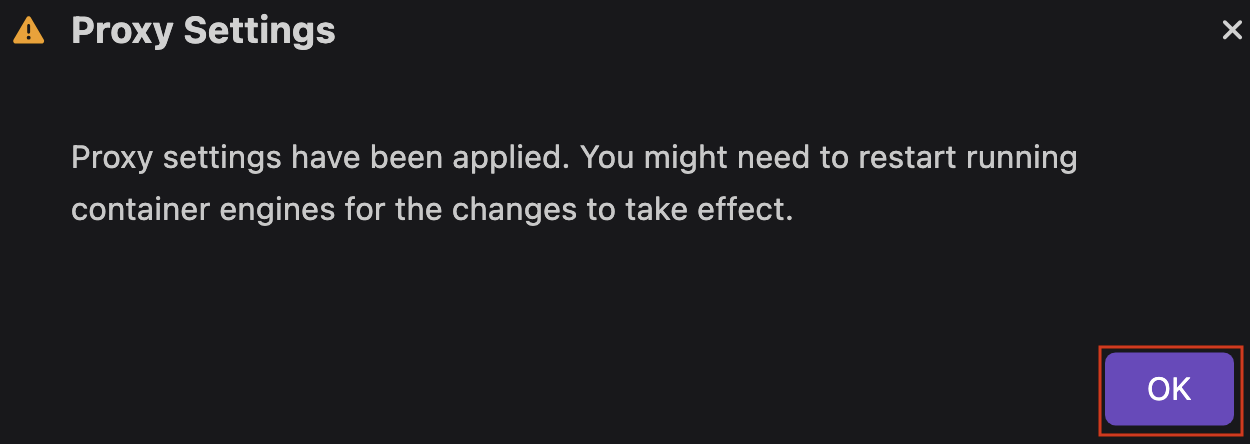
Click Update. A notification opens.
-
Click OK.
Optionally, to use a proxy requiring a custom Certificate Authorities:
- Store your proxy Certificate Authorities (CA), in Privacy-Enhanced Mail (PEM) format, in the
proxy_ca.pemfile. - Copy the certificate to the Podman machine:
$ cat proxy_ca.pem | podman machine ssh podman-machine-default "cat > proxy_ca.pem"-
Open a shell prompt on the Podman machine:
$ podman machine ssh -
Add the custom Certificate Authorities (CA) for your proxy:
$ sudo cp <proxy_ca.pem> /etc/pki/ca-trust/source/anchors/$ sudo update-ca-trust
Optionally, to use a proxy in your containers:
- Open a shell prompt on the Podman machine:
$ podman machine ssh-
Edit the
containers.conffile to pass the proxy environment variables to Podman CLI.The file location depends on your connection mode:
-
rootless:$HOME/.config/containers/containers.conf -
rootful:/etc/containers/containers.conf
-
-
Set the proxy environment variables to pass into the containers:
[containers]http_proxy = trueenv = ["http_proxy=<your.proxy.tld:port>", "https_proxy=<your.proxy.tld:port>"]
- Store your proxy Certificate Authorities (CA), in Privacy-Enhanced Mail (PEM) format, in the
-
Go to Settings > Resources and restart the Podman machine.
-
Go to Settings > Proxy from the left navigation pane.
-
Select a proxy configuration: System, Manual, or Disabled.
- If you select Manual, configure your proxy URLs and bypass proxy settings details.
- If you select Manual, configure your proxy URLs and bypass proxy settings details.
-
Click Update. A notification opens.
-
Click OK.
Optionally, to use a proxy requiring a custom Certificate Authorities:
- Store your proxy Certificate Authorities (CA) in Privacy-Enhanced Mail (PEM) format, in your home directory, in the
proxy_ca.pemfile. - Copy the certificate to the Podman machine:
$ cat proxy_ca.pem | podman machine ssh podman-machine-default "cat > proxy_ca.pem"-
Open a shell prompt on the Podman machine:
$ podman machine ssh -
Add the custom Certificate Authorities (CA) for your proxy:
$ sudo cp <proxy_ca.pem> /etc/pki/ca-trust/source/anchors/$ sudo update-ca-trust
Optionally, to use a proxy in your containers:
- Open a shell prompt on the Podman machine:
$ podman machine ssh-
Edit the
containers.conffile to pass the proxy environment variables to Podman CLI.The file location depends on your connection mode:
-
rootless:$HOME/.config/containers/containers.conf -
rootful:/etc/containers/containers.conf
-
-
Set the proxy environment variables to pass into the containers:
[containers]http_proxy = trueenv = ["http_proxy=<your.proxy.tld:port>", "https_proxy=<your.proxy.tld:port>"]
- Store your proxy Certificate Authorities (CA) in Privacy-Enhanced Mail (PEM) format, in your home directory, in the
-
Go to Settings > Resources and restart the Podman machine.
On Linux, Podman Desktop Proxy settings have no effect on Podman.
Configure Podman:
-
Edit the
containers.conffile to pass the proxy environment variables to Podman CLI.The file location depends on your connection mode:
-
rootless:$HOME/.config/containers/containers.conf -
rootful:/etc/containers/containers.conf
-
-
Set the proxy environment variables to pass into the Podman engine:
[engine]env = ["http_proxy=<your.proxy.tld:port>", "https_proxy=<your.proxy.tld:port>"] -
Add the custom Certificate Authorities (CA) for your proxy:
$ sudo cp <proxy_ca.pem> /etc/pki/ca-trust/source/anchors/$ sudo update-ca-trust -
Restart all
podmanprocesses.$ pkill podman
Verification
-
Podman can pull images.
- Go to Images.
- Click Pull an image.
- Image to Pull: Enter an image name, such as
quay.io/podman/hello. - Click Pull image. Podman Desktop reports
Download completeafter a while. - Click Done.
-
You can install extensions such as: